Imagine standing in a sun-drenched plaza in Rome or a quiet alley in Kyoto. You want to capture the soul of a local artisan or a friend, but your camera bag is light-no heavy strobes, no massive softboxes. The secret isn't buying more gear; it's learning to read the environment. Available light portraiture is a technique that uses existing environmental light sources like windows and shade to create professional-quality images without artificial equipment. By mastering how light behaves through glass and under eaves, you can produce stunning travel portraits that feel authentic and intimate.
This approach strips away the complexity of studio lighting. It forces you to slow down, observe, and connect with your subject. Whether you are shooting in a cramped hostel room or an open-air market, understanding the physics of natural light gives you control over mood, texture, and depth. Let’s break down exactly how to use windows and shade to elevate your travel photography.
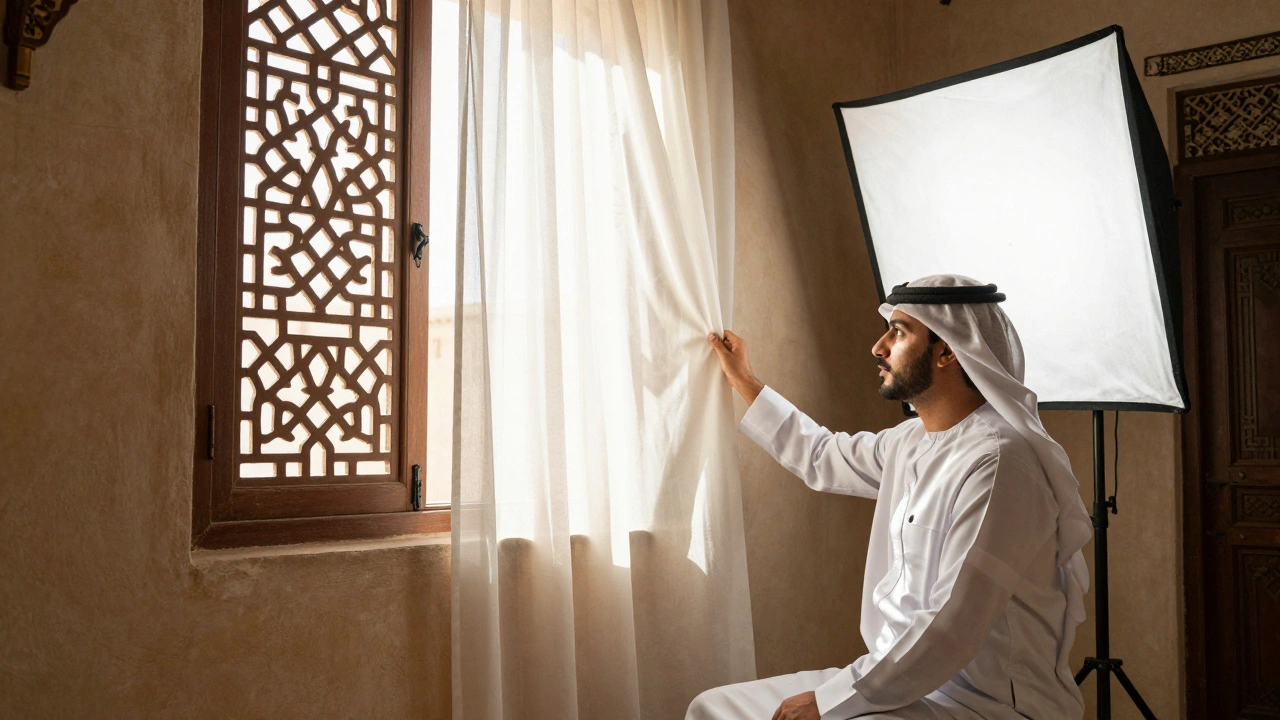
The Physics of Window Light
Windows are essentially free softboxes. When sunlight passes through glass, it diffuses slightly, softening shadows and reducing harsh contrast. But not all windows are created equal. The direction the window faces dictates the quality and consistency of the light you get.
- North-facing windows: In the Northern Hemisphere, these provide the most consistent, diffused light throughout the day. They rarely receive direct sunlight, making them ideal for sustained shooting sessions where you need predictable lighting.
- East and West-facing windows: These offer dramatic, directional light during specific times. East windows glow warmly in the morning, while west windows cast long, golden shadows in the late afternoon. You have a narrow window of opportunity here, so move fast.
- South-facing windows: These provide brighter light than north windows but less intensity than direct sun. They are great for midday shoots when other options might be too harsh.
The size of the window matters too. Larger windows act as bigger light sources, creating softer shadows on your subject’s face. Smaller windows create harder, more defined shadows. If you are traveling to locations with traditional architecture, look for unglazed openings. While they lack the diffusion of glass, they can create striking rim lighting that outlines your subject against the background, adding dimension and character.
Camera Settings for Natural Light
Shooting with available light requires adjusting your exposure triangle to compensate for lower light levels. Your goal is to maintain image quality while capturing enough light to properly expose your subject.
- ISO: Keep it as low as possible (ISO 100-400) to minimize noise. Modern cameras handle higher ISOs well, but starting low ensures maximum dynamic range.
- Aperture: Use wide apertures (f/1.8 to f/4). This lets in more light and creates a shallow depth of field, blurring the background and isolating your subject. Remember, the wider the aperture, the thinner the plane of focus, so precise focusing on the eyes is critical.
- Shutter Speed: Ensure your shutter speed is fast enough to avoid motion blur. A general rule is 1/50th of a second for handheld shots, but if your subject is moving, aim for 1/125th or faster. If you must drop below this, stabilize your camera or ask your subject to hold still.
Always shoot in RAW format. This preserves the maximum amount of data from your sensor, giving you flexibility to recover shadows or highlights in post-production without degrading image quality.
Positioning Your Subject
Where you place your subject relative to the light source determines the mood of the portrait. Experimentation is key, but here are three foundational positions:
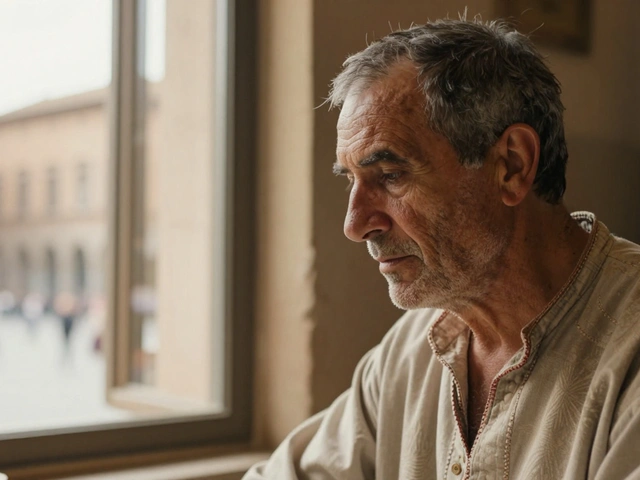
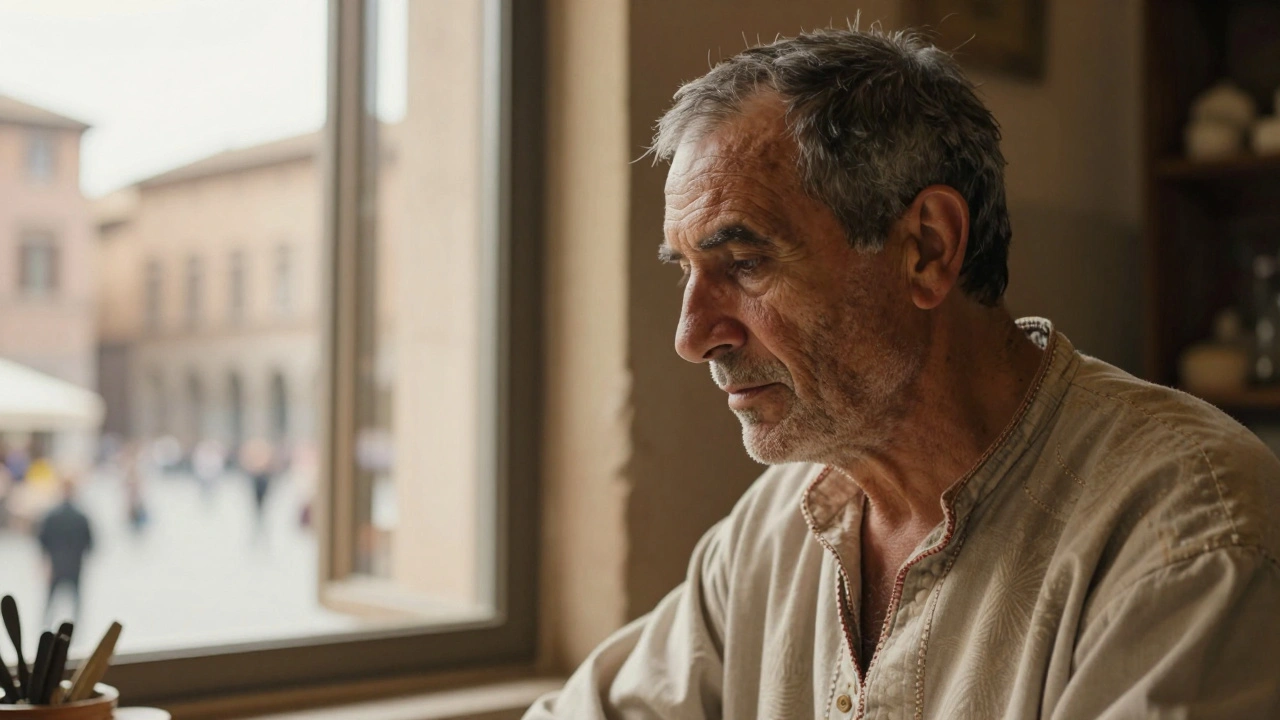
- Side Lighting (90 degrees): Position your subject at a right angle to the window. This creates dramatic contrast, with one side of the face illuminated and the other in shadow. It reveals texture and shape beautifully, perfect for older subjects or those with interesting facial features.
- Angled Lighting (45 degrees): Place your subject at a slight angle to the window. This provides soft, flattering illumination that mimics classic portrait lighting setups. It balances detail and shadow, making it versatile for most subjects.
- Backlighting: Position your subject between the window and the camera. This creates a halo effect around their hair and shoulders. To ensure facial detail is visible, use exposure compensation (+1 to +2 stops) or bounce light back onto their face with a reflector.
If you are shooting near a bright window, beware of silhouettes. If the background is blown out, your camera may underexpose the subject. Use spot metering on the face or increase exposure compensation to balance the scene.
Using Open Shade Outdoors
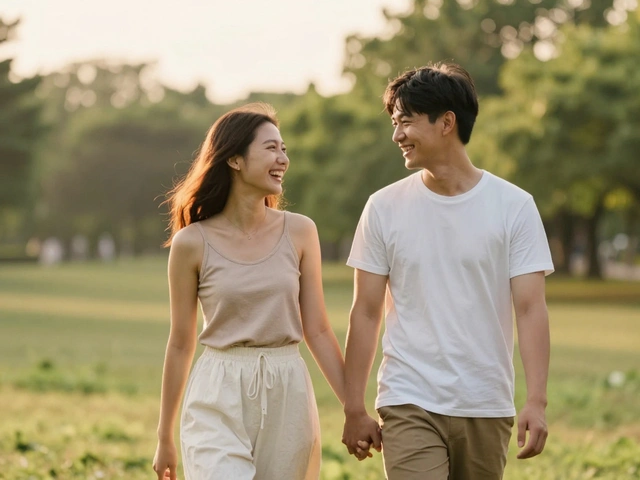
When you step outside, direct midday sun is often too harsh, creating deep shadows under the eyes and nose. Instead, seek out open shade is an area protected from direct sunlight but exposed to ambient sky light, providing soft, even illumination.. This could be under a tree, beside a building, or in an archway.
Open shade acts like a giant softbox. The sky becomes your light source, wrapping light around your subject gently. Look for areas where the shade is consistent and not broken by dappled sunlight, which can create distracting spots on the skin. If you are in full daylight, scan the environment for pools of light. Sometimes, stepping just a few feet into a shadowed area transforms a flat, washed-out image into a rich, dimensional portrait.
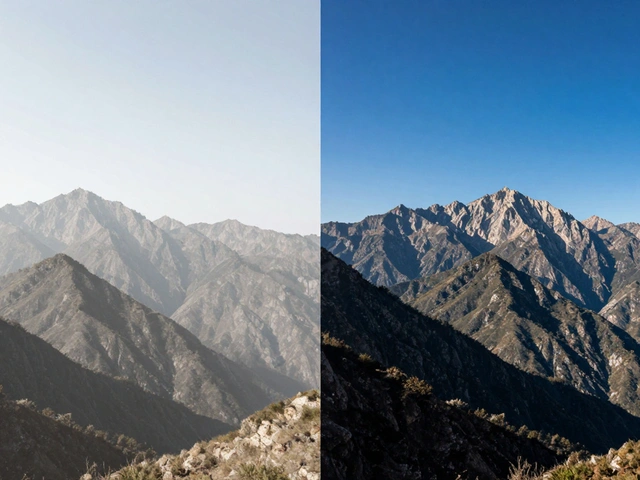
On bright days, the human eye adjusts quickly to changes in light, but cameras struggle with high dynamic range. By positioning your subject in shade, you reduce the contrast ratio between the subject and the background, making it easier to expose correctly for both.
Modifying Light Without Gear
You don’t need expensive reflectors to modify light. Improvisation is part of the travel photographer’s toolkit. If the light coming through a window is too harsh, diffuse it. Hold a sheer curtain, a white bedsheet, or even a shower curtain between the window and your subject. This scatters the light, softening shadows and reducing glare.
To fill in dark shadows, use reflective surfaces. A white piece of paper, a foam core board, or even a mirror can bounce light back onto the unlit side of your subject’s face. This reduces contrast and adds sparkle to the eyes. Position the reflector opposite the window, close to the subject, for maximum effect.
Conversely, if there is too much light, block it. Use a black card, a piece of clothing, or your own body to flag unwanted light. This allows you to sculpt the light, creating deeper shadows and more drama. Controlling what light reaches your subject is just as important as controlling where it comes from.
Avoiding Common Mistakes
Even experienced photographers make errors when working with available light. Here are the most frequent pitfalls and how to correct them:
- Flat Lighting: Shooting directly facing the window can result in flat, two-dimensional images. Move yourself or your subject to create angles that introduce shadows and depth.
- Clipped Highlights: If the window is included in the frame, it may blow out completely. Instead of trying to recover these highlights in post, embrace the mood. Focus on exposing for the subject’s face and let the background go bright. It adds atmosphere and directs attention to the subject.
- Ignoring Eye Direction: Always check your subject’s eyes. Are they squinting? If so, they are looking into the light. Ask them to turn slightly away or use a diffuser to soften the intensity. Catchlights (reflections of the light source) in the eyes bring life to the portrait, so ensure the light is positioned to create them.
Another mistake is rushing. Travel photography is often about spontaneity, but good light takes time to set up. Take a moment to observe how the light moves across the room. Predict its path and position yourself accordingly. Patience yields better results than speed.
| Light Source | Quality | Best Time | Ideal For |
|---|---|---|---|
| North-Facing Window | Soft, Consistent | All Day | Long Sessions, Detailed Portraits |
| East/West Window | Directional, Warm | Morning/Late Afternoon | Dramatic, Moody Shots |
| Open Shade | Even, Diffused | Midday | Outdoor Portraits, Groups |
| Direct Sun | Hard, High Contrast | Golden Hour | Silhouettes, Rim Lighting |
Creating Depth and Dimension
One of the challenges of available light is avoiding a flat appearance. To add depth, separate your subject from the background. Step back and use a longer focal length (50mm or 85mm) to compress the scene. This creates a pleasing bokeh effect, blurring distractions and emphasizing the subject.
Use layers within your composition. Include foreground elements like leaves, door frames, or architectural details to create a sense of space. These elements should be out of focus, guiding the viewer’s eye toward the sharp, well-lit subject. Additionally, vary your shooting angles. Get low to emphasize height or high to convey vulnerability. Changing perspective changes the story.
Finally, engage your subject. Technical perfection means little without genuine emotion. Talk to your subject, laugh, and let them relax. Irving Penn famously used extended shooting sessions to help subjects lose their self-consciousness, revealing their true character. In travel photography, connection is everything. The light sets the stage, but the human interaction brings the portrait to life.
What is the best camera setting for window light portraits?
Aim for a wide aperture (f/1.8-f/4), low ISO (100-400), and a shutter speed fast enough to avoid motion blur (1/60s or faster). Shoot in RAW to retain maximum detail for editing. Adjust based on the brightness of the window; brighter windows allow for smaller apertures.
How do I deal with harsh sunlight coming through a window?
Diffuse the light using a sheer curtain, white sheet, or dedicated diffuser panel held between the window and the subject. Alternatively, move the subject further from the window to soften the light, or use a reflector to balance the contrast on their face.
Is open shade better than direct sunlight for portraits?
Open shade is generally better for consistent, flattering portraits because it provides even, soft light without harsh shadows. Direct sunlight can create unflattering contrasts and cause subjects to squint, though it can be used creatively for dramatic effects during golden hour.
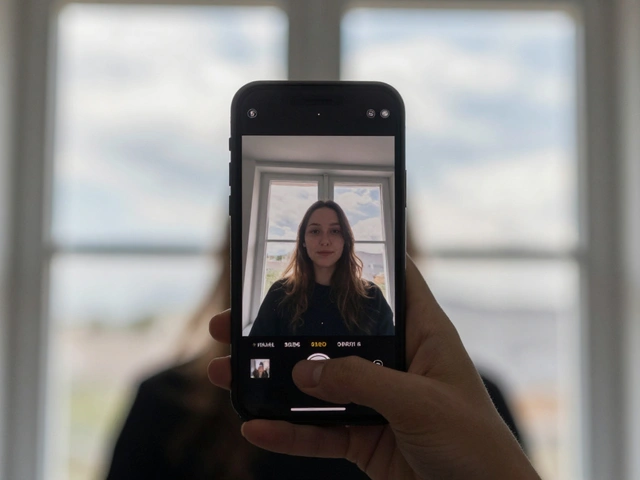
Can I use a phone camera for available light portraits?
Yes, smartphone cameras perform well in good light. Position your subject near a window or in open shade, tap to focus on their eyes, and lock exposure if needed. Use portrait mode to simulate depth of field, but always prioritize natural lighting conditions for the best results.
What if the window is too small?
Smaller windows create harder, more focused light. Embrace this by using the light to highlight specific features or creating dramatic shadows. You can also use a reflector to bounce some of that limited light back onto the subject’s face to soften the effect.