You've found the perfect vista, but your lens just isn't wide enough to capture the entire scene. You could buy a ridiculously expensive fish-eye lens, or you could use a technique that lets you build a massive, high-resolution image from a series of smaller ones. Panorama stitching is the process of combining multiple overlapping photographs into a single, cohesive wide-format image. Whether you're shooting a city skyline or a mountain range, this method gives you a level of detail and scale that a single shot simply can't match.
Quick Guide to Better Panoramas
- Overlap: Aim for 30% to 50% overlap between frames.
- Orientation: Shoot in portrait (vertical) mode for more flexibility.
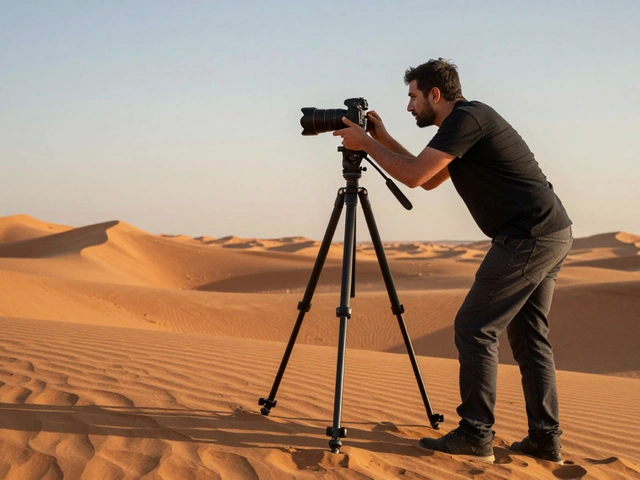
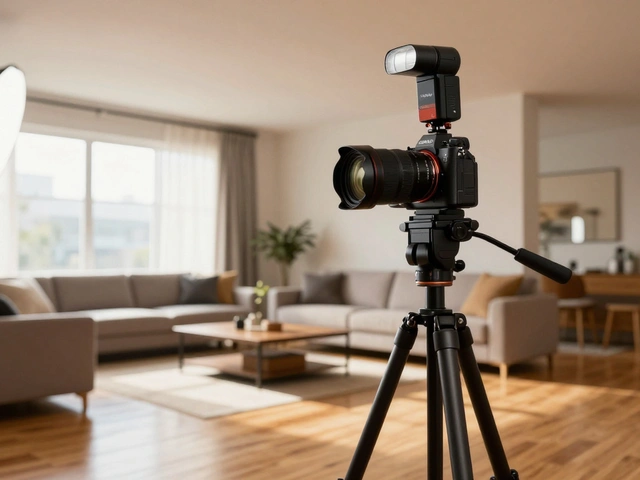
- Stability: Keep the camera perfectly level on a tripod.
- Software: Use specialized tools like Photomerge or PTGui for the merge.
The Art of the Capture: Getting it Right in the Field
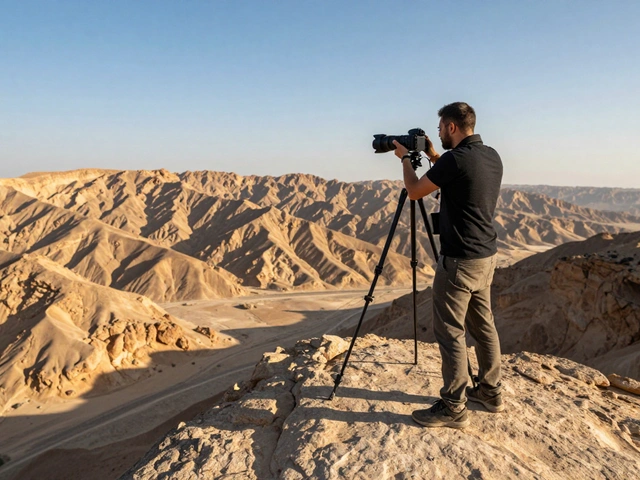
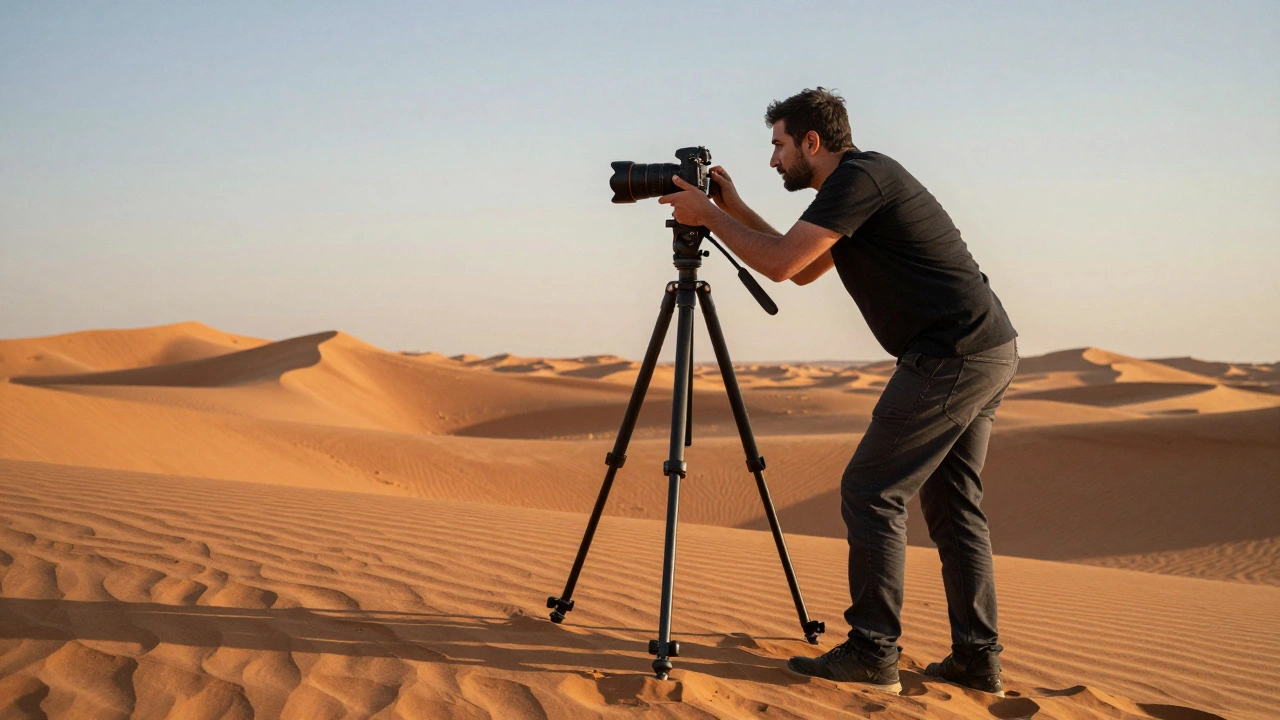
The secret to a perfect panorama isn't actually in the software-it's in how you take the photos. If your source images are messy, no amount of AI can save the final result. Start by setting up your tripod. You want the camera perfectly level; if you tilt the camera as you pan, you'll end up with a "wavy" horizon that is a nightmare to fix later. Instead of moving the tripod, rotate only the tripod head.
Here is a pro tip: shoot in portrait orientation. It sounds counterintuitive when you want a wide image, but vertical frames give you more "top and bottom" room. This means if you need to crop the image later to fix distortion, you won't accidentally cut out the tops of the mountains or the bottom of the foreground. Imagine taking nine vertical shots and stitching them together; you'll have a much more flexible canvas than if you took nine horizontal shots.
When you start panning, don't start exactly where you want the image to begin. Start a full frame to the side. This creates "negative space" or a buffer. Because the stitching process often leaves jagged, irregular edges, having this extra room ensures you don't lose any of your actual subject when you crop the final image.
Understanding Overlap and Registration
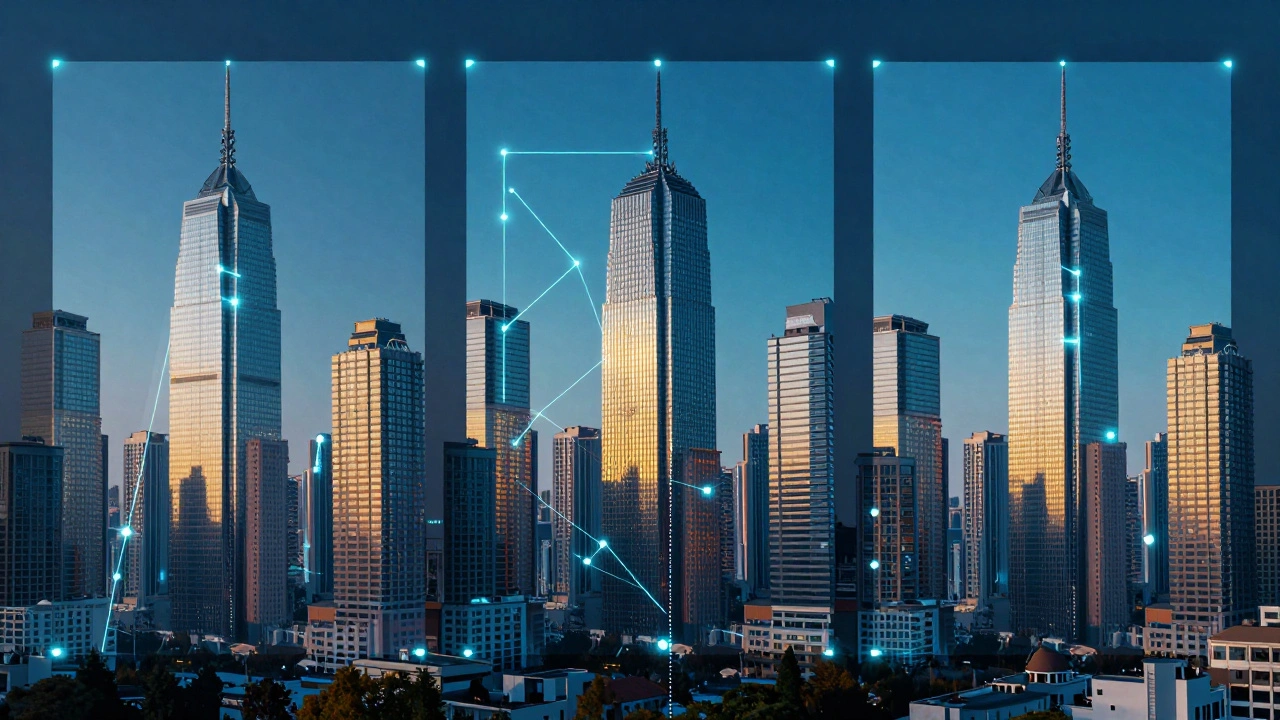
Think of your photos like puzzle pieces. For the software to know where one piece ends and the next begins, it needs shared landmarks. These are called registration points. If you only overlap your images by 10%, the software might struggle to find enough matching details, leading to "ghosting" or gaps in the image.
While some guides say 20% is enough, most experienced photographers stick to a 50% overlap. This provides a massive safety net. If a cloud moves or a person walks through the frame between shots, a heavy overlap gives the stitching algorithm more data to choose from, allowing it to blend the images more naturally.
Picking the Right Software and Tools
You don't need to be a software engineer to stitch photos. Depending on your level of expertise, you have a few great options. Adobe Lightroom and Adobe Photoshop are the most common choices. Within these programs, the Photomerge feature does the heavy lifting for you. You simply select your sequence of photos, right-click, and let the software align them.
If you're doing professional architectural work or extreme landscapes, you might want something more powerful. PTGui is the gold standard for pros. Unlike Photoshop, which mostly automates the process, PTGui lets you manually set control points. This is vital when you're dealing with repetitive patterns-like a row of identical windows on a skyscraper-where the software might get confused about which window is which.
| Software | Best For | Key Feature | Control Level |
|---|---|---|---|
| Adobe Lightroom | Fast workflow | Quick Photomerge | Low/Automatic |
| Adobe Photoshop | Creative editing | Adaptive Wide Angle | Medium |
| PTGui | Professional precision | Manual Control Points | High/Manual |
| Capture One | RAW specialists | Panorama Stitch for RAW | Medium |
Dealing with Projections and Distortion
Once the images are aligned, the software has to "project" them onto a surface. This is where things can get weird. If you've ever seen a panorama where the buildings look like they're bowing outward, you've encountered a projection error. You generally have three choices:
- Cylindrical: Great for simple, single-row panoramas. It's the go-to for wide-angle lenses (14mm to 24mm) and keeps the horizon relatively straight.
- Spherical: Best for multi-row shots or when using a zoom lens (40mm or longer). It handles the "curve" of the world better over a wider arc.
- Rectilinear: This tries to keep straight lines straight. It's useful for architecture, but it can cause extreme stretching at the edges of the frame.
If you still see bowing lines after the stitch, Photoshop's Adaptive Wide Angle filter is a lifesaver. It allows you to draw a polygon around a distorted area and manually pull the lines straight, which is essential for professional-looking interior shots.
Advanced Techniques: The Brenizer Method
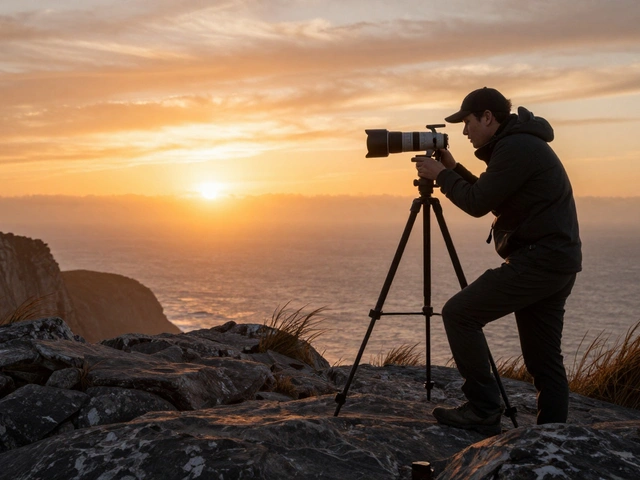
Most people use wide-angle lenses for panoramas, but what if you want that creamy, blurred background (shallow depth of field) across a massive scene? That's where the Brenizer Method comes in. Instead of a wide lens, you use a telephoto lens with a wide aperture (like f/2.8).
You essentially take dozens-sometimes hundreds-of overlapping photos of your subject and the surrounding environment. When you stitch these together, you get an image that looks like it was shot with a wide-angle lens, but it retains the bokeh and depth of a long lens. It's a slow process, but it creates a look that is physically impossible to achieve with a single exposure.
Fixing Common Mistakes
Even pros run into issues. One of the most common is the "jagged edge." Because the software is warping images to fit a projection, the outer borders of your final image will never be a perfect rectangle. This is why we leave that buffer room during capture. Use the auto-crop tool in your software to trim the edges, or manually crop to a standard aspect ratio.
Another headache is vertical distortion in multi-row panoramas. If your columns look bent, try adjusting the "pitch" or the center point in your editor. Moving the center point lower in the image often helps stretch the top area, which keeps your vertical lines straight. If all else fails, zoom out during the capture phase to keep critical edges within the frame, accepting that you'll have more blank pixels to crop out later.
Mastering this takes time. You might spend your first few outings creating "monsters"-images where a person's arm is duplicated or a tree is bent at a 90-degree angle. That's normal. The real skill is learning to visualize the final wide-angle result while looking through a narrow viewfinder.
Do I need a tripod for panorama stitching?
While you can shoot handheld, a tripod is strongly recommended. It ensures your camera stays level and allows you to rotate around a fixed axis, which significantly reduces geometric distortion and makes the stitching process much smoother.
What is the ideal overlap between photos?
A minimum of 20-30% is required, but 50% is the gold standard. Higher overlap gives the software more registration points and helps blend images more seamlessly, especially in areas with low contrast or moving elements.
Why should I shoot in portrait orientation for a wide panorama?
Shooting vertically provides more vertical pixels in the final merge. This gives you more room to crop the top and bottom of the image to remove distortions without cutting into your main subject.
Which projection should I use: Spherical or Cylindrical?
Use Cylindrical for simple, single-row panoramas shot with wide-angle lenses. Use Spherical for multi-row panoramas or when using telephoto/zoom lenses, as it handles the curvature of the scene more effectively.
Can I stitch RAW files together?
Yes, tools like Capture One and Adobe Lightroom allow you to stitch RAW files. This is actually preferred because it preserves the maximum amount of dynamic range and detail before you apply final edits to the merged image.