Most beginner photography classes start with a strict warning: never put your subject in the dead center of the frame. You've likely heard it a thousand times-stick to the Rule of Thirds or your image will feel static and boring. But here is the truth: the centered composition, often called the "bulls-eye" approach, isn't a mistake; it's a powerhouse tool when used with intent. In the chaotic environment of street photography, where you can't control the lighting or the crowds, centering your subject can be the difference between a cluttered snapshot and a commanding portrait.
The Psychology of the Center
When we place a subject in the middle, we are manipulating Visual Weight, which is essentially how much a specific element in a photo pulls at the viewer's eye. Normally, an off-center subject encourages the eye to wander through the scene, creating a narrative journey. However, a centered subject stops that journey cold. It creates a focal point of absolute dominance.
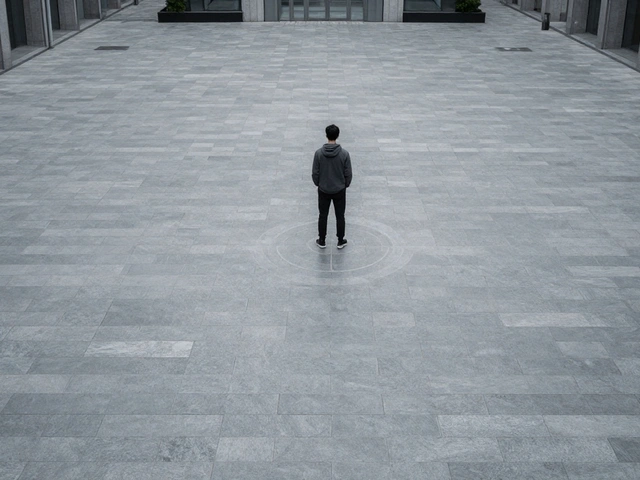
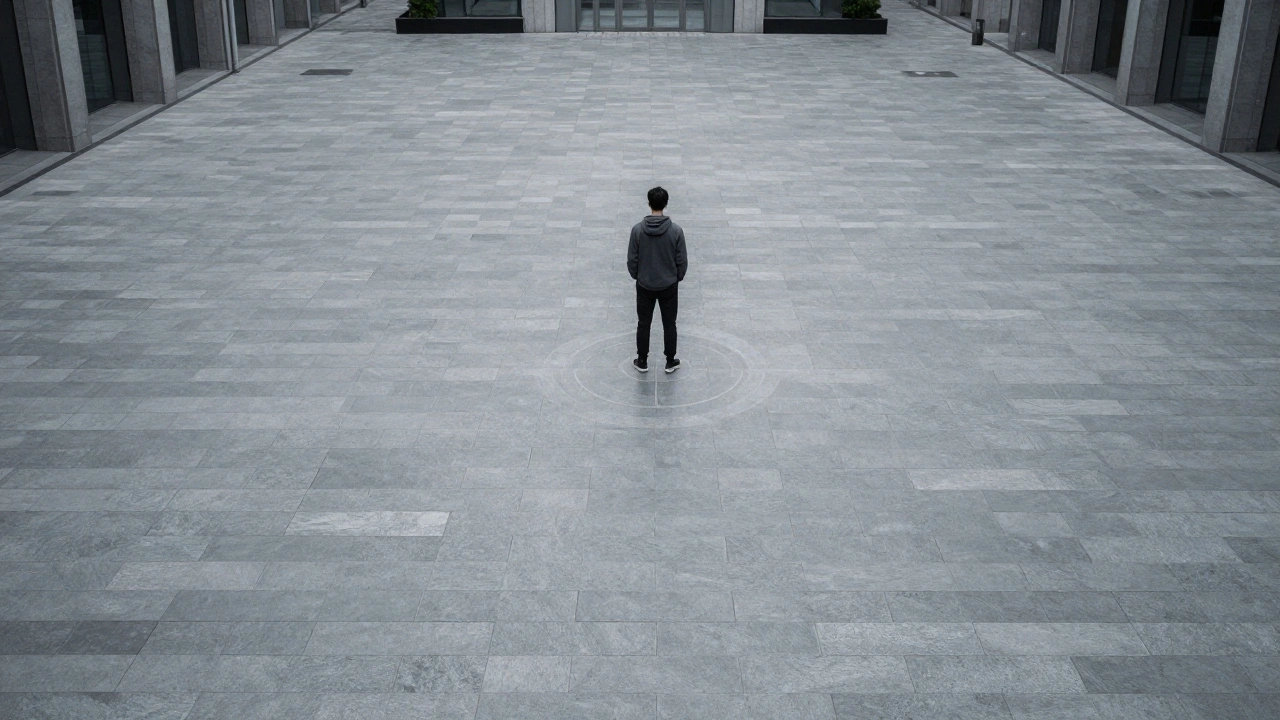
If there are no other competing elements in the frame, this creates a sense of intense focus. Think of a lone figure standing in a vast, empty plaza. By centering them, you aren't just showing a person; you're emphasizing their isolation. The emptiness around them becomes a compositional strength, pushing the viewer to confront the subject directly without any distractions.
When Symmetry Demands a Centered Frame
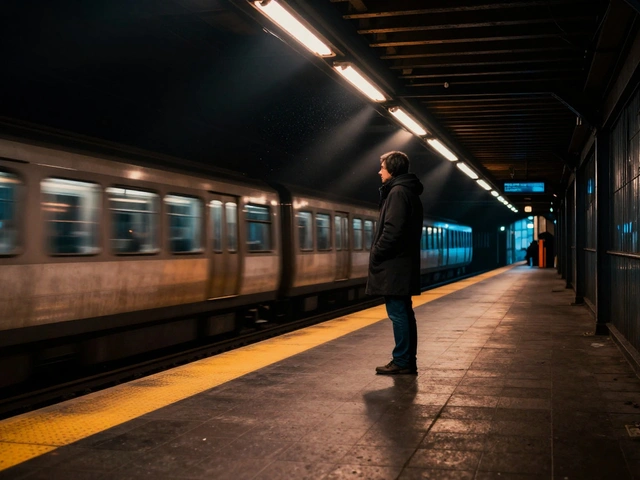
Symmetry is where the bulls-eye technique truly shines. When you find a scene with natural architectural balance-like a perfectly aligned subway tunnel or a mirrored storefront-centering your subject adds a second layer of symmetry: the composition itself. This creates a visual equilibrium that feels satisfying and stable.
If you were to apply the Rule of Thirds to a perfectly symmetrical archway, you'd actually break the harmony of the image. In these cases, the center is the only logical place for the subject. The leading lines of the architecture act as a funnel, pointing directly to the middle of the frame and locking the viewer's attention onto your subject.
| Scenario | Recommended Technique | Visual Effect |
|---|---|---|
| Dynamic movement/action | Rule of Thirds | Suggests direction and flow |
| Strong architectural symmetry | Centered Composition | Creates balance and stability |
| Curved lines/Organic flow | Golden Ratio | Natural, sophisticated harmony |
| Diagonal leading lines | Golden Triangle | Increases tension and energy |
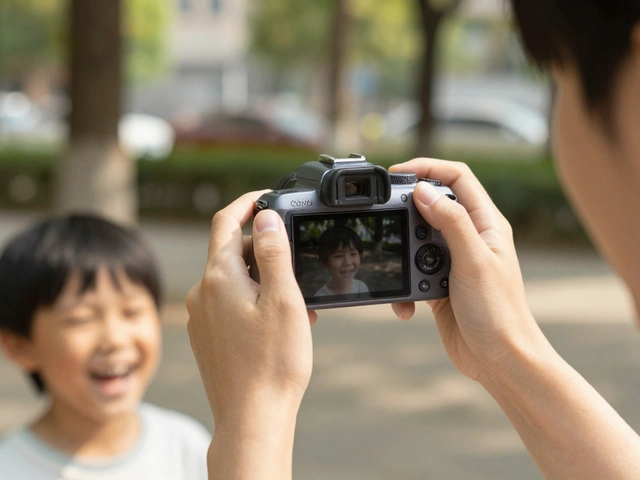
Handling Multiple Subjects Without Favoritism
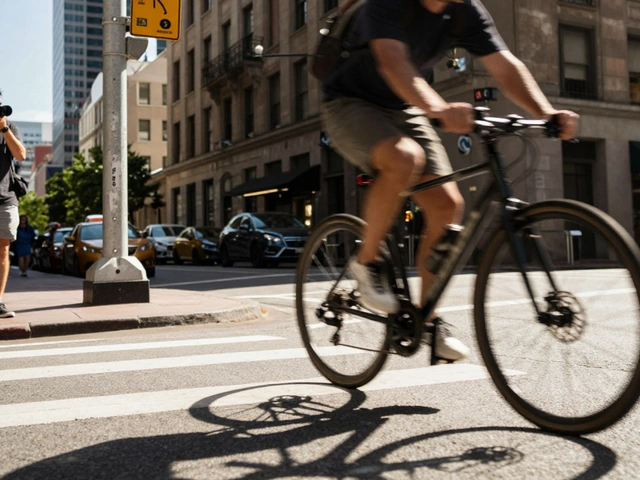
Street photography often involves groups. If you're shooting a couple walking hand-in-hand or a group of friends laughing, using an off-center composition can inadvertently make one person look more important than the others. This is where centering becomes a strategic necessity. By placing the group in the center, you distribute the visual weight equally.
A great pro tip for this is to find an "anchor point." Look for one stationary person or object-maybe someone leaning against a lamp post-and keep them centered. Then, wait for other pedestrians to enter the frame. As they move around the stable center, you create a dynamic layer of activity that feels organized rather than chaotic. This prevents the "overlapping subject" problem where people accidentally block each other out of the shot.
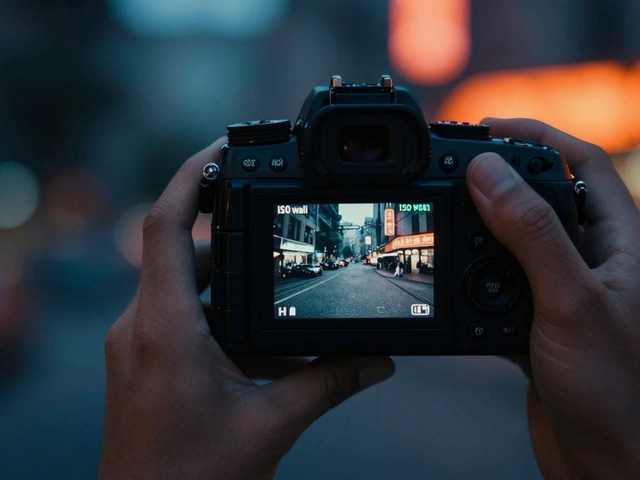
Using the Center to Clean Up the Frame
Let's be honest: streets are messy. You'll often find a perfect subject, but the edges of your frame are filled with trash cans, electric poles, or distracting signs. When you can't move the trash, you move the subject. Centering allows you to fill the frame with what matters and push the "noise" to the periphery where it's less likely to be noticed.
This is a practical survival skill in urban environments. Instead of fighting a background you can't control, you use a centered approach to isolate the subject. To make this work, you need a clear visual break between the person and the background. Using a Wide Aperture (like f/2.5) helps blur the background, ensuring the centered subject pops against the bokeh. If you're using a modern mirrorless camera, rely on cross-type autofocus points to ensure that the center of your image is tack-sharp.
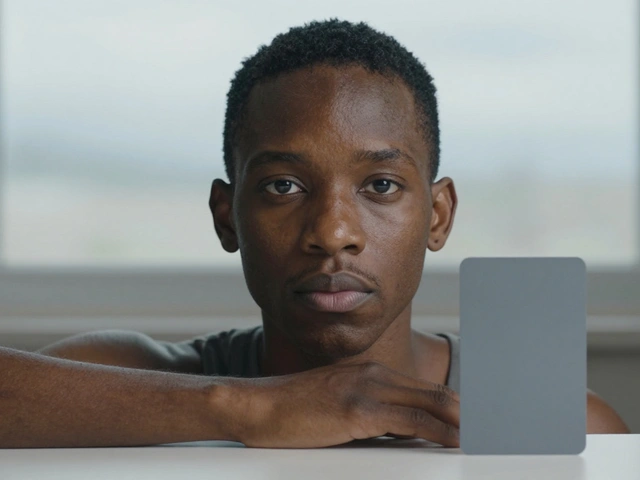
Storytelling Through Emotion and Gesture
Sometimes, the identity of the person is less important than the feeling they evoke. Imagine a shot of someone with their arms thrown wide in a gesture of victory or despair. In these moments, the gesture is the story. By centering that gesture, you shift the photograph from a documentary record ("here is a man") to an expressive piece of art ("here is a feeling").
Centering removes the narrative of "where the subject is going" (which is what the Rule of Thirds usually does) and replaces it with "who the subject is." It forces a confrontation between the viewer and the emotion of the scene, making the image feel more intimate and confrontational.
Avoiding the "Amateur Trap"
There is a big difference between intentional centering and default centering. Amateur photos often look centered because the photographer didn't think about composition at all-they just pointed and clicked. Professional centering is a choice. You should be able to answer the question: "Why is this subject in the middle?"
If the answer is "because I didn't know where else to put them," it's a mistake. If the answer is "because the symmetry of the building demands it" or "because I wanted to emphasize the subject's isolation," then it's a success. The goal is to eliminate any doubt in the viewer's mind about what the center of attention is. If the center is cluttered or the subject is barely distinguishable from the background, the bulls-eye fails.
Does centering always make a photo look boring?
Not at all. While it can feel static if used without purpose, centering creates immense power when paired with symmetry, minimalism, or strong emotional gestures. It's all about the context of the scene.
How do I stop my centered photos from looking like snapshots?
Focus on the edges. Ensure that the elements framing your central subject are balanced. Use a shallow depth of field to separate the subject from the background, and look for leading lines that point toward the center.
When should I definitely avoid centering?
Avoid centering when there is a strong sense of direction or motion. If a person is running across the frame, placing them in the center "blocks" their path. In those cases, the Rule of Thirds is better because it gives the subject space to move into.
Can I combine centering with other rules?
Yes. You can have a centered subject while using the Golden Triangle for the background elements or employing framing techniques (like shooting through a window) to add depth to a centered shot.
Which aperture is best for centered street portraits?
A wide aperture, typically between f/1.8 and f/2.8, is ideal. This creates a blur that isolates the subject from the urban chaos, making the centered placement feel intentional and clean.
Next Steps for Your Workflow
If you've spent years following the Rule of Thirds, try a "Bulls-Eye Day." Head out to the city with the specific goal of only taking centered compositions. Look for symmetrical alleyways, wide-open squares, and strong singular gestures. This constraint will force you to analyze visual weight and balance more critically.
If you find your images are still feeling flat, experiment with your focal length. A wider lens can emphasize the emptiness around a centered subject, while a tighter lens can make a centered portrait feel more intimate and pressing. The key is to stop treating composition as a law and start treating it as a toolkit.