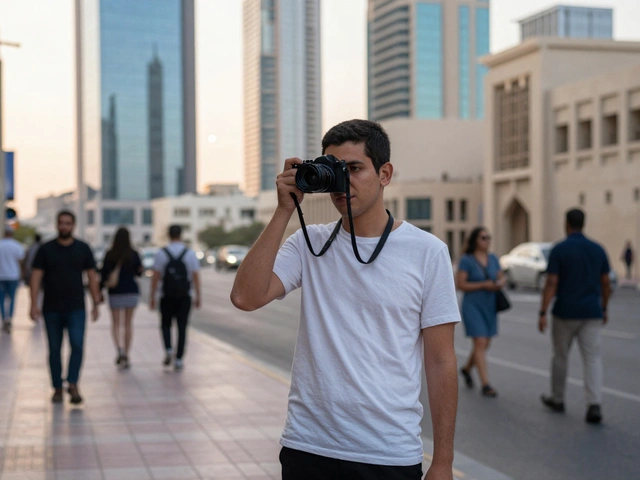
Getting a professional headshot isn't just about having a fancy camera; it's about mastering the technical balance between light and glass. Whether you're shooting for a LinkedIn profile or a corporate website, the goal is the same: a sharp, flattering image where the eyes pop and the skin looks natural. The secret isn't a "magic" button, but a specific set of camera settings that ensure consistency across every frame.
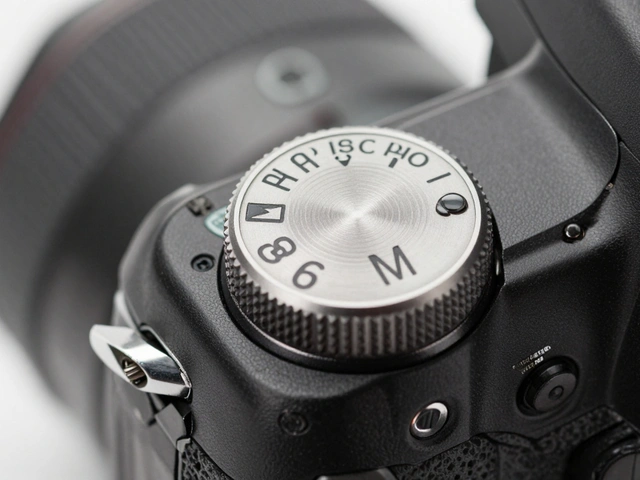
The Golden Rule: Why Manual Mode is Non-Negotiable
If you want your photos to look professional, stop using Aperture Priority or Auto mode. When you're shooting a series of headshots, you need the exposure to be identical from the first click to the last. Using Manual Mode is a camera setting that allows the photographer to independently control aperture, shutter speed, and ISO. If you let the camera decide, you'll end up with some photos being slightly brighter than others, which makes post-processing in Adobe Lightroom a nightmare.
By locking in your settings, you can focus on the human element-directing the subject's chin, adjusting their shoulders, and catching a genuine smile-instead of fighting with your camera's light meter between every shot.
Choosing the Right Lens to Avoid "Big Nose" Distortion
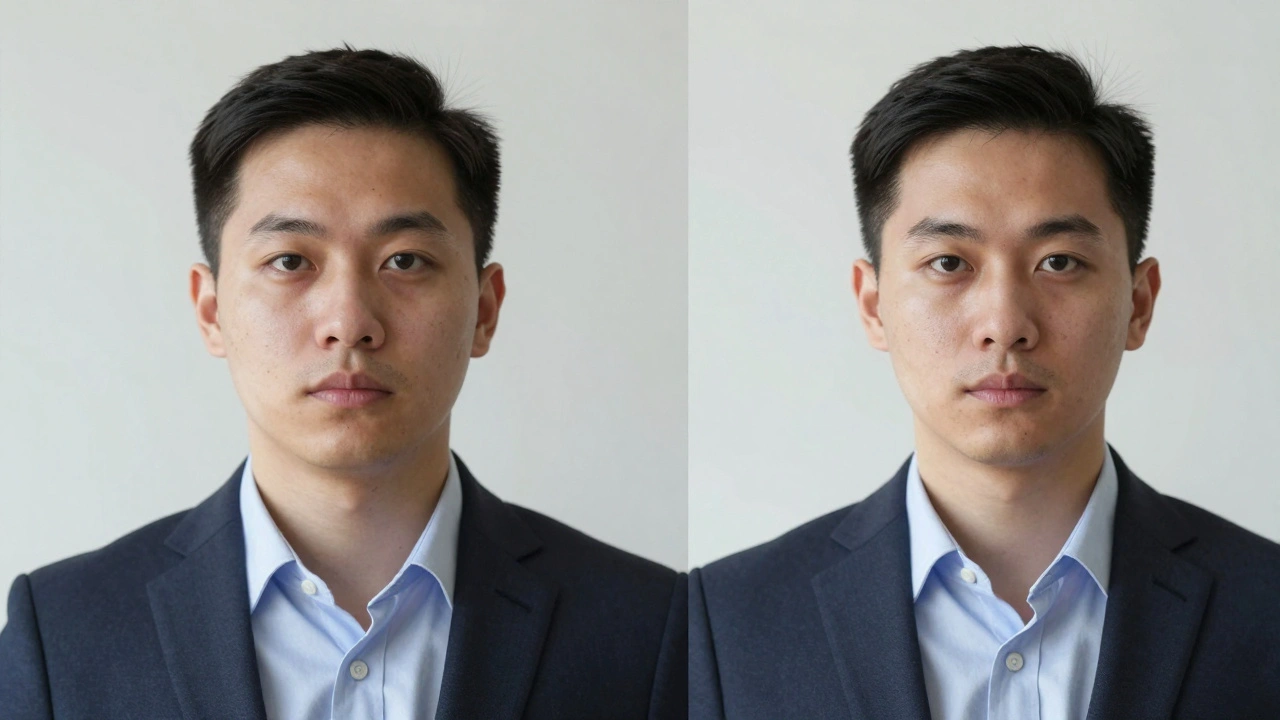
The lens you choose changes how a person's face actually looks. Wide-angle lenses are the enemy of the headshot; they distort features, often making noses look larger and faces look wider. To get a flattering look, you need a lens that provides compression.
The industry standard is the 85mm lens, which is prized for its ability to render facial proportions accurately while providing a comfortable distance between the photographer and the subject. However, if you have a zoom lens like a 70-200mm lens, zooming in to around 100mm is an excellent alternative. If you're cramped for space in a tiny studio, a 50mm lens works, but be careful not to get too close to the subject, or you'll start seeing that unwanted distortion again.
Mastering Aperture: The Blur vs. Sharpness Trade-off
Aperture is where you decide how much of the image is in focus. This decision changes completely depending on where you are shooting. You generally have two paths: the "dreamy blur" or the "corporate crisp."
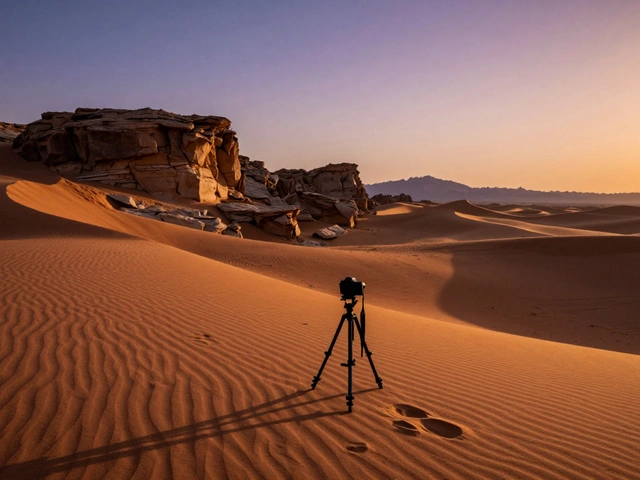
For outdoor shots, you want the subject to stand out from a busy background. This is where you use a wide aperture like f/2.8 or even f/1.4 to create bokeh, which is the aesthetic quality of the out-of-focus blur in a photograph. Just a warning: avoid the "danger zone" between f/2.8 and f/5.6. In this range, you often end up with an image that isn't blurry enough to be artistic, but isn't sharp enough to be professional.
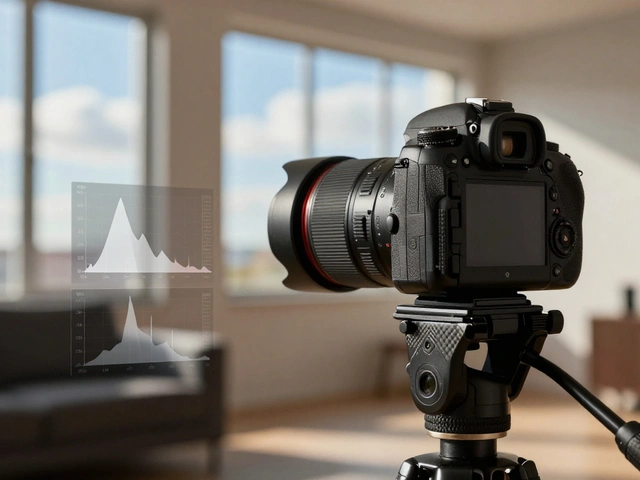
In a studio with a flat backdrop, you want everything sharp. Stop your aperture down to f/5.6 or f/8. This ensures the tip of the nose, the eyes, and the jewelry are all crisp. If you shoot too wide in a studio (like f/2.8), you might find that the subject's eyes are sharp but their ears are blurry-which looks strange on a corporate headshot.
| Setting | Outdoor (Blurred BG) | Indoor Studio (Flat BG) |
|---|---|---|
| Aperture | f/1.4 - f/2.8 | f/5.6 - f/11 |
| Shutter Speed | 1/200 sec | 1/200 sec |
| ISO | 100 - 400 | 100 - 200 |
| Focus Mode | Single-Point (Eyes) | Single-Point (Eyes) |
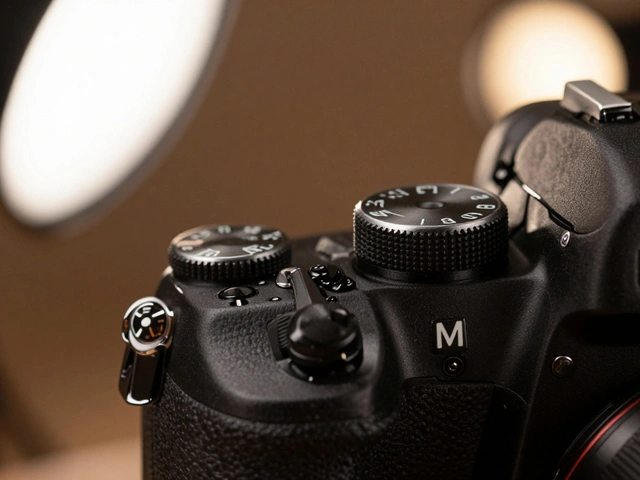
Shutter Speed and ISO: The Stability Foundation
Unlike aperture, shutter speed for headshots is pretty standardized. Stick to 1/200 of a second. This is the sweet spot-it's fast enough to stop any camera shake from your hands and fast enough to work with most studio flash systems without causing issues with the shutter curtain.
When it comes to ISO, the rule is simple: keep it as low as you possibly can. In a controlled studio, ISO 100 or 200 is ideal. This keeps the image clean and free of digital noise (grain). If you're outdoors, you might bump it to 400 to balance the light, but rarely higher. Modern cameras like the Canon R5ii handle high ISO well, but why add grain to a professional portrait when you don't have to?
Precision Focus: Why the Eyes Are Everything
A headshot is a failure if the eyes aren't sharp. Period. To avoid the risk of the camera autofocusing on the nose or the forehead, use Single-Point focus. Don't rely on wide zone autofocus; manually place your focus point directly on the eye closest to the camera.
It's okay if the ears or the back of the hair are slightly soft-that's a natural result of the depth of field. But the eyes must be tack-sharp. This is the most critical point of connection between the subject and the viewer.

Lighting and Flash Power Logic
If you're using Profoto or similar strobes, you don't always need to crank the power to 100%. Many pros run their lights at 50-75% power to save battery and keep the gear cool.
Here is a pro tip: if your image is too dark, don't just turn up the flash power or raise your ISO. Instead, move the light source closer to the subject. Moving a light from 6 feet away to 4 feet away does significantly more for the "punch" and quality of the light than changing a setting on the camera. If you're still struggling with light, opening your aperture (e.g., moving from f/5.6 to f/4) is a better way to let more light in without sacrificing too much quality.
Can I use a 50mm lens for professional headshots?
Yes, you can, but be careful. 50mm is wider than the ideal 85mm, meaning you have to stand further back from the subject to avoid distorting their facial features. If you get too close, the nose may appear larger than it is in real life.
Why is 1/200 the standard shutter speed?
It provides a reliable balance. It's fast enough to prevent blur from handheld camera shake and is the maximum sync speed for many studio flashes, ensuring there are no black bars (shutter drag) across your image.
What happens if I shoot at f/4 in a studio?
You'll get a softer, more artistic look, but you risk losing sharpness on the ears or clothing. For corporate work, this is usually avoided, but for creative or acting headshots, it can add a nice touch.
Should I use Continuous AF or Single Point focus?
Single-Point is highly recommended. Continuous AF can sometimes "hunt" or shift focus to the nose. By using a single point on the eye, you ensure the most critical part of the portrait is perfectly sharp.
Is ISO 400 too high for a professional portrait?
Not at all, especially for outdoor shoots. On most modern full-frame cameras, ISO 400 produces virtually no noticeable noise, especially for images destined for social media or web profiles.
Next Steps for Improving Your Results
If you're just starting out with wide apertures like f/2.8, don't be discouraged if you miss focus on the eyes occasionally. The depth of field is incredibly thin at those settings. Start at f/4 to give yourself a safety margin, and as you get more comfortable with your distance from the subject, open up to f/2.8.
For those moving into studio work, experiment with light placement before tweaking your settings. Remember the hierarchy: set your aperture for the look you want, set your shutter speed for stability, and use ISO as the final adjustment for exposure. If the image is still too dark, move the light-don't just push the ISO.