Have you ever looked at a photo and wondered why your eyes went straight to one specific spot? It wasn’t magic. It was likely framing with light and shadow, a compositional technique that uses contrast to guide the viewer’s gaze. In a world where smartphone cameras automatically flatten every scene into evenly lit snapshots, learning to control darkness is just as important as controlling brightness. This isn't about making photos look "dark" for the sake of it. It is about using luminance-the difference between bright and dark areas-to create depth, drama, and a clear visual path.
The human eye is wired to seek out light. Research from Gestalt psychologists like Max Wertheimer and Wolfgang Köhler confirms that we are naturally drawn to regions of highest contrast first. When you place a subject in a pool of light surrounded by deep shadow, you aren't just hiding clutter; you are creating a spotlight effect that forces the viewer to focus on what matters. This article breaks down how to master this technique across street, landscape, and portrait photography, giving you practical steps to turn flat images into compelling stories.
Understanding the Psychology of Contrast
To use light and shadow effectively, you need to understand how your brain processes an image. We don't see a photo all at once. Our eyes scan for high-contrast edges and the brightest areas within the frame. If the brightest part of your image is a random highlight on a background wall, your viewer will look there first, then get confused when they realize the actual subject is darker and nearby.
This principle is rooted in centuries-old painting techniques known as chiaroscuro, used by masters like Caravaggio and Rembrandt to sculpt figures out of darkness. Early photographers like Ansel Adams adopted this approach, treating light not just as illumination, but as a structural element. In modern terms, think of shadow as negative space. Just as white space around text makes it readable, dark shadows around a subject make it pop. The key is intentionality. Every patch of light should have a job: either highlighting the subject or leading the eye toward it.
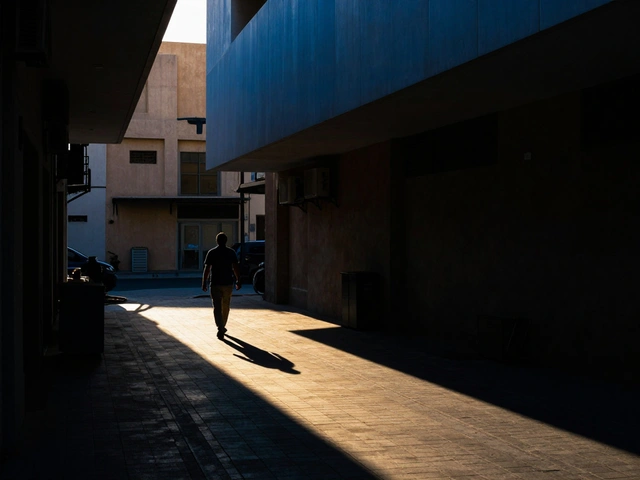
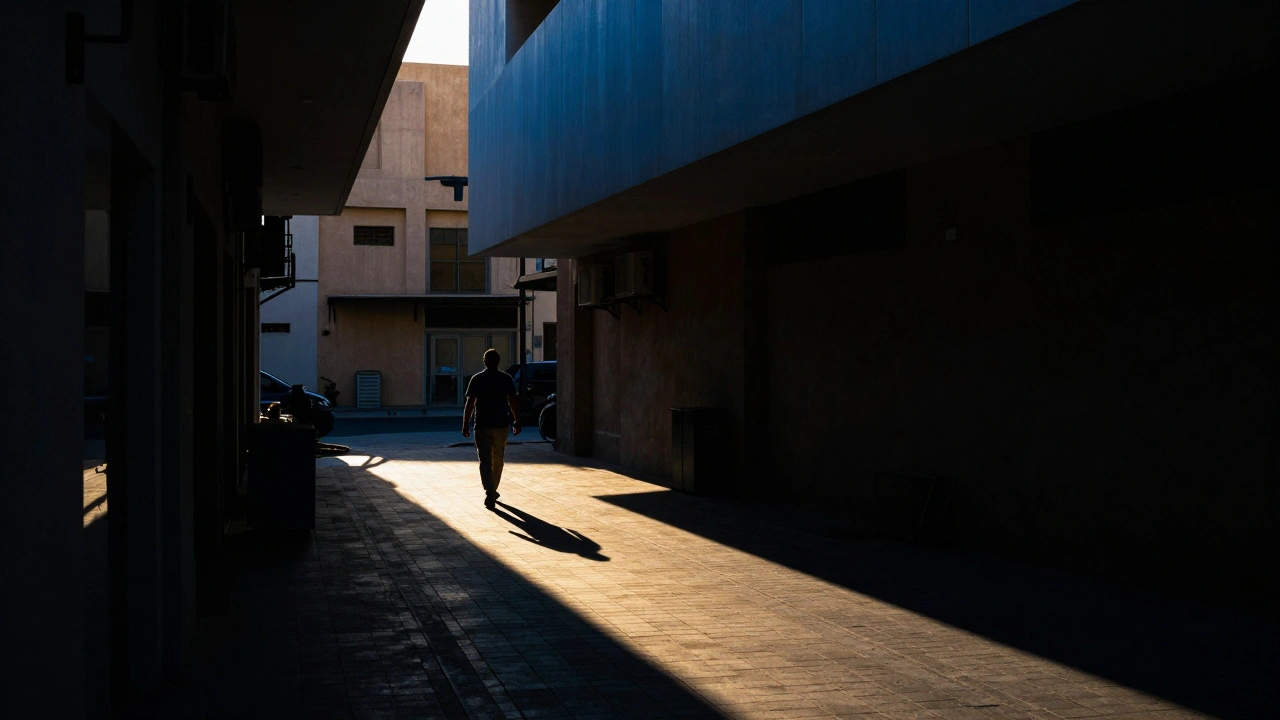
Street Photography: Hunting for Splashes of Light
Street photography offers some of the best opportunities for natural light framing because urban environments are full of unpredictable shadows. On a sunny day, buildings cast sharp, geometric shadows that can act as natural frames. Instead of trying to expose for the entire scene, look for "splashes of light." These are small patches of sunlight on the ground or walls amidst a sea of shade.
Here is a simple workflow for street shooters:
- Scout for geometry: Look for shafts of light coming through gaps between buildings or under awnings. These create triangular or rectangular frames.
- Wait for the subject: Stand near a patch of light and wait for a pedestrian to walk into it. The bright area becomes a stage, and the surrounding shadows hide distracting background elements.
- Create silhouettes: Position yourself so a bright background (like a sunlit sky or wall) is behind a darker foreground. If a person walks through the shadowed foreground against the bright background, they become a silhouette. This removes detail and focuses attention on shape and form.
- Hide details: Don't be afraid to let parts of the image fall into complete blackness. As documentary photographer Trent Parke often demonstrates, obscuring parts of a scene creates mystery and invites the viewer to imagine what is hidden.
A common mistake beginners make is lifting the shadows too much in post-processing. This flattens the image and destroys the dramatic contrast you worked hard to capture in-camera. Let the shadows stay dark. Trust that the viewer understands the scene even if they can't see every detail.
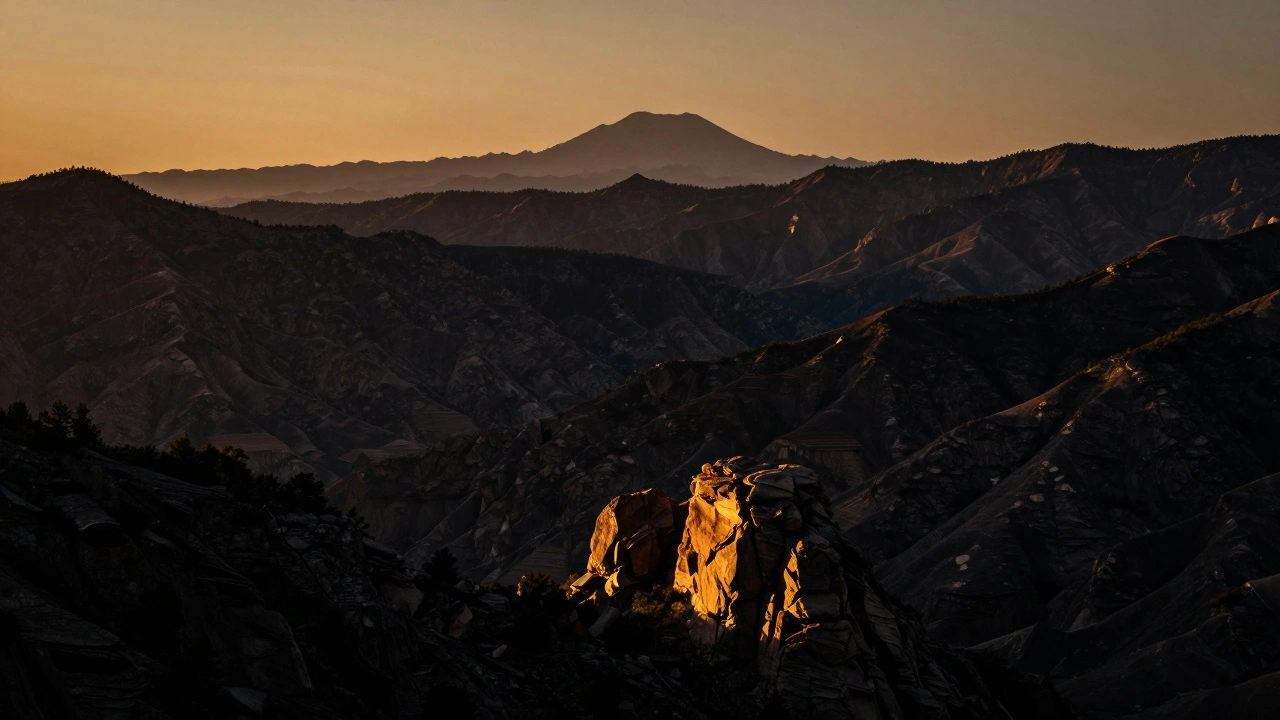
Landscape Photography: Thinking Dark First
In landscape photography, the temptation is to expose for the highlights to avoid blown-out skies. However, this often results in muddy, gray shadows that lack definition. A more effective mental model, suggested by educators like Nando Harmsen, is to view the landscape as fundamentally dark, with selective light added.
Treat the dark areas-forest interiors, mountain ridges, or deep valleys-as the base canvas. Then, identify where the light illuminates specific elements: a single tree, a foreground rock, or a distant peak. These illuminated spots become your points of interest. Your goal is to ensure the eye flows from one lit area to another, ending on your primary subject.
Watch out for competing lights. If there are multiple bright patches of similar intensity scattered across the frame, especially near the edges, they will compete for attention. Check your viewfinder carefully. If a stray light spot distracts from your main subject, change your angle, crop it out later, or use a lens hood to block it. This concept mirrors Ansel Adams’ darkroom techniques of dodging (lightening) and burning (darkening), which he used to guide attention in iconic images like "Moonrise, Hernandez, New Mexico." In digital editing, you can achieve similar results with local adjustment brushes in software like Adobe Lightroom Classic.
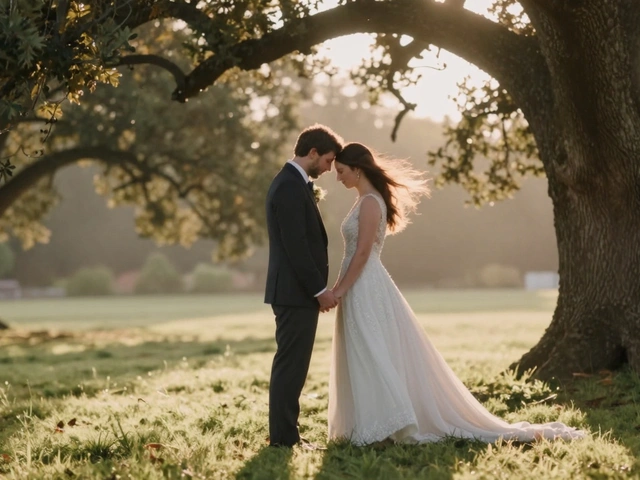
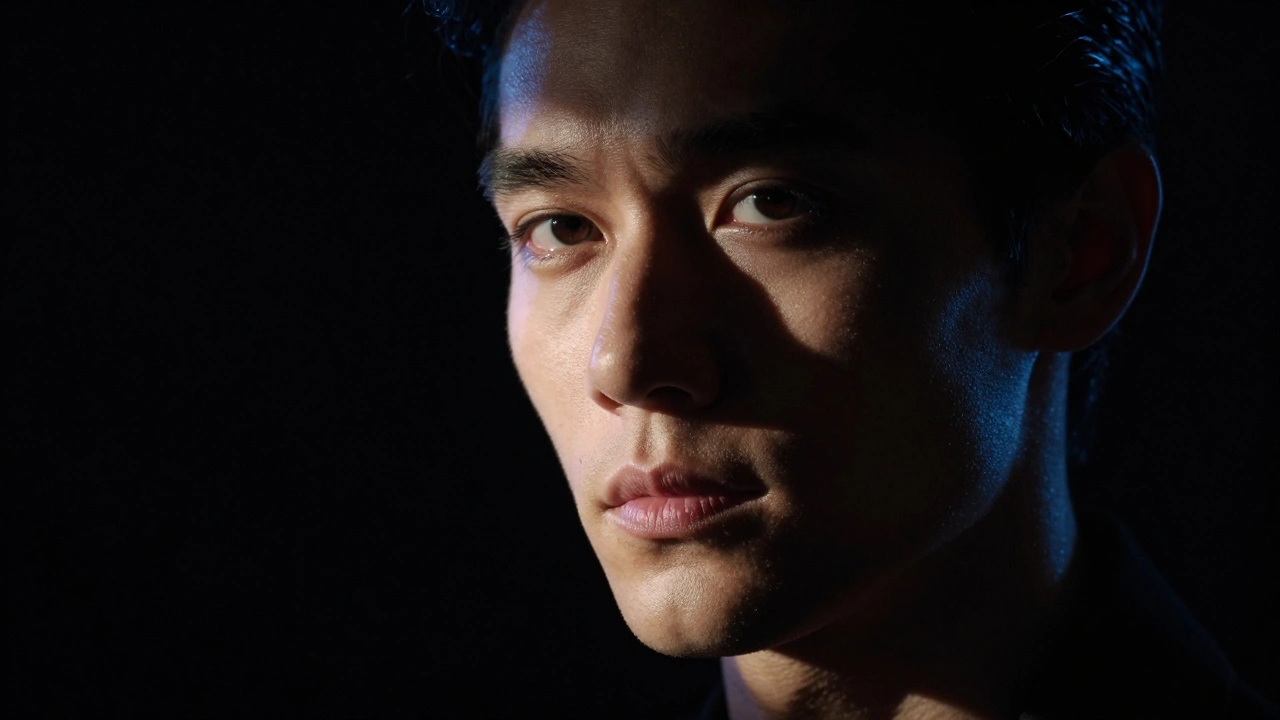
Portrait and Studio Lighting: Sculpting with Shadows
In portraits, light and shadow do more than direct attention; they define character. Flat lighting, such as midday sun directly overhead, eliminates shadows and makes faces look two-dimensional. To add depth, you need directional light.
Classic Rembrandt lighting places the main light source at a 30-45 degree angle from the camera axis and slightly above the subject. This creates a triangle of light on the cheek opposite the light source while leaving the other side in shadow. These shadows sculpt the cheekbones and jawline, adding three-dimensionality. The dark background acts as negative space, framing the lit face and preventing distractions.
You can also control the color of shadows to add mood. By placing a secondary colored light-such as a blue gelled rim light-in the shadow areas, you turn darkness into a compositional element. This technique adds texture and separates the subject from the background without needing extreme contrast. For more complex patterns, use gobos (go-betweens) or optical spots placed in front of your light source. These project shapes like window blinds or foliage onto the subject, creating intricate shadow frames that lead the eye to the eyes or product.
Technical Execution: Exposure and Dynamic Range
Framing with light and shadow relies on controlling three variables: direction, quality, and exposure. Direction determines where shadows fall. Side-lighting at roughly 90 degrees creates long, dramatic shadows, while overhead lighting minimizes them. Quality refers to whether the light is hard or soft. A small, distant light source (like a bare flash) creates hard, well-defined shadows. A large, close modifier (like a 120 cm softbox) creates soft, gradual transitions.
Exposure is critical. Modern full-frame sensors offer 12-14 stops of dynamic range, but you still need to manage it wisely. When shooting high-contrast scenes, expose for the highlights. This often means underexposing by 1-2 stops relative to your camera’s meter recommendation. Preserving bright detail allows you to push shadows toward black in post-processing for stronger framing. If you expose for the shadows, your highlights will blow out, losing the graphic impact of the light.
| Technique | Best For | Shadow Characteristic | Equipment Needed |
|---|---|---|---|
| Natural Sunlight | Street & Landscape | Hard, defined edges | None (timing dependent) |
| Softbox Modifier | Portraits & Studio | Soft, gradual transitions | Light stand, softbox |
| Gobo Projection | Abstract & Creative | Patterned, shaped shadows | Gobo disc, focused light |
| Silhouette Backlighting | Drama & Mystery | No detail, pure black | Bright background source |
Post-Processing: Enhancing Without Flattening
Digital post-processing extends the darkroom techniques of the past. Tools in Adobe Photoshop or Capture One allow for precise local adjustments. However, a common pitfall is over-processing. Raising shadows and lowering highlights excessively compresses the tonal range, resulting in a flat, lifeless image.
Instead, use targeted adjustments. Darken the perimeter of the image by 0.5-1 stop with a vignette to draw the eye inward. Brighten the subject by 0.3-0.7 stops to create a subtle spotlight effect. Avoid global contrast sliders, which affect the entire image uniformly. Local adjustments preserve the intentional light/shadow framing you captured in-camera. Remember, the goal is to enhance the narrative, not to correct every pixel. If a shadow hides a distracting element, leave it hidden.
What is the best time of day for framing with light and shadow?
The golden hours-shortly after sunrise and before sunset-are ideal. The sun is low in the sky (10-20 degrees above the horizon), creating long, dramatic shadows that add depth and structure to your compositions. Midday sun creates harsh, short shadows that can be difficult to work with unless you are specifically looking for high-contrast abstract patterns.
How do I prevent my shadows from becoming pure black with no detail?
It depends on your goal. If you want a silhouette, pure black is desired. If you want to retain texture in the shadows, expose for the highlights and use a fill light or reflector to bounce some light back into the dark areas. In post-processing, gently lift the shadow slider, but avoid raising it so much that the image looks flat.
Can I use this technique with a smartphone camera?
Yes, but you must fight the phone's HDR algorithm. Smartphones automatically try to balance light and shadow, often resulting in flat images. Tap to focus on the brightest part of the scene and drag the exposure slider down manually. This forces the phone to underexpose the shadows, allowing you to capture the contrast you want.
What is the difference between hard and soft light in framing?
Hard light comes from a small, distant source and creates sharp, well-defined shadows with high contrast. It is great for drama and graphic shapes. Soft light comes from a large, close source and creates gradual transitions between light and dark. It is better for flattering portraits and serene landscapes.
Why does my eye go to the brightest part of the image?
This is a biological trait. Human vision evolved to detect changes in luminance quickly. High contrast areas signal potential importance or danger. In photography, leveraging this instinct allows you to control exactly where the viewer looks first by ensuring your subject is the brightest or highest-contrast element in the frame.