Ever clicked a photo of a sunset or a snowy mountain only to find the sky completely white or the foreground crushed into black ink? That’s the curse of high-contrast scenes. The human eye is incredibly adaptive, instantly balancing bright skies against dark forests without blinking, but camera sensors are stubborn by comparison. They struggle when the gap between the brightest highlight and deepest shadow exceeds their Dynamic Rangethe difference between the brightest and darkest areas a sensor can capture in detail. When that gap gets too wide, you lose information. One part works; the other fails.
This isn’t just bad luck; it’s a fundamental physics problem. If you expose for the snow, the rocks turn to charcoal. If you expose for the rocks, the snow blows out into featureless glare. Most cameras default to safety settings that average everything out, resulting in a dull gray mess where neither the shadows nor the highlights pop. To win this battle, you can't rely on the camera guessing. You have to take control using specific Metering Modesmethods used by cameras to measure light intensity to determine proper exposure and manual adjustments.
The Problem with Average Light
Modern cameras are sophisticated computers, but their default settings-usually called Matrix Meteringa mode that analyzes the entire scene to calculate an average exposure recommendation or Evaluative Metering-are designed for typical, balanced lighting. This mode looks at the whole frame, weighs the colors, textures, and brightness levels, and tries to give you a 'normal' picture.
In a high-contrast scenario like a subject silhouetted against a bright window, matrix metering falls flat. It sees all that bright light flooding in and assumes the scene is much brighter than it actually is. In response, it underexposes your image to protect the lights, leaving your subject buried in darkness. It prioritizes saving the highlights because blown-out highlights are usually harder to fix than noisy shadows. While this logic makes sense for some landscapes, it ruins portraits where face visibility matters more than the window behind them.
You need to stop letting the camera analyze the chaos and start telling it exactly what to focus on. This shift requires moving away from fully automatic modes toward systems that allow specific targeting of tonal values.
Navigating Your Camera's Built-In Meters
Your camera likely comes equipped with three or four distinct ways to read light. Understanding the mechanics of each is vital for managing difficult light ratios.
| Metering Type | Best Use Case | High-Contrast Utility |
|---|---|---|
| Matrix / Evaluative | Landscape, Everyday Snapshots | Poor (Averages everything) |
| Center-Weighted | Portraits, Street | Moderate (Focuses on middle) |
| Spot Metering | Sunsets, Stage Lighting | Excellent (Precision targeting) |
| Highlight-Weighted | Bright Snow, Backlighting | Very High (Preserves whites) |
Center-Weighted and Spot Metering
Center-Weighted Meteringgives priority to the center of the frame while still considering the rest of the image acts as a compromise. It tells the camera, "I care mostly about the middle." This works well if your subject is centered, but it's risky in erratic lighting conditions where the background might be significantly darker or lighter than the subject.
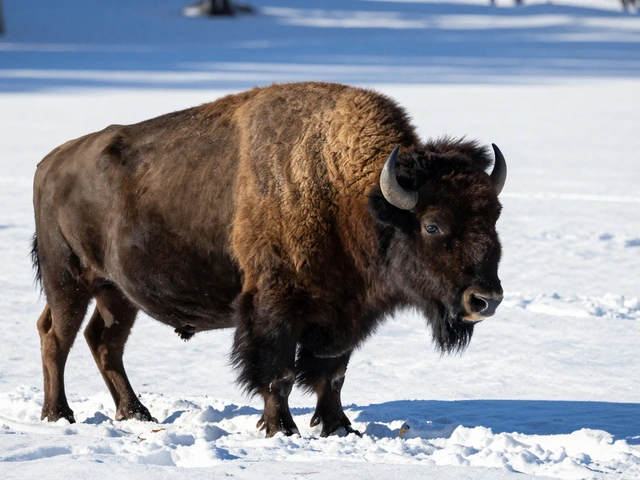
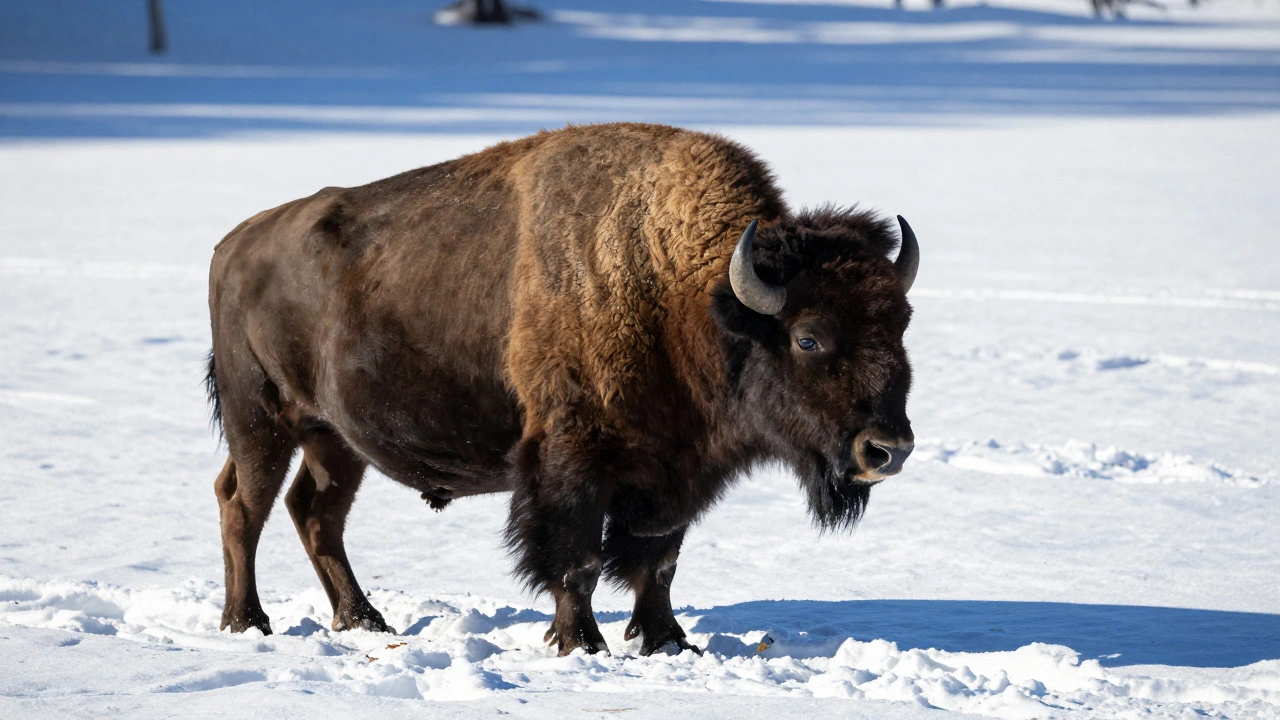
For true control, pros reach for Spot Meteringreads light from a tiny circle in the center of the viewfinder, ignoring surrounding areas. This tool treats a small patch of the image as 18% gray. Professional landscape photographer John Pedersen advocates for this aggressively: when photographing a bison standing in snow, he spots meters the animal itself. He essentially ignores the white expanse around it. By doing so, the exposure renders the bison's fur correctly textured rather than washing it out or crushing it into a black blob.
If you don't switch to spot metering, you are surrendering control to an algorithm that doesn't know which part of the scene is your actual subject. With spot metering, you define the importance. Meter off the skin tone of a face, and the camera locks exposure there. Meter off the grass, and the exposure shifts to make the green mid-tone accurate.

Advanced Tactics for Preserving Highlights
Sometimes even spot metering isn't enough to handle the sheer volume of light hitting your lens. Newer cameras, particularly recent Nikon bodies, offer a specialized mode called Highlight-Weighted Meteringprioritizes bright areas to prevent overexposure in critical highlight regions. Unlike standard matrix metering, this reads the whole frame but heavily penalizes any reading above a certain brightness threshold. It actively refuses to expose a shot that would blow out the clouds or the snow.
This strategy relies on the concept that digital files generally contain recoverable data in shadows but zero data in pure whites once they clip. If you burn the highlight detail, no software can bring it back. However, shooting slightly darker to save the top end gives you a file rich in data. You can then lift the shadows later in editing without introducing excessive noise.
To execute this:
- Switch to Highlight-Weighted mode if available.
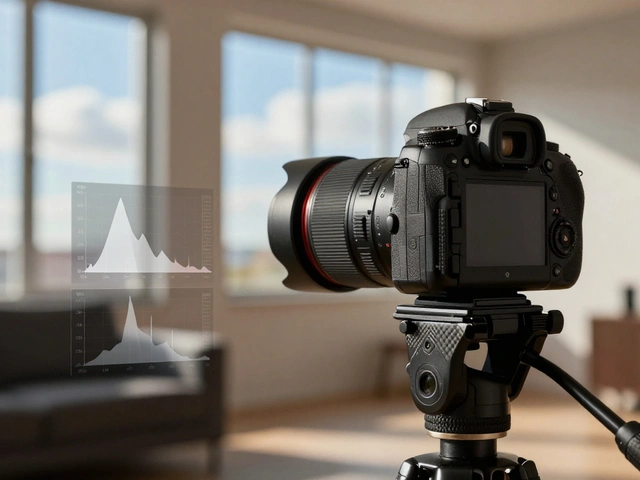
- Take the shot and check your histogram immediately.
- Ensure nothing is spiking off the right edge of the graph.
- Underexpose by 0.3 to 0.7 stops intentionally if the histogram warns of clipping.
This creates a safety buffer for the most fragile parts of your image: the brights.
Using External Tools for Precision
Built-in meters are reflective-they bounce light off your subject. Sometimes, especially in studio work or consistent outdoor conditions, an external source provides better data. A handheld Incident Light Metera handheld device that measures light falling onto a subject rather than reflecting off it, such as the Sekonic L-508a professional digital light meter offering incident and flash capabilities, offers a different perspective. Instead of reacting to what reflects off a subject, an incident meter measures the light hitting the subject directly.
This method bypasses the color and texture issues of reflective metering. A white dog and a black dog sitting in the same sun will reflect different amounts of light to a camera's sensor, confusing the internal meter. An incident meter, however, simply measures the intensity of the sunlight itself. It gives you the correct aperture and shutter speed combination to render that light neutrally.
A simpler alternative for field work is a Gray Carda standardized 18% neutral card used to set precise exposure readings. Place the card in the same lighting as your subject, fill your frame with it, and use spot metering. This ensures your camera interprets the light as a true mid-tone reference point. Without this anchor, the camera guesses based on the scene's extremes.
Compensating for Extreme Conditions
Even with perfect metering, sometimes physics dictates a compromise. You might meter the rock and the sky, but your sensor physically cannot hold both details simultaneously. In these cases, Exposure Compensationa manual adjustment to override the camera's calculated exposure value becomes your best friend. If you've metered off the highlight and the camera says -2EV, dialing that back to +0.3EV lifts the shadows slightly without blowing the sky.
Another strategy is artificial lighting. If you are shooting a portrait against a bright sky, bringing up the shadow detail with a reflector or a speedlight reduces the Contrast Ratiothe difference in brightness levels between the lightest and darkest parts of a scene physically. Reducing contrast at the source is always superior to fixing it in software. Frank Doorhof notes that correct metering choices literally save hours of retouching work. It prevents images from requiring heavy manipulation later.
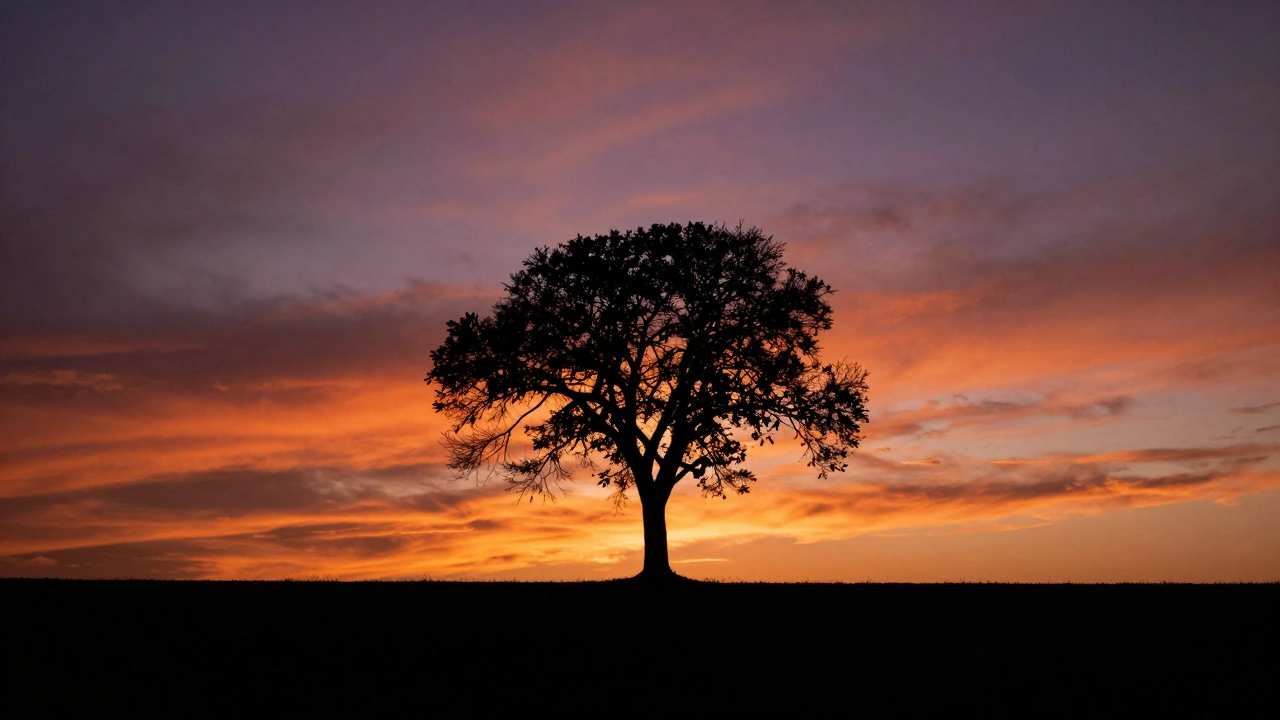
When shooting, prioritize artistic intent. What matters more in the final image? The texture of the subject or the cloud formations behind? If it's the subject, meter the subject and let the background fade. If the mood of the environment is key, meter the background and accept a silhouette. There is rarely a "perfect" setting that saves everything 100%; there is only the choice of what to sacrifice.