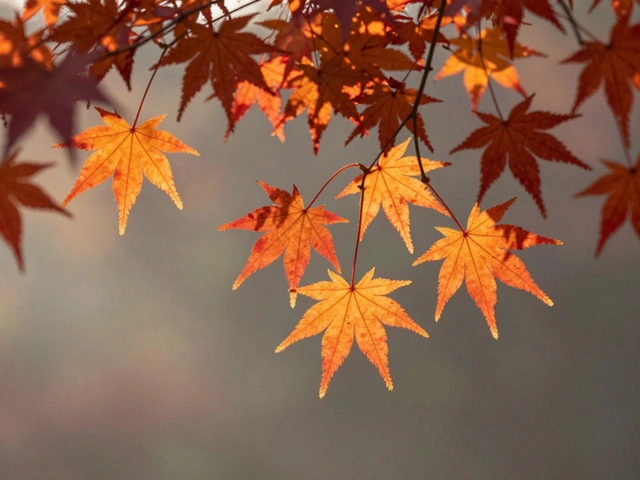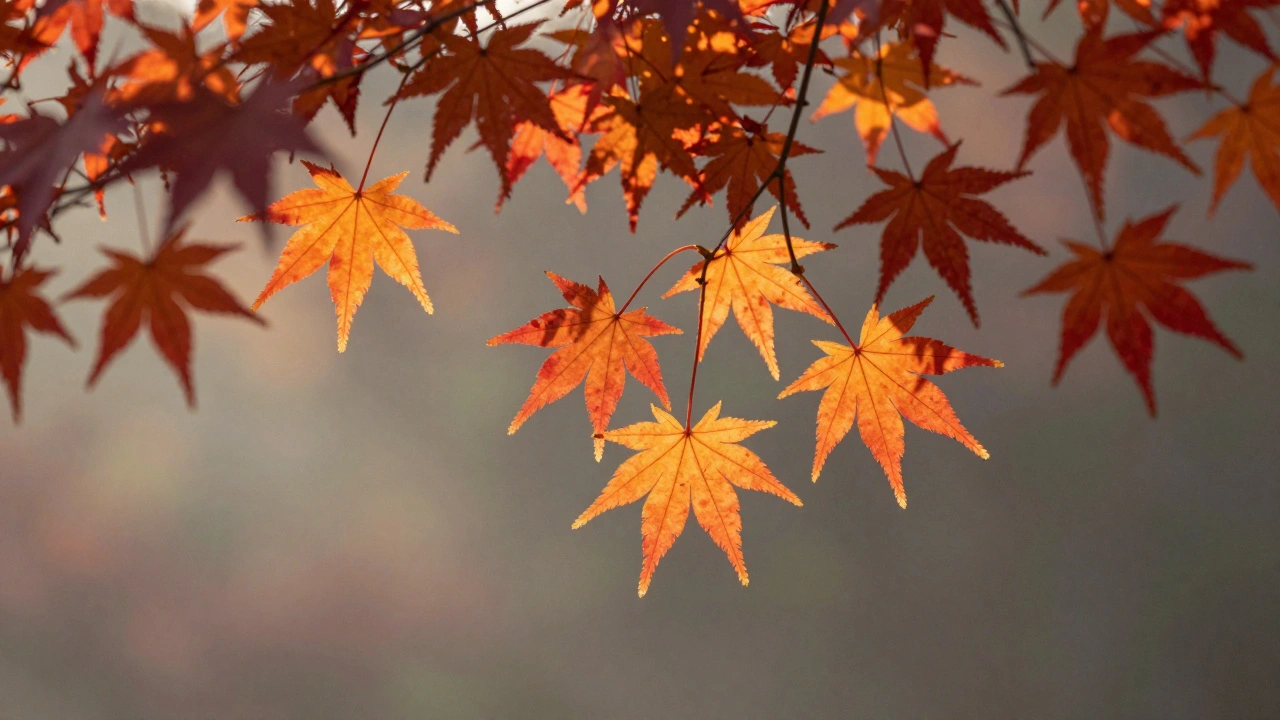
There’s something almost magical about seeing sunlight pass through a single autumn leaf-its veins glowing like stained glass, its edges rimmed in fiery orange or deep crimson. It’s not just beauty. It’s physics. It’s biology. And it’s entirely possible to capture that moment with your camera-if you know how to work with the light.
Why Backlit Leaves Look So Different
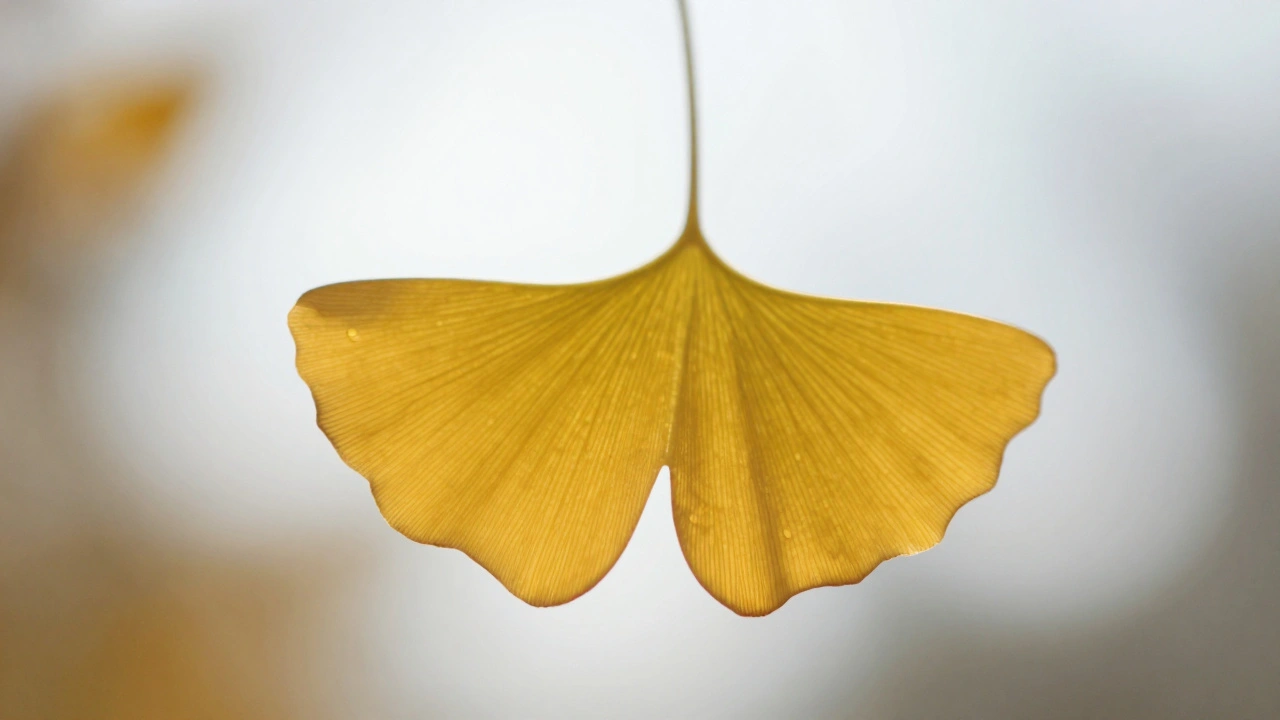
Most people photograph leaves head-on: bright sun above, shadows below, colors flat and dull. But when the sun sits behind the leaf, everything changes. Light doesn’t just hit the surface-it passes through. Chlorophyll breaks down in autumn, and suddenly, the leaf’s inner structure becomes visible. Veins that were hidden under green pigment now glow like copper wires. Pigments like carotenoids and anthocyanins, usually masked, burst into color because the light is traveling through them, not bouncing off. This isn’t just about color. It’s about transparency. A fresh, slightly pliable leaf transmits light differently than a dry, brittle one. Thicker leaves, like maple or oak, hold more pigment and scatter light in complex ways. Thinner leaves, like birch or sycamore, become almost see-through, turning into delicate lattices of color. The key? You have to let the light in.When to Shoot: Timing Is Everything
You can’t force this effect. You have to wait for it. The best window? Golden hour-within an hour of sunrise or sunset. That’s when the sun is low, soft, and warm. The angle lets light slice through leaves instead of blasting them from above. Midday sun? It bleaches color and creates harsh, uncontrolled glare. You’ll get lens flare, blown-out highlights, and lost detail. But timing isn’t just about the hour. It’s about the season. Late October to early November, depending on your region, is peak time. That’s when leaves have lost most of their chlorophyll but still hold enough moisture to remain flexible. Too early, and they’re still green. Too late, and they’re crispy, brittle, and no longer translucent. If you’re shooting in the forest, look for spots where sunlight filters through gaps in the canopy. Trees act like natural diffusers. Dappled light creates soft contrast. Avoid open fields with direct overhead sun. You want shadows, texture, and depth-not a flat, washed-out photo.How to Position Yourself: The 3/4 Rule and Breaking Up the Light
Standing directly opposite the sun won’t work. That’s how you get lens flares and foggy, low-contrast images. Instead, use the 3/4 approach: stand at a 45-degree angle to the light source. This lets the sun hit the back of the leaf while keeping your lens clear of direct rays. Another trick? Break up the light. Don’t let the sun blaze through the lens. Use tree trunks, branches, or even your own body to block part of the sun. If you can hide the sun behind a branch while still lighting the leaf behind it, you’ll get that soft, glowing halo without the harsh flare. Cinnamon Wolfe calls this "using trees as natural lens hoods." It’s not magic-it’s geometry. Try this: Find a cluster of leaves. Stand behind one tree trunk. Move left and right slowly. Watch how the light shifts across the leaves. The sweet spot? When the light hits the leaf’s edge just right, and the veins light up like a circuit board. That’s when you press the shutter.Equipment: What You Really Need
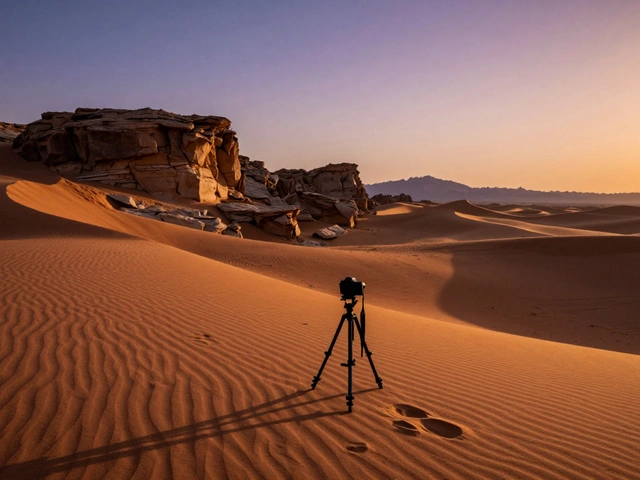
You don’t need a $5,000 setup. But you do need the right tools. Camera: Any DSLR or mirrorless with manual controls works. You’ll need to shoot in manual mode. Auto exposure will be fooled by the bright background. Lens: A macro lens is ideal. The 100mm or 105mm f/2.8 is the gold standard for leaf detail. It gives you enough working distance to position your light and avoid casting shadows. But even a 50mm with close-focusing ability can work if you’re patient. Tripod: Essential. At f/13 or higher, shutter speeds drop. Even a slight breeze moves the leaf. A sturdy tripod keeps everything sharp. A geared head? Helpful if you’re adjusting angles often. Flash (optional): If you’re shooting in shade or under heavy canopy, a small external flash can fill in detail. Place it below the leaf, pointing up. Use a diffuser-white paper, a tissue, or a purpose-built diffuser like the Nikon R1 kit. Set it to 1/32 power. Too much flash kills the natural glow. Remote shutter release: Prevents camera shake. Even the press of your finger can blur fine vein details.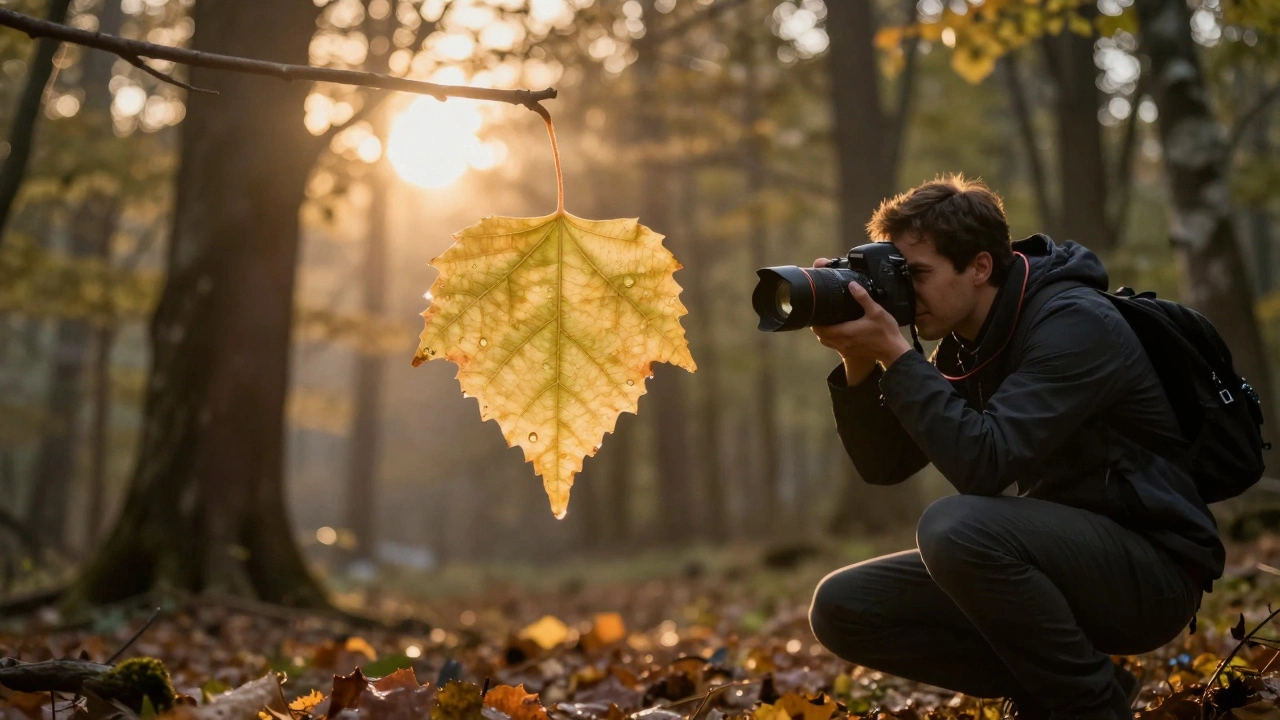
Exposure: Let the Background Be Bright
This is the hardest part for beginners. When the sun is behind the leaf, the background is way brighter than the subject. Your camera’s meter will try to darken everything to balance it-and you’ll end up with a dark, lifeless leaf. Solution? Expose for the background. Let the leaf go dark. Then, in editing, bring back the shadows. Use the shadows slider in Lightroom or Capture One. You’ll reveal the veins, the color gradients, the texture. You’re not fixing a mistake. You’re revealing what was always there. Try this: Set your camera to spot metering. Point it at the brightest part of the sky behind the leaf. Lock exposure. Now recompose. The leaf will be underexposed-but that’s fine. You’ll recover it later.Focus: Manual Only
Autofocus fails here. The contrast between light and dark is too subtle. The camera hunts. It misses. It locks on the wrong vein. Use manual focus. Zoom in to 10x on your live view screen. Slowly turn the focus ring until the thinnest vein pops into clarity. Use a remote shutter. Breathe out. Press. Don’t rush. This isn’t a snapshot. It’s a precision task.Choosing the Right Leaves
Not all leaves are created equal. Look for ones with:- Strong color contrast (deep reds with yellow veins)
- Intact edges (no tears or holes)
- Still slightly flexible (not brittle)
- Veins that are clearly defined
What Not to Do
- Don’t shoot into the sun directly. It’s possible, but nearly impossible to control without advanced gear. Stick to indirect light until you’re confident.
- Don’t use auto white balance. The sun’s color temperature shifts constantly. Set it to cloudy or shade (around 6000K) to preserve warm tones.
- Don’t rely on post-processing to create glow. You can’t fake translucency. If the light didn’t pass through the leaf, no filter will make it look real.
- Don’t shoot in wind. Even a light breeze moves leaves. Wait for calm mornings or use a windbreak.
Studio vs. Field: Two Approaches
Some photographers bring leaves indoors. They mount them on a thin, translucent surface-like frosted acrylic or white plastic-and use a flash underneath. This gives total control. You can adjust flash power, angle, and diffusion. It’s perfect for consistent results. But the real magic? Shooting outdoors. The light is alive. The air moves. The colors shift with every passing cloud. That’s where the soul of the image lives.Practice. Again. And Again.
This isn’t a technique you learn from a video. It’s one you build through repetition. Go out once a week during peak season. Take 20 shots. Review them. What worked? What didn’t? Adjust. Try a different angle. Try a different leaf. Try shooting 10 minutes earlier. The best photographers I’ve talked to didn’t start with perfect shots. They started with blurry, overexposed, confused messes. Then they kept going. They learned to see the light-not just the leaf.Final Thought: Light Is the Subject
You’re not photographing leaves. You’re photographing how light moves through them. The color? Just the side effect. The veins? The map. The glow? The result of physics meeting patience. If you wait for the right time, find the right angle, and trust the light-you’ll capture something that feels alive. Not because it’s edited. But because it was never meant to be still.Can I shoot backlit leaves with my smartphone?
Yes, but with limits. Smartphones struggle with manual exposure and focus control. Use Pro mode if available. Tap to focus on the leaf, then drag the exposure slider down to darken the background. Shoot during golden hour and avoid direct sun. Results won’t match a DSLR’s detail, but you can still capture beautiful glowing edges.
Do I need a macro lens to photograph backlit leaves?
Not strictly, but it helps. A macro lens lets you get close enough to capture fine vein detail without casting shadows. If you’re using a standard lens, get as close as possible and crop later. You’ll lose some resolution, but you can still see the translucency effect.
Why do some backlit leaves look orange and others red?
It’s about pigments. Orange comes from carotenoids, which are always present but hidden under green chlorophyll. Red comes from anthocyanins, which are produced in the fall as a response to light and temperature. Different tree species produce different pigments. Sugar maples turn red. Ginkgo turns bright yellow. Oak turns brownish-red. The leaf’s genetics determine the color.
Can I use a reflector for backlit leaf photography?
Generally, no. Reflectors bounce light onto the front of the subject, which kills the backlit effect. You want light to pass through, not reflect off. If you need to lift shadow detail, use editing tools instead. A reflector is useful for front-lit portraits, not translucent foliage.
What’s the best time of day to photograph backlit leaves?
Sunrise is often better than sunset. Dew on leaves adds sparkle, and morning air is calmer. Plus, fewer people are out. Sunset works too, but the light changes faster. Aim for 30-60 minutes after sunrise or before sunset. That’s when the sun is low enough to create glow, but not so low that shadows dominate.