There is nothing quite as frustrating as spending twenty minutes setting up the perfect composition for a tiny spider, only to have a sudden gust of wind blur your shot. You check the histogram, adjust your ISO, and try again-only for the subject to walk away or the leaf it rests on to sway violently. This is the reality of field macro photography, a discipline where the environment is not just a backdrop but an active, often hostile participant.
In studio settings, you control every variable. Outdoors, you are at the mercy of nature. The core challenge isn't just getting close enough; it's managing the interplay between natural light, unpredictable wind, and subject movement. At high magnifications, even the slightest vibration translates into significant blur. Your depth of field might be thinner than a sheet of paper, meaning focus errors are unforgiving. To succeed, you need a strategy that adapts to these chaotic conditions rather than fighting them with rigid rules.
The Invisible Enemy: Managing Wind in Field Conditions
Wind is the single biggest obstacle in outdoor macro work. It creates two distinct problems: physical movement of the subject and atmospheric interference with lighting. When the wind blows through trees and bushes, it doesn't just shake the flower you're shooting; it moves branches above you, creating shifting dappled shadows that ruin your exposure consistency. More critically, it induces vibrations that cause motion blur, even if your camera is mounted on a tripod.
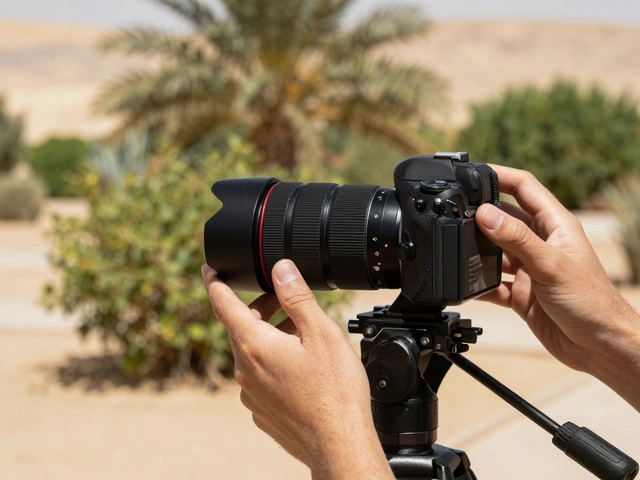
You cannot wait for perfectly calm days every time you shoot. Instead, you must adapt your technique to the wind speed. On mild breezes, stability is key. A sturdy tripod is non-negotiable. It allows you to fine-tune your composition without holding your breath until your lungs burn. For precise focusing, consider using a macro focusing rail. Devices like the Oben MFR4-5 allow you to move the lens forward, backward, left, or right with millimeter precision using knobs. This means you can achieve critical focus without disturbing the subject or guessing where the focal plane lies.
When the wind picks up, mechanical stability alone isn't enough. You need to freeze the motion optically. This requires faster shutter speeds. If you are shooting at 1/60th of a second, a breeze will likely blur your image. Bump your shutter speed to 1/250th or faster. To maintain exposure while increasing shutter speed, you must open your aperture (reducing depth of field further) or raise your ISO. In windy conditions, raising the ISO is often the better trade-off. A sharp, slightly noisy image is far more usable than a smooth, blurry one. Don't fear ISO 800 or 1600 in modern digital cameras; noise reduction tools are effective, but motion blur is permanent.
Harnessing Natural Light: Direction and Quality
Natural light offers the most authentic look, but it changes rapidly. The sun angle shifts throughout the day, altering contrast and shadow direction. Understanding how to use this changing light is crucial. Side lighting is excellent for revealing texture. It highlights the hairs on an insect’s leg or the veins in a leaf, giving your image a three-dimensional feel. However, strong side light can create harsh shadows and excessive contrast, blowing out highlights or crushing blacks.
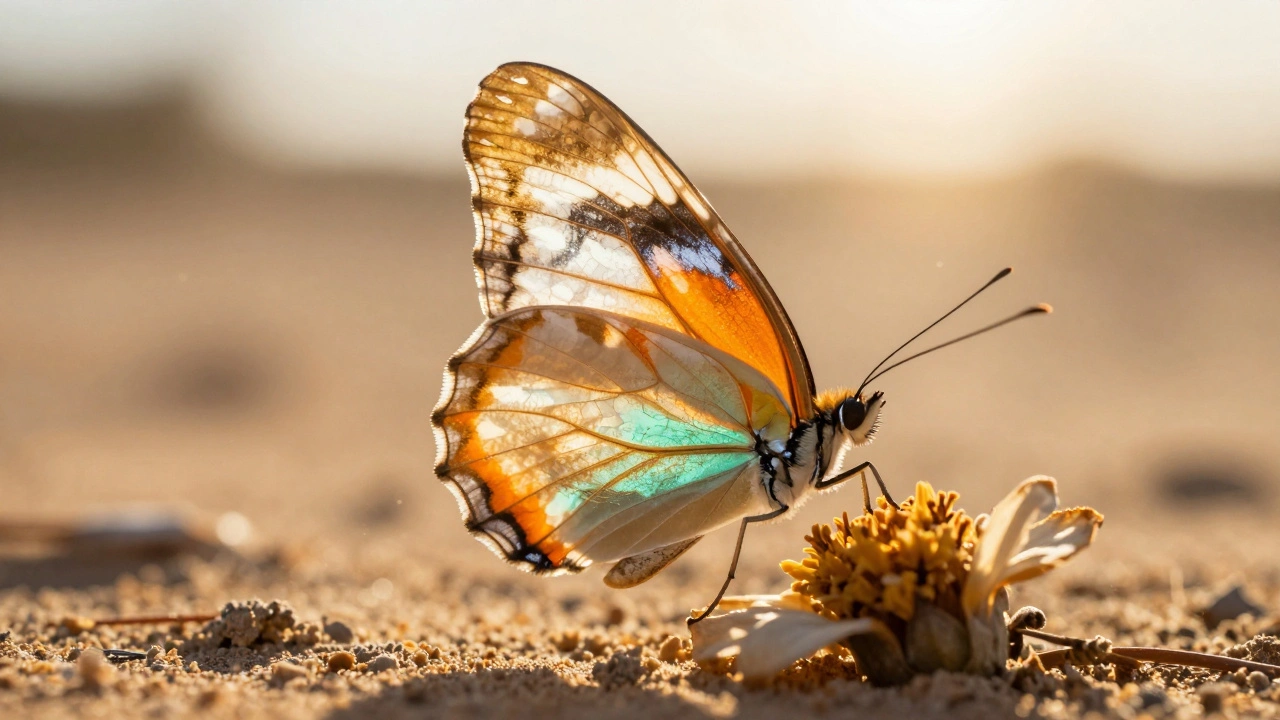
Backlighting is another powerful tool, especially for translucent subjects like butterfly wings, petals, or foliage. When the sun is behind your subject, it glows from within, separating it from the background. In dense environments like rainforests, midday sun can pierce through the canopy, creating dramatic shafts of light. These moments offer incredible backlighting opportunities, though they require quick action as the light patches move quickly.
Do not overlook overcast days. Many photographers avoid dull weather, thinking it lacks drama. In macro photography, clouds act as giant diffusers. They soften the light, reducing contrast and allowing you to capture fine details without blown highlights. Overcast light is ideal for flowers and intricate textures because it provides even illumination across the entire subject. It also gives you more flexibility with exposure, as you don't have to fight against extreme dynamic ranges.
Controlling Light with Reflectors and Diffusers
If you choose to shoot in natural light, you still need to manage its intensity and direction. Reflectors are essential accessories. They allow you to bounce light back onto shadowed areas of your subject. Unlike flash, reflectors provide real-time feedback-you see exactly how the light falls as you move the reflector. You can alter intensity by moving it closer or further away. Simple materials work well: a piece of white card, silver foil, or even a mirror can serve as an effective reflector.
Diffusers help soften harsh sunlight. On bright days, direct sun can create hard shadows and lose detail in highlights. Placing a diffuser between the sun and your subject spreads the light, creating a softer, more flattering effect. This is particularly useful when shooting delicate subjects like flowers, where harsh light can look unnatural. Combining a reflector and a diffuser gives you full control over the lighting ratio, allowing you to sculpt the light much like a studio photographer would.
The Flash Advantage: Freezing Motion and Filling Shadows
While natural light has its merits, flash remains the most reliable tool for controlling movement and lighting in field macro photography. A flash unit freezes motion instantly, regardless of wind speed or subject activity. This makes it indispensable for shooting walking insects or turbulent conditions. The brief duration of the flash burst (often 1/1000th of a second or shorter) ensures crisp detail even when the subject is moving.
To avoid the flat, harsh look of direct on-camera flash, use diffusion. A simple diffuser cap softens the light output, making it appear more natural. Off-camera flash offers even greater creative control. By positioning the flash to the side or behind the subject, you can mimic directional natural light while maintaining the freezing power of artificial light. This approach is common in challenging environments like rainforests, where natural light is uneven and contrasty. Flash allows you to fill in shadows and balance exposure consistently.
Many professionals combine natural light and flash. Even when using a tripod and available light, a small amount of fill-flash can add sharpness and make the subject pop. This hybrid approach leverages the ambient light for background context while using flash to ensure critical focus and detail on the main subject. Adjusting flash power incrementally-such as to quarter power-and slightly raising ISO helps maintain a natural look while ensuring technical perfection.
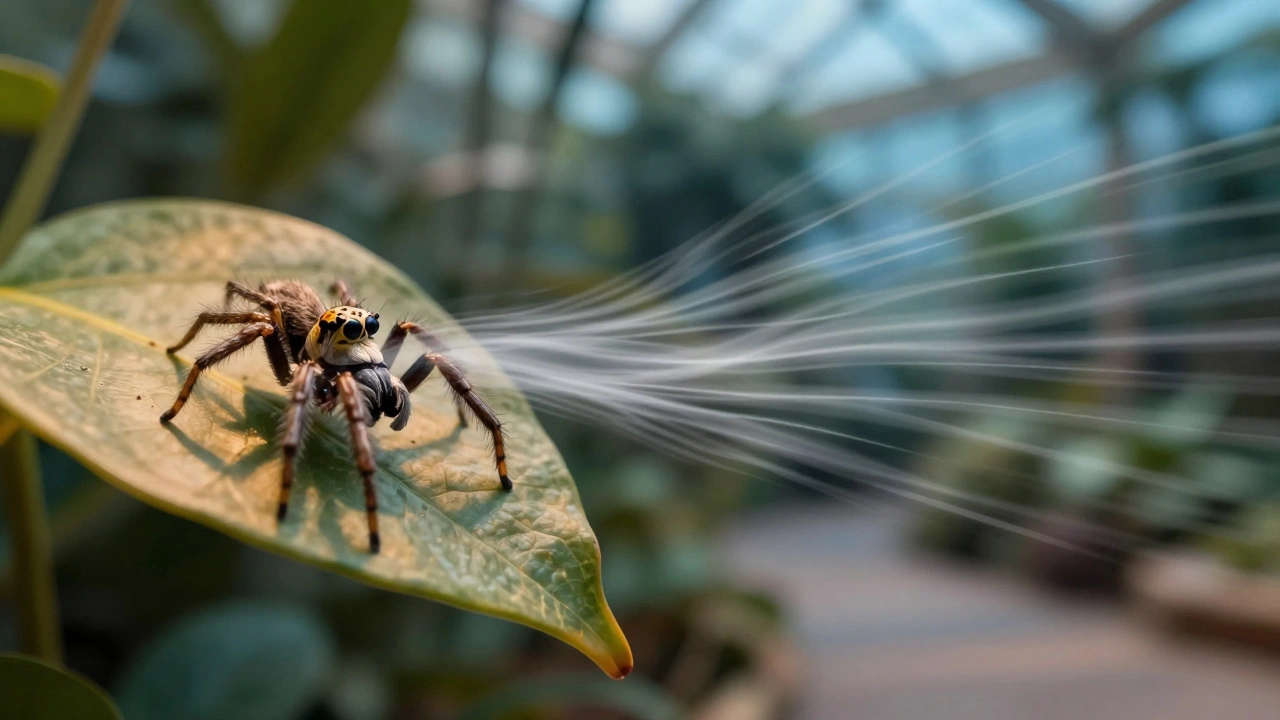
Specialized Techniques for Rainforest and Low-Light Environments
Rainforest macro photography presents unique challenges due to the dense canopy and extreme contrast. Light here is not even; it comes in intense beams piercing through gaps in the leaves. This creates deep shadows and bright highlights simultaneously. Standard natural light techniques often fail here. Instead, photographers rely heavily on diffused flash and off-camera lighting to manage the complex light patterns. Black backgrounds can be used effectively in rainforests to isolate subjects and enhance the dramatic effect of the light shafts.
For nocturnal subjects, flashlights offer a specialized solution. Dedicated flash units may be too powerful or restricted in certain protected areas. Adjustable-beam flashlights allow precise control over where light and shadows fall. While they generate less power than strobes, requiring higher ISO settings, they provide a subtle, directional light that can reveal details in low-light conditions without overwhelming the scene. Always check local regulations regarding flash usage in wildlife preserves, as some areas prohibit it to minimize disturbance to animals.
Practical Workflow: Integrating Tools and Techniques
Successful field macro photography requires integrating multiple techniques based on current conditions. Here is a practical workflow for typical scenarios:
- Calm Days: Use a tripod with a macro focusing rail. Rely on natural light with reflectors to shape shadows. Shoot at smaller apertures (f/8 to f/11) for deeper depth of field. Manual focus allows precise alignment.
- Windy Conditions: Raise ISO to enable faster shutter speeds (1/250s or higher). Use flash to freeze motion. If using natural light, accept shallower depth of field (f/2.8 to f/4) and prioritize sharpness over coverage.
- Dense Woodlands/Rainforests: Combine natural light with diffused flash. Position flash off-camera to mimic directional light. Use black backgrounds if needed to isolate subjects from cluttered surroundings.
- Overcast Weather: Maximize detail capture with natural light. Use reflectors to fill shadows if contrast is too low. Ideal for flowers and static subjects.
Remember that subject movement-whether caused by wind or the creature itself-is often the limiting factor, not your equipment. Experienced photographers adapt their approach situationally. Sometimes, patience and waiting for calmer moments yield better results than technical adjustments. Other times, aggressive flash techniques are necessary to secure the shot. Flexibility is your greatest asset.
| Approach | Best For | Pros | Cons |
|---|---|---|---|
| Natural Light Only | Calm days, overcast weather | Authentic look, no setup time | Vulnerable to wind, inconsistent exposure |
| Flash + Diffusion | Windy conditions, moving subjects | Freezes motion, consistent lighting | Requires setup, can look artificial if misused |
| Off-Camera Flash | Creative control, rainforests | Directional light, mimics natural sun | Complex setup, needs assistant or trigger |
| Fill-Flash Hybrid | General field use | Balances ambient and artificial light | Requires careful exposure balancing |
Frequently Asked Questions
What is the best shutter speed for field macro photography in wind?
In windy conditions, aim for a shutter speed of at least 1/250th of a second to freeze motion. For very active subjects or strong gusts, increase to 1/500th or faster. Achieving these speeds often requires raising ISO or using flash.
Should I use flash for natural-looking macro photos?
Yes, if used correctly. Direct flash looks harsh, but diffused flash or off-camera flash can produce natural-looking results. Fill-flash combined with natural light is a popular technique among professionals to add sharpness and control shadows without losing authenticity.
How do I deal with shallow depth of field in macro photography?
Shallow depth of field is inherent to macro work. Use a tripod and macro focusing rail for precise alignment. Focus stacking can combine multiple shots for greater depth, but in the field, prioritizing critical focus on the subject's eyes or key features is usually more practical.
Is overcast weather good for macro photography?
Excellent. Overcast skies act as natural diffusers, providing soft, even light that reveals fine details and accurate colors without harsh shadows. It is ideal for flowers and static subjects, reducing the need for complex lighting setups.
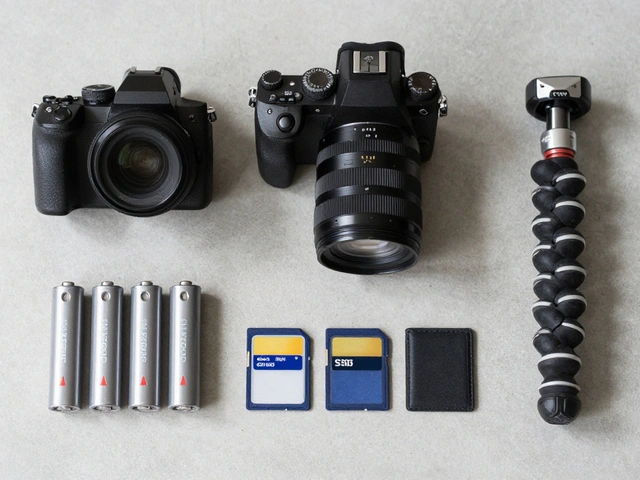
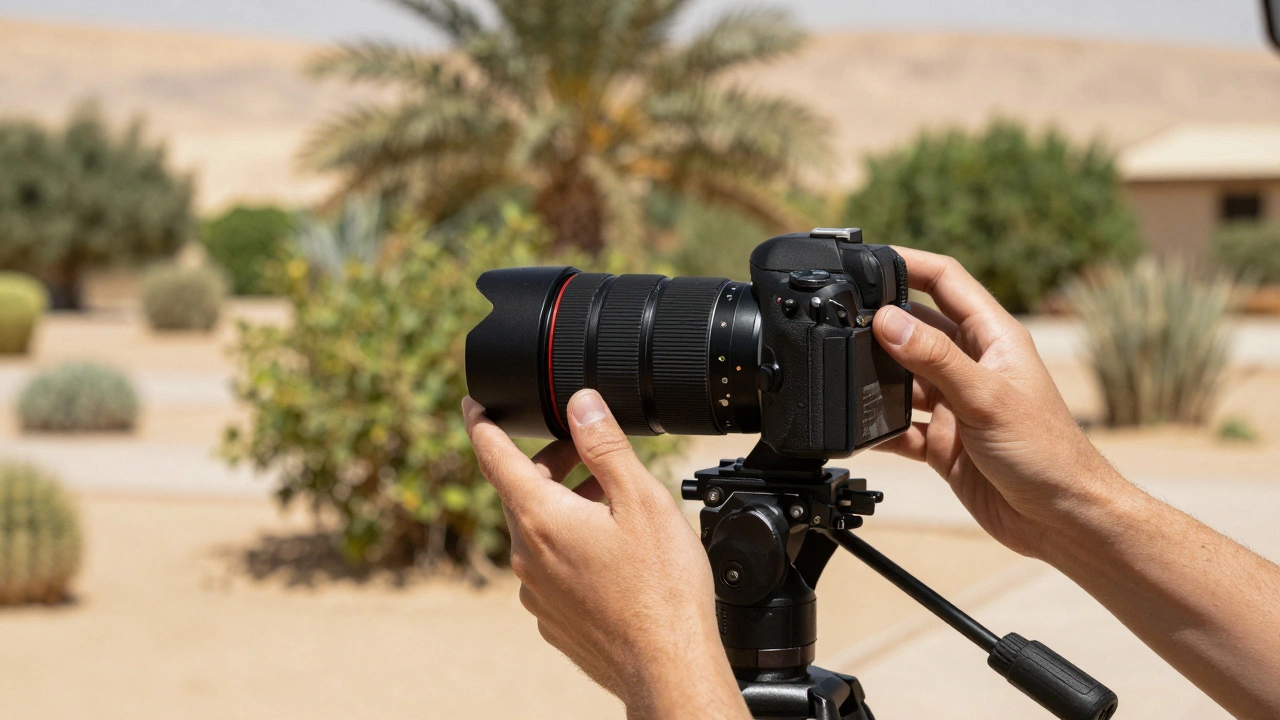
What equipment is essential for field macro photography?
A sturdy tripod, a macro lens, and a method for controlling light (reflectors, diffusers, or flash) are essential. A macro focusing rail enhances precision, while a remote shutter release minimizes camera shake. Comfortable clothing and patience are also invaluable tools.