Walk into any home for sale and you'll notice a common problem: the living room looks cozy, but the windows are glowing white rectangles of light, or the corners are swallowed by shadows. This happens because cameras can't see light the way our eyes do. To get a shot that actually looks like the room feels, you can't just point and shoot. You need a strategy to balance those extreme lighting gaps and a way to make a small bedroom feel like a suite.
The goal of real estate interior photography is to provide a spatially accurate yet appealing representation of a property. Whether you're using a high-end DSLR or a mirrorless setup, the secret isn't in the camera brand, but in how you manage the light and the lines of the room. If you want photos that actually help sell a house, you have to move beyond basic snapshots and start treating every room like a technical puzzle.
The Gear That Actually Matters
You don't need a bag full of gadgets, but a few specific tools are non-negotiable. If you try to shoot a tight bathroom with a standard lens, you'll end up with a photo of a toilet and a sliver of wall. That doesn't sell a home.
Start with a wide-angle lens. For those using full-frame cameras, a focal length between 14mm and 24mm is the sweet spot. If you're on a cropped sensor (APS-C), look for 10-20mm. While it's tempting to crank it to the widest setting to fit everything in, be careful. Overdoing the wide angle creates a "fish-eye" effect where walls curve and the room looks distorted. The trick is to give the elements room to breathe without making the space look like a funhouse mirror.
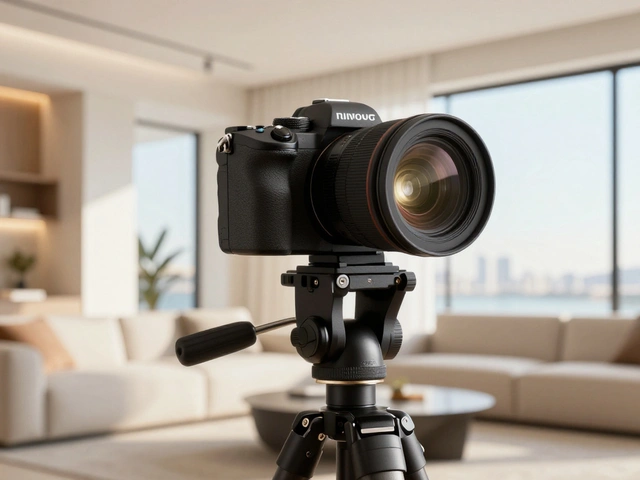
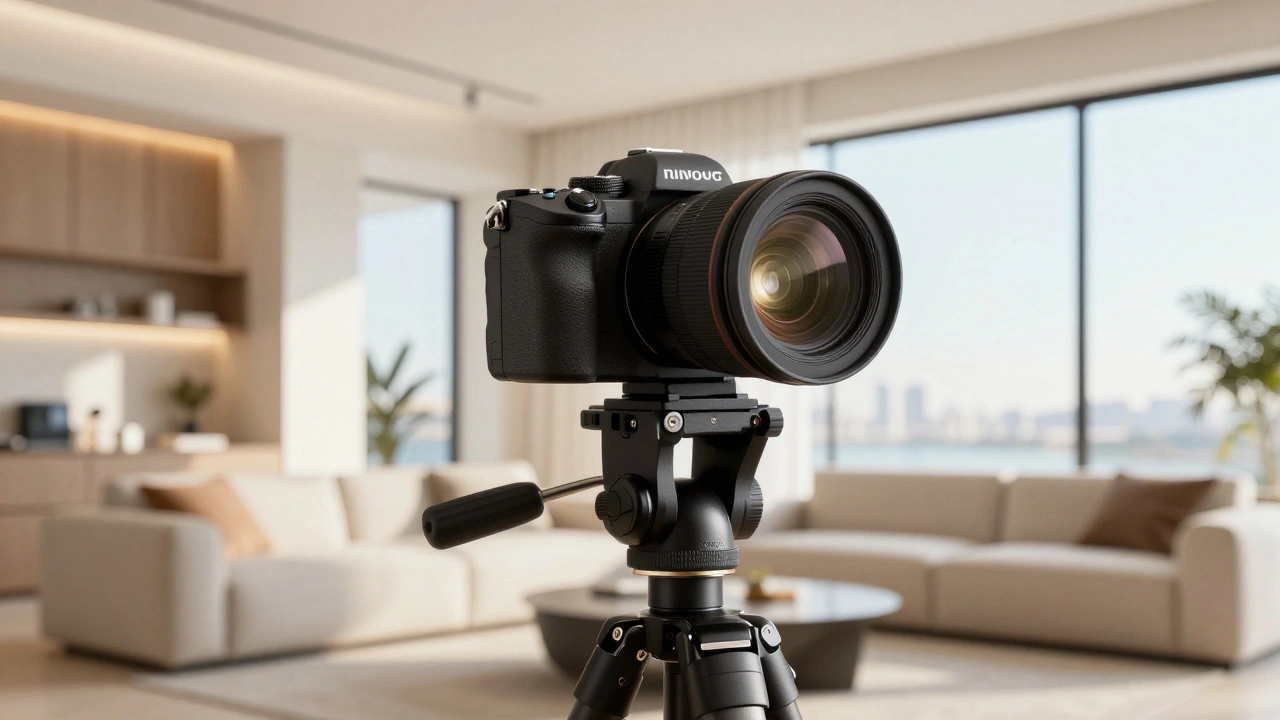
Next, stop trying to hold the camera by hand. A tripod is mandatory for two reasons. First, it keeps your vertical lines straight. When the camera tilts, the walls look like they're leaning, which subconsciously tells a buyer the house is crooked. Second, since you'll be using slower shutter speeds to let in more light, even a tiny hand tremor will blur your shot. A tripod also lets you experiment with height-shooting from chest or knee level often provides a much more natural perspective than eye level.
Nailing the Composition
Composition in real estate isn't about "art" as much as it is about perceived space. You want the viewer to understand the layout of the room instantly. This is where the "two-wall rule" comes into play.
Avoid shooting straight down the center of a room. When you capture three converging walls, the space often looks like a narrow corridor, even if it's actually quite wide. Instead, aim for a composition where only two walls are visible. This opens up the perspective and makes the room feel more expansive. For small rooms, try shooting from the corner; it's the best way to maximize the perceived square footage.
To keep the image from feeling flat, create visual depth. Don't just photograph an empty void. Use leading lines-like the edge of a kitchen island or a hallway-to draw the eye into the space. Add focal points, such as a bowl of fresh fruit on a counter or a well-placed plant, to give the viewer's eye a place to land. If you're shooting at an aperture of f/8, you'll usually have enough depth of field to keep everything from the foreground to the back wall in sharp focus.
| Scenario | Recommended Angle | Purpose |
|---|---|---|
| Small Bedroom | Far Corner | Maximize perceived space |
| Living Room | Chest Height / Two-Wall | Prevent "corridor" effect |
| Narrow Hallway | Vertical Orientation | Highlight architectural height |
| Kitchen Detail | Close-up / Leading Lines | Create visual interest and depth |
Solving the Lighting Puzzle with Bracketing
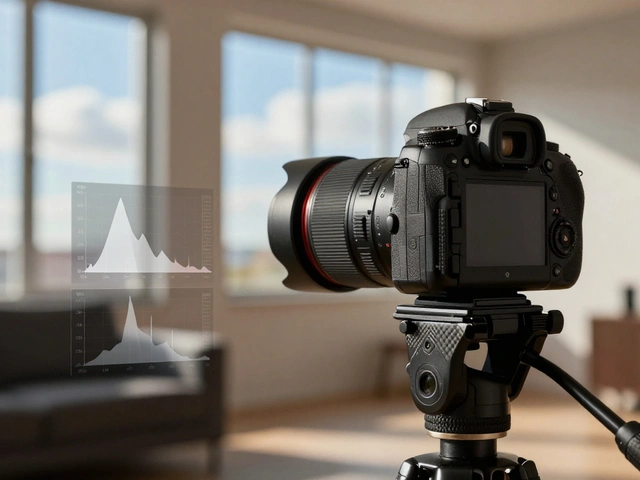
The biggest headache in interior photography is the "window problem." If you expose for the room, the windows are blown out white. If you expose for the windows, the room is a dark cave. The professional solution is exposure bracketing.
Bracketing is the process of taking multiple shots of the exact same scene at different exposure levels. You keep your aperture locked (to maintain a consistent depth of field) and only change the shutter speed. Typically, you'll take a series of 3 to 5 shots: one that is perfectly exposed for the shadows, one for the mid-tones, and one for the brightest highlights coming through the window.
Most modern cameras have an Automatic Exposure Bracketing (AEB) mode that handles this. Once you've captured these frames, you merge them in post-processing. This creates an HDR (High Dynamic Range) image where the interior is bright and the view outside the window is clearly visible. If you prefer a more manual approach, you can use Adobe Photoshop to blend two separate layers-one for the room and one for the windows-using a layer mask to paint in the details.
Advanced Workflows: Flambient and Lighting
If you find that HDR images look too "digital" or surreal, you might want to try the Flambient technique. This is a hybrid of "flash" and "ambient" light. Instead of relying solely on bracketing, you take one shot of the natural light (ambient) and then several shots using a flash to pop the shadows and neutralize color casts.
Mixing light sources is always tricky. You'll often have cool blue light coming from the window and warm yellow light from the ceiling lamps. To handle this, keep your white balance on Auto (AWB). Trying to lock in a specific Kelvin temperature usually fails because the color temperature changes across the room. If the mix is too chaotic, try turning off the interior lights and relying solely on natural light, or vice versa, depending on the "mood" you want to project.
For those who find wide-angle lenses too distorting, tilt-shift lenses are the gold standard. They allow you to shift the lens plane to keep vertical lines perfectly parallel even when shooting from a low angle, removing the need for heavy corrective warping in post-processing.
Post-Processing and Final Polish
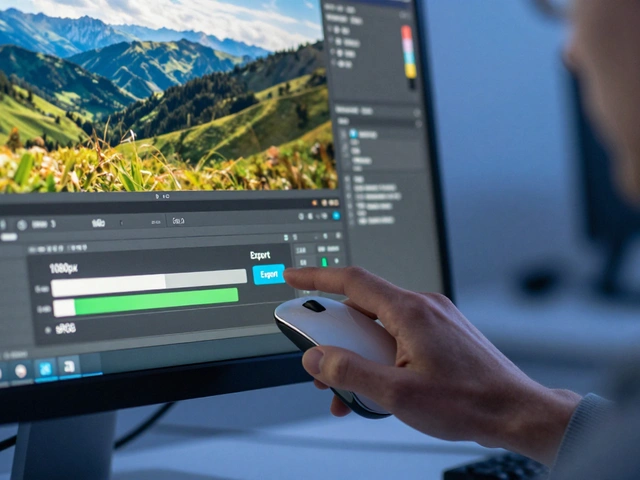
Capturing the image is only half the battle. The magic happens in the edit. Software like Photomatix Pro or Lightroom is essential for merging bracketed shots. Your goal isn't to make the photo look "enhanced," but to make it look natural.
Avoid the common mistake of over-processing the HDR, which results in "halos" around the edges of furniture or a flat, painterly look. Instead, focus on subtle contrast adjustments. Ensure your vertical lines are perfectly straight-if a wall looks slightly tilted, use the transform tool to snap it back to 90 degrees. Finally, check your color consistency. A white wall should look white in every room, not blue in the bedroom and yellow in the kitchen.
Do I need a professional camera for real estate photography?
While you can get decent results with a smartphone, a camera with manual controls (ISO, aperture, shutter speed) is necessary for techniques like exposure bracketing. The ability to swap to a true wide-angle lens without software distortion is what separates professional-grade listings from amateur ones.
What is the best aperture for interior shots?
Usually, f/8 is the sweet spot. It provides enough depth of field to keep the entire room in focus from the foreground to the background without introducing the diffraction blur that can happen at f/16 or f/22.
Why do my windows look completely white in photos?
This is due to the high dynamic range between the dim interior and the bright outdoor light. The camera's sensor can't capture both at once. You solve this by using exposure bracketing-taking multiple shots at different shutter speeds-and merging them later.
Should I leave the lights on or off?
It depends on the vibe. Turning lights on adds warmth and a "lived-in" feeling, but it introduces mixed color temperatures. Turning them off relies on natural light, which often looks cleaner but can leave corners too dark. The Flambient technique allows you to get the best of both worlds.
How do I stop the room from looking like a corridor?
Follow the two-wall rule. Instead of shooting straight down the length of the room, position yourself so you only see two walls. This opens up the perspective and prevents the converging lines from making the space feel narrow.
Next Steps for Better Captures
If you're just starting out, don't try to master everything at once. Start by practicing your composition-focus on the two-wall rule and shooting from the corners. Once your framing feels natural, move into the technical side of exposure bracketing. Try shooting the same room three ways: one exposure for the room, one for the window, and one in the middle. Merge them in a basic editor to see the difference.
For those looking to go pro, invest in a tilt-shift lens to eliminate distortion at the source. If you're struggling with dark corners that bracketing can't fix, start experimenting with a single-point flash (the Flambient method) to fill in those shadows without washing out the rest of the image.