When you shoot in low light, push your ISO to 6400, or crop in tight on a distant subject, your photos don’t just get darker-they get grainy. That speckled mess isn’t dirt on your lens. It’s digital noise, and it’s one of the most frustrating problems in modern photography. You can’t fix it with better lighting alone. You can’t fix it with sharpening. But you can fix it-with the right tools and technique.
Why Noise Happens (And Why It’s Worse Than You Think)
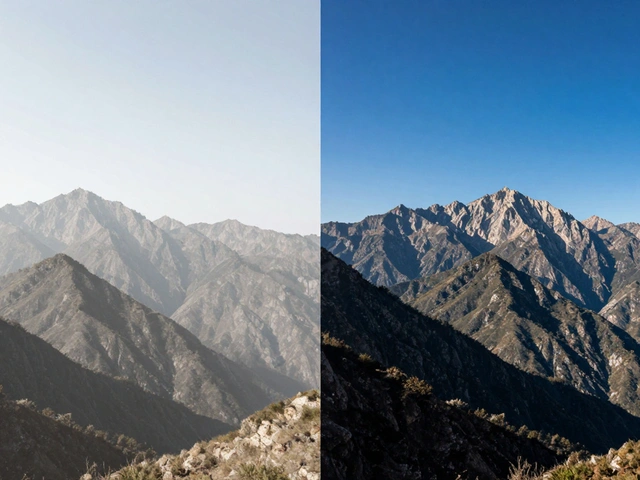
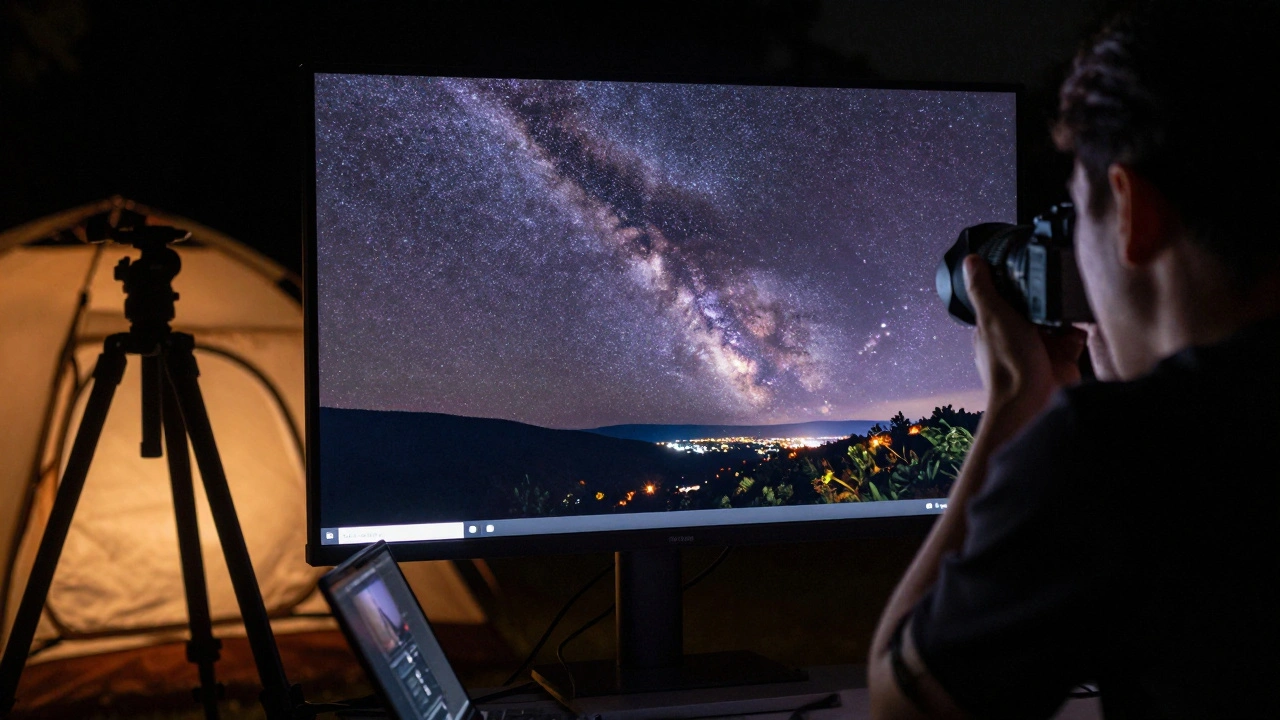
Digital noise isn’t a flaw in your camera. It’s physics. Every time your sensor boosts the signal to capture more light-like when you crank up the ISO-it also amplifies random electrical interference. That’s what creates color noise (those weird purple and green specks) and luminance noise (the grayish grain that looks like film shot in a dark room). It gets worse with long exposures. If you’re shooting star trails or night cityscapes, your sensor heats up. Heat = more noise. And if you’re using a small aperture like f/16 to get everything in focus, you’re forcing the camera to boost ISO even more to compensate. The result? A photo that looks like it was taken through a broken TV screen. The worst part? Traditional noise reduction tools in Photoshop or Lightroom used to smear details. They’d turn sharp hair strands into mush, blur texture in fabric, and turn a detailed skyline into a foggy blur. You’d trade noise for lifelessness. That’s why so many photographers just accepted it-and kept shooting in daylight.Stop Noise Before It Starts: In-Camera Fixes That Actually Work
The best noise reduction happens before you even open your editing software. Here’s how to fight noise at the source:- Shoot in RAW. JPEGs throw away data to save space. RAW files keep everything your sensor captured, giving you way more room to clean up noise later.
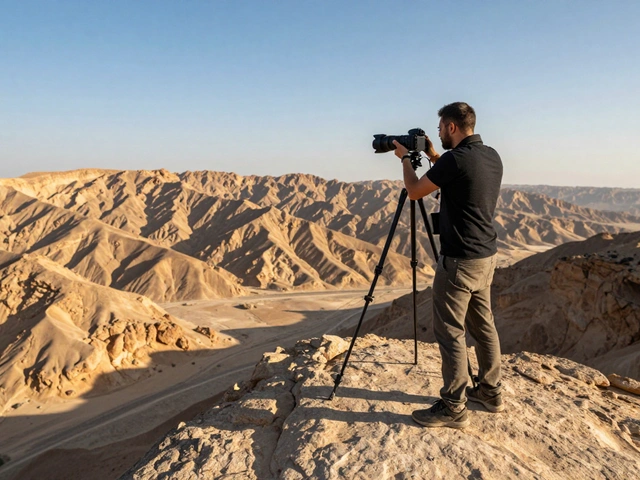
- Use the lowest ISO possible. If your scene is too dark, don’t just crank ISO. Use a tripod. Open your aperture. Add light. Anything but high ISO.
- Expose to the right (ETTR). This isn’t about overexposing for fun. It’s about capturing as much light as possible without blowing out highlights. More light = better signal-to-noise ratio. Your shadows will look cleaner later.
- Use wide apertures. f/2.8 or wider lets in way more light. You’ll drop your ISO by 2-3 stops, which cuts noise dramatically.
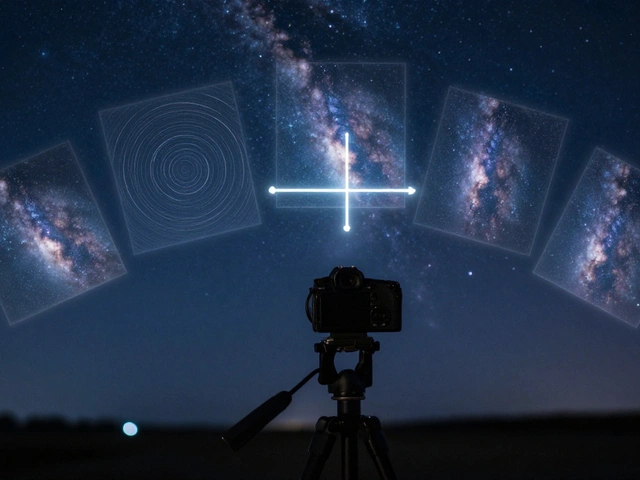
- Use a tripod. No shake = longer exposures = lower ISO. It’s that simple.
Traditional Noise Reduction vs. AI: The Game-Changer
Before AI, noise reduction was like using a sledgehammer to fix a cracked vase. Tools like Lightroom’s built-in noise reducer worked by averaging pixels. It smoothed out grain-but it also smoothed out texture. Fine details vanished. Skin looked plastic. Trees looked like cotton balls. AI changed all of that. Modern AI denoise tools don’t just blur pixels. They learn what noise looks like. They’ve been trained on millions of images to recognize the difference between actual detail (like eyelashes, fabric weave, or distant building windows) and random sensor noise. They don’t guess. They know. Here’s the result: You can take a photo shot at ISO 12,800, crop it in tight, and still end up with sharp, clean detail. Not “clean enough.” Not “better than before.” Actually clean. Like it was shot in daylight.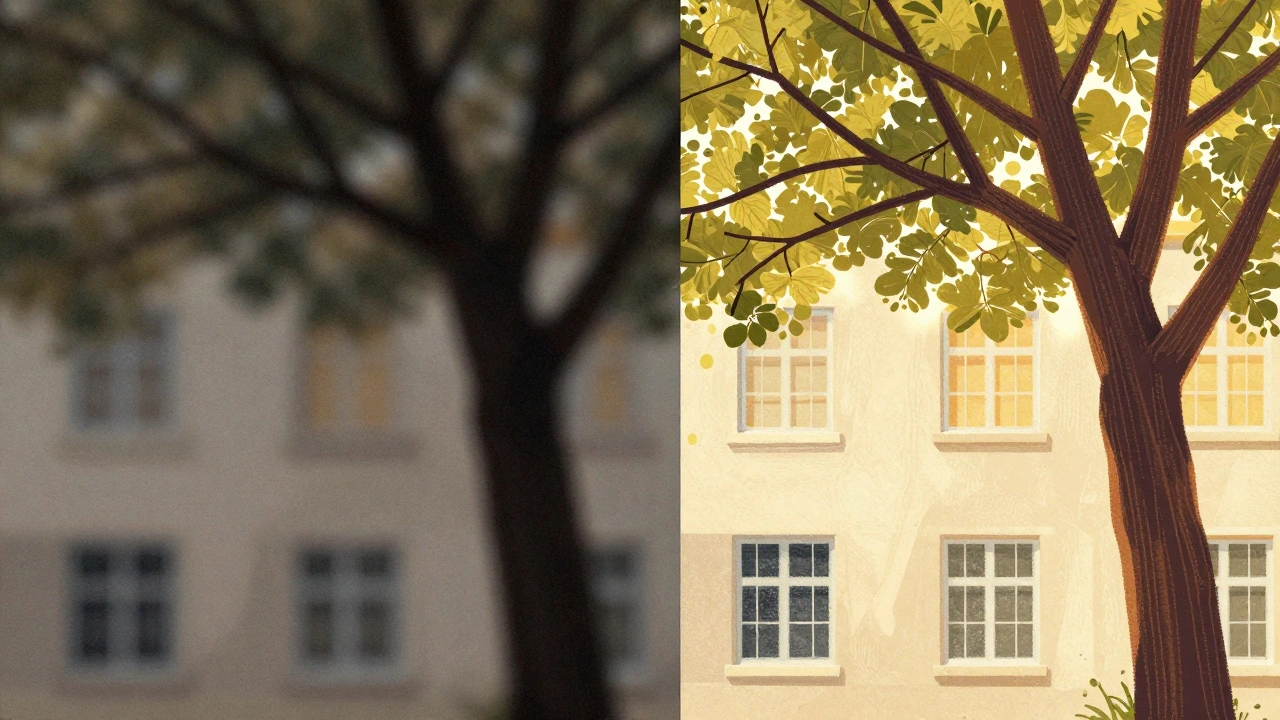
The Top Tools Professionals Use Right Now
Not all AI tools are created equal. Here’s what’s actually working for pros in 2026:Adobe Lightroom’s AI Denoise
This is the easiest option if you already use Lightroom. Click the Denoise button in the Detail panel, and it runs instantly. It works on RAW files, preserves color and contrast, and integrates seamlessly with your existing workflow. It’s not the most aggressive, but it’s reliable. For 90% of users, it’s enough.Topaz Denoise AI
This is the go-to for heavy-duty noise cleanup. It has two modes: DeepPrime for normal noise, and DeepPrime XD for extreme cases-like ISO 25,600+ shots or heavily cropped wildlife photos. DeepPrime XD doesn’t just remove noise. It reconstructs lost detail. It’s so good, some portrait photographers now shoot at ISO 10,000 on purpose, knowing they can clean it up later. One caveat: DeepPrime XD can sometimes over-smooth skin. If you’re editing portraits, dial back the intensity slightly and use a mask to protect faces.DxO PureRAW
This one’s for RAW purists. It strips noise before you even open your file in Lightroom or Photoshop. It’s fast, clean, and keeps textures sharp. Many landscape photographers swear by it because it preserves fine details in clouds, rocks, and foliage better than any other tool.General Editors (Photoshop, Lightroom Classic)
Their built-in noise reducers? Fine for light cleanup. But they’re still using old-school algorithms. If you’re serious about noise reduction, don’t rely on them. Use them for touch-ups, not main cleanup.Your Step-by-Step Noise Reduction Workflow
Here’s how to do it right:- Start with a RAW file. No exceptions.
- Open in your chosen AI tool. Lightroom, Topaz, or DxO.
- Zoom to 100%. You need to see the noise clearly.
- Apply the AI denoise. Let it run. Don’t adjust yet.
- Zoom out. Look at the whole image. Does it look natural? Is texture still there?
- Adjust the slider. If it looks too smooth, pull back. If noise is still visible, push it a little more. The sweet spot is where noise disappears but detail stays sharp.
- Use masks. If only the shadows are noisy, mask out the sky and highlights. Apply noise reduction only where needed.
- Export and check. Open the final file in another program. Zoom in. If you still see grain, go back. If it looks clean and real? You’re done.

What Pros Are Saying (And Why It Matters)
Professional photographers who shoot weddings, wildlife, and night scenes no longer avoid high ISO. They embrace it-because now they can fix it. One portrait photographer in Portland told me he shoots at ISO 16,000 indoors with no flash. He says, “I used to spend hours trying to fix noise. Now I do it in 30 seconds. My clients notice the difference. They say the photos look ‘more alive.’” The industry consensus is clear: AI denoise isn’t a gimmick. It’s the new standard. Traditional noise reduction is obsolete for serious work.What to Avoid
Don’t:- Apply noise reduction twice (once in Lightroom, once in Topaz). You’ll over-smooth.
- Use the highest setting on auto. More isn’t better. You’ll lose detail.
- Ignore your histogram. If you underexposed badly, noise will be worse than any tool can fix.
- Think AI fixes bad technique. It helps-but it doesn’t replace good exposure.
The Future Is Already Here
AI noise reduction is getting smarter. Adobe’s latest updates can now detect and preserve fine textures like grass, fur, and lace with near-perfect accuracy. Topaz is testing a version that works in real-time during editing. DxO is training models on specific camera models to optimize results even further. The takeaway? You don’t need perfect lighting anymore. You don’t need a full-frame camera. You just need to shoot RAW, use a tripod when you can, and let AI do the heavy lifting. Noise isn’t your enemy anymore. It’s just data your software can clean up.Can I fix noise in JPEGs?
You can, but it won’t be as good. JPEGs lose data when saved, so AI tools have less to work with. You’ll get some improvement, but you’ll still lose detail. Always shoot in RAW if you plan to edit noise later.
Does AI denoise work on videos too?
Yes. Topaz Denoise AI and Adobe Premiere Pro now include AI noise reduction for video. It’s especially useful for low-light footage from smartphones or action cams. The same principles apply: let the AI analyze, then fine-tune to avoid plastic-looking skin or blurry motion.
Is Topaz Denoise AI worth the price?
If you shoot in low light often-night photography, indoor events, wildlife-it absolutely is. For $129 one-time, it saves hours of editing and delivers results no other tool can match. If you only shoot in daylight, skip it. But if noise is a recurring problem, it’s the best investment you’ll make in your editing workflow.
Why does my noise reduction look blurry?
You probably turned the slider too far. AI tools are powerful, but they can over-smooth. Always zoom in to 100% while adjusting. Stop when the noise is gone but textures like hair, fabric, or leaves still look sharp. If it looks like a painting, you went too far.
Do I need to buy a new camera to avoid noise?
No. Even older cameras can produce clean results with good technique and AI tools. A 5-year-old full-frame camera with proper exposure and Topaz Denoise AI will outperform a new crop-sensor camera shot at ISO 12,800 without cleanup. The key isn’t gear-it’s workflow.