You know that feeling when you look at a photo and it feels too perfect? Too sharp, too processed, too much like what a computer thinks reality looks like? Pinhole photography is the antidote. It’s raw, it’s weird, and it’s incredibly forgiving in ways modern lenses never will be. If you’ve ever wanted to slow down your shooting process and actually think about light instead of just capturing it, this is where you start.
Forget autofocus. Forget f-stops on a dial. Pinhole cameras are essentially boxes with a tiny hole. That’s it. No glass elements, no moving parts, no electronics inside the body itself. The magic happens because light travels in straight lines, and when you restrict that light through a microscopic aperture, you get an image. But here’s the catch: because the hole is so small, very little light gets in. This means exposures aren’t measured in fractions of a second-they’re measured in seconds, minutes, or even hours.
The Physics Behind the Hole
Why does a tiny hole create an image? It’s basic geometry. Light from the top of a tree passes through the hole and hits the bottom of the film plane. Light from the bottom of the tree passes through the hole and hits the top. Because the hole is so small, each point on the subject projects a tiny cone of light onto the sensor or film. Since these cones don’t overlap much, you get a recognizable image. Unlike a lens, which bends light to focus it, a pinhole relies on diffraction limits. If the hole is too big, the cones overlap and the image blurs. If it’s too small, diffraction spreads the light out, also causing blur. There’s a sweet spot.
This sweet spot is determined by the focal length, which is simply the distance from the pinhole to the film or sensor. You can calculate the optimal pinhole diameter using Lord Rayleigh’s formula: d = 1.9 * sqrt(f * λ). For visible light (λ ≈ 0.55 micrometers), a common rule of thumb for a standard 50mm focal length camera is a hole around 0.3mm. But honestly? Don’t let the math scare you off. Many photographers just buy pre-made pinhole plates or make their own with a needle and aluminum foil.
Building Your First Camera
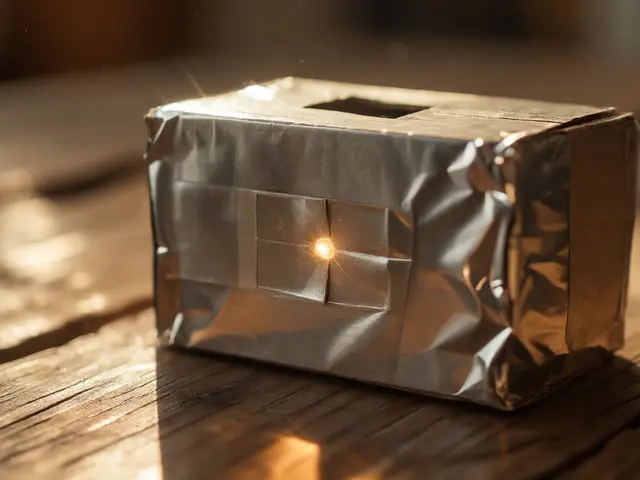
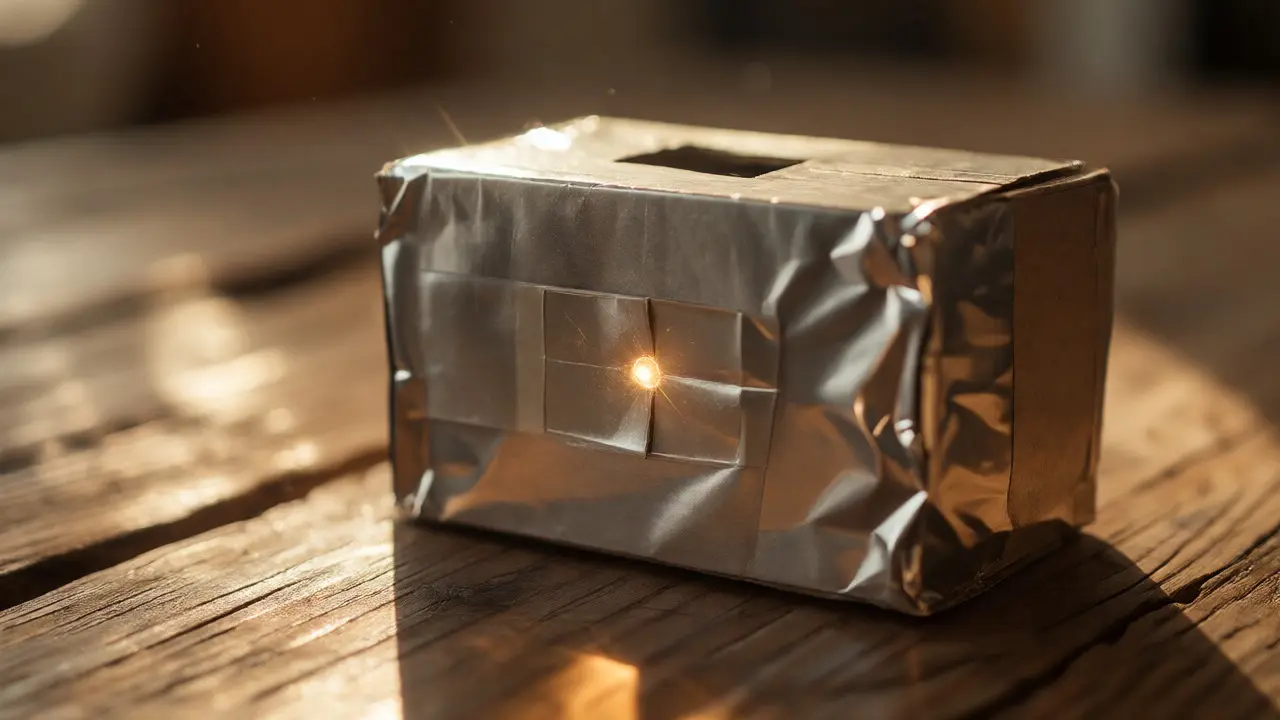
You don’t need a $500 camera body to start. Some of the best pinhole shots come from shoeboxes. Seriously. All you need is a light-tight container, a way to hold the pinhole plate, and a shutter mechanism. A piece of black tape over the hole works as a shutter. You pull it off, wait, and put it back. It’s primitive, but it works.
- The Body: Any opaque box will do. Shoeboxes, coffee cans, matchboxes, or even old SLR bodies with the lens removed.
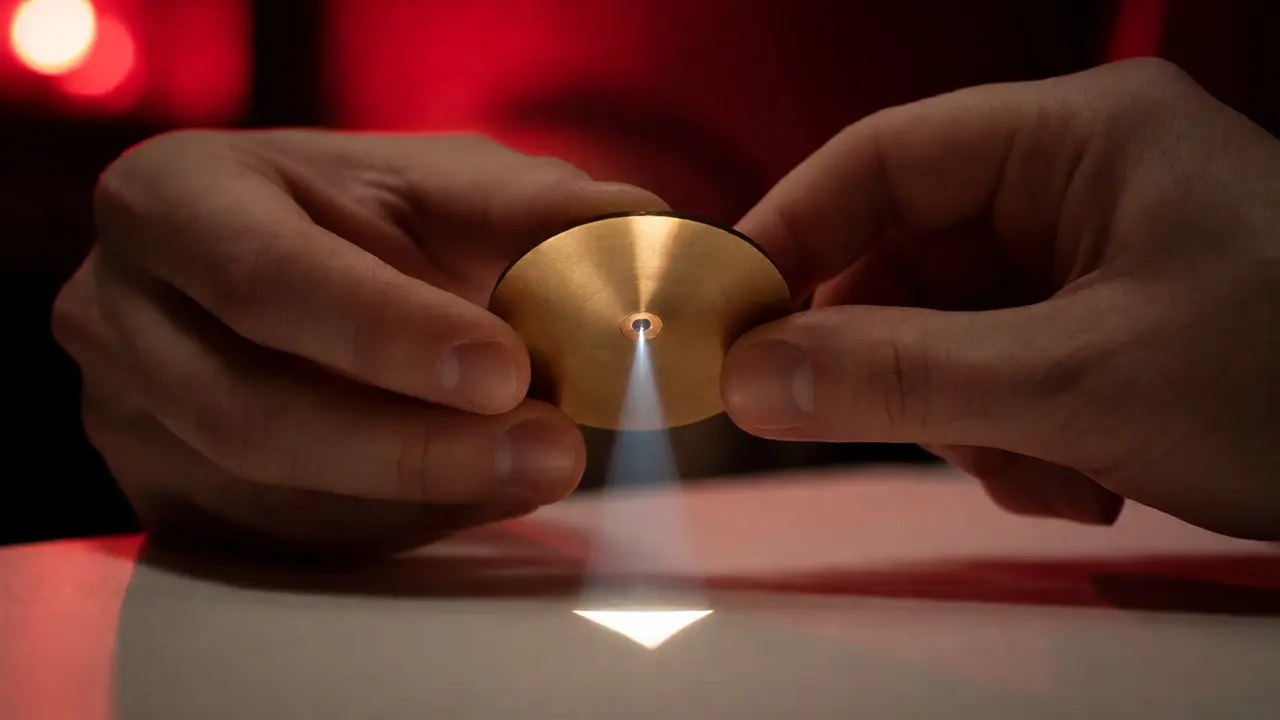
- The Pinhole Plate: Thin aluminum foil or brass shim stock. Puncture it carefully with a fine needle (like a sewing needle). Smooth the edges by rubbing the needle against sandpaper if needed.
- The Film/Sensor Holder: In a shoebox, use binder clips to hold film. In a DSLR, remove the lens, insert a pinhole adapter into the mount, and shoot digitally.
- The Shutter: Black electrical tape is cheap and effective. Just remember to close it fully after exposure.
If you’re using a digital camera, set it to Bulb mode. This keeps the shutter open as long as you hold the button (or use a remote). Set ISO low-ISO 100 or 200-to minimize noise during those long waits. Yes, long exposures generate heat, which creates thermal noise in sensors. Keeping ISO low helps keep the image clean.

Mastering Long Exposures
Here’s where patience comes in. With a normal lens at f/8, you might shoot at 1/125th of a second. With a pinhole at f/128 (a typical value for a simple setup), you’re looking at several seconds even in bright sunlight. On a cloudy day? Minutes. At night? Hours.
How do you calculate exposure time? Use a pinhole calculator app or online tool. They take your focal length, pinhole size, ISO, and lighting conditions to give you a starting point. Then, bracket your shots. Take one at the calculated time, one at double, and one at half. Digital lets you check instantly; film requires trust and experience.
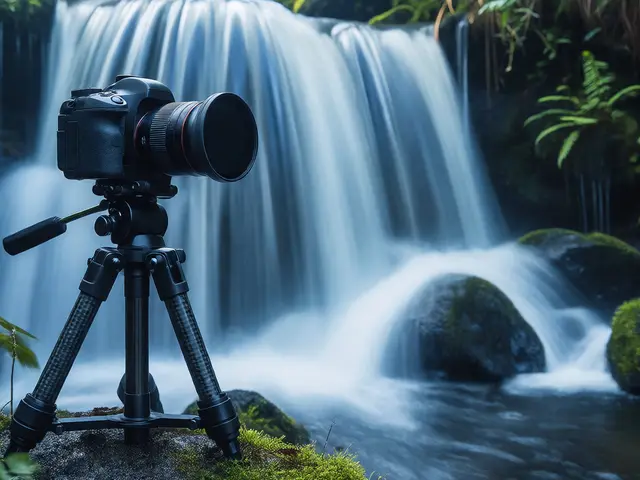
Stability is non-negotiable. Your camera must not move during the exposure. Even a slight breeze can ruin a 10-minute shot. Use a sturdy tripod. If you’re shooting on a wall or rock, use sandbags or weights. Vibration is the enemy of sharpness in pinhole work.
Film vs. Digital: Which Path?
Both have their merits. Digital gives you immediate feedback, higher dynamic range in some cases, and no cost per frame. Film gives you grain, a unique tonal curve, and a tactile ritual that forces you to slow down further.
| Feature | Film Pinhole | Digital Pinhole |
|---|---|---|
| Cost per Image | $1-$3 (film + dev) | Negligible (after gear) |
| Feedback Loop | Delayed (days/weeks) | Instant |
| Dynamic Range | Excellent highlights roll-off | Good, but harsher clipping |
| Noise/Grain | Pleasant organic grain | Thermal noise in long exps |
| Convenience | Low (loading, unloading) | High (swap cards, charge battery) |
If you’re new, try digital first. It removes the fear of wasting money on bad frames. Once you understand exposure times and composition, switch to film if you want that nostalgic aesthetic. Large format sheet film (4x5 inch) is popular for pinholes because the larger negative area captures more detail and allows for contact printing without enlargement.
Creative Applications and Pitfalls
What makes pinhole photos special isn’t just the softness-it’s the perspective. Because there’s no lens distortion, straight lines stay straight. Wide-angle views feel expansive but natural. You can also experiment with multiple pinholes in one camera. Two holes side-by-side create two overlapping images. Three holes create a triptych effect. Curved film planes (using curved holders) can mimic wide-angle lenses without edge distortion.
Common pitfalls include reciprocity failure in film. Standard exposure meters assume linear response, but film slows down at very long exposures. Add extra time: for exposures longer than 1 second, multiply by 1.5; for 1 minute, multiply by 2; for 1 hour, multiply by 3 or more. Check specific film datasheets.
Another issue is vignetting. The corners often get darker because the light path is longer to the edges. Embrace it. It adds mood. Or, angle the film plane slightly toward the center to balance illumination.
Tips for Better Results
- Keep it clean: Dust on the pinhole plate ruins images. Blow it off gently before every shot.
- Protect the sensor/film: When loading film in daylight, ensure the camera is truly light-tight. Test with a phone flashlight in a dark room.
- Use a remote: Pressing the shutter button causes shake. Use a cable release or wireless trigger.
- Experiment with shapes: Cut different shapes into foil-stars, squares, hearts. The bokeh (out-of-focus highlights) will take that shape. It’s subtle but fun.
- Shoot landscapes: Static subjects work best. Moving cars become ghosts. Clouds streak beautifully. Water turns silky.
Pinhole photography isn’t about technical perfection. It’s about seeing differently. It forces you to consider time as part of the image. When you spend ten minutes waiting for a single frame, you notice things-the wind, the shifting light, the people walking past who become blurs. You stop chasing moments and start inhabiting them.
So grab a box, poke a hole, and load some film. Or plug in your digital body. Go outside. Wait. See what happens when you let light paint slowly.
Do I need a special lens for pinhole photography?
No, you don't need a lens at all. The pinhole itself acts as the optical element. If you're using a DSLR or mirrorless camera, you'll need a pinhole adapter that fits your camera's lens mount (like Canon EF, Nikon F, Sony E, etc.). These adapters hold the pinhole plate in place where the lens would normally sit.
How long should my exposure be?
Exposure times vary wildly based on light, ISO, and pinhole size. In bright sunlight with ISO 100, expect 5-30 seconds. On cloudy days, 1-5 minutes. At dusk, 10-60 minutes. Always use a pinhole calculator app for a starting point, then bracket your shots (take shorter and longer versions) to find the right balance.
Can I use any box for a pinhole camera?
Yes, as long as it is completely light-tight. Shoeboxes, coffee cans, matchboxes, and even Pringles tubes work well. The key is ensuring no light leaks in except through the pinhole. Test your box in a dark room with a flashlight to check for leaks before loading film or a sensor.
Why are my pinhole photos blurry?
Some blur is inherent to pinhole optics due to diffraction, but excessive blur usually means camera shake or an incorrectly sized pinhole. Ensure your camera is stable on a tripod. Also, check your pinhole size-if it's too large, the image becomes fuzzy; if too small, diffraction causes softness. Aim for the optimal size based on your focal length.
Is digital or film better for pinhole photography?
Digital is better for learning because you get instant feedback and can experiment freely without cost. Film offers a unique aesthetic with pleasing grain and highlight rolloff, plus the meditative process of handling negatives. Many photographers start with digital to master exposure, then move to film for artistic expression.