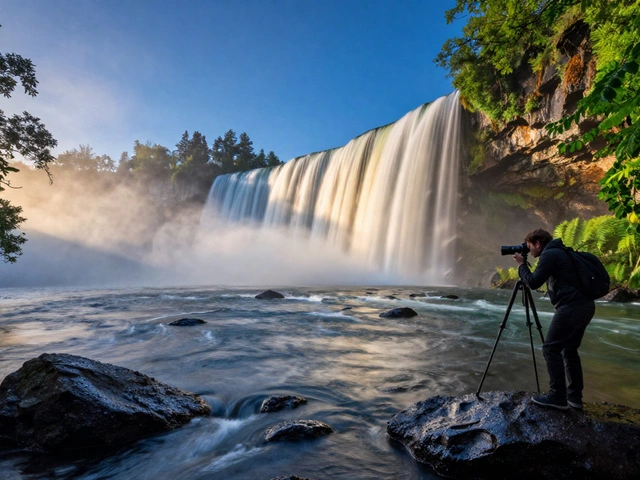
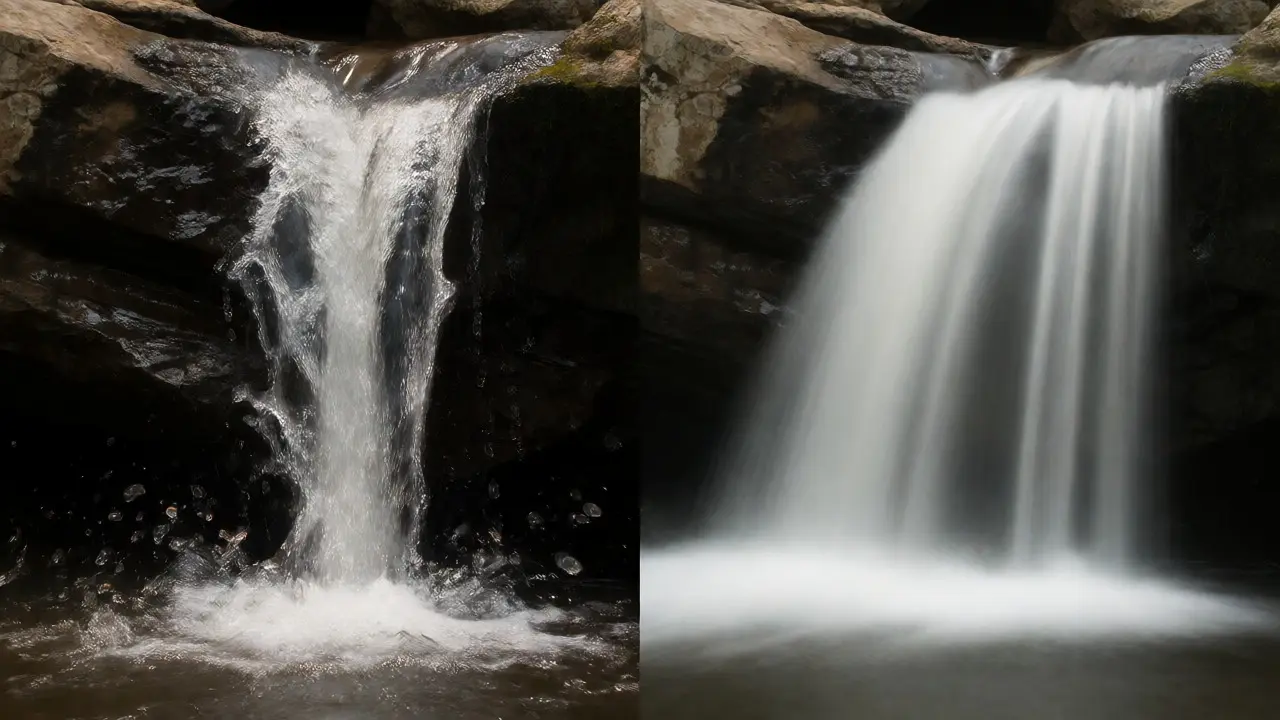
You know that feeling when you stand in front of a massive cascade, your camera set to long exposure, and the shutter just won't close fast enough? The light is too bright, even at ISO 100 and f/22. You’re fighting physics. Without help, your image looks like frozen droplets instead of flowing mist. That’s where Neutral Density (ND) filters come in. They aren’t magic, but they act like sunglasses for your lens, cutting light so you can drag the shutter open for seconds-or minutes-to turn chaotic water into smooth, ethereal silk.
Why Your Camera Can’t Do It Alone
Modern cameras are incredible, but they have limits. Most mirrorless and DSLR bodies top out at ISO 50 or 64. Even with a small aperture like f/16 or f/22, you might only get a shutter speed of 1/15th of a second in broad daylight. For a waterfall, that’s too fast. You’ll capture individual drops, which often looks messy and dated. To get that creamy, cotton-candy look, you usually need exposures between 1 and 30 seconds. That requires blocking 90% to 99% of incoming light. An ND filter does exactly that without changing color balance or contrast, letting you control motion blur independently of lighting conditions.
| Filter Type | Light Reduction | Stops Lost | Best For |
|---|---|---|---|
| ND8 | ~87% | 3 Stops | Overcast days, slow shutter (1-2 sec) |
| ND64 | ~98% | 6 Stops | Bright sun, medium exposure (5-10 sec) |
| ND1000 | ~99.9% | 10 Stops | Midday sun, extreme blur (30+ sec) |
Choosing the Right Strength for the Light
Picking the wrong filter strength is the most common beginner mistake. If you buy an ND1000 and shoot on a cloudy afternoon, you’ll wait five minutes for one photo. If you use an ND8 in direct noon sunlight, you still won’t get enough blur. Start by calculating your base exposure. Set your camera to manual mode, pick your desired aperture (f/11 to f/16 is the sweet spot for sharpness), and set ISO to its lowest native value. Take a test shot without any filter. Note the shutter speed needed for correct exposure. Then apply the math.
Each stop doubles the time. If your base shutter is 1/100th of a second and you want a 1-second exposure, you need about 6.5 stops of reduction. An ND64 gives you 6 stops, getting you very close. An ND1000 gives you 10, pushing you to 10 seconds. Always bring a variable ND or a set of fixed filters if you’re unsure. Variable NDs let you dial in the exact amount, though cheap ones can introduce an "X" pattern artifact in wide-angle shots. Stick to reputable brands like B+W, Haida, or Formatt-Hitech to avoid color casts.
The Setup: Stability Is Non-Negotiable
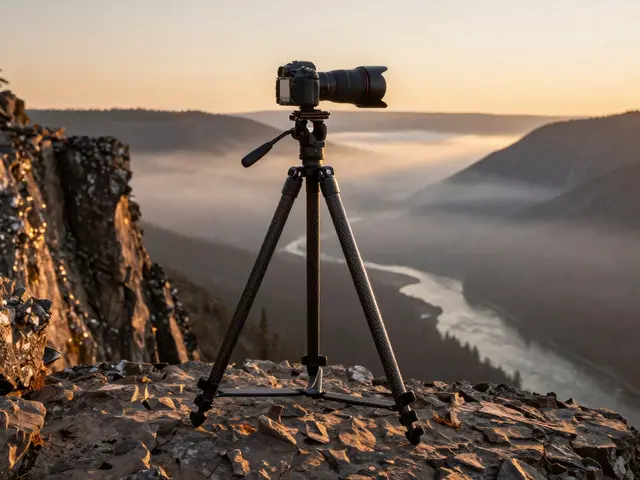
You cannot handhold a 10-second exposure. Period. A sturdy tripod is mandatory. But it’s not just about holding the camera; it’s about vibration isolation. When you press the shutter button, you introduce micro-shakes. In a long exposure, those shakes blur the entire frame. Use a remote shutter release or your camera’s built-in timer (2-second delay). This lets the tripod settle after you touch the camera. Also, lock your tripod legs tightly. If there’s wind-and there always is near waterfalls-hang your camera bag from the center hook to add weight. This stabilizes the setup against gusts that could ruin a 30-second shot.
Focusing Before You Block the Light
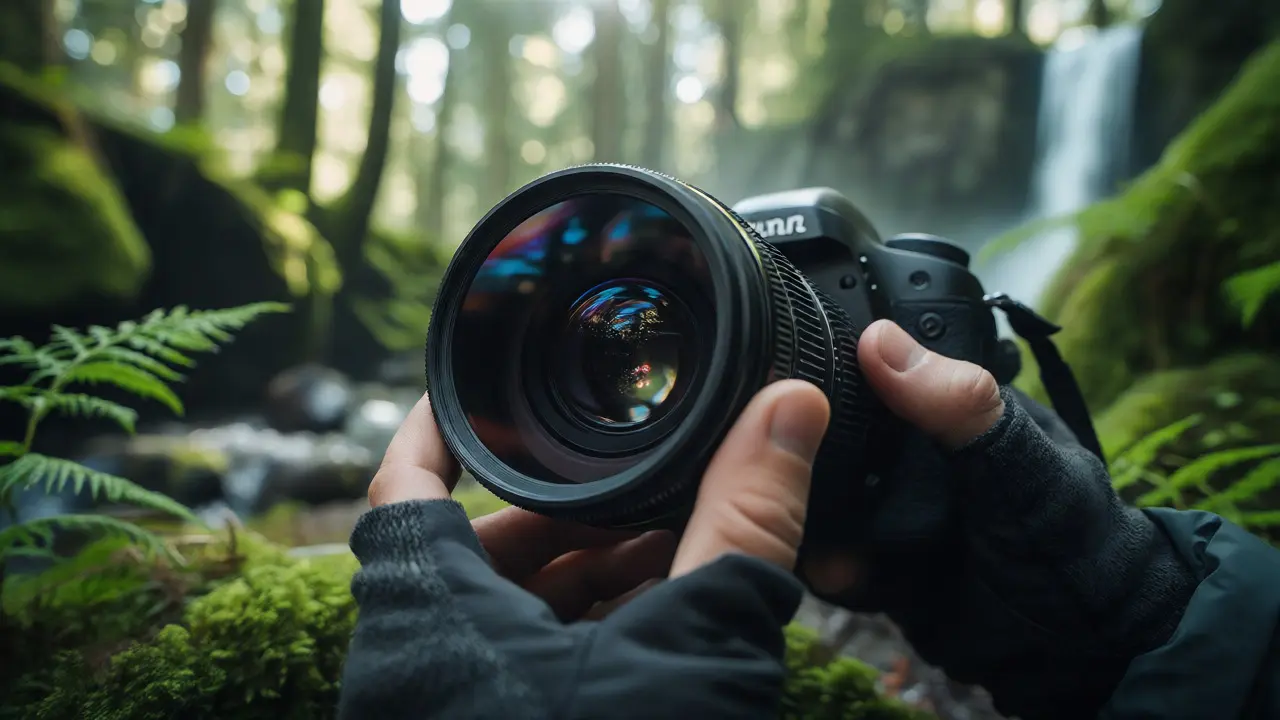
This is a critical step people forget. Once you screw on a strong ND filter like an ND1000, your viewfinder goes almost pitch black. Autofocus struggles or fails completely. Here’s the workflow: Compose your shot first. Focus manually or via autofocus on the foreground rocks or the mid-point of the waterfall. Lock that focus. Only then do you attach the ND filter. If you try to focus through the dark glass, you’ll likely miss the mark. Some photographers use a technique called "focus stacking" here, taking multiple images at different focus points before adding the filter, but for single-exposure landscapes, pre-focusing is faster and reliable.
Dealing with Color Casts and Vignetting
Not all glass is created equal. Cheap ND filters often add a blue or magenta tint to your images, especially stronger ones. This happens because the glass coating isn’t perfectly neutral across the spectrum. You can fix this in post-processing with white balance adjustments, but it’s better to get it right in-camera. Shoot RAW files so you have maximum flexibility to correct colors later. If you see a color cast, try adjusting your custom white balance using a gray card before attaching the filter.
Vignetting is another issue. Stacking filters or using thick metal rings can block light at the corners, creating dark edges. This is worse with wide-angle lenses. If you must stack an ND with a polarizer, ensure both have slim frames. Many modern filter systems, like Cokin or Lee, use square holders that allow for easier stacking without as much vignetting, though round screw-on filters are cheaper and simpler for beginners.
Capturing the Flow: Composition Tips
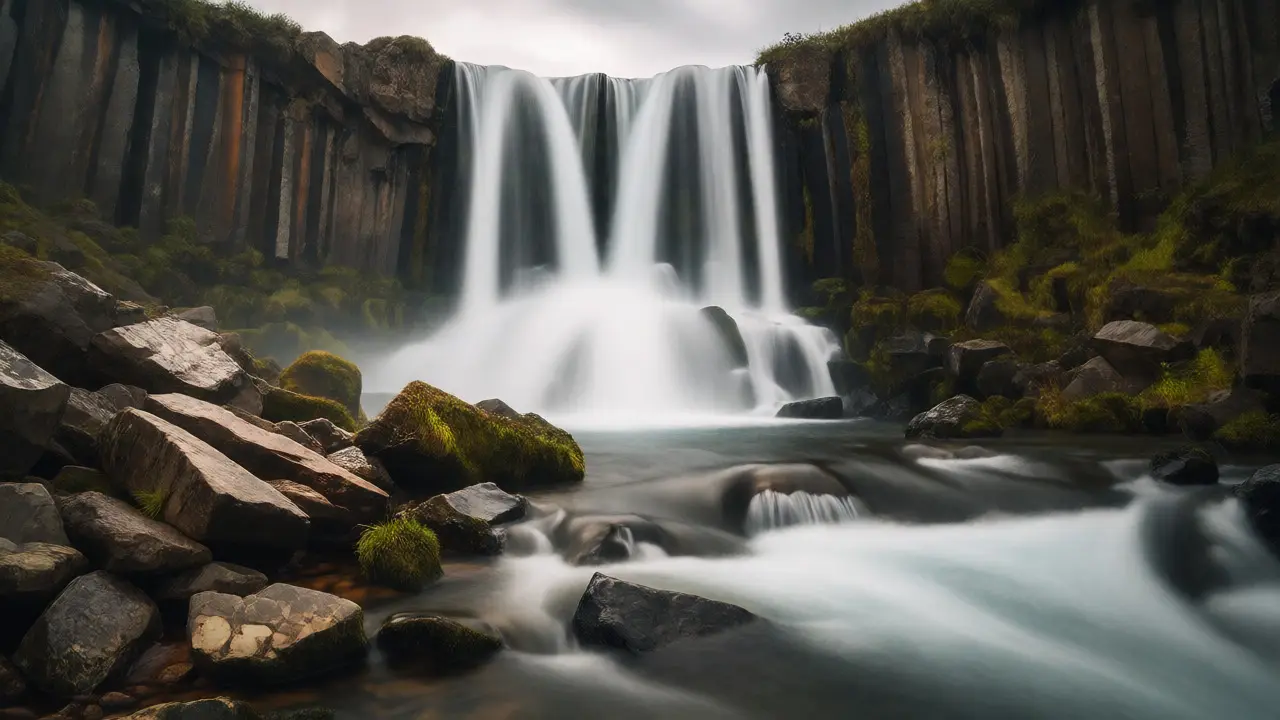
Silky water is beautiful, but it needs context. Don’t just fill the frame with white blur. Anchor your composition with static elements. Sharp rocks, mossy logs, or tree branches provide contrast against the soft water. This juxtaposition highlights the movement. Position your camera low to the ground to emphasize the flow leading toward the viewer. Use leading lines-the curve of the stream or the edge of a cliff-to guide the eye through the image. Remember, the goal isn’t just to blur water; it’s to convey the energy and mood of the location.
Post-Processing: Enhancing the Silk
Your work isn’t done when you lower the camera. Long exposures can sometimes look flat because the sensor averages out details. In software like Adobe Lightroom or Capture One, boost the clarity slightly to bring back texture in the rocks while keeping the water smooth. Adjust the highlights carefully; blown-out whites in the waterfall core are hard to recover. If you used a variable ND, check for uneven polarization effects, which can make the sky look patchy. Finally, sharpen only the static elements. Applying global sharpening to a long-exposure image will accentuate noise in the blurred water areas, ruining the silky effect.
Troubleshooting Common Issues
If your images are blurry everywhere, check your tripod stability. Did the wind move it? Did you bump it during exposure? If the water looks streaky rather than smooth, your shutter speed might be too short. Try increasing the ND strength or stopping down the aperture further. If the image has strange artifacts, remove any UV or protective filters from your lens before adding the ND. Stacking too many layers increases reflections and ghosting. Keep it simple: Lens → ND Filter → Cap off.
Do I really need an ND filter for waterfalls?
Yes, if you want the classic "silky water" look. Without an ND filter, daylight forces fast shutter speeds that freeze water droplets, resulting in a jagged, less artistic appearance. ND filters allow for the multi-second exposures required to blur motion smoothly.
What is the best ND filter strength for waterfalls?
It depends on the light. For overcast days, an ND8 or ND16 is sufficient. For bright sunny days, an ND64 or ND1000 is necessary to achieve exposures longer than 1 second. A variable ND filter offers flexibility but can cause quality issues at extreme settings.
Can I use a Polarizer instead of an ND filter?
A polarizer reduces light by about 1-2 stops, which is rarely enough for significant waterfall blur in daylight. However, combining a polarizer with an ND filter is excellent practice. The polarizer cuts glare from wet rocks and deepens blue skies, while the ND handles the exposure length.
Why does my image have a color cast?
Lower-quality ND filters often introduce a green, blue, or magenta tint due to imperfect neutral coatings. Shooting in RAW allows you to correct this in post-processing. Higher-end filters use advanced coatings to minimize this issue, preserving natural colors.
How long should I expose a waterfall?
There is no single rule, but 1 to 5 seconds is a good starting point for moderate flow. Very high-speed falls may need 10-30 seconds to fully smooth out. Experiment with different durations to see how the specific volume and speed of the water reacts to the blur.