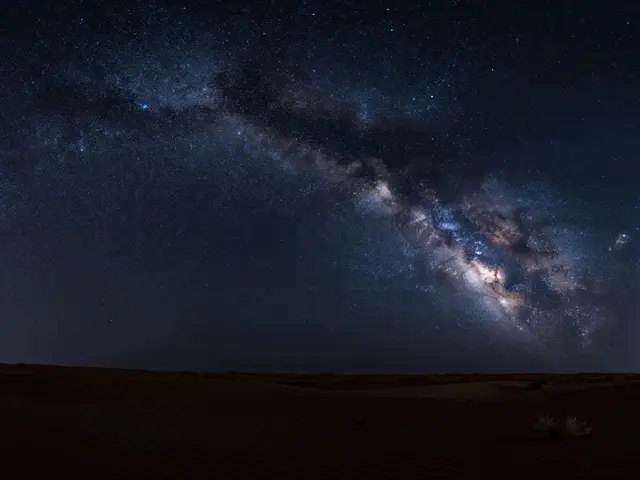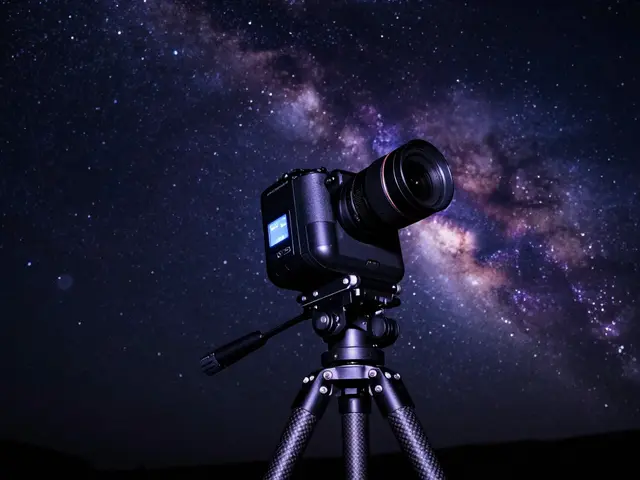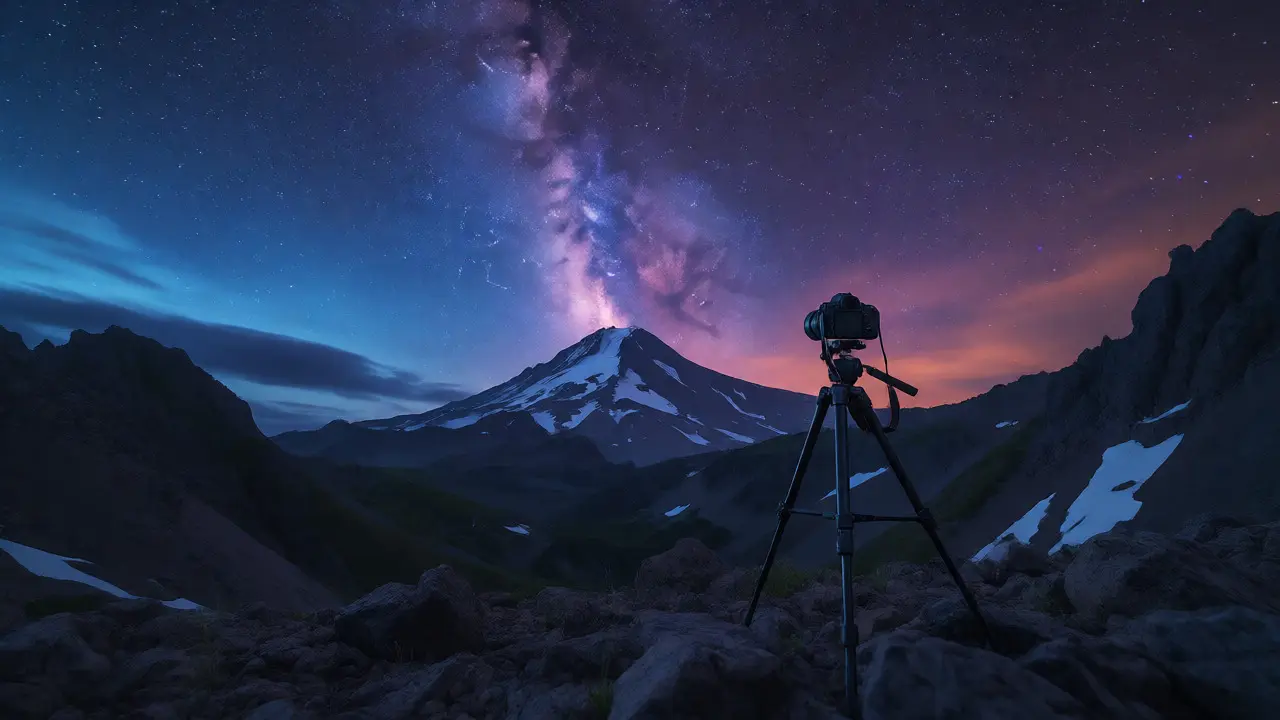
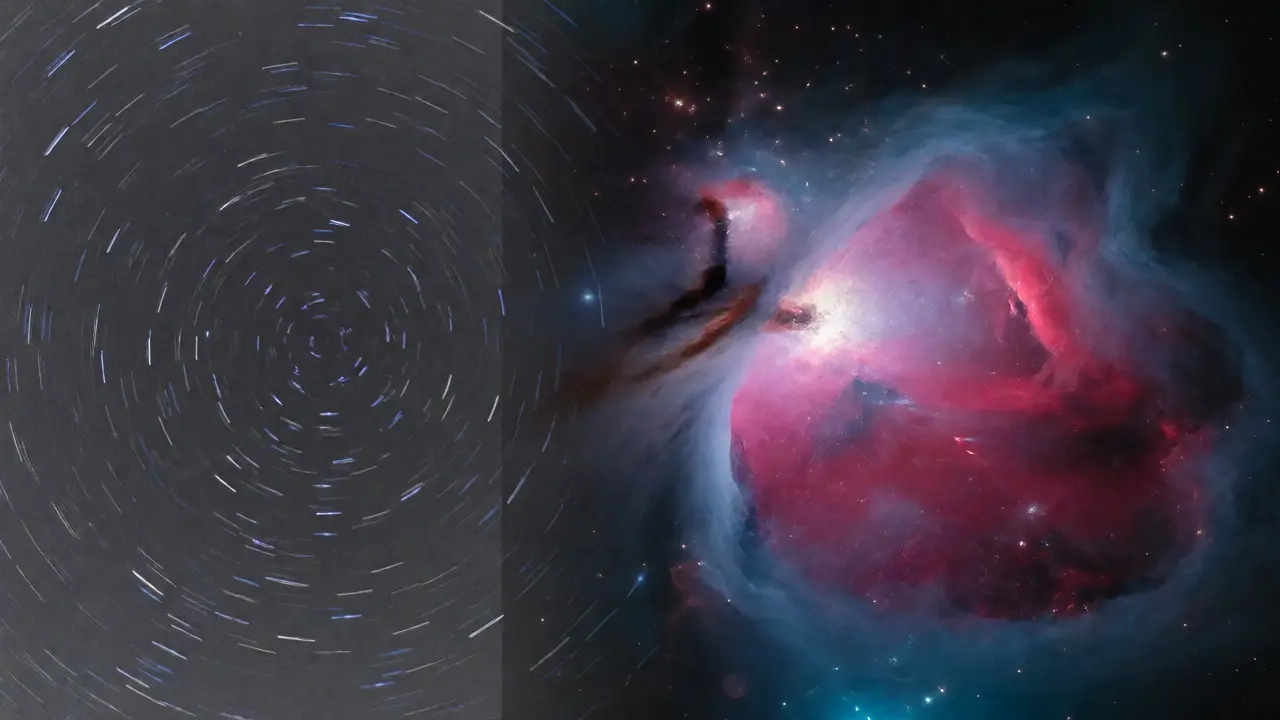
You’ve probably seen those jaw-dropping images of the Milky Way where every single star is a perfect pinprick, not a streak. Then you look at your own photos from last weekend and see... lines. Why? Because Earth rotates. At our latitude in Portland, Oregon, the stars move across the sky at about 15 degrees per hour. If you leave your shutter open for more than 20-30 seconds without help, gravity’s little sidekick-rotation-turns points into dashes.
So, how do astrophotographers get those crisp, detailed shots of nebulae and galaxies that seem impossible with a handheld camera? They either keep exposures short (static) or they fight rotation with gear (tracking). Neither method is universally "better." It depends entirely on what you’re shooting, your budget, and how much time you want to spend processing files later. Let’s break down exactly when to reach for a star tracker and when to stick with a sturdy tripod and wide-angle lens.
The Physics of Light Pollution and Exposure Time
Before we talk gear, let’s talk math. The core conflict in night photography is between gathering enough light and avoiding motion blur. Your sensor needs photons to create an image. More photons mean less noise. But if the Earth turns while your shutter is open, those photons land on different pixels, creating trails.
For static astro shots, you are limited by the Rule of 500 (or the stricter Rule of 400/600 for modern high-resolution sensors). This rule calculates the maximum exposure time before trailing becomes visible. For a 24mm lens on a full-frame camera, 500 divided by 24 equals roughly 20 seconds. Push past that, and you start seeing elongation. To compensate, you have to crank up your ISO, often to 3200, 6400, or even 12800. High ISO introduces digital noise, which you then try to scrub out in post-production using software like Lightroom or DxO PureRAW.
Tracking shots solve this by moving the camera at the same speed as the Earth’s rotation. A motorized mount compensates for the spin, allowing you to expose for minutes instead of seconds. With a tracker, you can shoot at ISO 800 or 1600 for 5 minutes straight. The result? Cleaner shadows, richer color depth, and significantly less noise reduction needed in editing.
When to Stick with Static Shots
Don’t underestimate the power of simplicity. Static photography isn’t just for beginners; it’s the go-to for specific scenarios where tracking adds unnecessary complexity or cost.
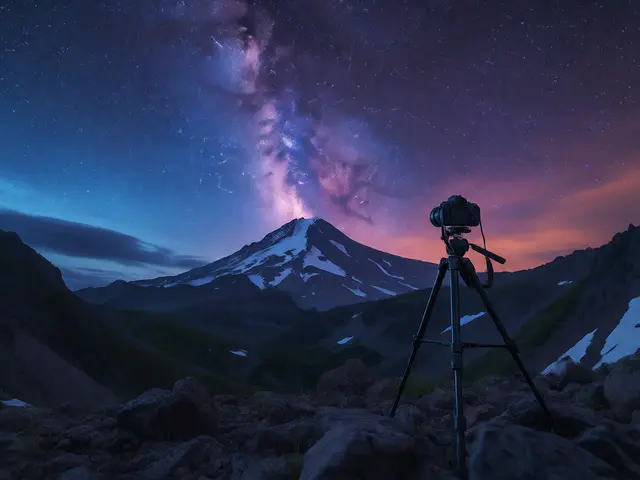
- Wide-Angle Landscapes: If you’re capturing the Milky Way arching over Mount Hood, a static shot is often superior. Trackers introduce alignment errors. Even a slight misalignment causes field rotation-the edges of your frame drift differently than the center. With a wide-angle lens (14mm-24mm), keeping exposures under 20 seconds avoids this issue entirely.
- Meteor Showers: You cannot predict exactly when a meteor will flash. Using a tracker locks your composition. If a fireball appears outside your tracked frame, you miss it. Static setups allow you to set up multiple cameras or use intervalometers to capture rapid sequences without worrying about polar alignment precision.
- Fast-Moving Subjects: Shooting satellites, the International Space Station (ISS), or airplanes against the starfield requires short bursts. These objects move fast relative to the stars. A tracker might actually make them harder to isolate if you aren’t careful with exposure timing.
- Budget Constraints: Good trackers cost between $400 and $2,000+. If you’re just starting out, investing in a faster lens (like an f/1.8 or f/2.0) and a better camera body yields immediate results. You can buy three decent lenses for the price of one high-end equatorial mount.
| Feature | Static Shot | Tracking Shot |
|---|---|---|
| Max Exposure | ~20 seconds (varies by focal length) | Minutes to hours |
| ISO Requirement | High (3200-12800+) | Low (800-1600) |
| Gear Cost | Low ($100-$300 for tripod/head) | Medium-High ($400-$2,000+) |
| Setup Time | Fast (<5 mins) | Slow (15-30 mins for alignment) |
| Best For | Milky Way, Meteors, Wide Landscapes | Nebulae, Galaxies, Clusters |
Why You Need a Tracker for Deep Sky Objects
If you want to photograph the Orion Nebula or the Andromeda Galaxy, static shots won’t cut it. These objects are faint. They require massive amounts of light collection. In astrophotography terms, we call this "integration time."
A single 30-second static shot of M31 (Andromeda) looks like a smudge. To get detail, you need to stack dozens or hundreds of images. But stacking static images has limits due to the trailing mentioned earlier. You can only stack so many before the stars start to smear in the corners of your frame.
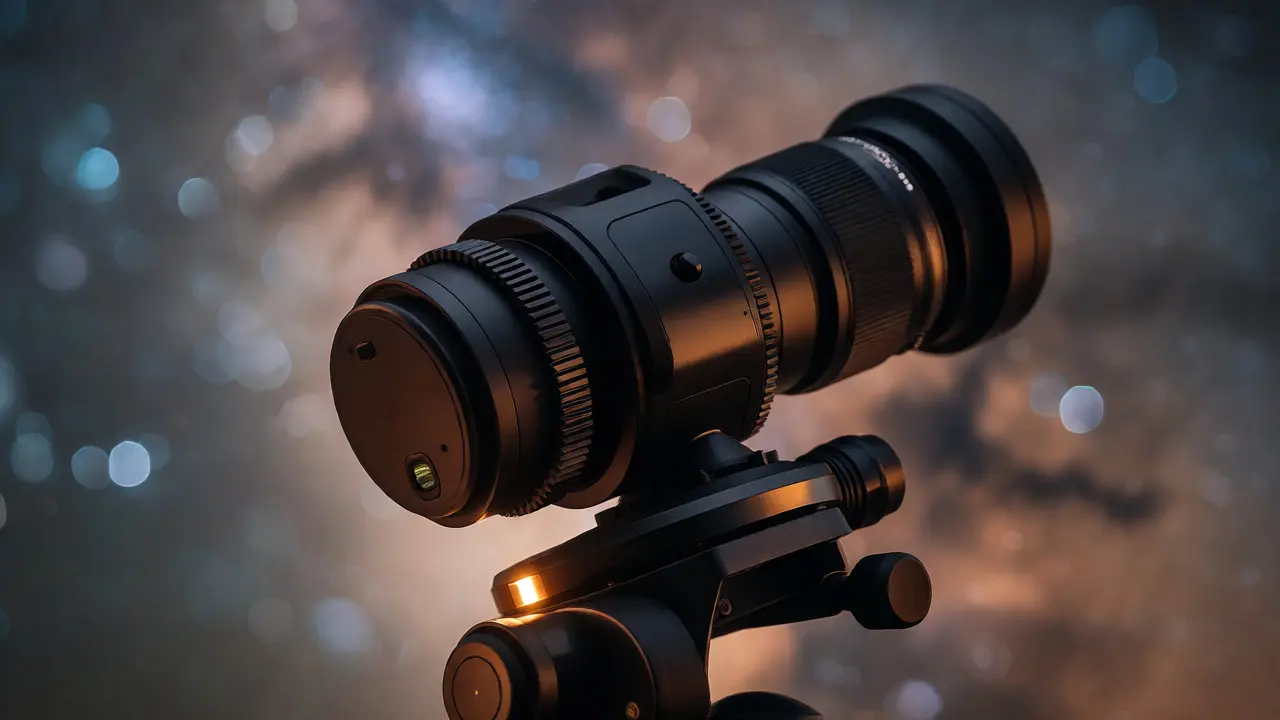
Enter the equatorial mount. Unlike a standard ball head, an equatorial mount aligns its axis with the Earth’s rotational pole. Once aligned (polar alignment), you turn one knob (or let a motor drive it) to track the sky perfectly. This allows you to take 5-minute exposures at low ISO. You then stack these clean frames together. The signal (light from the object) adds up linearly, while the random noise averages out. This is why professional deep-sky images look so smooth and vibrant.
Consider the Sky-Watcher Star Adventurer GTi or the iOptron SkyGuider Pro. These are popular entry-level trackers. They weigh less than two pounds but can hold a DSLR and a medium telephoto lens. They don’t require a heavy-duty tripod like traditional mounts, making them portable for weekend trips to the Oregon coast or Crater Lake.
The Hidden Costs of Tracking: Alignment and Field Rotation
It’s not all sunshine and starlight with trackers. There are technical hurdles that static shooters never face.
Polar Alignment: Before you take a single photo, you must point your tracker’s axis precisely at Polaris (the North Star) or Sigma Octantis (in the Southern Hemisphere). If you’re off by even half a degree, your stars will trail after just a few minutes. Apps like Polar Scope Align or built-in electronics on newer models help, but it takes practice. In the dark, cold rain of a Pacific Northwest autumn, getting this right is frustrating.
Field Rotation: Simple alt-azimuth trackers (which move up/down and left/right) suffer from field rotation. As the Earth turns, the angle of your frame changes relative to the horizon. This means stars in the corners rotate around the center. For wide-field shots, this ruins the image. Equatorial mounts avoid this because their axis matches Earth’s tilt. If you buy a cheap tracker, ensure it has an equatorial wedge or is designed for true equatorial tracking.
Balance and Weight: Every ounce counts. If your camera + lens + tracker setup is top-heavy, the motors strain, causing vibration or missed steps. I learned this the hard way with a heavy zoom lens. My tracker couldn’t handle the torque, and my stars looked like tiny comets despite perfect alignment.
Hybrid Approaches: Best of Both Worlds
Here’s a pro tip: you don’t always have to choose. Many advanced astrophotographers use a hybrid workflow.
Use a tracker for the sky portion of your image and a static foreground. How? Take your tracked exposure of the stars. Then, quickly reframe or swap to a static shot for the landscape (trees, mountains, water) if you want sharp foreground details without the risk of tracker-induced foreground blur. Alternatively, shoot the entire scene with a tracker but use a shorter exposure (60-90 seconds) to minimize field rotation issues while still gaining significant light-gathering benefits over the 20-second static limit.
Another technique is dithering. Between each tracked exposure, you slightly shift the mount’s position. This moves the stars by a few pixels. When you stack the images, dithering helps remove hot pixels and banding noise that would otherwise be fixed in place. Static shots can’t dither effectively because the stars are already moving relative to the sensor during the exposure.
Practical Gear Recommendations for 2026
Since we are in late 2026, technology has improved significantly. Here’s what I recommend based on current market availability and performance.
- For Static Beginners: Canon EOS R6 Mark II or Sony A7 IV. Both have excellent high-ISO performance. Pair with a Tamron 20mm f/2.8 Di III OSD. It’s lightweight, sharp, and cheap. Add a Manfrotto BeFree Live tripod.
- For Entry-Level Tracking: iOptron SkyGuider Pro. It’s compact, holds up to 11 lbs, and has good battery life. Pair it with a Celestron CG-5 mount if you plan to go heavier later.
- For Serious Deep Sky: ZWO AM5 Harmonic Drive Mount. Harmonic drives are quieter, stronger, and more precise than worm gears. They are becoming the standard for mobile astrophotography. Combine with a small refractor telescope like the William Optics RedCat 51.
Remember, the best gear is the gear you’ll actually use. If hauling a 20-pound equatorial mount to a dark site feels like torture, you’ll stop going. A $500 tracker that fits in your backpack is infinitely better than a $3,000 rig sitting in your closet.
Processing Differences: Stacking Software Matters
Your choice of shooting method dictates your post-processing workflow.
For static shots, you’re likely doing simple HDR blending or noise reduction. Tools like Adobe Lightroom, Topaz DeNoise AI, or DxO PureRAW are your friends. You might blend a sky exposure with a ground exposure using masks. It’s straightforward but limited in dynamic range extension.
For tracked shots, you need dedicated stacking software. Programs like DeepSkyStacker (free, Windows) or Siril (cross-platform) are essential. These tools align thousands of sub-exposures, reject outliers (like satellite passes), and combine them into a single master file. After stacking, you process the master file in Photoshop or PixInsight. The learning curve is steeper, but the payoff is immense. You can stretch data to reveal colors invisible to the naked eye.
Can I use a regular tripod head for tracking?
No, not effectively. Standard ball heads and pan-tilt heads do not compensate for Earth's rotation. You need a motorized star tracker or an equatorial mount. Some manual equatorial mounts exist, but they require constant adjustment and are difficult to use for long exposures without automated motors.
How long can I expose with a star tracker?
With a well-aligned equatorial tracker, you can expose for 5 to 10 minutes typically, sometimes longer depending on atmospheric stability (seeing) and polar alignment accuracy. Cheap alt-azimuth trackers may limit you to 60-90 seconds due to field rotation, even if the tracking itself is accurate.
Is a star tracker worth it for Milky Way photography?
Not necessarily. For wide-angle Milky Way shots (under 24mm), static exposures of 15-20 seconds are usually sufficient and easier to manage. Trackers shine when you want to shoot tighter crops of the galactic core or when you want to keep ISO very low for maximum dynamic range. For most casual Milky Way shooters, a fast lens and good noise reduction software are more valuable investments.
What happens if my polar alignment is off?
If your polar alignment is inaccurate, your stars will appear to rotate around the celestial pole rather than staying fixed. This causes trailing in the outer parts of your image, even if the center looks fine. The error increases with distance from the center and with exposure time. Most modern trackers have auto-alignment features or apps that guide you through the correction process.
Do I need a special lens for tracking?
No, you can use any lens. However, heavier lenses put more stress on smaller trackers. For deep sky work, small refractors (telescopes) are preferred because they provide higher magnification. For wide-field tracking, fast prime lenses (f/2.8 or wider) are ideal to gather light quickly while maintaining sharpness across the frame.