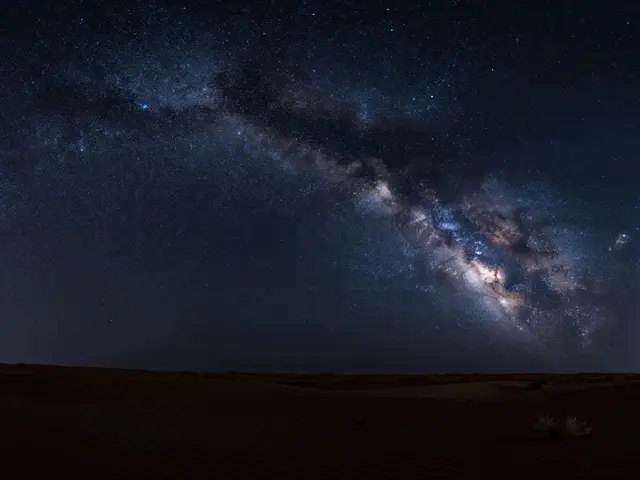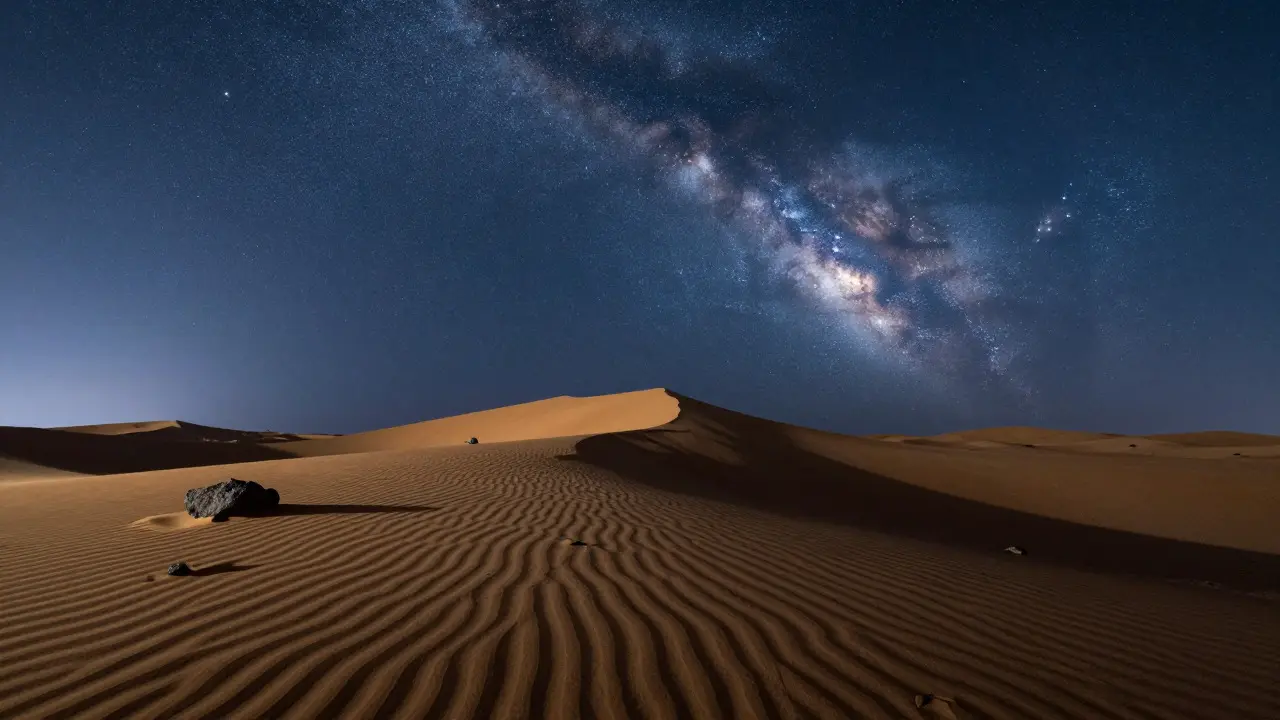
Most astro shots look flat because the stars are bright and the ground is pitch black. You see a brilliant Milky Way, but the landscape below looks like a void. That’s where light painting comes in. It’s not just about waving a flashlight around; it’s a controlled way to add depth, color, and narrative to your night scenes. By manually illuminating specific parts of your foreground during a long exposure, you can make rocks, trees, or hikers pop against the dark sky without blowing out the stars.
The core challenge is balancing two very different light sources: the faint starlight that requires a long shutter speed (often 15-30 seconds) and the artificial light you introduce, which is intense and short-lived. If you get this balance wrong, you’ll either have a washed-out foreground or a ghostly, blurry mess. The goal is to create an image where the viewer feels they could stand right there in the scene.
Understanding the Exposure Triangle at Night
To control light painting, you first need to master your camera settings for the base astro shot. Before you even think about turning on a flashlight, dial in your ISO, aperture, and shutter speed for the stars alone.
- Aperture: Set your lens to its widest opening, usually f/2.8 or wider. This lets in maximum starlight and keeps your depth of field manageable.
- ISO: Start at ISO 3200 or 6400. Modern cameras handle high ISO well, and you need the sensitivity to capture the Milky Way details.
- Shutter Speed: Use the 500 Rule (500 divided by your focal length) to avoid star trails. For a 24mm lens, that’s roughly 20 seconds. This is your total exposure time window.
Once these settings are locked, your job is to fit your light painting action within that 20-second window. If you shine a light for 10 seconds, you’re using half your exposure budget for the foreground. The remaining 10 seconds will be pure starlight. This ratio determines how bright your painted elements appear relative to the sky.
Choosing Your Light Source
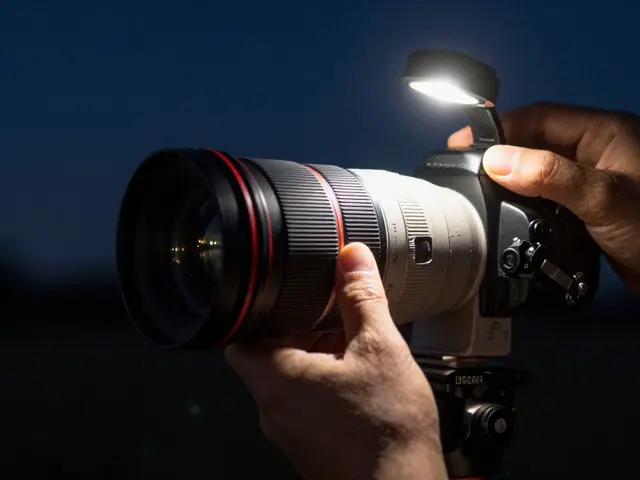
You don’t need expensive studio strobes. In fact, continuous lights are often easier for beginners because you can see exactly what you’re doing in real-time. Here are the most common tools used in the field:
| Tool | Control Level | Ideal For | Limitations |
|---|---|---|---|
| Headlamp | Low | General ambient fill, silhouettes | Hard to direct precisely, creates hot spots |
| LED Panel with Dimmer | High | Rocks, textures, gradual fades | Bulky, requires battery management |
| Laser Pointer | Moderate | Drawing lines, geometric shapes | Can cause sensor blooming if too bright |
| Colored Gels | High | Creative color accents, mood setting | Reduces light output significantly |
A simple LED panel with a dimming knob is the gold standard for beginners. You can start at 10% power and slowly ramp up as you move the light across a rock face. This creates a natural gradient that mimics moonlight rather than a harsh flash. Avoid using white balance presets on your light source; instead, let your camera’s white balance (usually set to daylight or auto) handle the color temperature correction.
Techniques for Static Foregrounds
If your subject is stationary-like a boulder, a tree stump, or a cabin-you have two main approaches: static illumination and dynamic brushing.
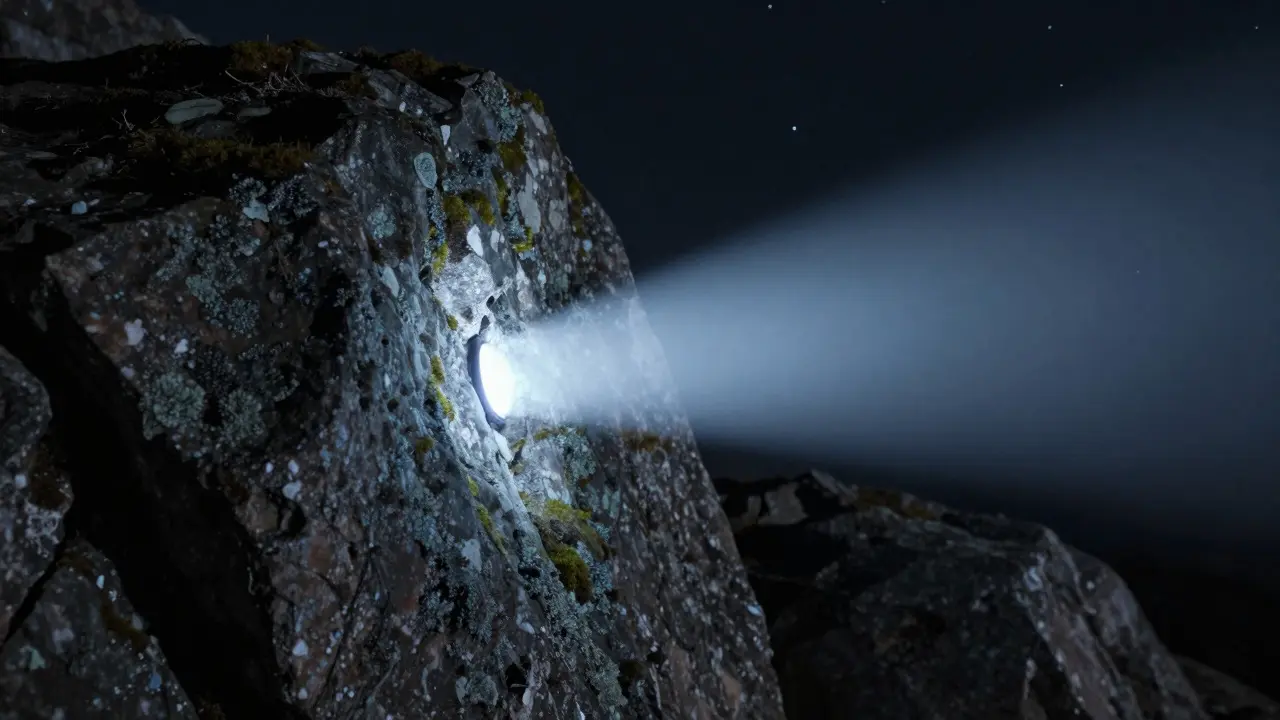
- Static Illumination: Place a light source off-camera and aim it directly at the subject. Leave it on for 5-10 seconds during the middle of your exposure. This works best for broad, textured surfaces. The key is to keep the light source out of the frame to avoid lens flare.
- Dynamic Brushing: Move the light source back and forth across the subject. This technique helps distribute light evenly and reduces harsh shadows. Imagine you’re painting with light; slow, deliberate movements create smooth transitions. Fast, jerky movements create streaks and uneven patches.
For detailed textures, like lichen on a rock or bark on a tree, use a narrower beam angle. A wide floodlight washes out details, while a spotlight brings out ridges and crevices. You can also use a piece of cardboard to block part of the light, creating a soft edge that falls off naturally.
Adding Human Elements and Motion
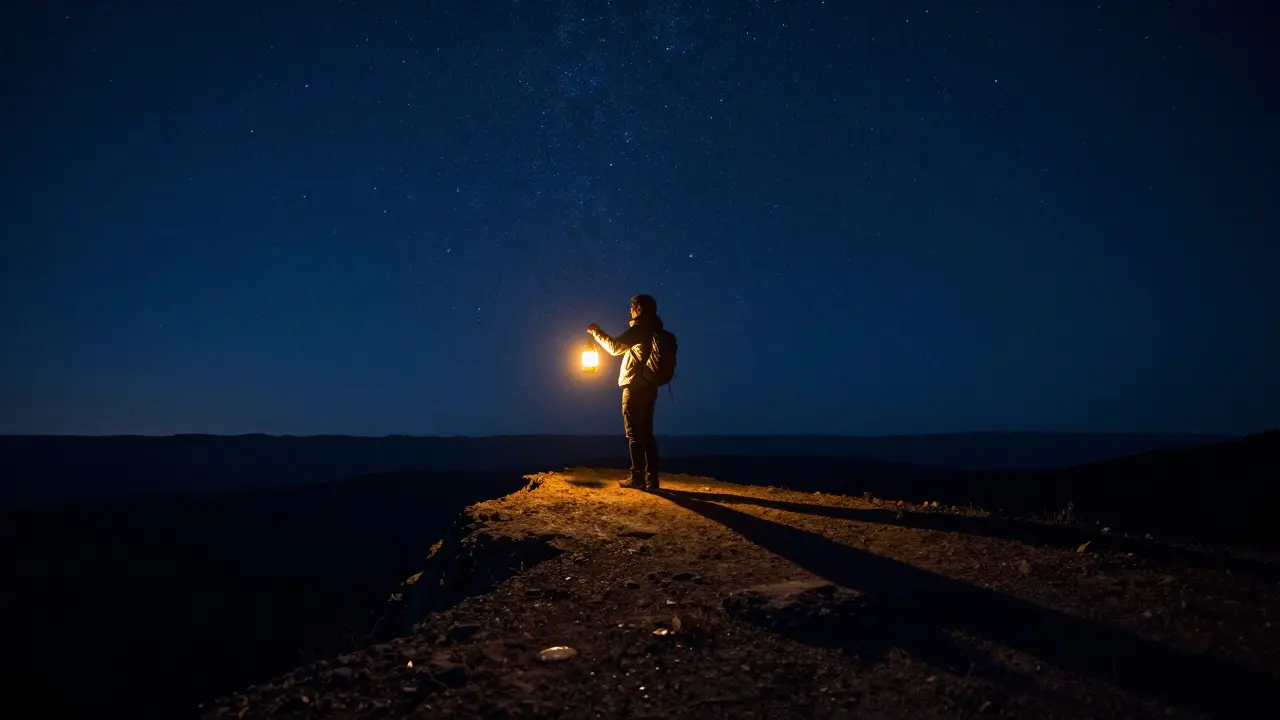
One of the most compelling uses of light painting is adding people to the scene. Since humans move, you need to coordinate their actions with the exposure. Ask your model to stand still for the first few seconds, then perform a specific action-like walking away from the camera or spinning a glowing object-during the light-painting phase.
For moving subjects, consider using a slower shutter speed for the foreground portion if possible, or accept some motion blur as part of the aesthetic. A person walking through a forest while being illuminated by a handheld light creates a sense of journey and scale. The contrast between the sharp, bright figure and the dark, static background draws the eye immediately.
Another popular technique is “light writing.” Using a small LED bulb on a stick, you can draw words or symbols in the air. The light leaves a trail as it moves, creating ethereal lines that float above the landscape. This requires practice to get the timing right, but the results are striking and unique.
Color Theory and Mood
Light isn’t just about brightness; it’s about color. The color temperature of your light source interacts with the blue tones of the night sky to create specific moods.
- Warm Tones (2700K-3500K): Orange and yellow lights evoke warmth, safety, and nostalgia. They complement the cool blue of the stars beautifully. Use warm lights for campfires, lanterns, or human figures.
- Cool Tones (5000K+): Blue and white lights feel clinical, mysterious, or alien. Use them sparingly to highlight geological features or to create a sci-fi atmosphere.
- Saturated Colors: Red, green, or purple gels can add abstract elements. A red glow on a cliff face can suggest danger or otherworldliness. Be careful not to oversaturate, as colors can bleed into the sky if overexposed.
Experiment with mixing colors. Placing a warm light on one side of a rock and a cool light on the other creates dramatic tension. This dual-lighting setup adds dimensionality and makes the foreground feel three-dimensional rather than flat.
Common Mistakes and How to Fix Them
Even experienced photographers make errors when combining astro and light painting. Here are the top pitfalls and how to avoid them.
- Overexposing the Foreground: If your rocks look white and detail-less, you’ve used too much light or exposed for too long. Reduce your light intensity by 50% or shorten the illumination time by a few seconds.
- Star Trails in the Sky: If your stars are streaking, your shutter speed is too long for your focal length. Recalculate your max exposure time using the 500 Rule.
- Ghosting or Double Images: This happens if you move the light source too fast or if the subject moves unexpectedly. Keep movements slow and steady. For people, ensure they hold their pose until the light passes them.
- Uneven Lighting: Harsh shadows can ruin the mood. Use diffusion materials, like a thin cloth or frosted plastic, to soften the light source. Alternatively, bounce the light off a nearby surface to create indirect illumination.
Always take a test shot before committing to a full sequence. Review the histogram on your camera’s LCD screen. You want the foreground highlights to be near the right side of the histogram but not clipped, while the sky remains in the mid-to-left range. This ensures you retain detail in both the brightest and darkest parts of the image.
Post-Processing Essentials
Light painting is rarely perfect in-camera. Post-processing is where you fine-tune the balance between the sky and the foreground. In software like Adobe Lightroom or Capture One, you can use local adjustments to darken the foreground slightly if it’s overpowering the stars, or brighten specific areas if they’re too dark.
Watch out for noise. High ISO settings combined with long exposures can introduce grain. Apply noise reduction selectively to the foreground, as stars tend to hide noise better than solid objects do. Also, check for color casts. If your foreground looks too orange, shift the white balance cooler locally to match the neutral tones of the landscape.
Finally, crop tightly to emphasize the relationship between the lit element and the sky. A wide composition can sometimes dilute the impact of the light painting. A tighter frame forces the viewer to focus on the interplay of light and shadow, making the image more intimate and powerful.
What is the best light source for beginner light painting?
A dimmable LED panel is ideal for beginners because it offers precise control over intensity and direction. Unlike flashlights, panels provide even coverage, making it easier to illuminate textures without creating harsh hot spots. Pair it with a remote trigger to start the exposure hands-free.
How long should I expose my foreground during an astro shot?
Start with 5 to 10 seconds out of your total 20-second exposure. Adjust based on the brightness of your light source. If the foreground is too bright, reduce the time or lower the light intensity. If it’s too dark, increase the duration or boost the power. Always monitor the histogram to avoid clipping highlights.
Can I use colored gels with astrophotography?
Yes, colored gels are excellent for creative effects. However, they reduce light output, so you may need to increase your exposure time or light intensity. Warm colors like amber and orange work best for natural landscapes, while cool blues and purples suit abstract or futuristic themes. Test combinations to find the mood that matches your vision.
Why does my foreground look blurry in light painting?
Blurry foregrounds usually result from moving the light source too quickly or from camera shake. Ensure your camera is on a sturdy tripod and use a remote shutter release to minimize vibration. When moving the light, use slow, deliberate strokes. If the subject is a person, ask them to stay still while the light passes over them.
Do I need to adjust white balance for light painting?
Set your camera’s white balance to Daylight (5500K) or Auto for consistent results. This allows you to correct any color casts in post-processing. Avoid using custom white balance presets unless you know the exact color temperature of your light source. Consistency makes editing easier and more predictable.