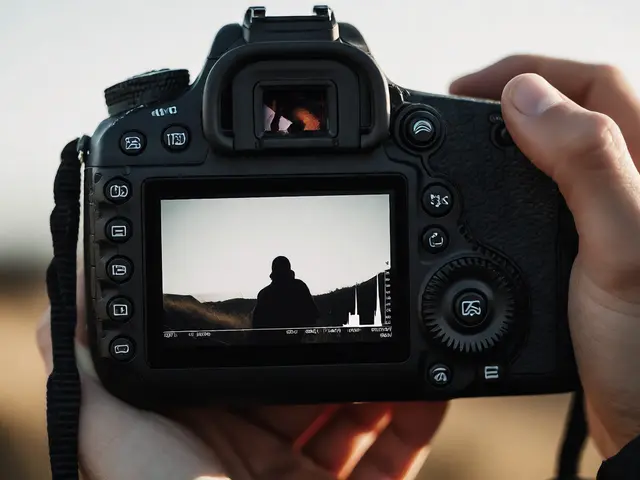
You’ve probably tried shooting the Moon before. You point your camera at it, snap a photo, and get back a glowing white blob with no craters, no texture, just a flat disc in a black sky. Why does this happen? Because the Moon is actually as bright as a sunlit parking lot during the day, but our cameras (and eyes) are set for night mode. To capture moon photography that reveals crisp surface detail, you need to treat the Moon like a daytime subject, not a nighttime one.
This guide breaks down exactly how to nail lunar phases, dial in exposure, and pull out every crater and mare using practical steps and real-world settings. No fluff-just what works when you’re standing outside at 10 PM with cold fingers and a tripod.
Why Your Moon Photos Look Like White Blobs
The core issue isn’t your gear-it’s metering. Most cameras default to evaluating the entire scene, which is mostly dark sky. So they boost ISO or slow down shutter speed to “brighten” the image, blowing out the Moon’s highlights. The fix? Switch to spot metering or use manual mode. Yes, manual. Trust us.
Think of it this way: if you were photographing a snow-covered field at noon, you wouldn’t let the camera auto-expose for the whole frame-you’d protect the highlights. Same logic applies here. The Moon reflects sunlight directly into your lens. It’s not dim. It’s blindingly bright relative to the surrounding sky.
Lunar Phases Change Everything (Literally)
Not all moons are created equal. A full moon offers maximum illumination but flattens shadows, hiding depth. A crescent moon casts long shadows across craters, revealing stunning topography-but it’s also much fainter. Here’s how each phase affects your approach:
- New Moon: Invisible from Earth. Great for deep-sky shots, useless for lunar close-ups.
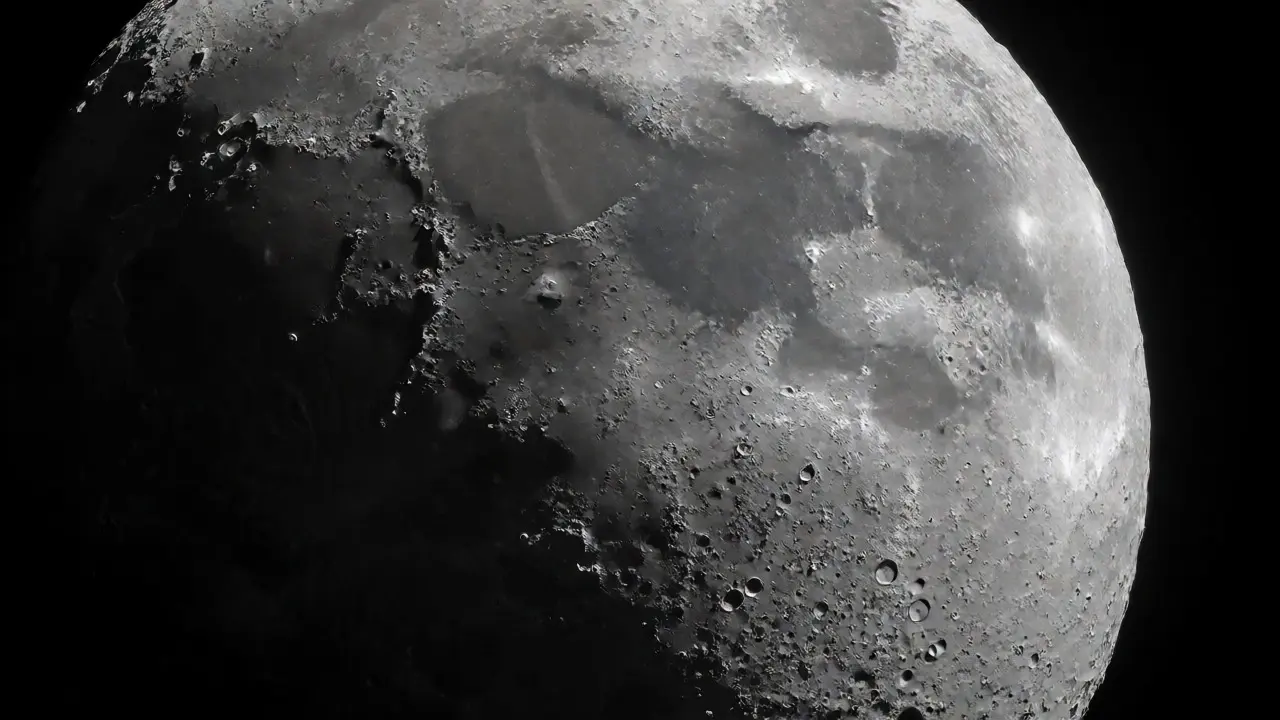
- Crescent & Half Moons: Prime time for detail. Shadows along the terminator line (the border between light and dark) make craters pop. Shoot within 3-5 days of new moon.
- Gibbous Moon: Good balance of brightness and shadow. Less dramatic than crescents but still textured.
- Full Moon: Brightest but flattest. Best for landscape composites or wide-angle scenes where the Moon adds scale, not detail.
If you want those jaw-dropping images with visible Tycho crater rays or the Sea of Tranquility’s texture, aim for first or last quarter moon-or even better, two nights before or after full.
Exposure Settings That Actually Work
Forget “Looney 11 rule” myths unless you’re under perfect conditions. Real-world shooting demands flexibility. Start with these baseline settings and adjust based on histogram feedback:
| Lunar Phase | ISO | Aperture | Shutter Speed | Focal Length |
|---|---|---|---|---|
| Crescent/Half | 100-400 | f/8-f/11 | 1/60s - 1/125s | 200mm+ |
| Gibbous | 100 | f/8 | 1/125s - 1/250s | 200mm+ |
| Full Moon | 100 | f/8 | 1/250s - 1/500s | 200mm+ |
Pro tip: Use live view zoomed in 10x on the Moon’s edge. Adjust shutter speed until the histogram shows no clipping on the right side. If you see spikes touching the wall, shorten exposure slightly. Better slightly underexposed than blown-out whites.
Getting Sharp Surface Detail Requires Stability + Focus Precision
Even slight vibration ruins detail at high magnification. Three non-negotiables:
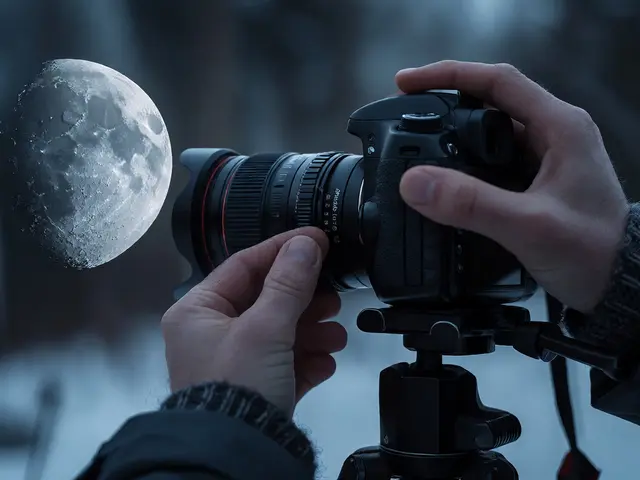
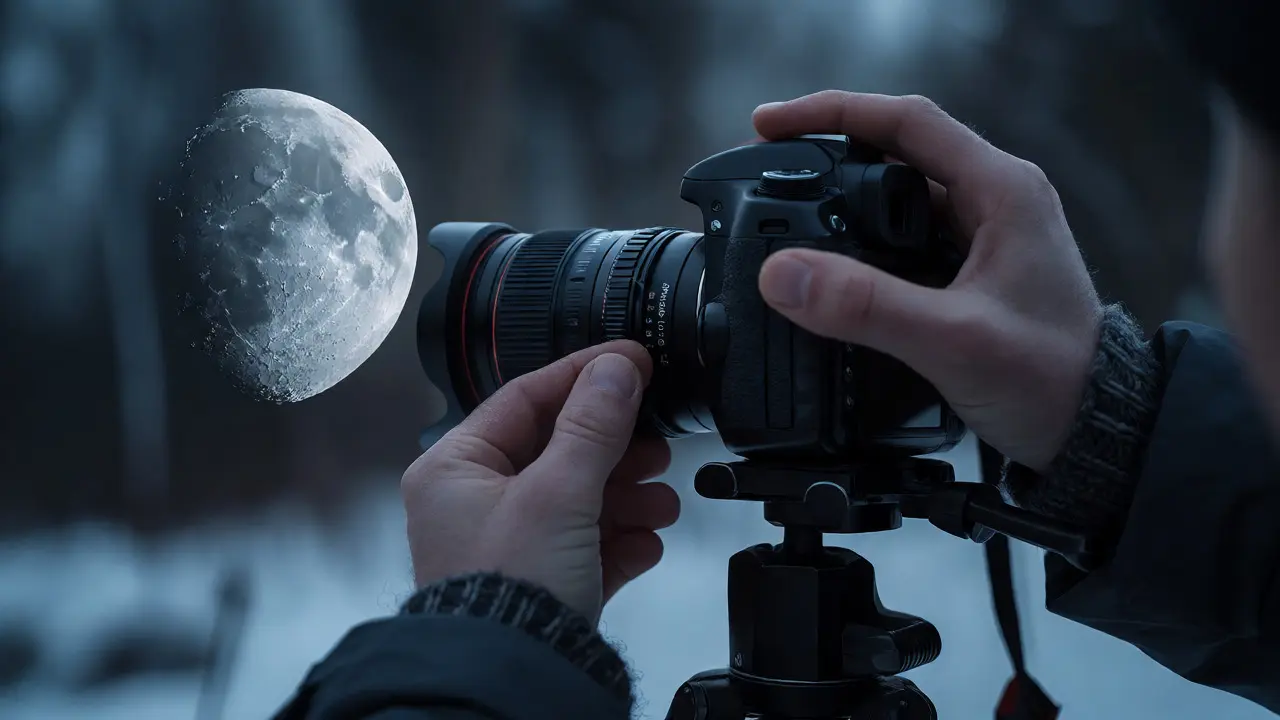
- Tripod + Remote Shutter Release: Hand-holding won’t cut it beyond 200mm. Even breathing shakes the frame. Use a wired remote or 2-second timer.
- Mirror Lock-Up (DSLRs): On Canon/Nikon DSLRs, enable mirror lock-up to eliminate internal vibration from flipping mirrors. Mirrorless cameras don’t have this issue.
- Manual Focus via Live View Zoom: Autofocus often hunts on contrasty edges. Switch to MF, zoom in digitally, and fine-tune focus on a sharp crater rim. Tap gently-don’t bump the lens.
Also, shoot in RAW. JPEGs compress away subtle gradients in lunar terrain. RAW gives you room to recover shadow detail without introducing noise.
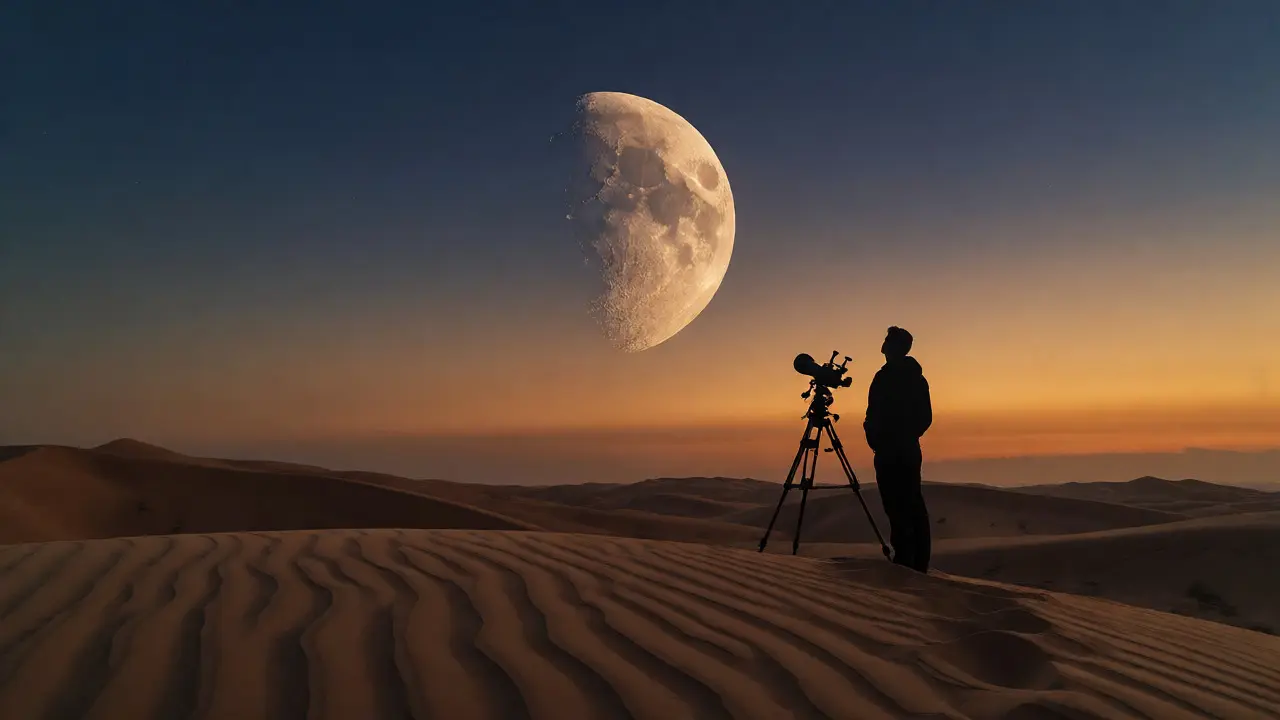
Post-Processing Tips to Enhance What You Captured
No amount of editing saves an overexposed highlight, but good post-processing elevates decent captures. In Lightroom or Capture One:
- Increase Clarity (+20 to +40) to enhance mid-tone contrast around craters.
- Add Dehaze (+10 to +25) to cut atmospheric haze if shooting through thin clouds or humidity.
- Use Local Adjustment Brush to dodge/burn specific features-lighten rims of large craters, darken interiors for depth.
- Apply Noise Reduction only if needed. At ISO 100-400, chroma noise should be minimal; prioritize luminance smoothing instead.
Avoid oversharpening globally. Instead, apply sharpening selectively to areas already showing structure. Otherwise, you’ll amplify grain and create halos around bright edges.
Common Mistakes (And How to Avoid Them)
We’ve seen photographers waste hours troubleshooting simple fixes. Watch out for:
- Using Auto Mode: Always go manual. Letting the camera decide means losing control over exposure triangle priorities.
- Ignoring Wind: Even mild breeze vibrates lightweight tripods. Hang your bag from the center column for extra stability.
- Forgetting Lens Hood: Stray light from streetlamps or windows creates flare. Use a hood-even on telephoto lenses-to block off-axis glare.
- Shooting Only Once: Take 5-10 frames per setting. Atmospheric turbulence varies second-to-second. Pick the sharpest later.
One more thing: check weather forecasts for seeing conditions. High humidity or low pressure systems degrade clarity. Clear, dry nights yield crisper results than humid ones-even if both look cloudless.
Do I need a telescope for moon photography?
No, but longer focal lengths help significantly. A 200mm lens gets you basic detail; 400mm+ reveals major craters. Many smartphone users attach clip-on telescopes or use digital zoom with stabilization. For serious work, consider renting a small refractor scope paired with T-ring adapters for your DSLR/mirrorless body.
What’s the best time of night to photograph the Moon?
It depends on phase. Crescent moons rise shortly after sunset-shoot early evening. Full moons peak near midnight when highest in sky, minimizing atmospheric distortion. But always prioritize local horizon clearance. A half-moon low in the east can produce dramatic foreground compositions with trees or buildings.
Can I take good moon photos with my phone?
Yes-if you tap-to-focus on the Moon, lower exposure manually via slider, and use Pro Mode if available. Enable Night Sight cautiously-it may stack multiple exposures but risks motion blur. Attach a mini-tripod or rest phone against railing. Recent flagship phones (iPhone 15 Pro, Pixel 8 Pro) include dedicated astrophotography modes optimized for lunar subjects.
Why does my Moon look yellow/orange sometimes?
Atmospheric scattering filters blue wavelengths when Moon is low on horizon, leaving warmer tones. This isn’t color error-it’s physics. Don’t correct it automatically in software unless matching other elements. Sometimes keeping natural warmth enhances mood, especially with silhouetted landscapes.
How do I avoid star trails while capturing the Moon with stars nearby?
Keep shutter speeds short enough to prevent trailing. Rule of thumb: divide 500 by your crop factor × focal length. Example: APS-C camera (1.5×) with 200mm lens → max ~1.6 seconds. Since Moon requires faster shutters anyway (often 1/125s), stars remain pinpoint dots. Longer exposures require tracking mounts.
Next steps? Go outside tonight. Check current lunar phase online (search “current moon phase”). Set up tripod, switch to manual mode, start at f/8, ISO 100, 1/125s. Zoom in live view, focus carefully, fire ten shots. Compare histograms. Then tweak one variable at a time. Within twenty minutes, you’ll understand why everyone else’s moon photos looked flat-and yours won’t.