Staring at a histogram that looks like a jagged mountain range is frustrating. You know the exposure is right, the ISO is set, and the tripod is steady, but when you zoom in on your favorite constellation, the stars look like fuzzy blobs instead of pinpoints. This is the classic struggle of Manual Focus is the process of adjusting lens elements by hand to achieve precise optical alignment, essential for capturing high-resolution details in low-light conditions. In astrophotography, autofocus often fails because there isn't enough contrast for the sensor to lock onto. If you want crisp, diffraction-limited stars, you have to take control.
Why Autofocus Fails Under the Stars
Your camera’s autofocus system relies on phase-detection or contrast-detection sensors. These systems work by hunting for edges and high-contrast areas. When you point a lens at the night sky, you are essentially pointing it at black voids with tiny points of light. The sensor gets confused. It might lock onto a distant streetlight, a tree branch, or just give up entirely and leave the lens at its default position, which is rarely infinity. Even if the AF does lock, it can be slightly off. A tiny shift in focus distance-just a millimeter or two-can turn a sharp star into a soft circle. This is known as the depth of field issue. At wide apertures like f/1.8 or f/2.8, the depth of field is incredibly shallow. For ground-based photography, this doesn’t matter much because we usually shoot subjects within a few meters. But stars are effectively at infinite distance. To get them sharp, you need to be dead-on with the infinity mark, which is notoriously inaccurate on many consumer lenses.
The Live View Magnification Method
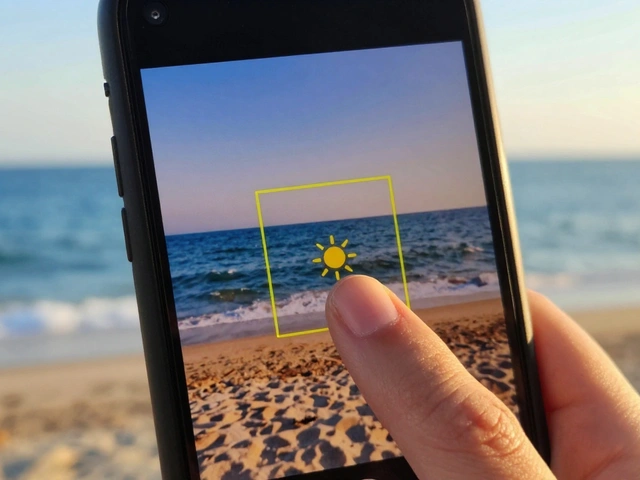
The most reliable way to nail manual focus is to use your camera’s live view mode. Flip up your mirror (if you have a DSLR) or switch to video/live view mode on a mirrorless camera. Then, find the brightest star in your frame. It could be Sirius, Vega, or even a bright moon if it’s visible. Now, magnify the image. Most cameras allow you to zoom in digitally to 5x, 10x, or even 100%. At 100% magnification, a properly focused star will look like a tiny, sharp dot. An out-of-focus star will look like a larger, softer circle. Here is where the technique gets tricky: the sweet spot for focus is not always when the star looks smallest. Often, it is slightly before the minimum size. As you turn the focus ring, watch the star carefully. It will shrink, then start to grow again. Stop just before it starts to expand. This accounts for slight variations in how the lens renders focus near the edge of its capabilities.
- Step 1: Set your camera to Manual Mode (M).
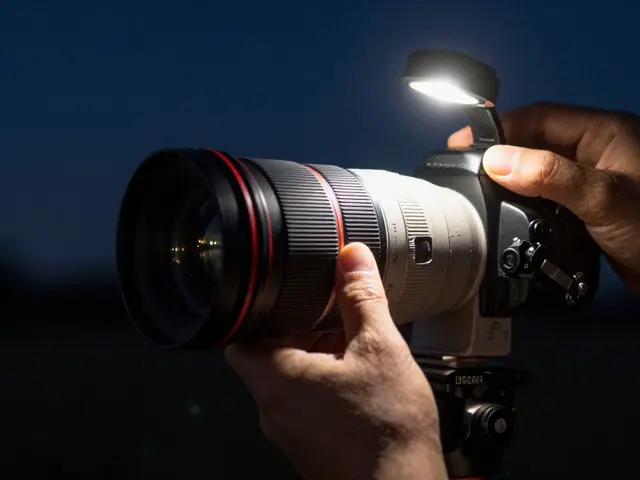
- Step 2: Turn off Autofocus and switch to Manual Focus (MF).
- Step 3: Enable Live View and select the highest magnification available (usually 10x or 100%).
- Step 4: Locate the brightest star in your composition.
- Step 5: Slowly rotate the focus ring towards infinity. Watch the star size change.
- Step 6: Find the point where the star is smallest and sharpest, then back off slightly if necessary.
Using a Bahtinov Mask for Precision
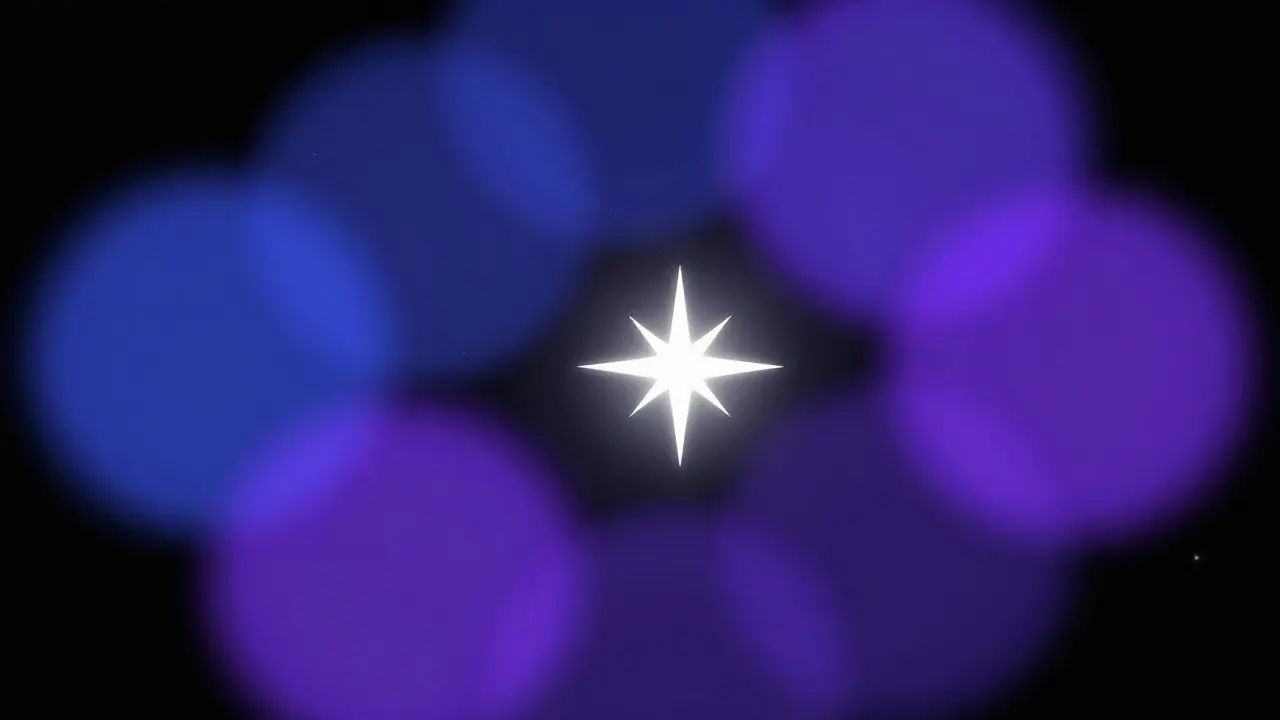
If you are serious about astrophotography, consider investing in a Bahtinov mask. This is a simple piece of plastic or glass with a pattern of fine lines etched onto it. You slide it over your lens. When you look through the live view, the diffraction spikes from the stars intersect with these lines, creating a distinctive 'W' shape or an 'X' pattern. When the focus is perfect, the central spike of the star sits exactly in the middle of the 'W'. If the focus is too close, the spike shifts to one side; if it’s too far, it shifts to the other. This gives you a visual cue that is far more accurate than trying to judge the size of a blurry dot. It turns a subjective guess into an objective measurement. While it adds a step to your setup, it saves hours of frustration, especially when shooting nebulae or galaxies where every bit of detail counts.
Lens Selection and Aperture Considerations
Not all lenses are created equal for night sky photography. Fast prime lenses, such as those with a maximum aperture of f/1.4 or f/1.8, are ideal. They let in more light, allowing you to keep your ISO lower and your shutter speed shorter, which reduces noise and motion blur. However, fast lenses have very shallow depths of field, making manual focus critical. Zoom lenses can work, but they are generally less forgiving. Many zoom lenses do not have a hard stop at infinity, meaning you can physically turn the ring past the infinity mark without the optical center actually being at infinity. Always check your specific lens model online to see if users report focusing issues at infinity. If you are using a full-frame camera, be aware that crop-sensor cameras have a narrower field of view, which can make it easier to isolate a single star for focusing, but the principles remain the same.
| Method | Precision Level | Equipment Required | Best For |
|---|---|---|---|
| Live View Magnification | High | Camera with Live View | General star fields, Milky Way |
| Bahtinov Mask | Very High | Bahtinov Mask, Telescope/Lens | Nebulae, Galaxies, Planets |
| Histogram Analysis | Medium | Camera with Histogram | Quick checks, landscape nightscapes |
Common Pitfalls and How to Avoid Them
One major mistake is relying on the physical infinity symbol on the lens barrel. As mentioned, this is often a marketing graphic rather than an optical guarantee. Another pitfall is temperature changes. Lenses expand and contract with heat. If you calibrate your focus during the day and shoot at night, the thermal contraction might shift your focus point slightly. It is always best to refocus on-site under the actual shooting conditions. Also, beware of wind. Even a gentle breeze can vibrate your tripod legs, causing micro-blur that looks like soft focus. Use a remote shutter release or the camera’s self-timer to avoid pressing the button manually, which can shake the camera. Finally, ensure your lens cap is removed and no filters are attached unless necessary. UV filters can sometimes introduce flare or reduce contrast, making it harder to judge focus accurately.
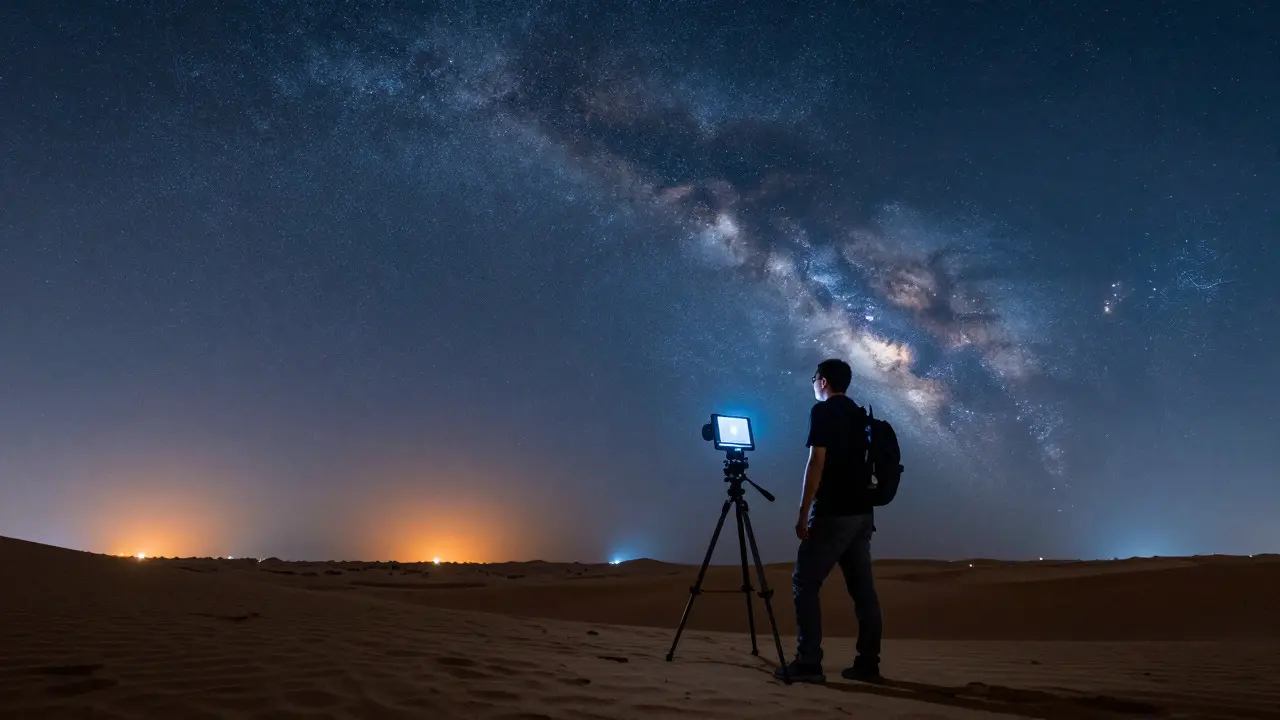
Verifying Your Focus Before Shooting
Once you think you have locked in the focus, take a test shot. Do not trust your eyes alone. Download the image to your phone or laptop immediately if possible, or review it on the camera’s screen at 100% zoom. Look for the following:
- Sharpness: Stars should appear as distinct points, not circles.
- Diffraction Spikes: Brighter stars should show four-pointed cross patterns (due to the lens diaphragm), indicating correct optical alignment.
- Consistency: Check multiple stars across the frame. Some lenses suffer from field curvature, meaning the center is sharp but the edges are soft. If this is the case, you may need to accept a compromise or use a different lens.
Frequently Asked Questions
Do I need a telescope to do astrophotography?
No. Wide-field astrophotography of the Milky Way and constellations can be done with standard camera lenses. Telescopes are only necessary for deep-sky objects like distant galaxies or small nebulae where magnification is required to capture detail.
What is the best aperture for sharp stars?
While wide apertures like f/1.4 gather more light, they have a very shallow depth of field. f/2.8 to f/4 is often the sweet spot for balancing light intake with focus tolerance, ensuring stars remain sharp across the entire frame.
How do I know if my lens focuses to true infinity?
You must verify it empirically. Use the live view magnification method on a distant object (like a star or a building several miles away). If the focus ring can be turned past the infinity mark without changing the image sharpness, your lens likely has a false infinity stop.
Does using a tripod affect manual focus?
A tripod stabilizes the camera, allowing you to use longer shutter speeds and lower ISOs. This makes it easier to see focus errors in the final image. Without a tripod, hand-shake vibration can mimic focus blur, making it harder to diagnose whether the issue is focus or stability.
Can I use autofocus in combination with manual focus?
Yes. You can use autofocus to get close to the subject, then switch to manual focus to fine-tune the last few degrees. This hybrid approach is useful when shooting terrestrial subjects mixed with night skies, though pure astrophotography usually requires full manual control.