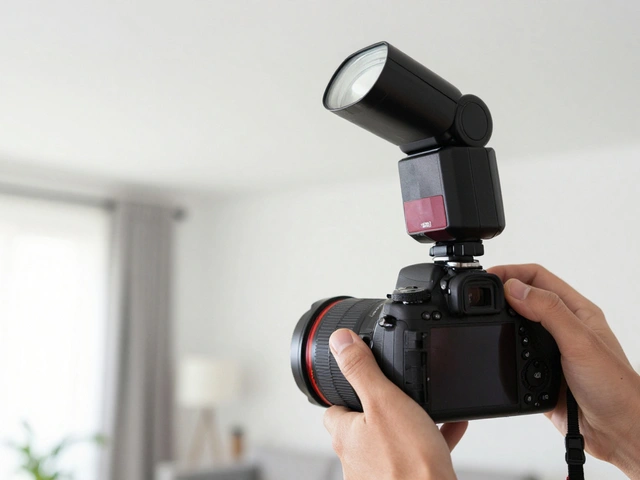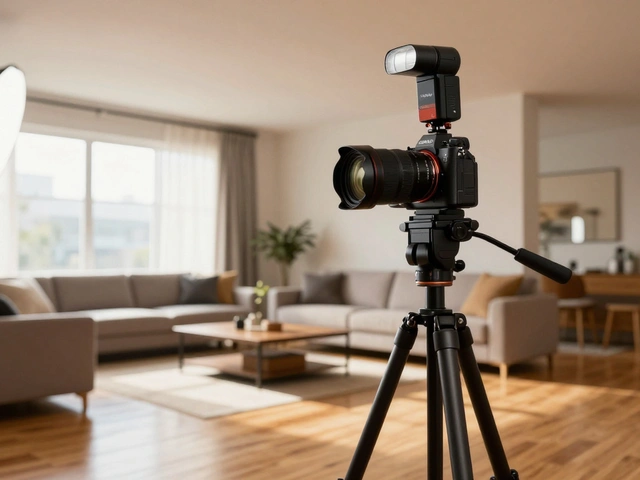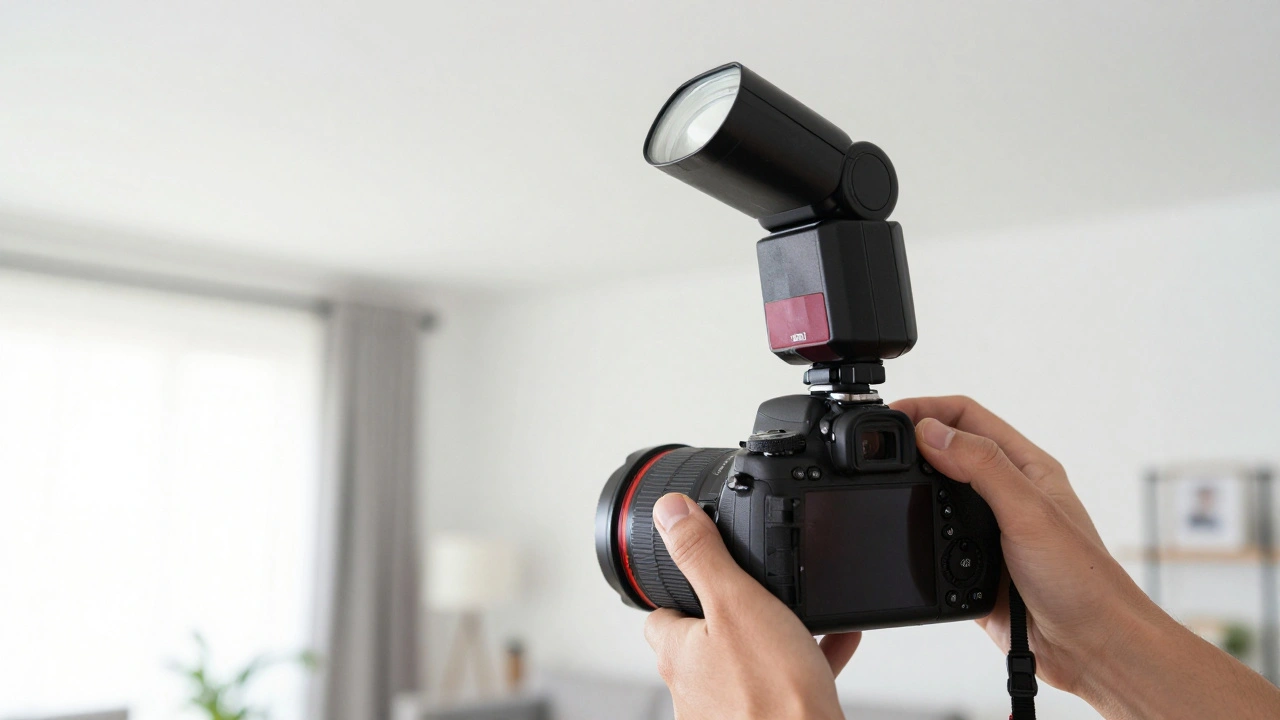
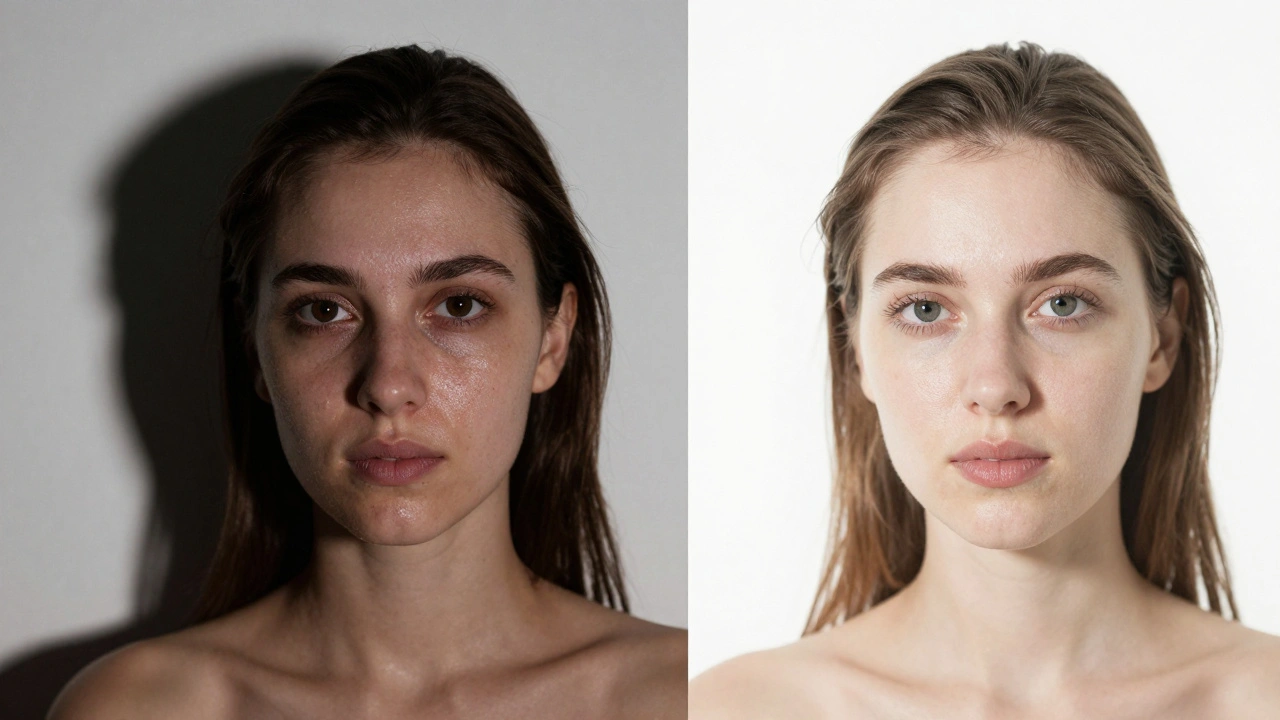
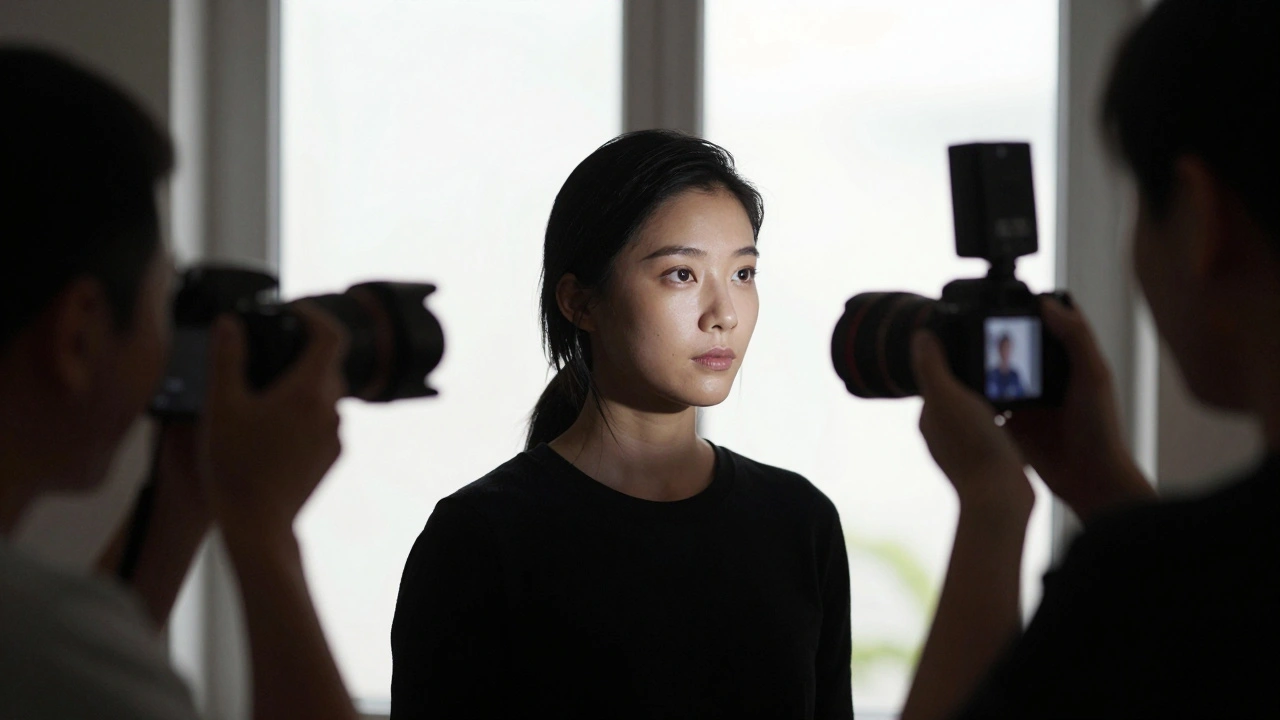
Most people dread that harsh, "deer-in-the-headlights" look that comes from a flash firing directly into a subject's face. It flattens features, creates oily-looking skin, and leaves those dreaded pitch-black shadows against the wall. But here is the secret: the problem isn't the flash itself-it is the direction and quality of the light. You don't need a studio full of softboxes to get a professional look. With a basic on-camera flash is a camera-mounted light source, typically a speedlight, used to provide artificial illumination in low-light or high-contrast environments, you can create flattering, high-end portraits in your living room or a dimly lit office.
The Secret to Soft Light: Size and Distance
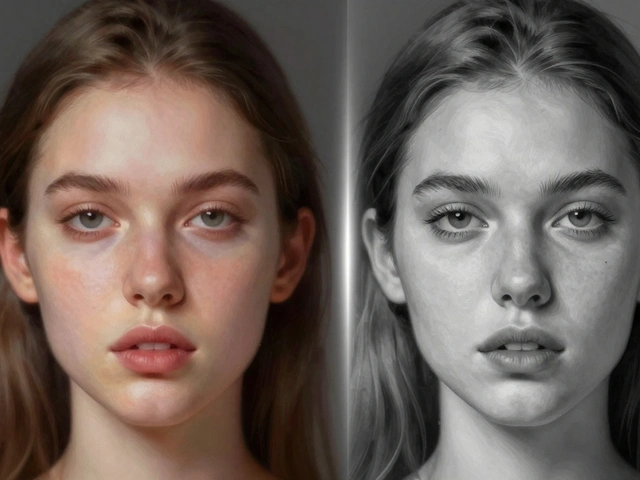
Before touching your settings, you need to understand one rule of physics: the size of the light source relative to the subject determines how "soft" the light is. A tiny flash head is a "small" source, which creates hard edges and harsh shadows. To get that creamy, flattering glow on skin, you have to make the light source appear larger. You do this by bouncing the light off a larger surface or using a modifier.
Whether you are using a high-end Speedlight a portable electronic flash unit that can be mounted on a camera's hot shoe or a basic built-in flash, the goal is to move the light away from the lens axis and spread it out. When light wraps around a face rather than hitting it head-on, you get depth and dimension instead of a flat image.
Bounce Flash: Turning Your Room Into a Studio
The most effective way to soften indoor light is the bounce flash technique. Instead of pointing the flash at your subject, you point the head toward a white ceiling or a light-colored wall. The surface becomes the new, giant light source. This mimics the effect of a massive overhead softbox, providing an even wash of light that fills in wrinkles and softens skin textures.
If you are in a room with a dark or colored ceiling, be careful. A green ceiling will give your subject a sickly green cast. In those cases, find the nearest white wall. If you are shooting in a space with no helpful surfaces, a simple piece of white foam board can act as a portable bounce surface. Just hold it at a 45-degree angle above the subject to redirect the flash upward and back down onto the face.
| Technique | Light Quality | Best Use Case | Potential Pitfall |
|---|---|---|---|
| Direct Flash | Hard/High Contrast | Fast-paced events | Flat images, harsh shadows |
| Ceiling Bounce | Soft/Diffuse | Indoor portraits | Color cast from ceilings |
| Reflector Bounce | Controlled/Soft | Outdoor/Bright rooms | Requires extra gear |
| Diffuser Card | Slightly Softened | Quick candids | Still fairly directional |
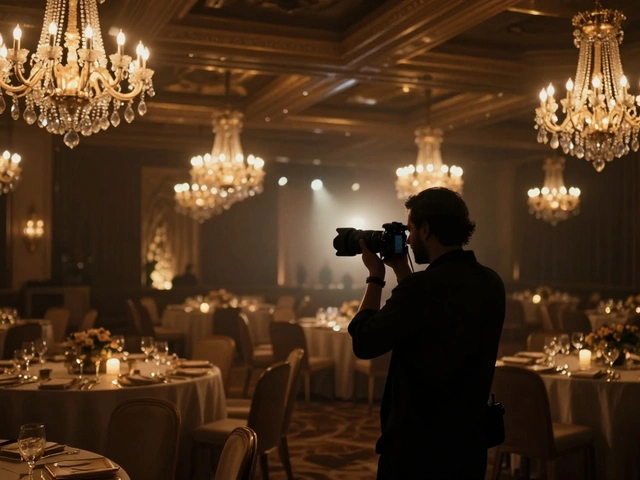
Using Fill Flash to Fight Harsh Shadows
Fill flash isn't meant to be your primary light; it's a supporting actor. It is incredibly useful when you have a bright window behind your subject or a harsh overhead light creating "raccoon eyes" (dark shadows in the eye sockets). By adding a small burst of flash, you "fill" those shadows with light, bringing detail back into the face without overpowering the scene.
To keep it looking natural, avoid using the flash on "Auto." Instead, switch to Manual Mode a camera setting where the photographer manually controls aperture, shutter speed, and flash power. Start with a very low power setting, like 1/16 or 1/32. You want just enough light to lift the shadows, not so much that the subject looks like they are standing in a spotlight. If the background is too bright, slightly underexpose your ambient shot first, then let the fill flash bring the subject's exposure back to a perfect level.
Positioning for Different Portrait Moods
Where you stand and how you angle the flash head changes the entire mood of the photo. Even with a flash on your camera, you can manipulate the perceived direction of light:
- Frontal Lighting: Best for a clean, commercial look. It minimizes wrinkles but can feel a bit boring. Use a diffuser card here to take the edge off.
- Side Lighting: If you can bounce the flash off a wall to the side of your subject, you'll create a more dramatic, moody feel. This highlights the contours of the face and adds a professional, three-dimensional quality.
- Overhead/High Angle: Great for groups. Bouncing off a high ceiling ensures that everyone in the crowd is lit evenly and prevents the people in front from casting shadows on the people behind.
Advanced Quick Tips for Better Results
If you want to level up without buying a full studio kit, try these practical tricks. First, use a Westcott 5-in-1 reflector a versatile light modifier tool featuring different surfaces like white, silver, and gold for manipulating light. Instead of using the silver side, which creates speculart, harsh highlights, use the white side. Point your flash into the white reflector to create a soft, diffused glow that looks far more natural than a direct blast.
Another pro move is the "diffuser card" trick. Most speedlights come with a tiny plastic white card that slides out of the flash head. While it doesn't turn the light into a softbox, it pushes some of the light upward, reducing the intensity of the direct beam. It's a small change that makes a big difference in skin tone transitions.
Common Mistakes to Avoid
The biggest mistake beginners make is relying on TTL (Through-The-Lens) metering in every situation. While TTL is great for events, it can be inconsistent in a portrait setting. If the camera sees a white wall behind the subject, it might underpower the flash, leaving your subject too dark. Learning to use manual power gives you total consistency across a whole shoot.
Avoid "over-flashing." If the skin starts to look white or "blown out," you've exceeded the dynamic range of your sensor. Back away from the subject or drop your flash power. Remember, in portraiture, a slightly underexposed image is easier to fix in post-production than a highlight that has been completely lost to a bright white flash.
Does on-camera flash always look artificial?
No, it only looks artificial when it's direct. By bouncing the light off a ceiling or wall, or using a white reflector, you transform the flash from a tiny point of light into a large, soft source. This mimics natural window light and removes the "flashy" look.
What is the best flash power setting for fill flash?
Since fill flash is meant to support existing light, start low. Settings between 1/16 and 1/32 power are usually ideal. The goal is to subtly lift shadows under the eyes and chin without making the flash obvious.
Can I use on-camera flash outdoors?
Yes, and it's actually highly recommended for fighting midday sun. Use it as a fill flash to remove harsh shadows from the sun. Because sunlight is so powerful, you'll likely need much higher power settings-sometimes even full power-to match the brightness of the sun.
What happens if I bounce flash off a colored wall?
The light will pick up the color of the wall. If you bounce off a blue wall, your subject's skin will have a blue tint. You can either fix this in post-processing by adjusting the white balance or, better yet, find a neutral white or grey surface to bounce off of.
Is a diffuser card enough to soften the light?
It helps, but it isn't a total solution. A diffuser card reduces the harshness of direct flash and helps with light distribution, but for truly soft, professional-looking portraits, bouncing the light off a large surface is significantly more effective.
Next Steps for Better Portraits
If you've mastered the bounce and fill techniques, your next move should be moving the flash off the camera. Using a wireless trigger allows you to place the light wherever you want, giving you total control over shadows and highlights. Start by placing your flash at a 45-degree angle from your subject-this is the classic "Rembrandt lighting" setup that adds immediate professional polish to any portrait.