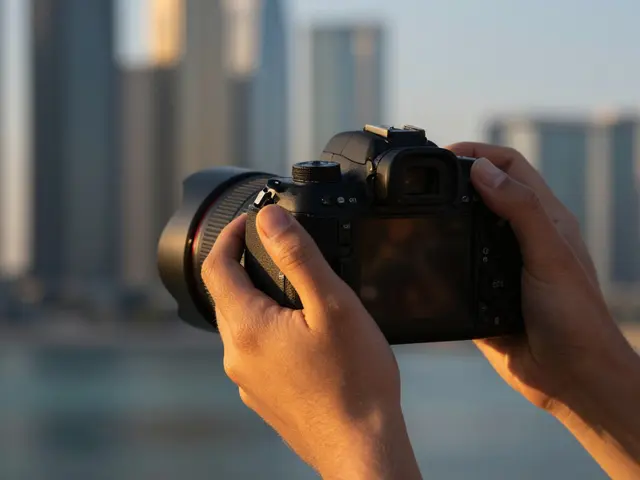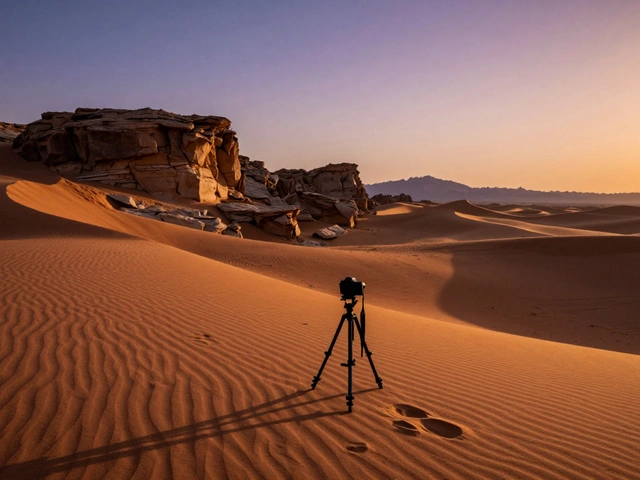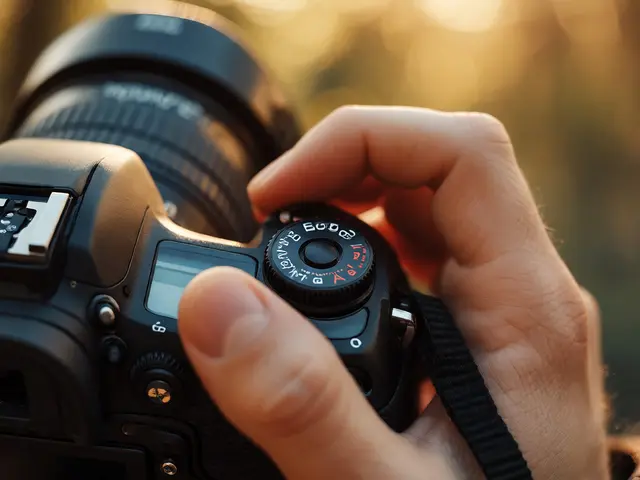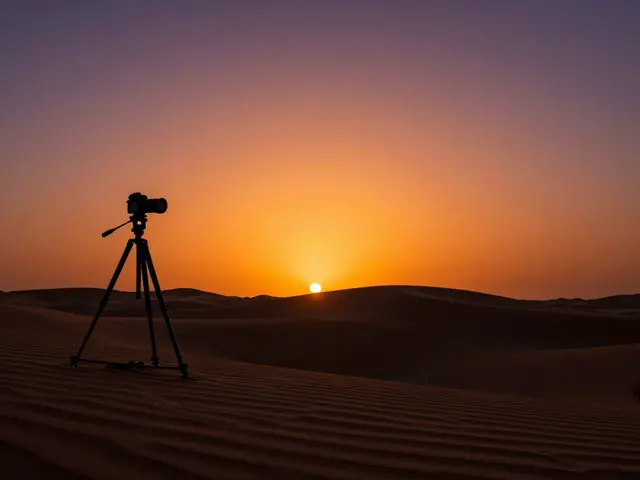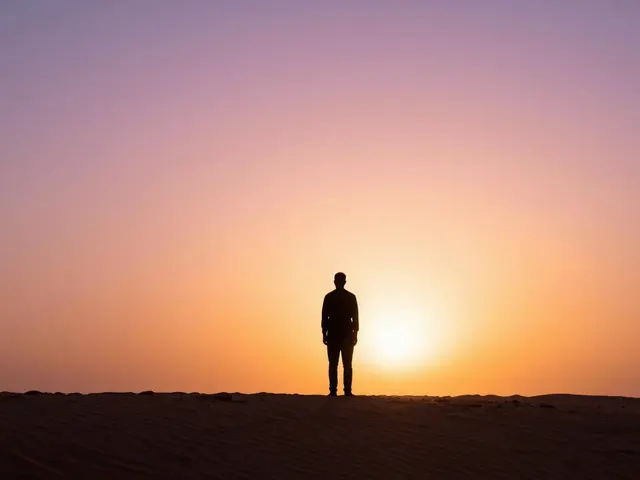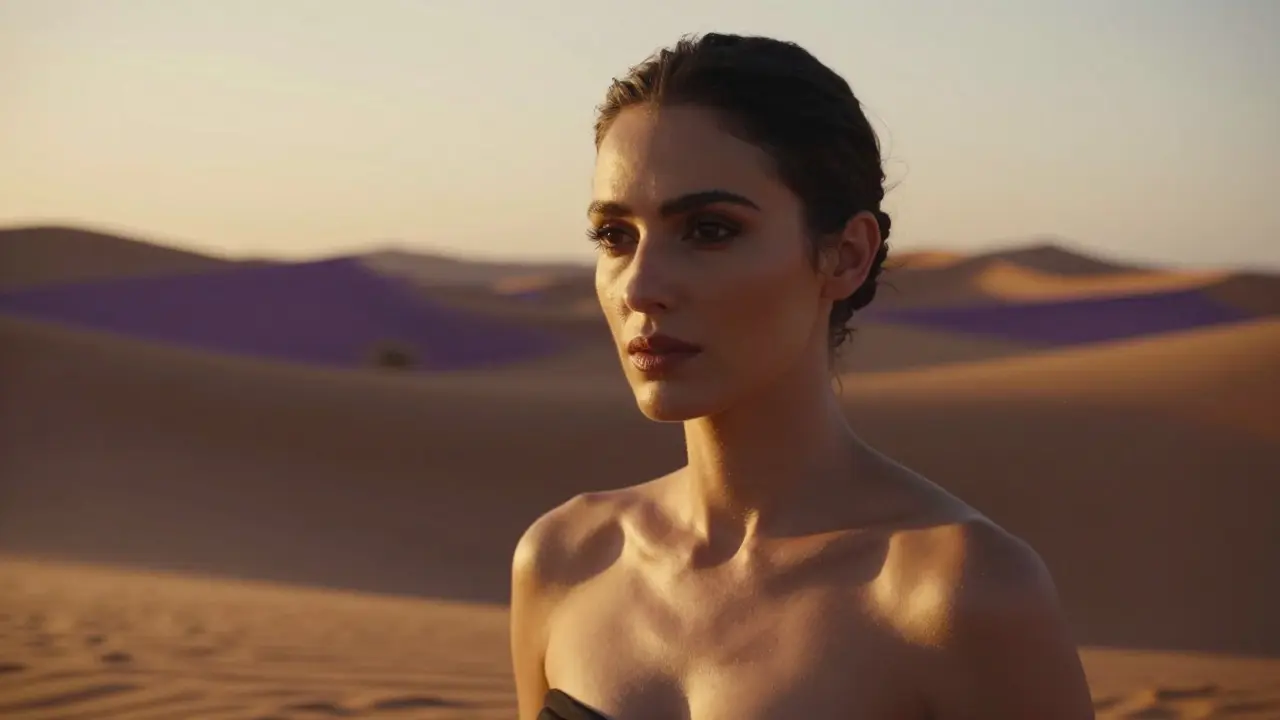
There is a specific moment in the late afternoon when the sun drops low enough to turn harsh midday glare into something soft and forgiving. Photographers call it Golden Hour is the period shortly after sunrise or before sunset when sunlight is warmer, softer, and more directional. For portrait photographers, this window is not just about pretty colors; it is about how that light interacts with human skin. Get it wrong, and you get orange cast or blown-out highlights. Get it right, and you capture textures and warmth that flash photography often flattens.
Why Golden Hour Changes Everything
Midday sun sits directly overhead. It creates deep shadows under the eyes, nose, and chin. These shadows are hard to fill without adding artificial lights that can clash with the natural mood. When the sun is near the horizon, the light travels through more of the atmosphere. This filters out blue wavelengths and leaves behind reds and oranges. The result is a lower color temperature, typically between 3000K and 4500K, which complements most skin tones naturally.
The angle matters as much as the color. Low-angle light rakes across the face, emphasizing cheekbones and jawlines while softening pores and fine lines. This is why Natural Light during this time is preferred over studio strobes for many lifestyle and editorial portraits. You don't need to sculpt the light; the sun does it for you. Your job shifts from creating illumination to managing exposure and white balance.
Understanding Color Temperature and White Balance
The biggest mistake beginners make is letting the camera auto-correct the warm light. Most modern cameras default to a neutral white balance around 5500K, assuming daylight conditions. When you shoot at 3500K, the camera tries to cool the image down, killing the golden vibe and leaving you with flat, grayish skin tones.
- Kelvin Settings: Start by setting your white balance manually. A range of 3800K to 4200K usually preserves the warmth without making the subject look like they are on fire.
- Custom White Balance: Use a gray card if you want precise control. Expose a neutral object in the scene and set your WB based on that reading.
- Post-Processing Flexibility: Shoot in RAW format. This gives you the latitude to shift the white balance slider in post-production without degrading image quality.
If you are shooting JPEGs, be cautious. Once the file is compressed, shifting the white balance too far introduces noise and banding. For consistent results across a session, lock your settings and stick to them unless the sun moves significantly.
Positioning the Subject and Sun
Where you place your subject relative to the sun determines the final look. There are three primary configurations to consider:
- Front Lighting: The sun is behind you, illuminating the subject's face directly. This is the safest option for even exposure. It minimizes shadows but can lack depth. Best for group shots or when you need clear detail in every feature.
- Side Lighting: The sun hits one side of the face. This creates dramatic contrast and emphasizes texture. Watch for clipping in the highlights on the lit side. Use a reflector on the shadow side to lift details if needed.
- Backlighting (Rim Light): The sun is behind the subject. This creates a glowing outline around the hair and shoulders. It is cinematic but tricky because the face falls into shadow. You must expose for the background or use a powerful reflector to bounce light back onto the face.
In Portland, where the rain can be unpredictable, check the sky conditions. A slight haze or thin cloud cover acts as a giant diffuser, spreading the light evenly and reducing the risk of hot spots. This is ideal for close-up portraits where you want smooth skin transitions.
Camera Settings for Exposure Control
Golden hour light changes quickly. What looks perfect at 6:15 PM might be too dark by 6:30 PM. You need a strategy to keep up.
| Setting | Recommended Value | Reason |
|---|---|---|
| Aperture | f/2.8 - f/4.0 | Creates shallow depth of field, isolating the subject from the background. |
| Shutter Speed | 1/200s - 1/500s | Freezes subtle movement and prevents motion blur from hand shake. |
| ISO | 100 - 400 | Keeps noise low. Increase only if necessary to maintain shutter speed. |
| Metering Mode | Spot Metering | Ensures accurate exposure on the subject's face, ignoring bright skies. |
Use Spot Metering to measure the brightness of the subject's cheek or forehead. If you meter off the sky, your subject will likely be underexposed. If you meter off a dark background, the subject will blow out. Spot metering keeps the focus on the person, which is the point of a portrait.
Managing Reflections and Flare
Low sun angles increase the chance of lens flare. This happens when light enters the lens from an angle outside the optical axis. While some flare can add a dreamy quality, uncontrolled flare reduces contrast and adds ghosting artifacts.
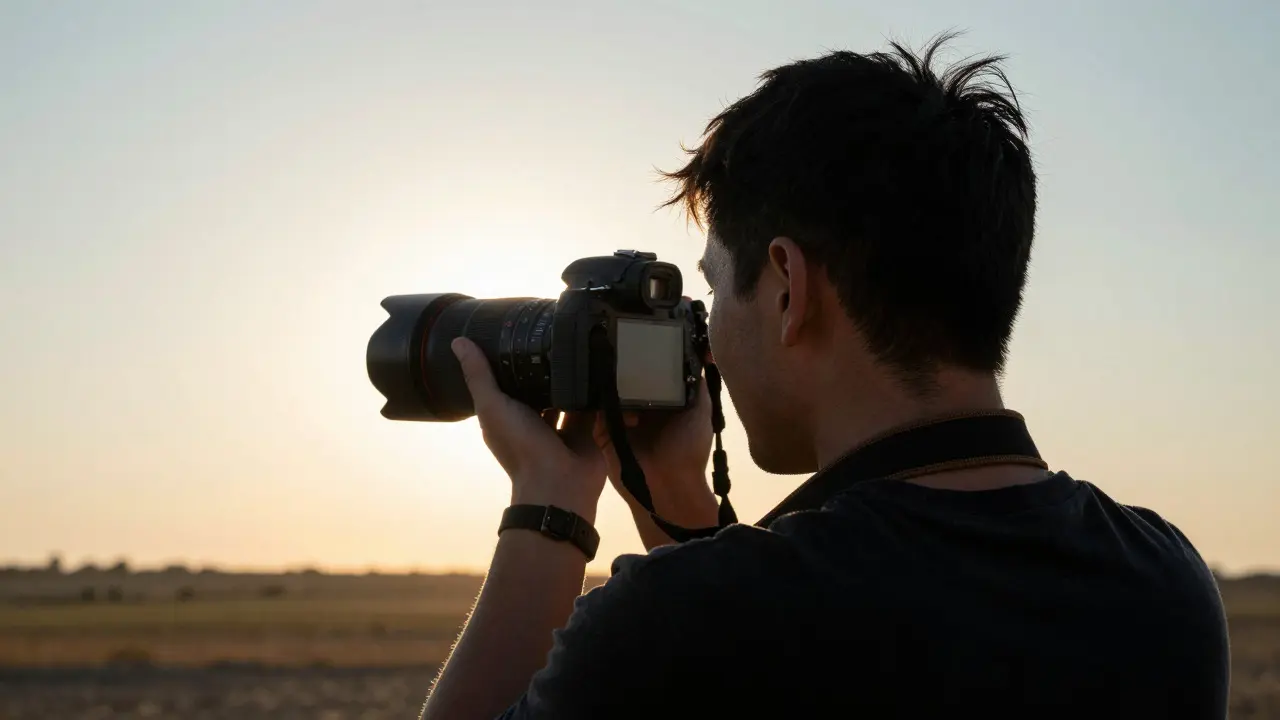
To manage this, use a lens hood. It blocks stray light from hitting the front element. Also, watch for reflections on the subject's glasses or wet skin. A polarizing filter can help reduce non-metallic reflections, but be careful: circular polarizers can unevenly darken the sky if rotated incorrectly. Test your setup before the client arrives.
Practical Tips for Different Skin Tones
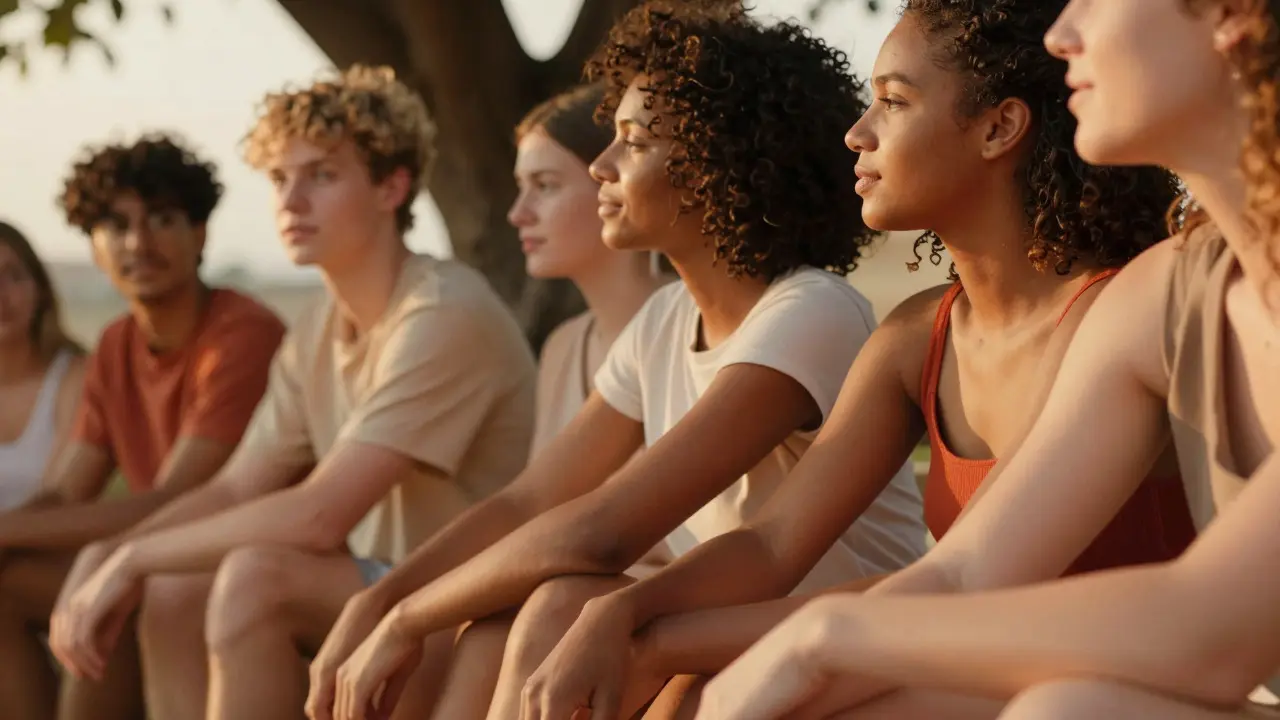
Golden light flatters everyone, but different skin tones react differently to intensity. Fairer skin can burn easily in direct sun, so aim for open shade or partial backlighting. Deeper skin tones hold up well in stronger light and benefit from the added contrast that side lighting provides.
For all tones, check the histogram on your camera screen. Ensure the highlights are not clipping to the right edge. Clipped highlights in skin are nearly impossible to recover in post-processing. It is better to slightly underexpose and bring up the shadows later than to lose detail in the brightest parts of the face.
Frequently Asked Questions
How long does golden hour last?
It varies by season and location. In summer, it can last 60 to 90 minutes. In winter, it may be shorter, around 30 to 45 minutes. Check local sunset times and plan to arrive 20 minutes before the peak.
Should I use a reflector during golden hour?
Yes, especially for side or backlit shots. A silver reflector boosts contrast, while a gold reflector enhances the warm tones. Keep it close to the subject to avoid creating a second, harsh light source.
What aperture is best for portraits?
f/2.8 is a standard choice. It provides a nice background blur while keeping the entire face in focus. If you are very close to the subject, you might stop down to f/4 to ensure both eyes are sharp.
Can I edit golden hour photos to look cooler?
Yes, but it goes against the aesthetic intent. If you want a cooler look, shoot earlier or later when the light is bluer, or use a gel on artificial lights. Editing warm light to cold often results in muddy colors.
Is golden hour good for video?
Absolutely. The slow change in light direction creates dynamic visuals. Just be mindful of exposure changes as the sun sets. Use manual mode or log profiles to maintain consistency throughout the clip.