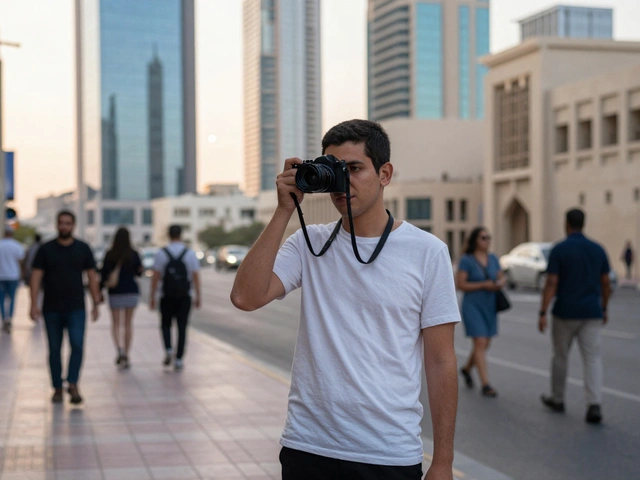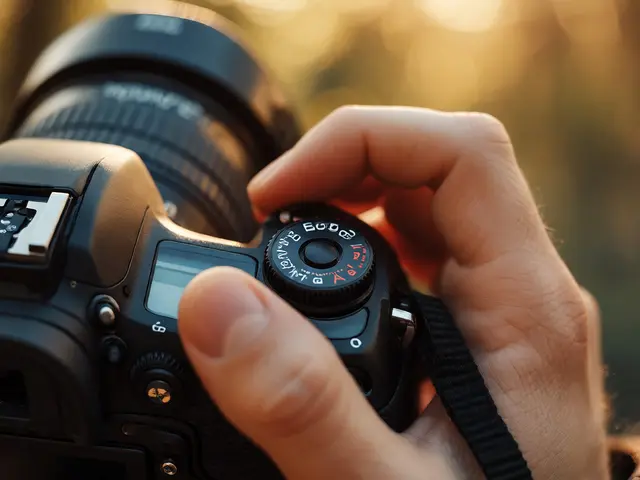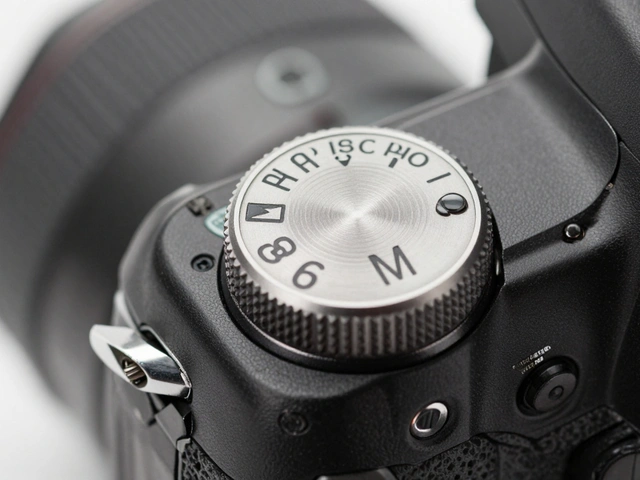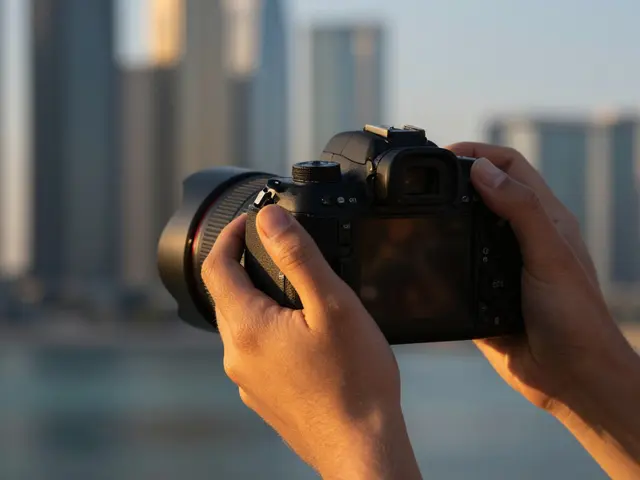
Most beginners don't fail because they lack talent. They fail because they ignore the three things that actually determine image quality: light, focus, and framing. If your photos look flat, blurry, or "off," it’s rarely the camera's fault. It’s almost always a technical slip-up that takes seconds to correct once you know what to look for.
This guide breaks down the most frequent errors new photographers make in 2026, with practical fixes you can apply on your next shoot. No jargon, no theory dumps-just actionable steps to stop guessing and start shooting with confidence.
The Top 5 Technical Mistakes That Ruin Photos
Before we get into composition or style, let’s fix the mechanical issues. These are the problems that happen at the sensor level and are hard to fix in post-processing.
- Underexposing by Default: Many beginners fear noise, so they underexpose (shoot dark) to "save highlights." But if your shadows are crushed, you lose detail permanently. Modern cameras handle noise well. Aim for a histogram where data is spread across the range, not bunched on the left. If you’re shooting in JPEG, expose to the right (ETTR) slightly to preserve shadow detail.
- Ignoring White Balance: Auto white balance (AWB) is decent, but it fails under mixed lighting (like indoor tungsten + window daylight). This results in skin tones that look orange or blue. Switch to manual white balance or use a gray card. In RAW, this is easy to fix later; in JPEG, it’s a headache.
- Using High ISO Without Need: ISO isn’t just about brightness-it’s about noise. Beginners often crank ISO to 3200+ when they could have used a wider aperture or slower shutter speed. Start at your camera’s base ISO (usually 100-400) and only increase it when necessary.
- Shooting in JPEG Only: JPEG compresses data, limiting your editing flexibility. If you want to adjust exposure, color, or contrast significantly, shoot in RAW. Yes, files are bigger, but the dynamic range is worth it.
- Forgetting to Clear Memory Cards: Sounds basic, but it happens. Check your storage before every shoot. A full card stops mid-session, and if you’re at an event, there’s no second chance.
Composition Errors That Make Photos Feel "Flat"
Technical correctness gets you a clear photo. Composition gets you a good photo. Here’s where beginners usually stumble visually.
- Centering Everything: Placing the subject dead center feels static unless you’re doing intentional symmetry. Try the rule of thirds: place your subject along the grid lines or intersections. Even breaking the rule intentionally (by placing off-center) creates tension and interest.
- Cluttered Backgrounds: A sharp subject doesn’t matter if the background is distracting. Look through the viewfinder and ask: "Is anything competing for attention?" Move around. Change your angle. Use a wider aperture (lower f-number like f/1.8 or f/2.8) to blur the background (bokeh).
- Ignoring Leading Lines: Lines in nature or architecture (roads, fences, shadows) can guide the viewer’s eye to your subject. If they lead away from the subject, reframe. If they lead toward it, lean into them.
- Cropping Too Tight: Don’t hug the edges. Leave some negative space (empty area) around your subject. It gives the image room to breathe and prevents the subject from feeling trapped.
| Mistake | Why It Happens | Immediate Fix |
|---|---|---|
| Blurry Images | Camera shake or subject motion | Increase shutter speed (min 1/focal length) or use a tripod |
| Washed-Out Colors | Overexposure or incorrect white balance | Check histogram; adjust WB manually |
| Distracting Backgrounds | Lack of spatial awareness | Change angle or use lower f-stop (wider aperture) |
| Noisy Images | High ISO or long exposure | Use faster lens or add light; keep ISO as low as possible |
Focus Failures: Why Your Subject Isn't Sharp
Nothing kills a photo faster than a soft focus. Even a technically perfect exposure looks amateurish if the eyes aren't sharp.
Here’s what’s likely going wrong:
- Using Single-Point AF in Wrong Mode: If you’re shooting portraits, use single-point autofocus on the eye. If you’re shooting sports, use continuous AF (AI Servo/C-AF). Mixing these up leads to missed focus.
- Shallow Depth of Field Mismanagement: At f/1.4, your depth of field (the zone in focus) is razor-thin. If your subject moves slightly forward or backward, they’re out of focus. For group shots or landscapes, stop down to f/5.6 or f/8.
- Not Using Live View for Critical Focus: Zoom in to 10x or 20x on your screen and check focus before pressing the shutter. This catches errors that the optical viewfinder misses.
- Ignoring Focus Peaking: If your mirrorless camera has focus peaking (highlights edges in focus), turn it on. It’s a game-changer for manual focus work.
Lighting Blind Spots in 2026
Light changes fast, especially outdoors. Beginners often set their camera once and forget to adjust as conditions shift.
Watch out for these scenarios:
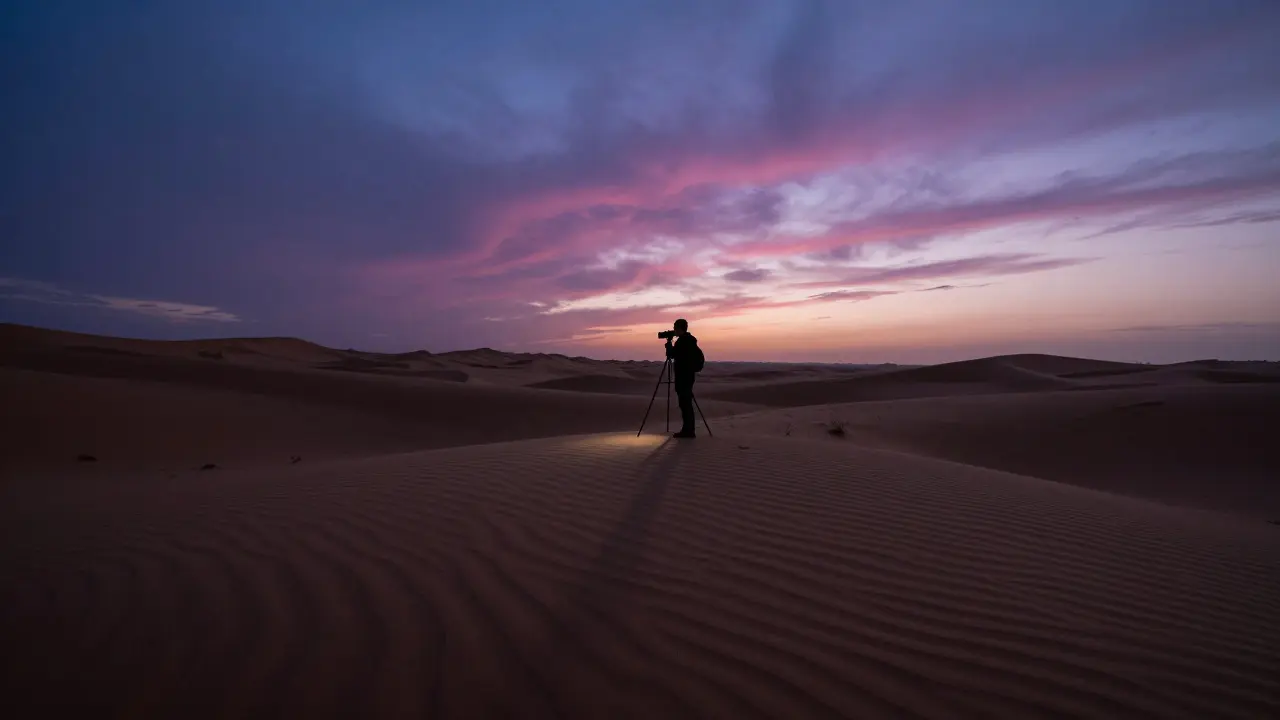
- Backlighting Without Fill: Shooting against the sun creates silhouettes. Either embrace the silhouette intentionally or use a reflector/flash to fill in the face. Alternatively, move the subject so the light hits them from the side or front.
- Golden Hour Assumptions: Golden hour isn’t just "pretty light." It’s directional. Position your subject so the light wraps around them, not directly behind or in front. The quality of light matters more than the time of day.
- Indoor Mixed Lighting: Windows provide daylight (cool); bulbs provide tungsten (warm). Mixing these without correction creates color casts. Turn off artificial lights if possible, or use a flash to overpower ambient light.
Habitual Workflows That Hold You Back
It’s not just about the shot-it’s about how you shoot. These habits slow you down and reduce quality.
- Chasing Gear Over Skill: A $500 kit lens can produce stunning images if used correctly. A $3,000 lens won’t save a poorly composed shot. Master your current gear before upgrading.
- Not Reviewing Shots Immediately: Check your LCD after every burst. Is focus sharp? Is exposure balanced? Catching errors now saves hours in post-production.
- Ignoring Post-Processing Basics: Editing isn’t cheating. It’s part of the creative process. Learn to adjust levels, curves, and local corrections. Tools like Lightroom or Capture One are essential for RAW files.
- Shooting Too Much: Volume doesn’t equal quality. Take fewer, better shots. Force yourself to edit each frame mentally before pressing the shutter.
How to Practice Without Wasting Time
You don’t need a paid assignment to improve. Use these drills to target specific weaknesses:
- The Exposure Triangle Drill: Pick one setting (e.g., shutter speed 1/125s) and vary aperture and ISO to maintain correct exposure. Do this 10 times. You’ll internalize the relationship between the three.
- The Composition Challenge: Shoot only using leading lines for a week. Or only using negative space. Constraints force creativity.
- The Focus Test: Photograph a stationary object at different apertures (f/1.8, f/4, f/8, f/16). Compare the depth of field. See exactly how much is in focus at each setting.
- The Light Study: Photograph the same scene at 7 AM, noon, and 5 PM. Notice how color temperature and direction change. Adjust your settings accordingly.
Frequently Asked Questions
What is the biggest mistake beginners make with camera settings?
The most common error is relying entirely on auto mode. While convenient, it prevents you from understanding how exposure works. Switch to Aperture Priority (Av/A) or Manual mode to take control over depth of field and shutter speed.
Should I shoot in RAW or JPEG as a beginner?
Shoot in RAW if you plan to edit your photos. RAW files contain more data, allowing you to recover highlights, adjust white balance, and reduce noise effectively. JPEG is fine for casual snapshots, but it limits your creative options.
How do I avoid blurry photos without a tripod?
Follow the reciprocal rule: your shutter speed should be at least as fast as the reciprocal of your focal length. For a 50mm lens, use 1/50s or faster. Also, brace your elbows against your body, hold your breath before pressing the shutter, and enable image stabilization if available.
Is expensive gear necessary to take good photos?
No. Gear helps, but skill matters more. A smartphone with good technique can outperform a pro camera in the hands of someone who doesn’t understand exposure or composition. Master the fundamentals first, then upgrade gear to match your needs.
What is the best aperture for portraits?
For individual portraits, use a wide aperture like f/1.8 to f/2.8 to create a blurred background (bokeh) and isolate the subject. For group portraits, stop down to f/4 or f/5.6 to ensure everyone is in focus.