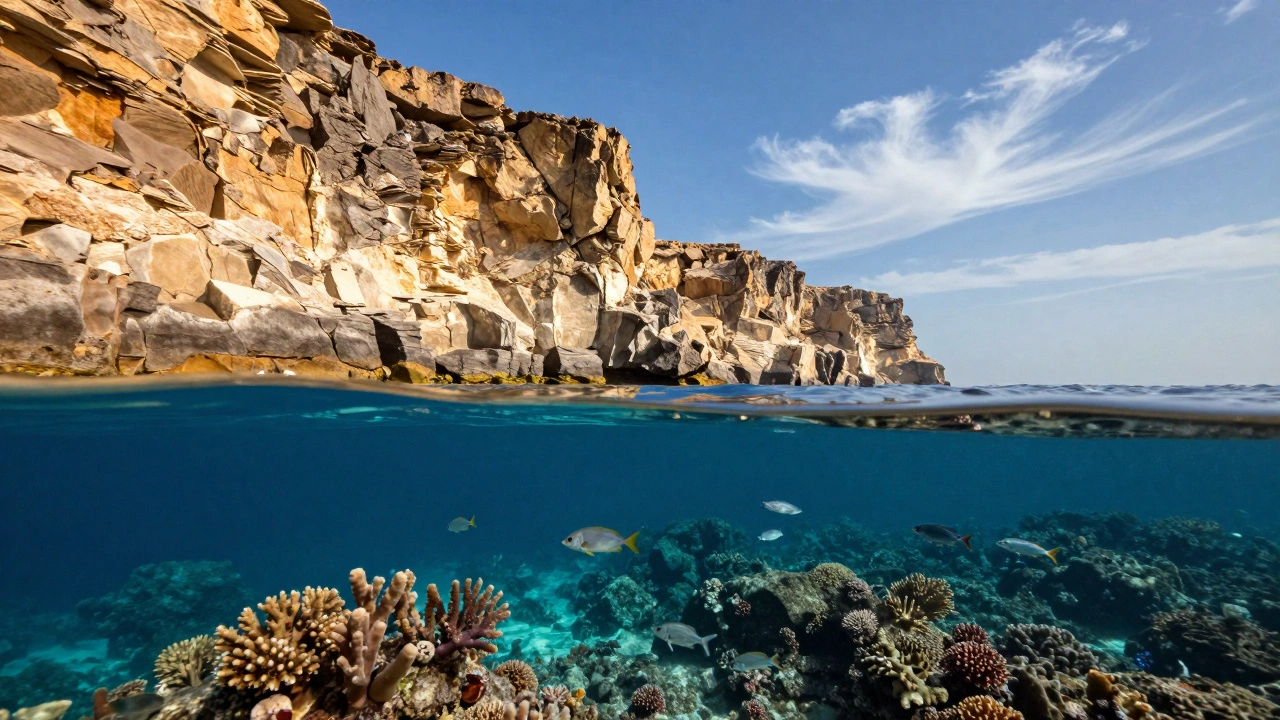
There is nothing quite as striking as an image that shows a vibrant coral reef below and a towering mountain peak above, all in one frame. This is the magic of split-level photography, also known as half-and-half photography. It captures the waterline-the meniscus-dividing two worlds in a single shot. But don't let the beauty fool you; this is one of the most technically demanding styles in underwater imaging. You are fighting physics, light, and water surface tension all at once.
Many beginners think they just need to stick their camera halfway into the water and click. That usually results in a blurry mess with droplets ruining the top half. To get those crisp, professional shots where both environments are sharp and properly exposed, you need specific gear, precise settings, and a bit of patience. Here is how you master the art of the split-shot.
The Gear: Why Your Lens Choice Matters Most
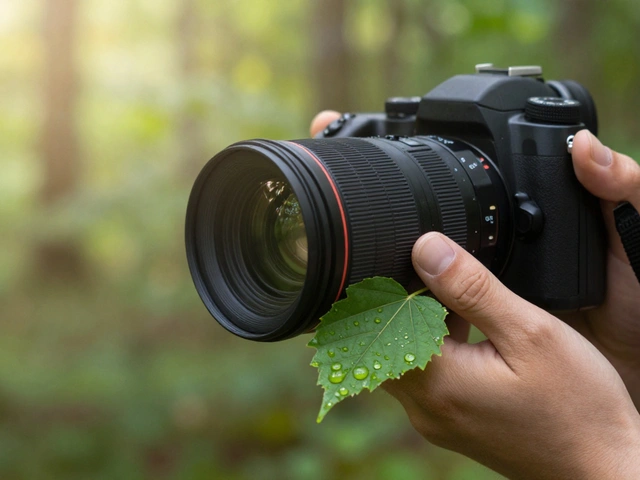
Your equipment dictates what is possible. In split-level photography, the lens is your most critical tool. You need a wide field of view to capture enough context from both above and below the surface. A standard 50mm lens will feel claustrophobic and make composition nearly impossible.
Most professionals recommend using either a wide-angle rectilinear lens (like a 16-35mm) or a fisheye lens (like an 8-15mm). Each has trade-offs. Rectilinear lenses keep straight lines straight, which is great for landscapes with buildings or cliffs. Fisheyes give you the widest possible angle, letting you include more of the scene, but they bend straight lines. If you use a fisheye, that beautiful horizon line might look like a smile or a frown unless you correct it later.
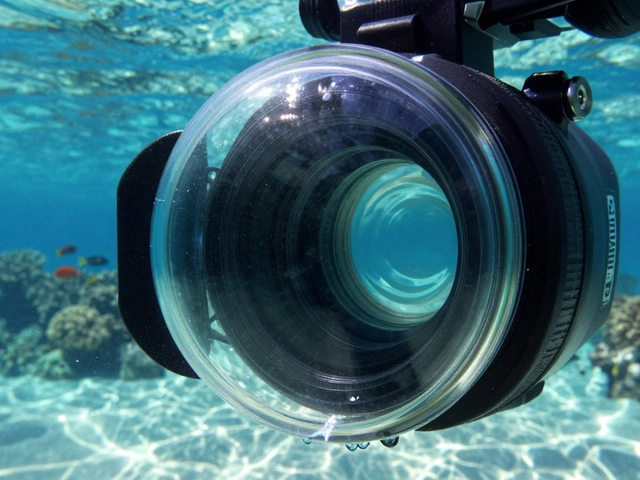
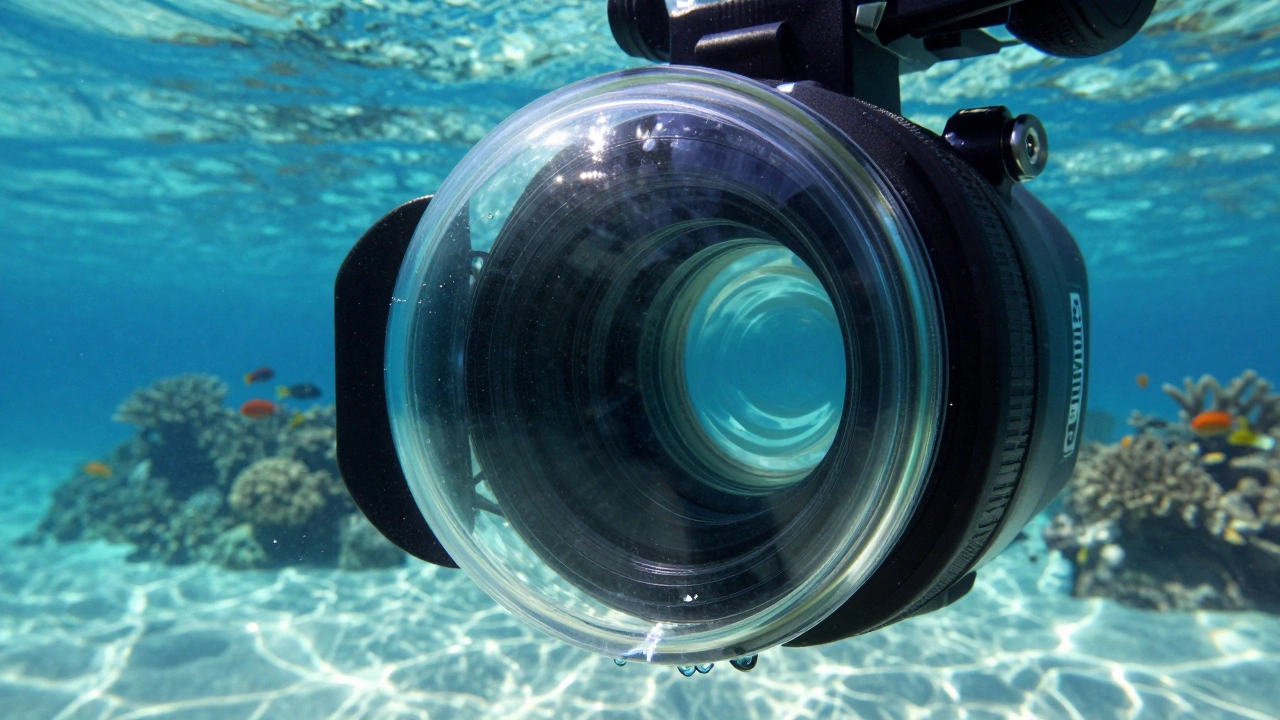
The housing itself is equally important. You absolutely need a dome port. Flat ports distort the underwater portion of the image due to refraction, making focus impossible across the split. The dome allows light to enter without bending incorrectly. Size matters here too-a larger dome port makes composing the shot easier because it reduces distortion at the edges. While acrylic domes are cheaper, glass domes are superior for split-shots because they shed water droplets much more effectively.
Mastering Focus and Depth of Field
Focusing is where most people fail. You have subjects inches away underwater and potentially miles away above water. Your camera cannot autofocus on both simultaneously. The solution is depth of field.
You need a small aperture to keep everything sharp. Experts suggest shooting between f/15 and f/22. This creates a massive depth of field, allowing the foreground fish and the distant mountain to both appear reasonably sharp. However, smaller apertures let in less light, which means you’ll need strong lighting for the underwater part.
Here is the trick for focusing: Do not rely on autofocus during the shot. Instead, before you lift the camera, focus manually on an object close to the dome-like your own fin or a piece of coral within 1 to 2 meters. Then, lock the focus or switch to manual mode. This ensures the near underwater elements are sharp, and the deep depth of field handles the rest.
Balancing Exposure: The Light Challenge
The sun hits the top half of your frame directly, while the underwater half absorbs blue and red light rapidly. The top will always be brighter than the bottom. If you expose for the sky, the underwater world goes black. If you expose for the reef, the sky blows out to white.
To balance this, you must control the variables. Start with these baseline settings:
- ISO: Keep it low, between 200 and 400, to minimize noise.
- Shutter Speed: Use at least
1/125or1/160second. Faster speeds freeze the water’s motion, preventing the meniscus from blurring. - Aperture: As mentioned, aim for
f/11tof/22.
Since the underwater side is darker, you need artificial light. Strobes are essential here. They illuminate the nearby underwater subjects without affecting the bright surface above. Position your strobes carefully so they don’t reflect off the water surface into the lens, creating glare. Some photographers use video lights for continuous illumination, which helps with judging exposure in real-time, but strobes offer more power for freezing action.
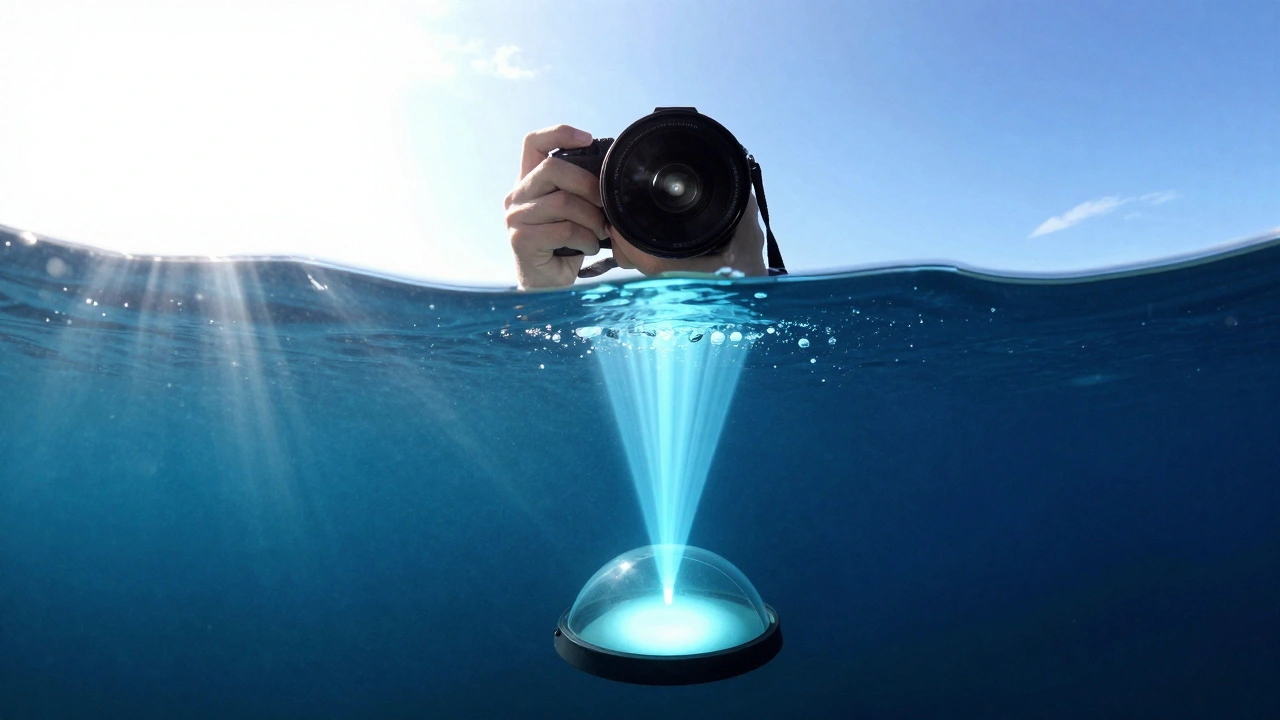
The Dunking Technique: Eliminating Water Droplets
Nothing ruins a split-shot faster than water droplets stuck to the dome port. They look like alien eyes in the final photo. Rain or spray above the waterline can cause this, as can bubbles rising from below.
The best way to prevent this is the "dunking" technique. Before you take the shot, submerge the entire housing completely underwater. Then, slowly lift it up through the surface while holding the shutter button down in burst mode. As the dome breaks the surface, a thin, uniform layer of water clings to it due to surface tension. This layer is smooth and doesn’t distort the image. Gravity quickly sheets it off, leaving a clean dome for the above-water portion of the shot. If you’re using a glass dome, this works even better because glass is hydrophobic compared to acrylic.
Composition and Timing
Even with perfect settings, a wavy sea can ruin your composition. The meniscus-the line separating air and water-needs to be relatively flat. Wait for moments of calm. Even in open ocean conditions, there are brief seconds when the surface settles.
Hold the camera steady. Any movement distorts the split line. If you’re standing in shallow water, sight over the top of the housing to align your dome perfectly with the horizon. Don’t be afraid to shoot vertically. Vertical split-shots often have less distortion on the meniscus and allow you to emphasize height, like a cliff diving into the sea.
Finally, shoot in bursts. Take multiple frames as you adjust the angle slightly. The difference between a good shot and a great one is often just millimeters of tilt or timing the shutter exactly when a wave recedes.
| Setting | Recommendation | Reason |
|---|---|---|
| Lens | Wide-angle (16-35mm) or Fisheye (8-15mm) | Captures expansive scenes from both realms |
| Aperture | f/15 - f/22 | Maximizes depth of field for sharpness across distances |
| Shutter Speed | 1/125s - 1/250s | Freezes water motion and meniscus blur |
| ISO | 200 - 400 | Balances light sensitivity with image noise |
| Dome Port | Large Glass Dome | Reduces distortion and sheds water droplets better |
Can I do split-level photography with a smartphone?
It is very difficult. Smartphones lack the manual controls needed to balance exposure between the bright surface and dark underwater environment. Additionally, flat screens or small protective cases act like flat ports, causing severe refraction issues that blur the underwater half. Dedicated cameras with dome ports are strongly recommended.
Why does my underwater half look blurry?
This is usually caused by using a flat port instead of a dome port, or failing to use a small enough aperture. Refraction through flat surfaces bends light rays, making focus impossible at different depths. Switching to a dome port and stopping down to f/16 or higher should resolve this.
Do I really need strobes for split-shots?
In most cases, yes. Because you need a small aperture (f/15-f/22) for depth of field, very little natural light reaches the sensor. Without strobes, your underwater subjects will likely be underexposed and lack color, especially beyond a few feet from the camera.
How do I remove water droplets in post-processing?
While prevention is best, minor droplets can be removed using the healing brush or clone stamp tool in software like Adobe Lightroom or Photoshop. However, large droplets distort the background significantly, making them hard to fix naturally. It is always better to use the dunking technique to avoid them entirely.
Is horizontal or vertical orientation better?
Horizontal is traditional for landscape-style shots showing wide vistas. Vertical is excellent for emphasizing height, such as cliffs, trees, or divers swimming upwards. Vertical compositions often suffer less from meniscus distortion and can provide a more dynamic perspective.