Ever stared at a photo that felt "off"? The colors were muddy, the skin tones looked sickly green, or the blue sky turned purple. Chances are, you fought with your white balance is the camera's method for correcting color casts to ensure whites appear neutral under varying light sources. But what if you stopped fighting it? What if you used colored light on purpose? This is where color gels is transparent plastic sheets placed over lights to alter their hue, allowing photographers to create specific moods or correct mixed lighting scenarios comes in. Instead of just fixing errors, you start designing the look. Whether you're shooting a moody portrait in a dark room or a vibrant product shot, understanding how gels interact with your camera settings changes everything.
The Core Conflict: Why Colors Go Wrong
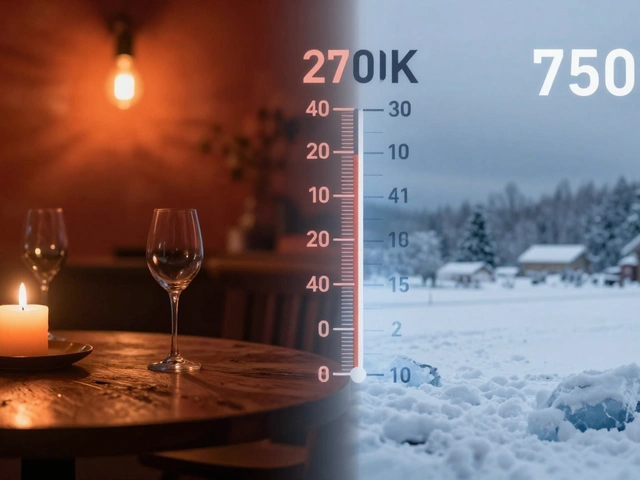
To use gels creatively, you first have to understand why they exist. Light isn't just "light." It has a temperature, measured in Kelvin (K). Daylight sits around 5500K, while candlelight is roughly 1800K. Your camera sensor tries to guess what the light source is so it can make white objects look white. This is the automatic white balance function.
When you mix different light sources-say, a warm window and a cool LED panel-the camera gets confused. It picks one reference point, leaving the other source looking tinted. This is called a mixed lighting situation. Most photographers try to avoid this by killing one light source. Pros embrace it. They use gels to force all light sources to match, or they deliberately mismatch them for artistic effect.
How Color Gels Actually Work
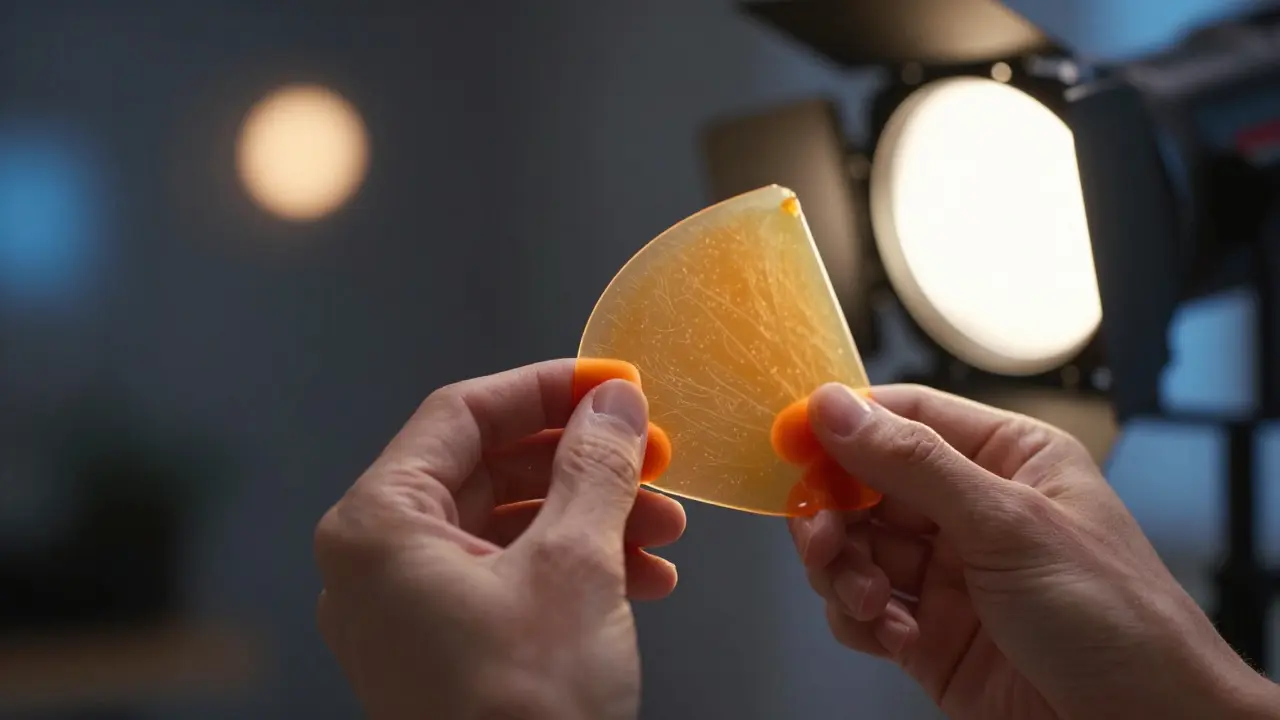
A gel filter is a thin sheet of colored material, typically made from polyester or cellulose acetate, that absorbs certain wavelengths of light while transmitting others. Think of it like sunglasses. If you wear red sunglasses, the world looks reddish because the lens blocks blue and green light. A red gel does the same thing to a light source. It doesn't add red light; it removes non-red light.
This distinction matters. If you put a red gel on a 5600K daylight lamp, you get red light. If you put a CTO (Color Temperature Orange) gel on that same lamp, you get warmer light that mimics tungsten. The difference is subtle but critical for professional work. Standard gels come in two main categories: color correction gels and creative color gels.
- Correction Gels: CTO (makes daylight look tungsten), CTB (makes tungsten look daylight), and Half-CTO/CTB for partial shifts.
- Creative Gels: Primary colors (red, blue, green) and secondary shades (amber, magenta, cyan) used to set mood.
Setting White Balance: The Manual Approach
Most beginners leave their camera on Auto White Balance (AWB). This works fine for snapshots, but it fails when you introduce intentional color. If you want a scene to look cold and blue, AWB will try to warm it up back to neutral. To take control, you need to switch to manual white balance.
Here’s how to do it properly:
- Shoot a Reference Card: Place a white or gray card in the exact lighting you intend to use. Take a photo.
- Select Custom WB: On your camera menu, choose "Custom White Balance" or "Manual White Balance."
- Calibrate: Point the camera at the card and confirm. The camera now knows exactly what "white" looks like in that specific light.
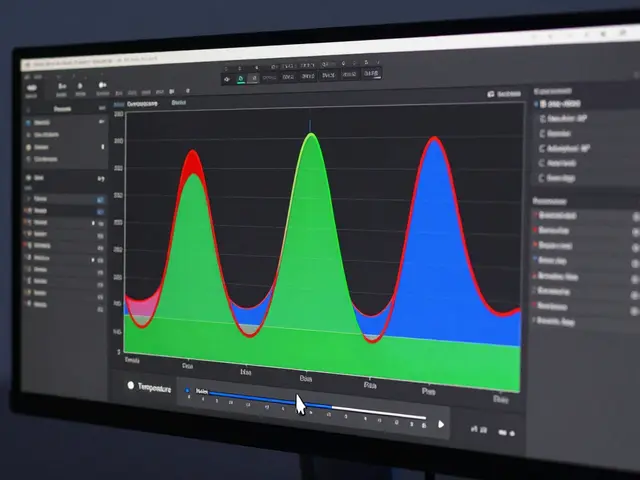
Once calibrated, your histogram and live view will show accurate colors. If you change the light intensity or add a new gel, you must recalibrate. This step feels tedious at first, but it gives you total freedom. You can shoot a scene with pure blue light, and your camera won't try to turn it into gray.
Creative Techniques: Mixing Gels and Settings
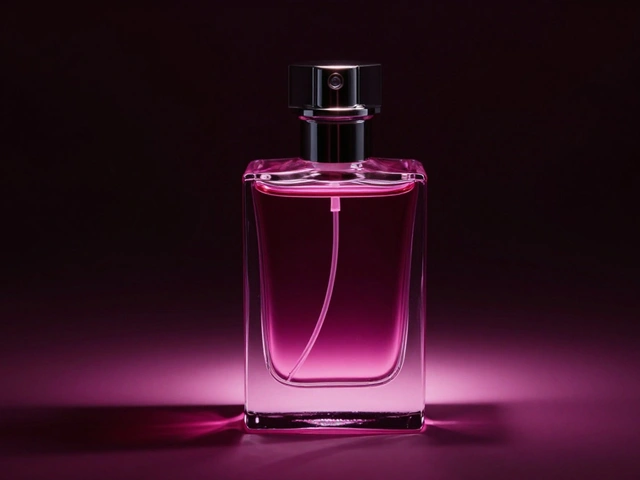
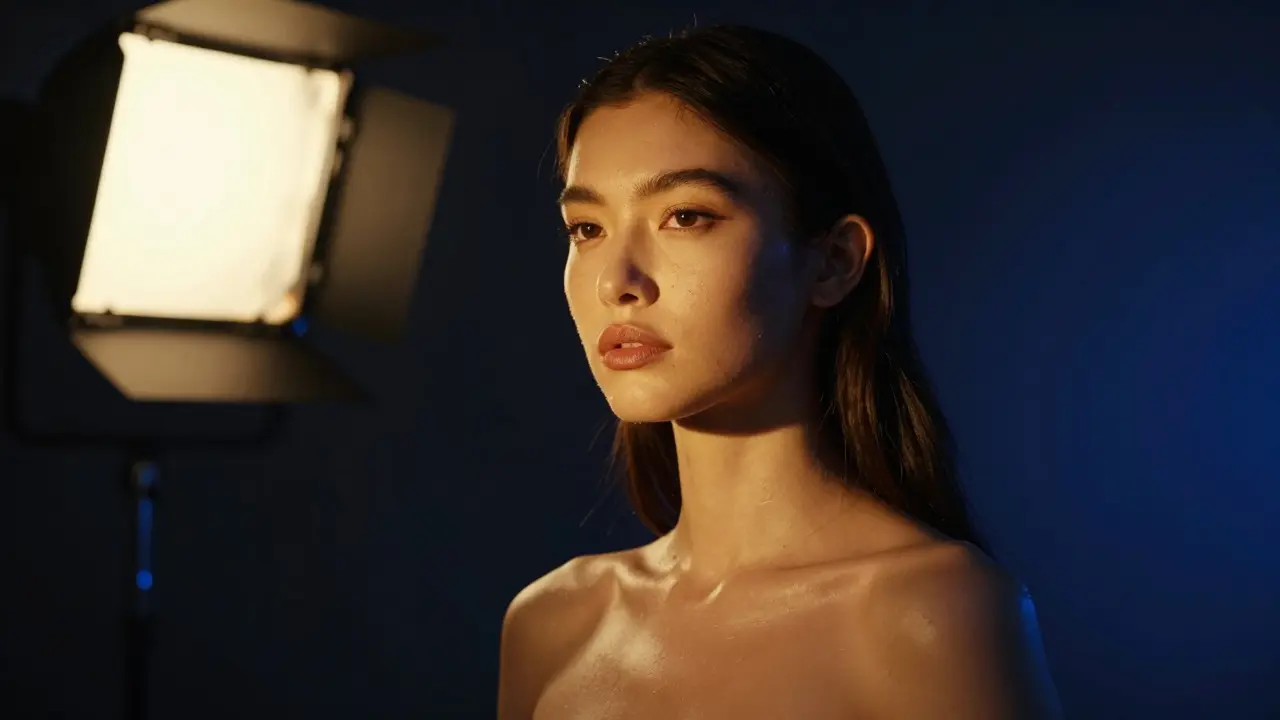
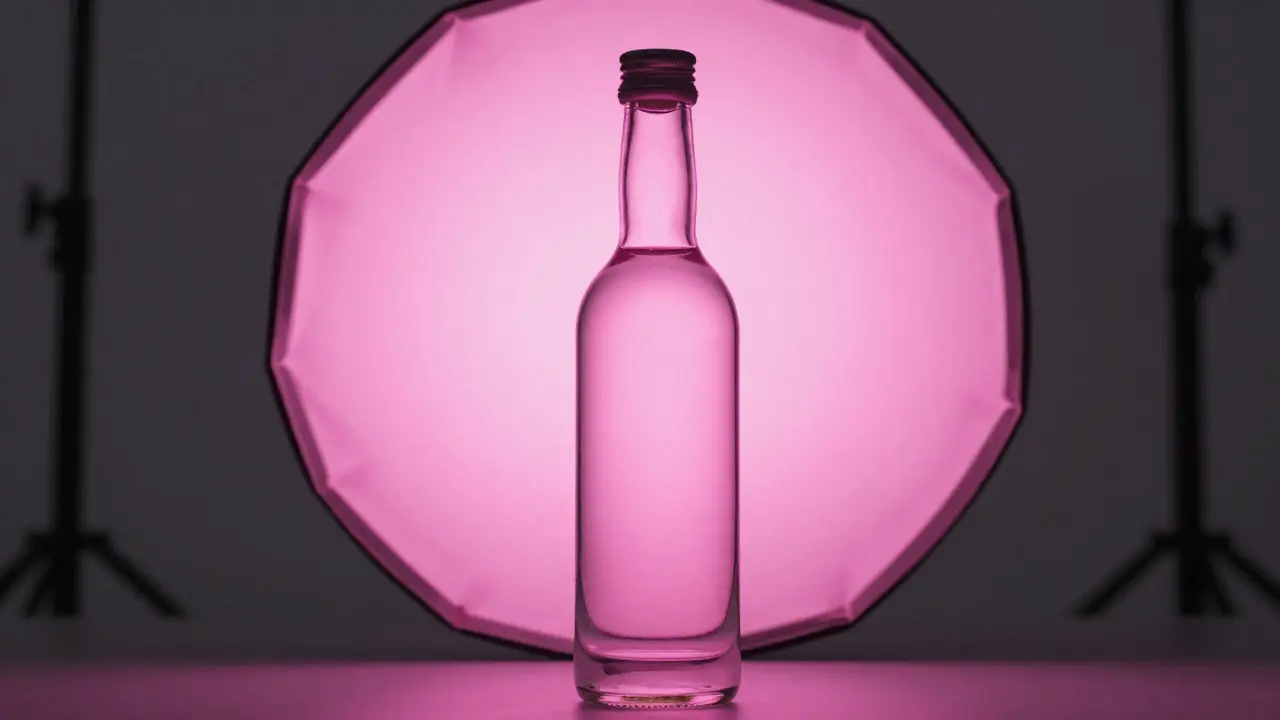
Now that you have control, let's play. Here are three specific setups that yield striking results. 1. The Split Spectrum Portrait Use two lights. Put a CTO gel on one to mimic warm indoor lighting. Leave the other as daylight. Set your white balance to 3200K (tungsten). The CTO-lit side will look natural and warm. The daylight side will look cool and blue. This creates a dramatic contrast that separates the subject from the background without using post-production masks. 2. The Neon Noir Look Dim the ambient light. Use two small LED panels. Gel one with deep blue and the other with magenta. Set your white balance to 5600K. Because the gels are saturated, the shadows will fall into deep violet and indigo tones. This style works well for fashion or music photography. Keep the key light soft to avoid harsh highlights. 3. Product Pops For clear liquids or transparent products, backlighting is essential. Use a large diffuser behind the product. Place a half-magenta gel over the light. Set white balance to daylight. The liquid will glow with an internal pink hue, making it stand out against a neutral background. This technique requires no editing; the color is baked into the exposure.
Common Mistakes to Avoid
Even experienced shooters trip up here. Watch out for these pitfalls:
- Gel Overheating: Incandescent bulbs run hot. Cheap plastic gels can warp or melt. Always use heat-resistant gels rated for high temperatures, or leave a gap between the bulb and the gel.
- Ignoring Ambient Light: If you're shooting indoors with windows, sunlight will ruin your gel effects. Blackout curtains are non-negotiable for controlled color work.
- Assuming One Size Fits All: A full CTO gel might be too strong for a dim room. Try a half-CTO or quarter-CTO instead. Layering gels also works; putting a blue gel over a CTO creates a unique purple tone that's hard to achieve with a single pre-made color.
Hardware You Need
You don't need expensive gear to start. A basic kit includes:
- A set of primary color gels (red, blue, green).
- CTO and CTB correction gels.
- A white balance card (or a plain white sheet of paper).
- Two controllable light sources (LEDs are best because they run cooler than halogens).
LED lights are ideal for this workflow because they allow you to adjust intensity easily. If you drop the power, you can expose longer, which helps capture more detail in the colored shadows. Flash units work too, but testing gel combinations with flash is slower because you can't see the result instantly on the monitor.
| Gel Type | Effect | Best For | White Balance Tip |
|---|---|---|---|
| CTO (Color Temp Orange) | Makes daylight look like tungsten | Mixed lighting correction | Set WB to 3200K |
| CTB (Color Temp Blue) | Makes tungsten look like daylight | Outdoor fill lights | Set WB to 5600K |
| Primary Red | Adds intense red hue | Dramatic portraits, horror themes | Set WB to neutral, accept the cast |
| Primary Blue | Adds cool blue hue | Night scenes, tech products | Set WB to neutral, accept the cast |
Frequently Asked Questions
Do I need to reset white balance every time I change a gel?
Yes, if you want the resulting image to reflect the true color of the gel. If you change the light source's color, the camera's previous calibration is invalid. Recalibrate using a white card under the new light setup to ensure accuracy.
Can I use colored gels with natural light?
It's difficult. Natural light is usually too strong compared to artificial gelled lights. However, you can place gels on windows to tint incoming sunlight. This requires large gels and careful exposure management, but it works for interior shots during the day.
What is the difference between a CTO gel and a red gel?
A CTO gel shifts the color temperature toward orange/yellow to mimic tungsten light. It is used for correction. A red gel adds a saturated red hue for creative effect. CTO is about matching light sources; red is about creating a mood.
Will color gels reduce my light output significantly?
Yes, every gel absorbs some light. Correction gels like CTO lose about 1 stop of light. Saturated creative gels like deep blue or black can lose 2-3 stops. You may need to increase your ISO, open your aperture, or use faster shutter speeds to compensate.
Are LED lights better than flash for gel experiments?
For learning, yes. LEDs provide continuous light, so you can see the color effect immediately on your camera's screen. Flash requires trial and error because you only see the result after taking the photo. Once you master the look, flash offers more power and crispness for final shoots.