Exposure for video feels different than still photography. In photos, you can fix a blown-out sky or underexposed face in post-production. In video, once that highlight clips or that shadow crushes, it’s gone forever. You need to get it right while the camera is rolling.
This is especially true for hybrid cameras-mirrorless bodies like those from Sony, Fujifilm, and Olympus that do both high-res photos and professional-grade video. These tools give you incredible control, but they also require you to understand how light, time, and digital amplification interact. Specifically, you need to master three things: shutter angle for natural motion, ISO as digital signal amplification that affects noise and highlight retention, and Zebra patterns as visual overlays that indicate specific brightness levels in the viewfinder.
Understanding Shutter Angle and Natural Motion
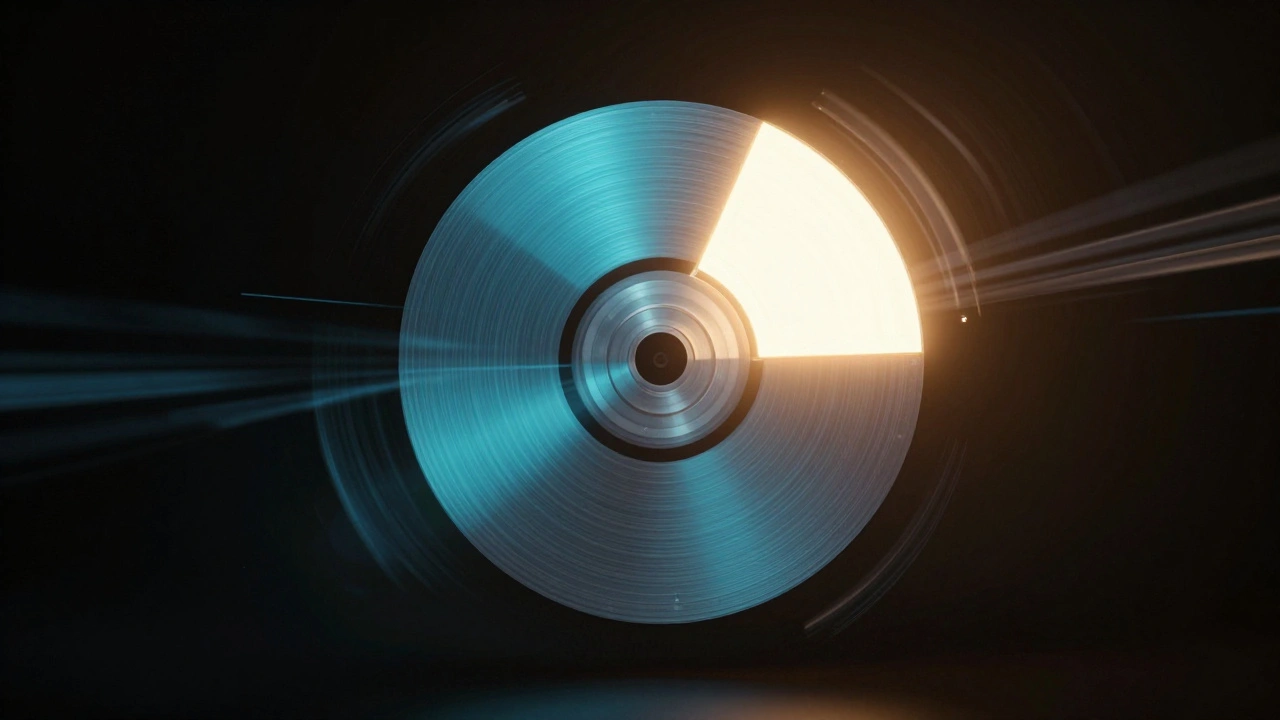
If your footage looks jittery or unnaturally sharp, your shutter speed is likely wrong. In traditional film cameras, a physical rotating disc with an open sector controlled how long each frame was exposed. This was measured in degrees, known as the Shutter angle is the measurement of the opening in a rotary film shutter, determining exposure duration per frame.
The industry standard is a 180-degree shutter. This means the sensor is exposed for half the time between frames. Why does this matter? Because it creates a specific amount of motion blur that our brains recognize as "natural." If you shoot at 24 frames per second (fps), a 180-degree shutter equals a shutter speed of roughly 1/48th of a second. Since most digital cameras don't have 1/48, you use 1/50th. For 30 fps, you use 1/60th. For 60 fps, you use 1/125th.
Sticking to this rule prevents the "staccato" look often seen in bad action movies or news broadcasts, where every movement is painfully distinct. It also avoids excessive smear, which happens if you go too slow (like 1/24th at 24 fps). When you lock your shutter speed to this baseline first, you remove one variable from the equation, making exposure easier to manage.
The Role of ISO in Video Exposure
There is a common debate among photographers: does ISO affect exposure? Technically, in terms of photons hitting the sensor, no. Only aperture (how wide the lens opens) and shutter speed (how long the door stays open) control the physical light entering the camera. However, for video shooters, ISO is absolutely part of the exposure workflow.
ISO acts as electronic gain applied to the sensor signal after capture. When you raise the ISO, you are amplifying the electrical signal generated by the light. While this makes the image brighter on your screen, it also amplifies noise and can push highlights into clipping territory faster than you might expect.
Here is the practical reality: if you keep your aperture and shutter speed constant and crank up the ISO from 800 to 3200, your zebras will suddenly appear on areas that were previously safe. The amplified signal exceeds the threshold you set. Therefore, you must treat ISO as a primary exposure control because your monitoring tools-and your final recorded file-respond to the total signal level, not just the raw photon count.
What Are Zebra Patterns?
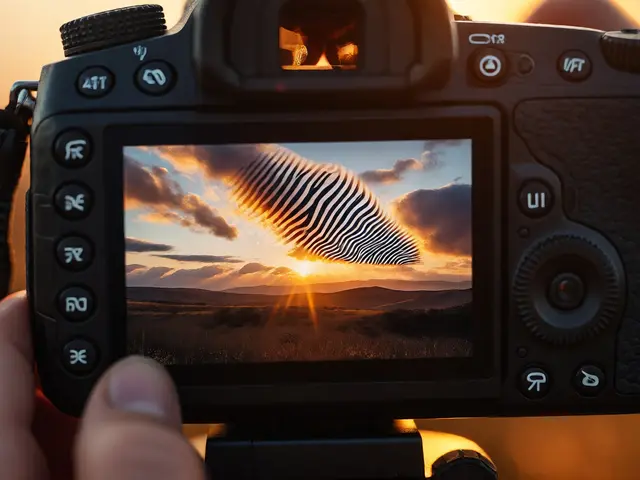
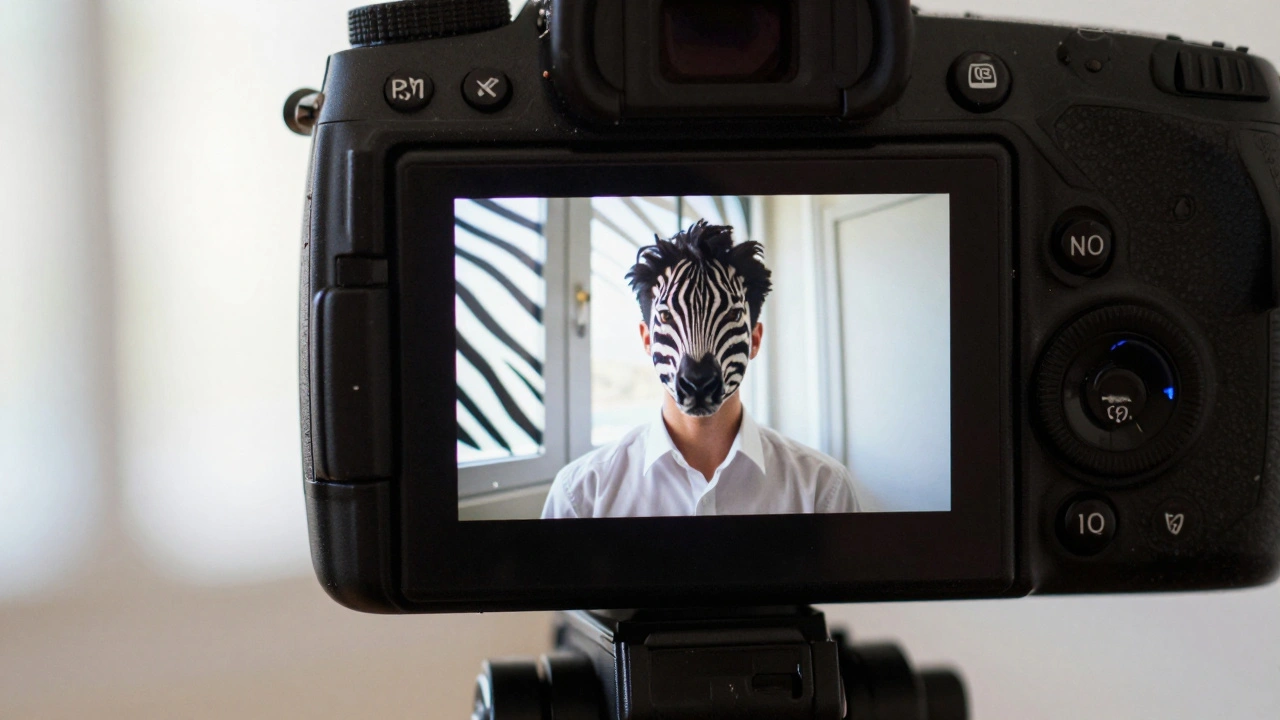
Zebra patterns are striped overlays that appear only in your electronic viewfinder (EVF) or rear LCD. They do not record onto your video file. Think of them as a visual alarm system for brightness.
When a part of your image reaches a certain level of brightness, the camera draws diagonal stripes over it. This tells you immediately if you are about to lose detail in the highlights. Unlike a histogram, which requires you to look away from the subject, or a waveform monitor, which takes practice to read, zebras show you exactly *where* the problem is happening in real-time.
Most modern hybrid cameras from Sony, Fujifilm, and Olympus include these features. Even some DSLRs offer them in live-view mode. The key is understanding that zebras are customizable. You aren't stuck with one setting; you can adjust the threshold to match your specific needs, whether you are protecting white clouds or ensuring skin tones look natural.
Configuring Zebras: Standard, Range, and Lower Limit
To get the most out of zebras, you need to know how to configure them. Most cameras offer three modes:
- Standard (Single Value): You pick one number, say 100. Zebras appear only on pixels that hit exactly that brightness. This is rarely useful because it’s too narrow.
- Range: You set a center value and a spread. For example, center 95 with a ±5 range means zebras appear between 90 and 100 IRE. This is great for targeting specific tones, like skin, but dangerous for highlights because anything above 100 won’t show stripes.
- Lower Limit: You set a minimum threshold. If you set it to 100, any pixel at 100 or brighter shows zebras. This is the best mode for protecting highlights.
For general shooting, always use Lower Limit mode when worrying about clipping. Set it to 100 for standard gamma profiles (Rec.709). If you are shooting in Log (like S-Log3), you need to go higher. Many users find that 108 or 109 IRE is the point where Log highlights begin to clip. Setting your lower limit here ensures you see every pixel that is pushing past the recoverable range.
| Profile Type | Zebra Mode | Threshold Value (IRE) | Purpose |
|---|---|---|---|
| Standard (Rec.709) | Lower Limit | 100 | Protect pure white highlights |
| S-Log3 / C-Log | Lower Limit | 108 - 109 | Prevent log highlight clipping |
| Skin Tone (Light) | Range | 60 - 65 (±2) | Target correct skin brightness |
| Middle Gray (S-Log3) | Range | 41 (±2) | Calibrate exposure via gray card |
Using Zebras for Skin Tones and Middle Gray
Protecting highlights is only half the battle. You also need to ensure your subjects are properly exposed. This is where switching to Range mode becomes powerful.
The IRE scale runs from 0 (black) to 100 (white). For light skin tones in a standard profile, the sweet spot is usually between 60 and 65 IRE. If you set your zebras to a range of 60-65, you can adjust your aperture or ISO until the stripes just touch your subject’s face. Once they appear, you know the skin is perfectly placed. For darker skin tones, you would aim for a lower range, perhaps 40-50 IRE, depending on the lighting ratio you want.
If you are shooting in Log, the numbers change because the image looks flat and dark. For S-Log3, many professionals target 52-54 IRE on light skin to ensure it grades correctly to 60-65 IRE in post-production. You can build a reference chart for yourself by testing these values with a color checker or a gray card.
Speaking of gray cards, they are invaluable. An 18% gray card should read around 40-50 IRE in standard gamma. In S-Log3, it typically reads around 41 IRE. Place the card in the same light as your subject, set your zebras to 41 ±2, and adjust exposure until the stripes appear on the card. Remove the card, and your scene is now scientifically balanced for grading.
A Practical Exposure Workflow
Putting it all together, here is a reliable step-by-step process for exposing video on a hybrid camera:
- Set Frame Rate and Shutter: Decide on your frame rate (e.g., 25 fps). Set your shutter speed to the 180-degree equivalent (1/50 s). Do not change this unless you want a stylistic effect.
- Choose Aperture: Select your f-stop based on desired depth of field. A wider aperture (f/2.8) gives shallow depth; a narrower one (f/5.6) keeps more in focus.
- Adjust ISO: Bring the overall brightness into a usable range. Keep ISO as low as possible to minimize noise, but don’t be afraid to raise it if needed.
- Check Highlights: Switch zebras to Lower Limit at 100 (or 108 for Log). Look for stripes on bright areas like windows or white shirts. If you see them, stop down the aperture or lower the ISO.
- Place Subject: Switch zebras to Range mode for your target skin tone (e.g., 60-65 IRE). Adjust lighting or exposure until the stripes lightly cover the brightest part of the face.
- Lock and Monitor: Return to Lower Limit mode to watch for new highlights as the scene changes.
Assign the zebra toggle to a custom button on your camera. This allows you to turn the overlay on and off quickly without digging through menus, keeping your composition clean while giving you instant feedback when you need it.
Do zebra patterns appear in the final video?
No. Zebra patterns are purely a monitoring tool visible only in the electronic viewfinder or rear LCD. They are never recorded into the video file.
What is the difference between Standard and Lower Limit zebra modes?
Standard mode shows zebras only at a specific brightness value. Lower Limit mode shows zebras on all areas that meet or exceed that value, making it much better for protecting highlights from clipping.
Why is 180-degree shutter important for video?
It creates a natural amount of motion blur that matches human vision. Deviating from it can make footage look choppy (too fast) or smeared (too slow).
Does ISO affect exposure in video?
Technically, ISO is gain applied after light hits the sensor. However, for practical exposure purposes, it affects the final signal level, noise, and where zebras appear, so it must be treated as part of the exposure triangle.
What IRE value should I use for skin tones?
For light skin in standard gamma, aim for 60-65 IRE. For S-Log3, aim for 52-54 IRE before grading. Always test with your specific camera and profile.