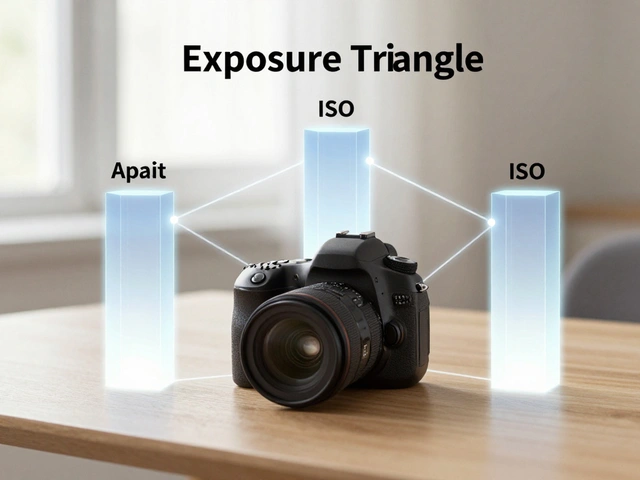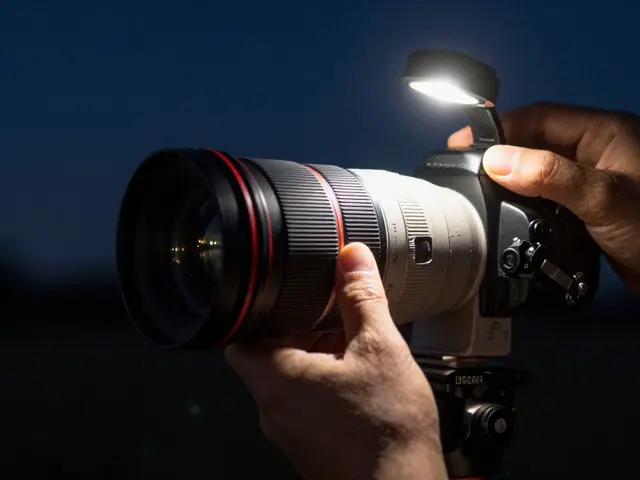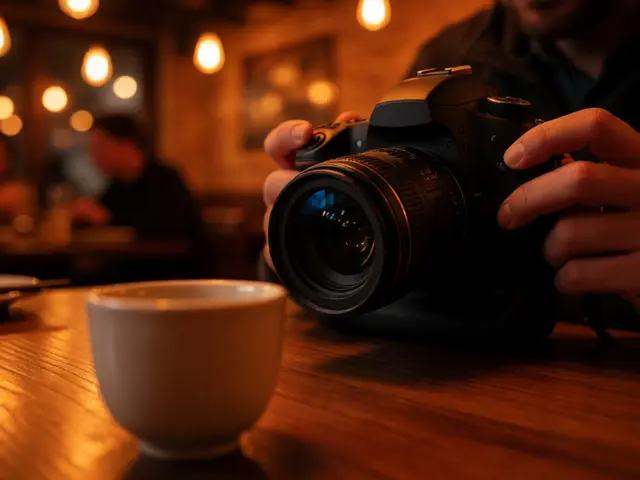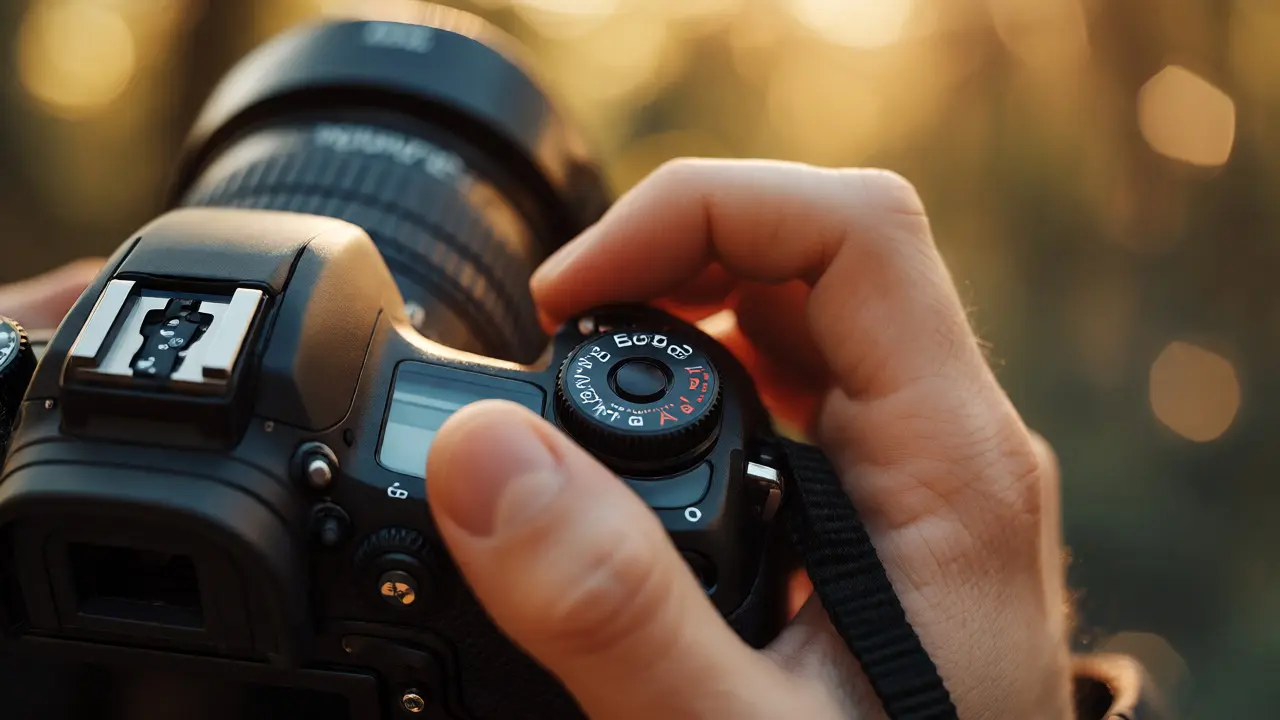
You know the theory. Aperture controls depth of field, shutter speed freezes motion, and ISO manages sensitivity to light. You can recite the definitions in your sleep. But when a perfect moment appears-a bird taking flight, a child blowing out candles-your fingers freeze. You stare at the dial, calculate stops, and by the time you adjust, the moment is gone. The gap between knowing and doing is where most photographers stall. This isn't about learning more theory; it's about training your hands to react before your brain catches up.
Why Your Brain Fights the Dial
Operating a camera in manual mode requires cognitive load that competes with composition. When you are actively calculating exposure values, you aren't looking for leading lines or waiting for the right expression. Your working memory gets clogged with numbers like f/2.8, 1/500s, and ISO 400. The goal of these drills is to move this calculation from your conscious mind to your subconscious reflexes. Think of it like driving a stick shift car. At first, every gear change is a deliberate action. After six months, you shift without thinking. We need to get your dials to that same level of automaticity.
| Mental State | Action Speed | Focus Level | Risk of Missed Shot |
|---|---|---|---|
| Calculating (Beginner) | 3-5 seconds | Settings & Light Meter | High |
| Adjusting (Intermediate) | 1-2 seconds | Composition & Subject | Medium |
| Reflexive (Expert) | <0.5 seconds | Creative Vision | Low |
The Fixed-Lens Constraint Drill
The easiest way to break bad habits is to remove options. If you shoot with a zoom lens, you rely on the lens to fix framing issues. Try mounting a prime lens, ideally a 50mm f/1.8. This focal length forces you to move your feet to frame the shot, which naturally changes how you perceive distance and background separation. Set your camera to Manual Mode. Do not touch Auto-ISO. Pick one specific lighting condition, such as midday sun or indoor window light, and stay there for an entire session.
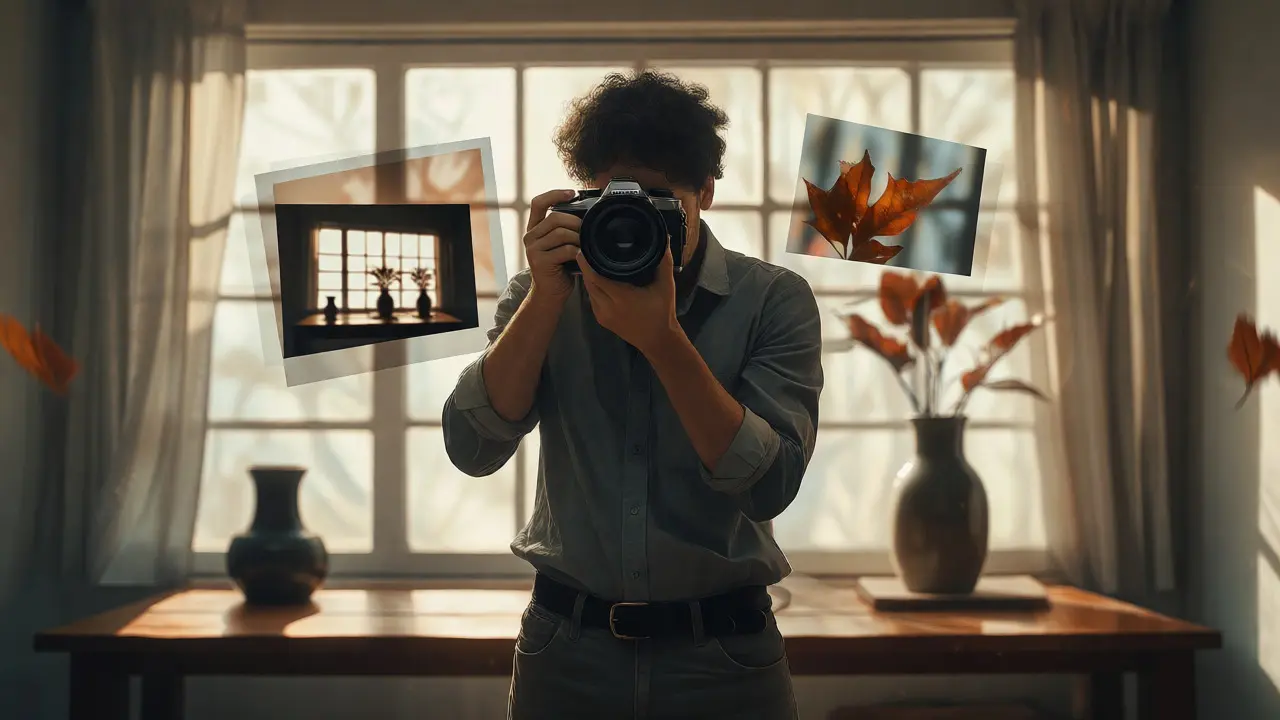
Your task is simple: take ten photos of the same static object, but each photo must have a different creative intent. One should blur the background completely. One should keep everything sharp from foreground to back. One should show motion blur in a falling leaf. Because you cannot change your position to alter perspective, you must use the exposure triangle to solve the visual problem. This constraint accelerates learning because you see immediate, tangible results from dial adjustments rather than abstract meter readings.
The "One Variable" Challenge
Once you are comfortable with fixed lenses, introduce variables one at a time. Most beginners fail because they try to change aperture, shutter, and ISO simultaneously. Instead, lock two parameters and change only one. Start with Aperture Priority mode. Set your aperture to f/4. Now, walk through a house. Move from a bright kitchen to a dim hallway. Notice how the shutter speed drops automatically. Watch the viewfinder. When does the shutter speed become too slow to handhold? Usually, around 1/60s for a standard lens. Note the ISO value required to maintain a safe shutter speed in that dark room.
Next, switch to Shutter Priority. Lock your shutter at 1/250s. Go outside. Look at the sky. How high does the ISO go? Look at a shadowed wall. Does the aperture open all the way? This drill teaches you the limits of your gear. You learn that in low light, Shutter Priority often pushes ISO into noise territory, while in bright light, it might force you to stop down past f/16, introducing diffraction. Knowing these boundaries prevents you from fighting your camera during critical moments.
Reading Light Without the Meter
Reliance on the built-in light meter creates a false sense of security. The meter assumes everything is middle gray. It doesn't know if you're shooting snow or coal. To build intuition, cover your LCD screen with tape. Seriously. Take it off later to check your work. For now, trust your eyes. Look at the scene. Estimate the brightness. Is it bright white (snow), medium tone (grass), or deep black (shadow)?
Use the Sunny 16 rule as a baseline. On a sunny day, set ISO 100, f/16, and shutter speed to the reciprocal of ISO (1/100s). From there, adjust based on what you see. Cloudy? Open up to f/8. Overcast? f/4. Heavy shade? f/2.8. This method bypasses the meter's confusion entirely. It connects your visual perception directly to mechanical settings. After a week of this, you will start guessing exposure within half a stop before you even look at the histogram. That accuracy is pure muscle memory.
Speed Shooting Under Pressure
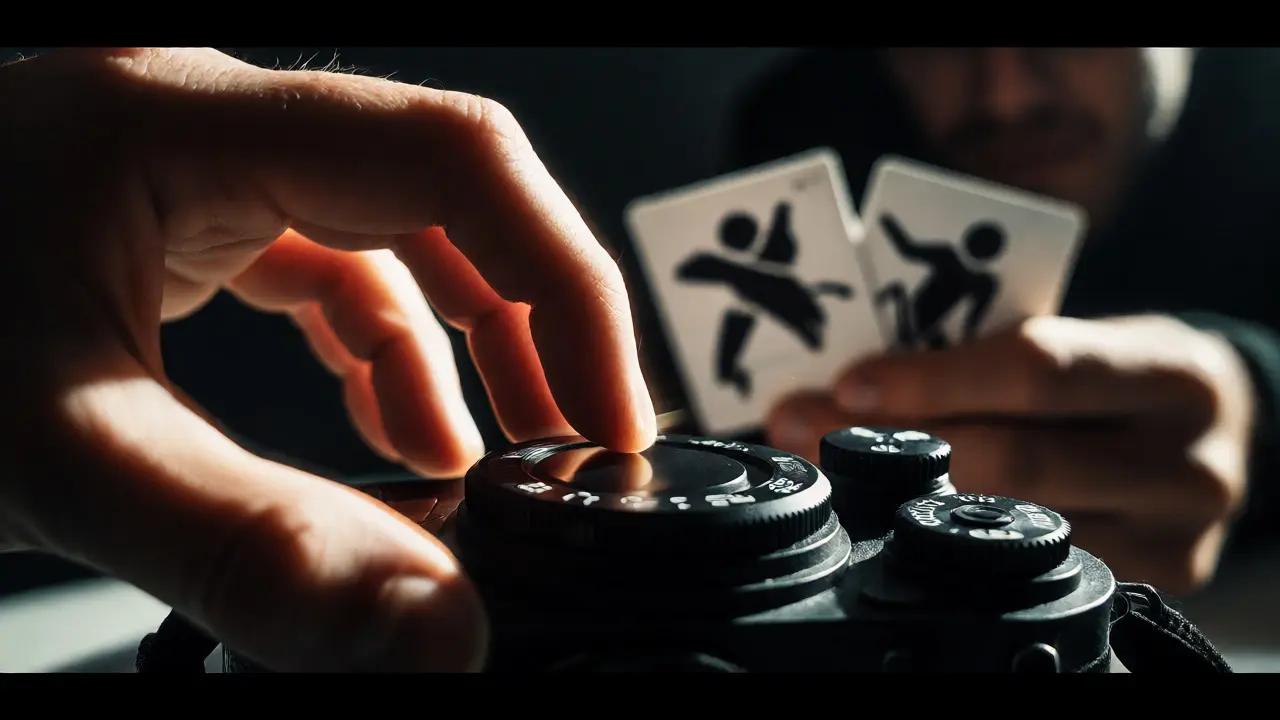
Drills are useless if they don't translate to real-world chaos. Simulate pressure. Ask a friend to hold up random cards labeled with scenarios: "Fast Action," "Portrait," "Landscape." They call out the scenario, and you have three seconds to set your camera correctly before they yell "Shoot!" You don't need to take the photo; just dial in the settings.
- Fast Action: Prioritize shutter speed. Aim for 1/1000s or faster. Let ISO float high.
- Portrait: Prioritize aperture. Aim for f/1.8 to f/2.8. Ensure shutter speed is above 1/125s to avoid micro-shake.
- Landscape: Prioritize depth of field. Aim for f/8 to f/11. Use a tripod or brace yourself for slower shutter speeds.
This gamification removes the emotional weight of making a mistake. You fail fast, reset, and try again. Within twenty minutes, your thumb will find the rear dial without looking. Your index finger will instinctively press halfway to activate autofocus. These small motor skills save milliseconds, and in street or sports photography, milliseconds determine whether you get the shot.
Reviewing Failures Strategically
After your drills, review your images not for artistic merit, but for technical consistency. Did you miss focus because you were busy adjusting ISO? Was the image underexposed because you trusted the meter over your eyes? Keep a small notebook. Write down the setting you chose and why. "Chose f/2.8 for bokeh, but background was still distracting." Next time, you'll know to step back or use a longer focal length. This reflective practice turns raw repetition into targeted improvement. You aren't just spinning dials; you're building a mental map of cause and effect.
How long does it take to build muscle memory for camera settings?
Most photographers notice significant improvement after two weeks of daily 15-minute drills. Consistency matters more than duration. Ten minutes every day beats a two-hour session once a week because neural pathways strengthen through frequent repetition.
Should I use Auto-ISO during these drills?
No. Turn Auto-ISO off. The point of the exercise is to understand the relationship between light, aperture, and shutter speed. If the camera chooses ISO for you, you lose feedback on how difficult the lighting condition actually is. Learn to choose the highest ISO you can tolerate for acceptable noise levels.
What if I make a mistake during a real shoot?
Embrace it. Mistakes provide data. If you blow out highlights, note that your exposure compensation was too high. If you missed focus, realize you prioritized aperture over shutter speed incorrectly. Real-world errors reinforce drill lessons better than theoretical corrections because they carry emotional stakes.
Do these drills work for mirrorless cameras?
Absolutely. Mirrorless cameras offer electronic viewfinders that show exposure changes in real-time, which can accelerate learning. However, be careful not to rely solely on the EVF preview. Sometimes the display lies due to dynamic range compression. Always cross-reference with your histogram occasionally to ensure your intuition matches reality.
Can I do these drills indoors?
Yes, indoor drills are excellent for controlling variables. Use a lamp to create directional light. Move closer or farther to test inverse square law effects on exposure. Indoors, you can also experiment with flash units more safely, learning how flash power interacts with ambient light settings.