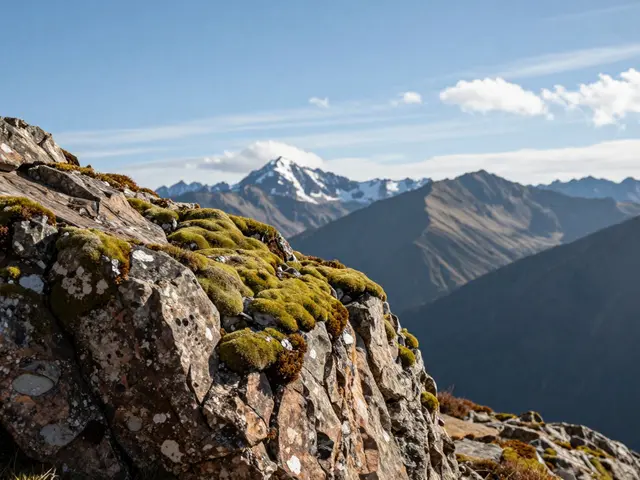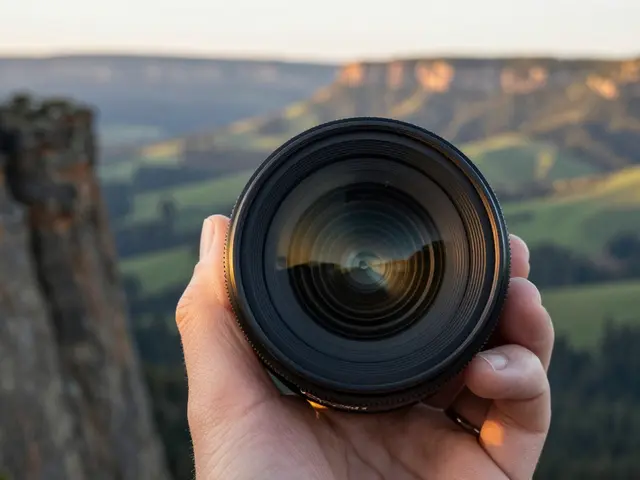
You’ve seen it a thousand times. A stunning mountain range, a perfect sunset, maybe even a rare alignment of clouds. But the photo feels flat. It lacks punch. It doesn’t pull you in. Why? Often, it’s because your eyes have nowhere to go. They wander aimlessly across the frame until they drift off the edge. The fix isn’t better gear or luckier weather; it’s leading lines.
Think of leading lines as the invisible highways for your viewer’s attention. They are visual elements that guide the eye from one part of the image to another, usually toward the main subject or deep into the scene. In landscape photography, these aren’t just architectural tricks. Nature provides them in abundance. A winding river, a fallen log, a ridge line cutting across the horizon-these are all tools waiting to be used. If you want your landscapes to feel immersive rather than static, you need to learn how to spot and use these natural guides.
What Are Leading Lines and Why Do They Matter?
Leading lines are visual elements within a photograph that direct the viewer's gaze through the composition. Unlike random shapes, these lines create a sense of movement and direction. They break the two-dimensional nature of a photo by creating an illusion of depth. When you look at a road stretching into the distance, your eyes naturally follow it. That’s not magic; it’s psychology. Our brains are wired to track paths and trajectories.
In landscape photography, this matters because wide-angle lenses often flatten perspective. Without strong compositional cues, a vast canyon can look like a wallpaper pattern. Leading lines restore scale and dimension. They tell the viewer, "Start here, move there, and land on this point." This creates a narrative flow. Instead of scanning the image chaotically, the viewer takes a guided tour. This control is what separates a snapshot from a crafted photograph.
Natural Leading Lines: Beyond the Road
Most beginners think of roads when they hear "leading lines." And yes, roads are great. But if you only look for paved paths, you’re missing half the toolkit. Nature is full of organic lines that work just as well, if not better, because they feel less contrived.
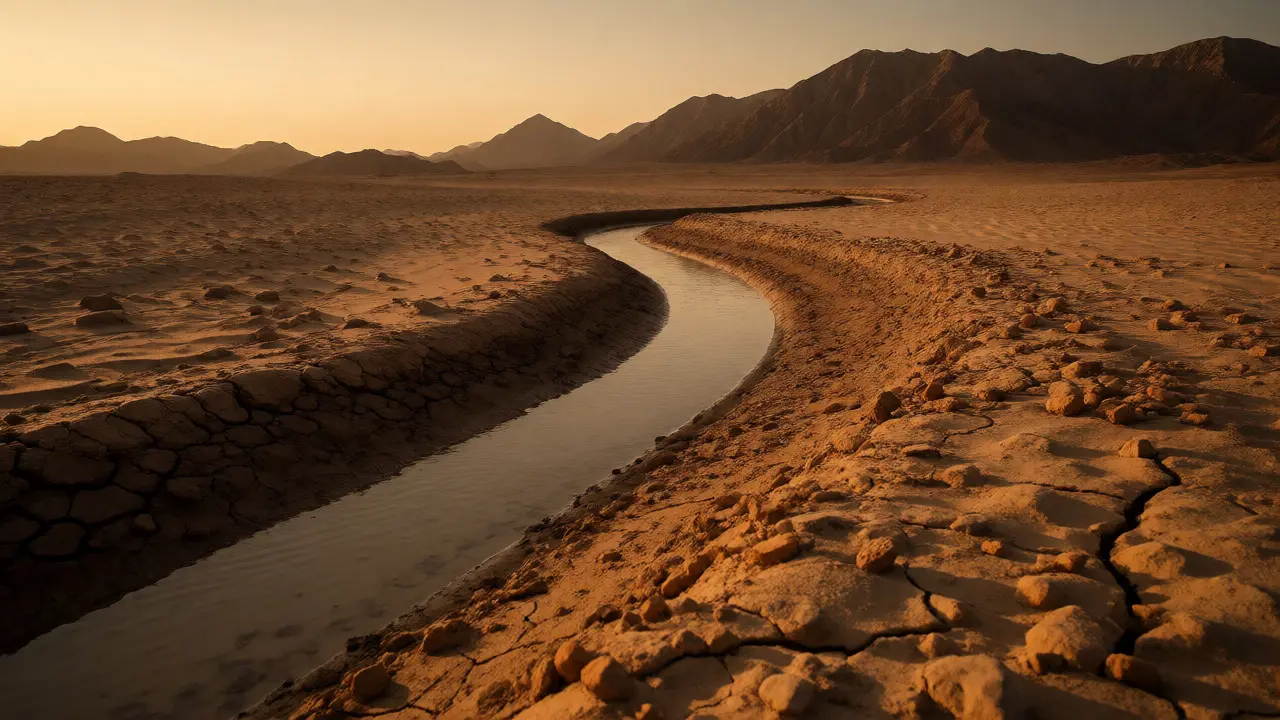
Rivers and streams are classic examples. Water flows downhill, and its path often curves gently through the terrain. These curves add elegance and softness to a composition. A straight highway might feel rigid, but a meandering creek feels alive. Look for banks lined with rocks or trees; these edges define the water’s path and reinforce the line. Even dry riverbeds in desert landscapes serve this purpose, carving dark, sinuous shapes against lighter sand.
Then there are ridges and shorelines. A coastline where land meets sea creates a powerful diagonal or S-curve. It separates two distinct textures-water and earth-making the boundary highly visible. Mountain ridges act similarly, slicing across the sky and drawing the eye upward or across the frame. Fallen trees are another underrated asset. A log lying diagonally across the foreground creates an immediate entry point, pulling the viewer from the bottom corner into the middle ground.
Man-Made Elements in Wild Places
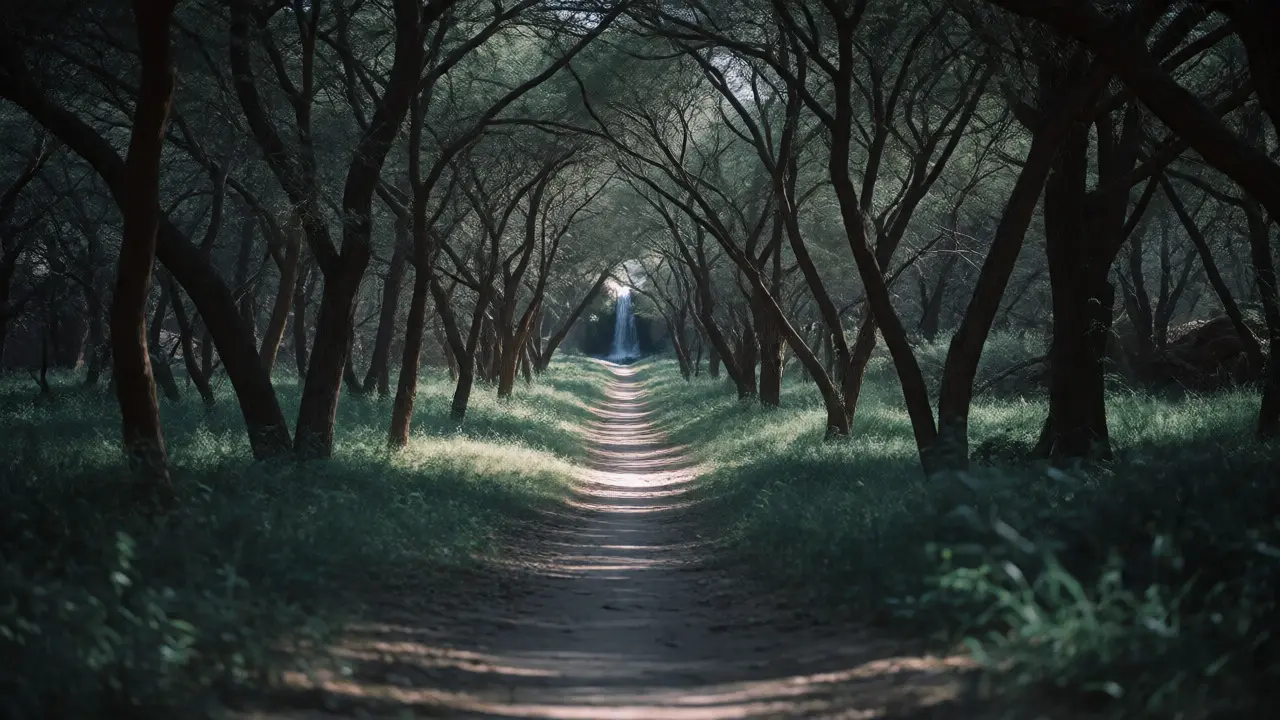
Just because you’re shooting outdoors doesn’t mean you should ignore human impact. Fences, trails, and power lines can be excellent compositional tools if used intentionally. A fence post line running parallel to the horizon adds rhythm and repetition. A hiking trail disappearing into a forest creates mystery and invites curiosity. Where does it go? The line answers that question visually.
The key is intentionality. Don’t include a fence just because it’s there. Include it because it points somewhere important. If a trail leads directly to a waterfall, frame it so the trail occupies the lower third of the image, guiding the eye up to the falls. If the trail cuts across the frame randomly without pointing to anything, it becomes clutter. Ask yourself: Does this line help the story, or does it distract from it?
Types of Lines and Their Psychological Impact
Not all lines do the same job. The shape and direction of a line change how the viewer feels about the image. Understanding these nuances helps you choose which lines to emphasize during composition.
| Line Type | Visual Effect | Best Used For |
|---|---|---|
| Horizontal | Calm, stability, restfulness | Sunsets, calm lakes, horizons |
| Vertical | Strength, height, growth | Trees, cliffs, tall structures |
| Diagonal | Movement, tension, dynamism | Ridges, shadows, falling rain |
| Curved (S-Curve) | Elegance, grace, natural flow | Rivers, coastlines, winding paths |
| Converging | Depth, perspective, infinity | Roads, railway tracks, tree rows |
Horizontal lines stabilize a scene. They suggest peace and permanence. Vertical lines imply grandeur and reach. Diagonals are energetic; they create a sense of action or instability. Curves are soothing and aesthetically pleasing, often associated with beauty in nature. Converging lines-the ones that seem to meet at a vanishing point-are the strongest tool for creating depth. They trick the brain into perceiving three dimensions on a flat screen.
How to Spot Leading Lines in the Field
Finding these lines requires more than just looking; it requires seeing. Most people walk past potential compositions every day because they don’t actively search for patterns. Here’s how to train your eye.
- Scan the foreground first: Leading lines usually start near the camera. Look down. Is there a rock formation, a patch of grass, or a shadow that points inward? Foreground interest is crucial for anchoring the line.
- Change your angle: A line might be invisible from eye level but obvious from a low angle. Get close to the ground. Sometimes, moving left or right by just a few feet aligns disjointed elements into a cohesive path.
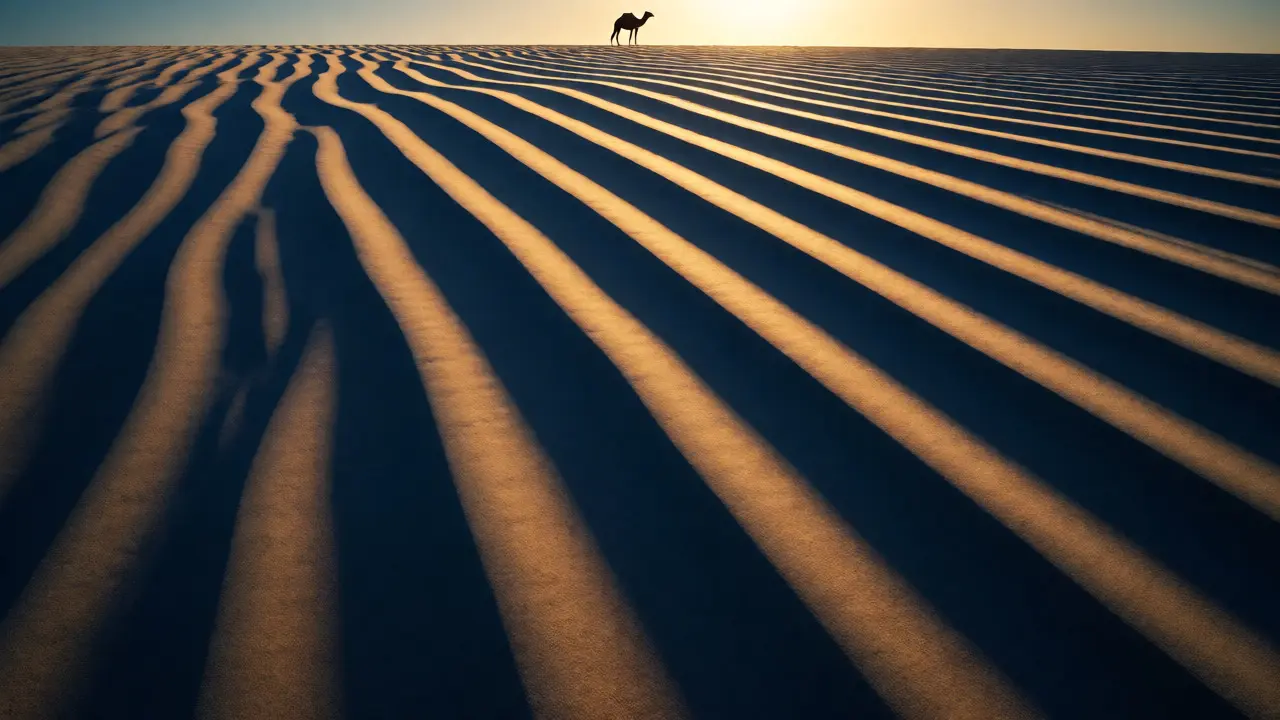
- Look for contrast: Lines are easier to see when there’s a difference in color, texture, or light. A dark shadow on bright snow creates a clear line. A wet rock against dry sand highlights a shoreline.
- Use the rule of thirds: Place the starting point of the line in one of the bottom corners. This gives the eye a clear entry point before following the line deeper into the frame.
Don’t rush. Spend five minutes walking around a single subject. You’ll likely find multiple ways to frame it using different lines. One angle might highlight a river’s curve; another might emphasize the verticality of surrounding cliffs. Choose the one that best supports your intended mood.
Common Mistakes to Avoid
Even experienced photographers fall into traps with leading lines. The most common error is forcing a line where none exists. If you have to contort your body or crop aggressively to make a branch point at a mountain, it might not be a natural fit. Forced compositions often feel awkward.
Another pitfall is ignoring the endpoint. A leading line must lead somewhere interesting. If your road points to an empty patch of sky or a blurry bush, the journey feels wasted. Always check where the line ends. Does it terminate on your subject? Does it fade out gracefully? If the destination is weak, the line loses its purpose.
Finally, beware of too many competing lines. A chaotic scene with crisscrossing branches and uneven terrain can confuse the viewer. Simplify the frame. Use aperture settings to blur out distracting background elements, keeping the focus on the primary leading line. Clarity beats complexity every time.
Practical Tips for Better Execution
Once you’ve spotted a promising line, how do you capture it effectively? Technical choices play a big role here.
Use a smaller aperture (f/8 to f/16) to keep both the foreground line and the distant subject sharp. Depth of field is your friend when working with leading lines because you want the entire path to be readable. If the foreground is blurred, the line breaks, and the guidance fails.
Consider focal length carefully. Wide-angle lenses exaggerate perspective, making converging lines appear more dramatic. A 16mm lens will make a road look like it’s rushing away from you faster than a 50mm lens would. However, wide angles can also distort edges, so watch for unwanted curvature in straight lines.
Timing matters too. Shadows cast by trees or structures can create temporary leading lines. Early morning or late afternoon light produces long shadows that stretch across the ground, adding dynamic diagonal lines that disappear at noon. Plan your shoots around these lighting conditions to maximize compositional opportunities.
Next Steps: Practice Drills
To master leading lines, try this exercise on your next hike. Commit to taking ten photos where each one uses a different type of line. Start with horizontal, then vertical, diagonal, curved, and converging. Repeat the set. This forces you to stop relying on habit and start analyzing the environment. You’ll notice patterns you previously ignored.
Review your images later. Did the lines guide your eye as intended? Or did they trap your gaze in the corner? Adjust your approach based on what worked. Over time, spotting these natural guides will become second nature, transforming how you see-and shoot-the world around you.
Do leading lines always have to point to the main subject?
Ideally, yes. The primary function of a leading line is to direct attention. If the line leads to an area of high visual interest or your main subject, it works well. However, sometimes a line can lead to a secondary element that complements the main subject, or it can simply lead out of the frame to suggest continuity beyond the photo. Just ensure the destination isn't visually boring or confusing.
Can I create leading lines in post-processing?
You can enhance existing lines by adjusting contrast, dodging and burning specific areas, or cropping to emphasize their direction. However, you cannot fundamentally create a new leading line if it wasn't present in the original capture. Post-processing should refine what you captured, not invent composition from scratch. Always aim to get the composition right in-camera.
Are curved lines better than straight lines?
Neither is inherently "better," but they evoke different emotions. Curved lines (like rivers) tend to feel more organic, gentle, and elegant. Straight lines (like roads or fences) often convey strength, speed, or directness. The choice depends on the mood you want to convey. Many landscape photographers prefer S-curves because they are considered aesthetically pleasing and guide the eye smoothly through the frame.
How do I handle busy backgrounds with many lines?
If the background is cluttered with competing lines, simplify it. Use a wider aperture to blur the background slightly, reducing the visibility of minor details. Alternatively, change your angle to hide distracting elements behind foreground objects. You can also wait for changes in light or weather that might obscure parts of the scene. The goal is to isolate the strongest leading line so it doesn't compete with noise.
Does lens choice affect how leading lines look?
Yes, significantly. Wide-angle lenses exaggerate perspective, making converging lines appear to meet more quickly and enhancing the sense of depth. Telephoto lenses compress perspective, making parallel lines appear closer together and flattening the distance between foreground and background. Experiment with different focal lengths to see how they alter the impact of your chosen leading lines.