Ever stare at a beautiful landscape photo and feel like something is missing? It’s usually the connection. Your eye doesn’t know where to go. That’s where leading lines come in. They are the invisible roads that guide your viewer from the front of the image straight to the main subject. Whether it’s a winding trail, a weathered fence, or a curving shoreline, these elements turn a flat snapshot into a dynamic story. If you’ve ever struggled with depth or focus in your outdoor shots, mastering these three specific types of lines will change how you see the world.
Why Foreground Lines Matter More Than You Think
Leading lines are compositional elements that direct the viewer's gaze through an image toward a focal point. In landscape photography, they serve a dual purpose: they create depth and establish context. Without a strong foreground, your background can feel disconnected, like a sticker pasted onto a blank canvas. When you use lines effectively, you anchor the scene. The viewer starts at the bottom of the frame, follows the line, and arrives at the horizon or the main subject. This journey takes milliseconds, but it creates a subconscious sense of immersion. You aren't just showing a place; you're inviting the viewer to walk into it.
The key here is the word "leading." A line only works if it points somewhere meaningful. A random crack in the pavement isn't a leading line unless it draws attention to a flower or a distant mountain. Before you press the shutter, ask yourself: where do I want my eyes to land? Then, look for natural pathways that connect the foreground to that destination.
Shorelines: Curves That Create Rhythm
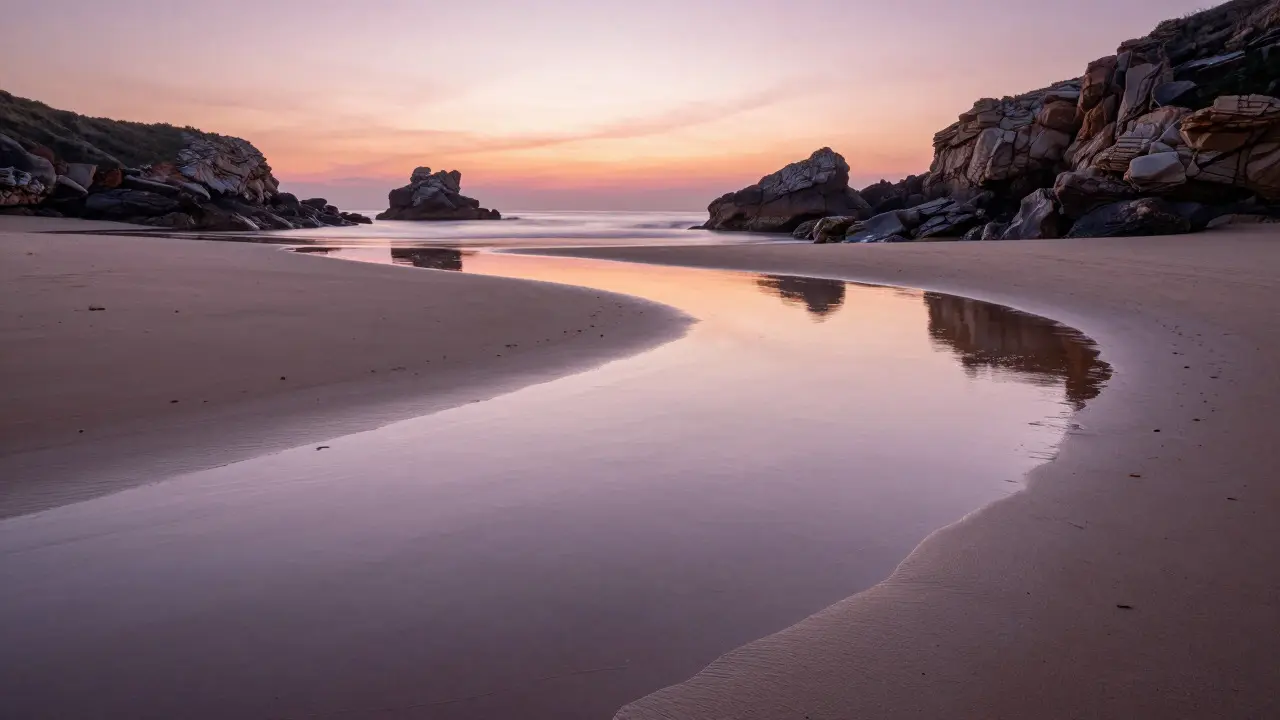
Water is one of the most powerful tools for creating leading lines, but not all water features work the same way. Straight, horizontal waves often flatten an image. Instead, look for curves. A shoreline that bends gently around a bay or a river delta creates a natural S-curve. This shape is inherently pleasing to the human eye because it mimics organic growth patterns found in nature. It suggests movement without chaos.
When shooting shorelines, timing is everything. Low tide exposes wet sand, which acts as a mirror. This reflection doubles the impact of the line by adding texture and light. High tide, conversely, might hide the best lines under deep water. Check local tide charts before you head out. If you’re in Portland, Oregon, spots like the Columbia River Gorge offer dramatic rock formations that break the water’s surface, creating jagged lines that lead the eye toward distant cliffs. These hard edges contrast beautifully with the softness of the water, adding tension to the composition.
- S-Curves: Best for peaceful, flowing scenes. They slow down the viewer's eye.
- Jagged Lines: Best for dramatic, stormy, or rugged terrains. They add energy.
- Converging Lines: Use when the shoreline narrows, drawing focus to a single point on the horizon.
Fences: Structured Paths Through Chaos
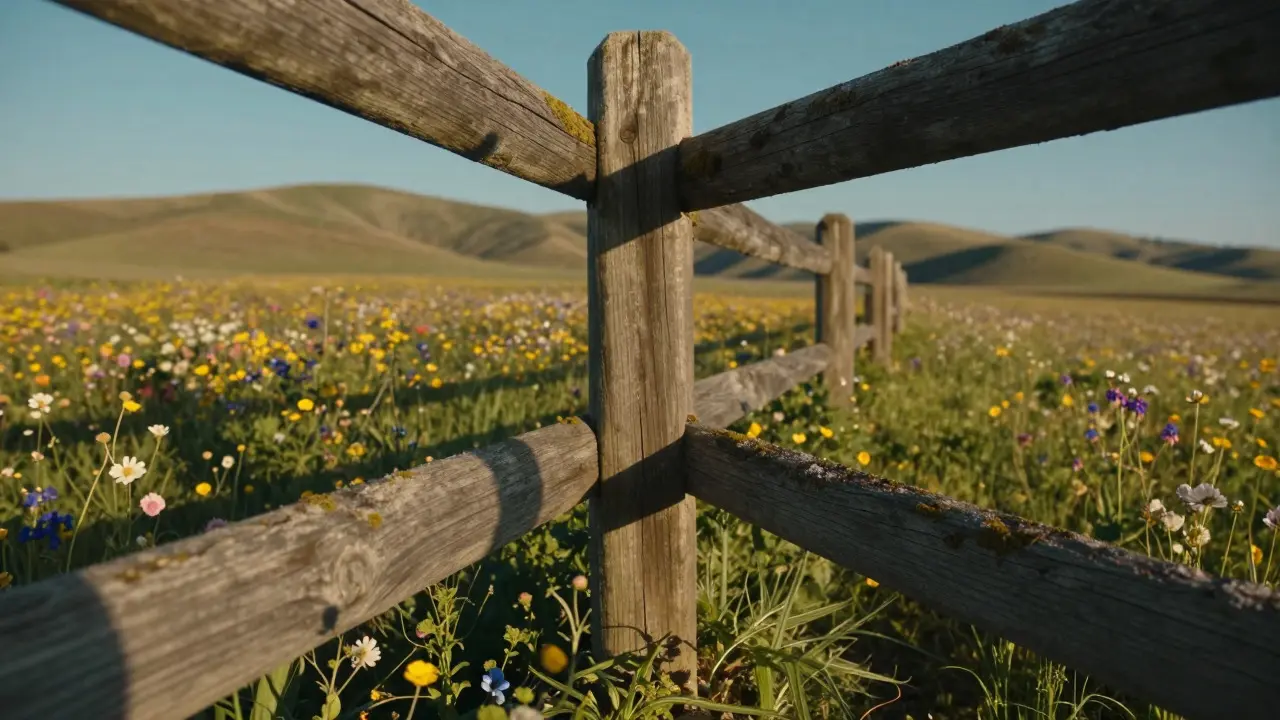
If shorelines are about flow, fences are about structure. A row of wooden posts or a wire fence provides a rigid, geometric line that cuts through organic landscapes. This contrast is visually striking. Imagine a field of wildflowers with a simple split-rail fence running diagonally across the frame. The fence gives the eye a rail to ride on, preventing it from getting lost in the busy details of the flowers. It imposes order on chaos.
However, fences can be tricky. Too many posts can become distracting clutter. To avoid this, try using a shallow depth of field. Blur the background slightly so the fence remains sharp but doesn't compete with the sky or mountains behind it. Alternatively, shoot from a low angle. This perspective makes the fence appear taller and more imposing, turning a mundane barrier into a dominant compositional element. Old, weathered fences tell a story of time and decay, adding emotional weight to your photos. They suggest history, making the landscape feel lived-in rather than pristine.
Trails: Inviting the Viewer Into the Scene
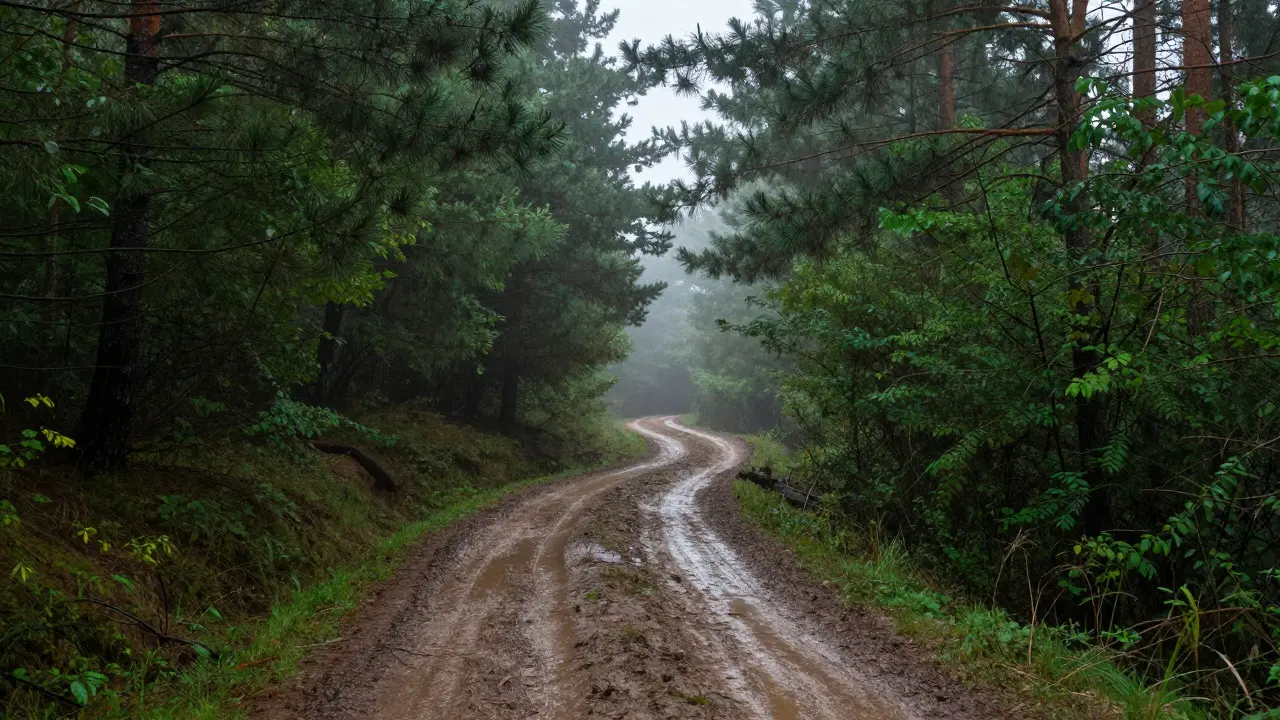
Dirt trails, boardwalks, and paved paths are perhaps the most intuitive leading lines. They literally show the way. A trail that disappears into the distance creates a powerful sense of mystery. Where does it go? What lies beyond the tree line? This curiosity keeps the viewer engaged. Unlike fences, which can feel static, trails imply motion. They suggest that someone has walked there, or that you could walk there right now.
When composing with trails, pay close attention to the vanishing point. If the trail leads directly to the center of the frame, it creates a symmetrical, formal look. This works well for serene forests or open plains. But if you want a more dynamic feel, offset the trail. Let it enter from one corner and exit near the opposite edge. This diagonal movement adds energy and prevents the image from feeling too stable or boring. Also, consider the condition of the trail. A muddy, rain-soaked path reflects the sky, adding color and brightness to dark forest scenes. A dry, dusty trail highlights the texture of the earth, grounding the image in reality.
| Line Type | Visual Feel | Best For | Common Pitfall |
|---|---|---|---|
| Shorelines | Flowing, Organic, Reflective | Coastal scenes, calm waters, sunset reflections | Too much clutter in the water; lack of contrast |
| Fences | Rigid, Geometric, Historical | Farm fields, rural landscapes, contrasting with nature | Repetitive posts becoming distracting noise |
| Trails | Inviting, Mysterious, Dynamic | Forests, mountains, narrative storytelling | Trail disappearing into darkness without a clear focal point |
Technical Tips for Enhancing Your Lines
Finding the line is only half the battle. You need the right settings to make it pop. First, think about aperture. A wide aperture (like f/2.8 or f/4) isolates the line by blurring the background. This is great for fences or trails where you want to emphasize the texture of the wood or dirt. A narrow aperture (like f/11 or f/16) keeps everything sharp, which is better for complex scenes with multiple layers of detail, like a rocky shoreline. Don’t be afraid to mix both techniques depending on the mood you’re aiming for.
Second, consider your camera position. Crouching low changes the perspective dramatically. It makes foreground elements larger and more prominent. Standing up high flattens the scene, reducing the impact of the leading line. Experiment with different angles. Sometimes, a slight tilt can align a fence perfectly with the horizon, creating a clean, balanced composition. Other times, a tilted horizon can add a sense of instability, useful for dramatic storm scenes.
Finally, watch your lighting. Side lighting (morning or late afternoon) casts long shadows. These shadows can act as secondary leading lines, reinforcing the primary line. A fence post casting a shadow across the grass creates a repeating pattern that guides the eye even further. Backlighting can silhouette the line, making it stand out against a bright sky. Front lighting fills in shadows but can flatten the image, so use it sparingly for leading lines.
Common Mistakes to Avoid
Even experienced photographers mess up leading lines. The most common error is having a line that goes nowhere. If your fence leads to a blurry patch of grass, the viewer feels cheated. Always ensure the line ends at a strong focal point-a mountain peak, a lone tree, or a building. Another mistake is overcrowding. If your foreground is full of rocks, branches, and weeds, the leading line gets buried. Keep the foreground clean. Remove distractions physically if you can, or crop them out in post-processing. Simplicity is key. The line should be the first thing you see, not the tenth.
Also, beware of forced perspectives. Sometimes, we twist our bodies to get a line to fit the frame, resulting in unnatural angles. Trust the scene. If the line doesn’t work from your current spot, move. Walk ten feet left or right. Small adjustments can make a huge difference in how the line interacts with the rest of the composition. Patience pays off here. Wait for the light to change, or for a cloud to move, to enhance the drama of the line.
Practical Exercises to Sharpen Your Eye
Want to improve? Try these simple exercises next time you’re outside. First, pick a single type of line-say, fences-and spend an hour photographing only fences. Ignore the rest of the landscape. Focus solely on how the fence interacts with the sky and the ground. Second, shoot the same location at two different times of day. Notice how the shadows change the direction and intensity of the leading lines. Third, try shooting in black and white. Stripping away color forces you to rely entirely on lines, shapes, and contrast. This helps you understand the pure structural power of leading lines without the distraction of hues.
These exercises train your brain to see potential compositions instantly. Over time, you’ll start noticing leading lines everywhere-in city streets, garden paths, and even architectural details. The skill transfers beyond landscapes into street and portrait photography. Once you master the art of guiding the eye, your images will always have a sense of direction and purpose.
What is the best aperture for leading lines?
It depends on the goal. Use a wide aperture (f/2.8-f/5.6) to blur the background and isolate the line. Use a narrow aperture (f/11-f/16) to keep the entire scene sharp, especially if the background contains important details like mountains or clouds.
How do I handle a messy foreground?
Clean it up physically if possible. Move leaves, rocks, or trash out of the frame. If you can’t clean it, use a wider aperture to blur the mess, or crop the image in post-processing to remove distracting elements. Keep the area around the leading line clear.
Can straight lines be effective leading lines?
Yes, but they are less dynamic than curves. Straight lines create a sense of stability and formality. They work well in architectural landscapes or symmetrical compositions. However, they can feel stiff if overused. Mix them with curved elements for balance.
Do I need to follow the rule of thirds with leading lines?
Not necessarily. While the rule of thirds is a good starting point, leading lines often work best when they intersect or converge at the focal point, which may or may not be on a third line. Let the line dictate the placement of the subject, rather than forcing the subject into a grid square.
How does weather affect leading lines?
Weather drastically changes the appearance of lines. Rain creates reflections on trails and shorelines, enhancing their visibility. Fog softens distant lines, creating a sense of depth and mystery. Wind can bend trees and grass, adding movement to static lines. Always adapt your composition based on the current atmospheric conditions.