You know that feeling when you look at a photo and your eyes just... wander? They drift around the frame, unsure where to land. Now compare that to an image where your gaze locks onto a specific point, travels along a clear path, or gets trapped in a mesmerizing loop. That second effect isn't magic. It's usually patterns and repetition.
Most beginners think of patterns as boring wallpaper-rows of bricks or tiles on a floor. But in photography, repetition is one of the most powerful tools for controlling how a viewer experiences an image. It creates rhythm. It builds tension. And when you break it, you create drama.
Why Your Brain Loves Order (and Hates Chaos)
Human brains are wired to find order in chaos. When we see repeating shapes, colors, or lines, our visual cortex relaxes because it recognizes a rule. This is why a perfectly aligned row of parking meters feels satisfying to look at. In photography, this psychological response is what gives repetition its power. You aren't just showing objects; you're showing structure.
But here’s the catch: pure repetition can become monotonous. If every element in the frame is identical, the eye slides off the image like water off glass. The secret to great photographic composition isn't just finding a pattern-it's deciding whether to honor it or disrupt it.
The Three Types of Patterns You Need to Know
Not all patterns work the same way. To use them effectively, you need to recognize which type you're dealing with. Generally, photographers categorize these into three buckets:
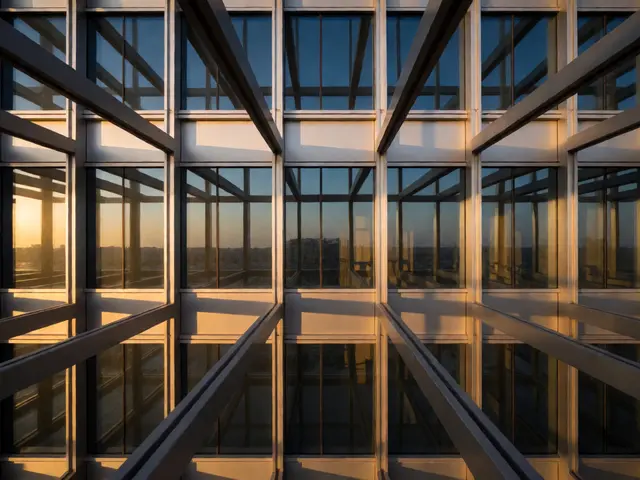
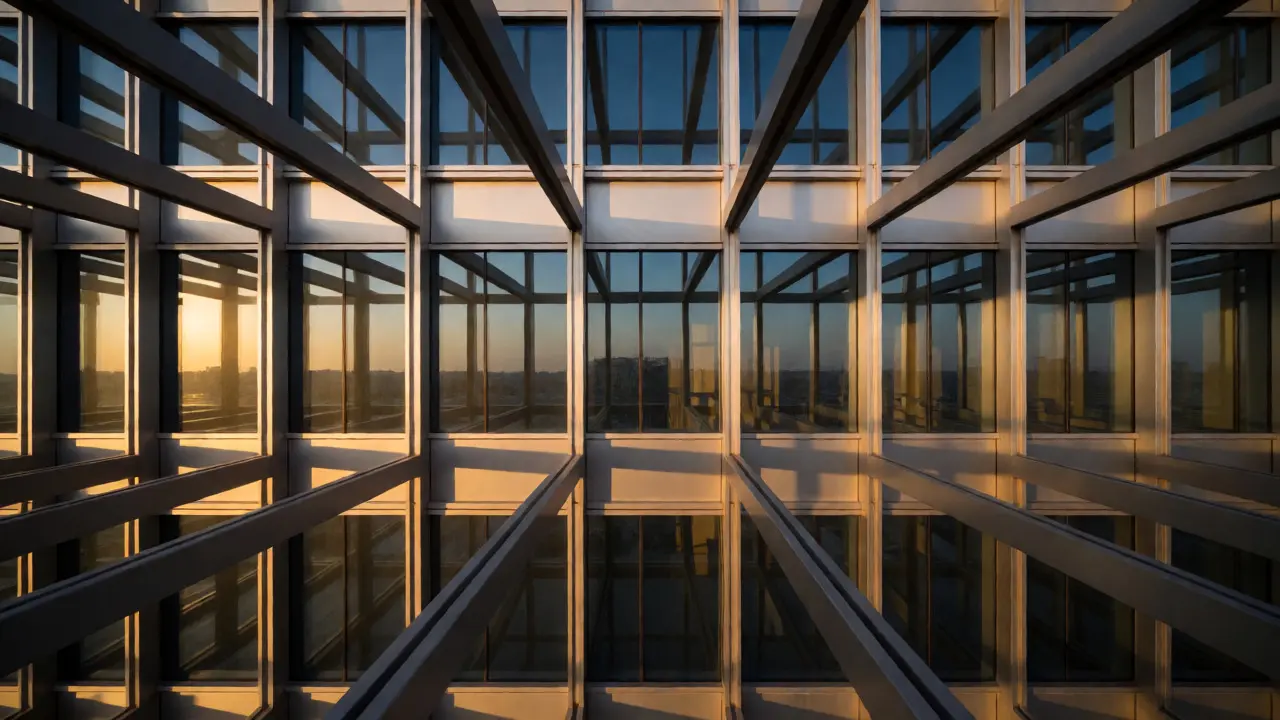
- Geometric Patterns: These are man-made structures like windows, fences, or tiled floors. They offer strong, predictable lines that lead the eye.
- Natural Patterns: Think tree bark, sand ripples, honeycombs, or flower petals. These tend to be softer and more organic, creating a sense of calm or wildness depending on the scale.
- Abstract Patterns: These occur when you get so close to a subject that context disappears. A pile of coffee beans becomes a texture field. Here, color and shape matter more than object identity.
Choosing between these depends on the mood you want. Geometric patterns feel rigid and urban. Natural patterns feel alive and unpredictable. Abstract patterns invite curiosity because the viewer has to figure out what they're looking at.
| Pattern Type | Source | Visual Effect | Best For |
|---|---|---|---|
| Geometric | Architecture, Urban Design | Order, Stability, Direction | Minimalist street shots, corporate branding |
| Natural | Landscape, Macro Nature | Calm, Organic Flow, Texture | Travel photography, environmental portraits |
| Abstract | Close-ups, Textures | Mystery, Depth, Color Focus | Art prints, background textures, social media |
Finding Patterns in Plain Sight
The hardest part isn't editing the pattern; it's spotting it before you press the shutter. Most people walk past patterns every day without seeing them. How do you train your eye?
Start by squinting. Seriously. Squinting blurs the details and highlights the big shapes. If you see a grid or a wave when you squint, there’s a pattern there. Next, change your angle. Patterns often hide in plain sight until you shoot from directly above (top-down) or directly below (worm's-eye view). A row of chairs looks messy from eye level but becomes a rhythmic line from a low angle.
Also, pay attention to shadows. Shadows are often stronger patterns than the objects casting them. A fence casts a striped shadow across a wall. That shadow might be the actual subject of your photo, not the fence itself.

The Power of Breaking the Pattern
This is where good photos become great ones. Once you establish a rhythm, you need to interrupt it. This is called the "pattern breaker" or "anomaly."
Imagine a photo of fifty identical red umbrellas held by people walking down a street. It’s nice, but it’s static. Now imagine forty-nine red umbrellas and one blue one. Suddenly, your eye snaps to the blue umbrella. The repetition sets up the expectation; the break delivers the punchline.
You don’t always need a different color. A pattern breaker can be:
- A gap in a row of trees.
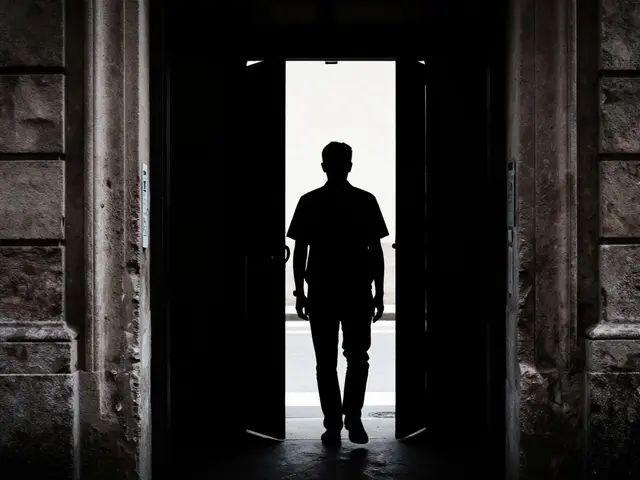
- A person standing still while everyone else walks.
- A single open window in a closed building facade.
- A crack in a uniform pavement.
Without the repetition, the anomaly means nothing. Without the anomaly, the repetition is just noise. You need both.
Technical Tips for Shooting Repetitive Scenes
Once you've found your pattern, how do you capture it cleanly? Here are a few practical rules I follow when shooting repetitive subjects.
Fill the Frame
Don't leave empty space around the edges unless it adds context. If you're shooting a brick wall, let the bricks bleed off all four sides of the frame. This forces the viewer to focus entirely on the texture and rhythm. Cropping tightly also removes distracting elements that might compete with your pattern.
Use Leading Lines Wisely
Repetitive elements often form lines. Use these lines to guide the viewer’s eye toward your focal point. If you have a row of columns, position yourself so the columns converge toward the center of the image. This uses perspective to enhance the sense of depth within the pattern.
Watch Your Aperture
If you want sharp detail throughout the entire pattern, use a smaller aperture (higher f-stop number, like f/8 or f/11). This keeps everything in focus. However, if you want to isolate a specific part of the pattern, try a wider aperture (like f/2.8). Blurring the foreground or background repetition can create a beautiful bokeh effect that turns the pattern into abstract color blocks.
Shoot Symmetrically
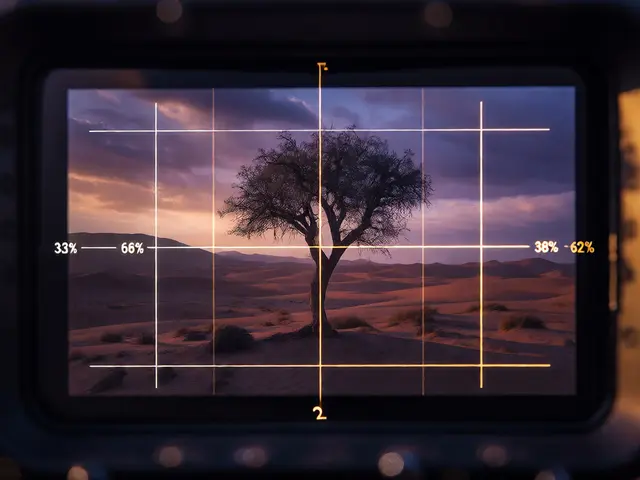
Symmetry and repetition go hand-in-hand. If you’re shooting a bridge or a tunnel, stand exactly in the center. Perfect symmetry amplifies the effect of repetition. Even a slight tilt can ruin the illusion of infinite extension. Use your camera’s grid lines to ensure your horizon is level and your verticals are straight.
Common Mistakes to Avoid
I’ve made all of these mistakes, so learn from them.
Overcrowding: Too many elements can confuse the eye. If the pattern is too dense, pick a section and zoom in. Simplify the scene.
Ignoring Distractions: One stray leaf in a perfect row of autumn leaves can ruin the shot. Scan the edges of your frame carefully. Remove clutter physically if possible, or wait for it to move out of the frame.
Flat Lighting: Patterns rely on contrast. Flat, midday sun kills shadows and makes textures disappear. Shoot during golden hour (shortly after sunrise or before sunset) when the light hits surfaces at an angle. This exaggerates the depth of the pattern.

Real-World Examples
Let’s make this concrete. Imagine you’re walking through a city park. You see a bench lined with pigeons. From a distance, it’s just birds. But if you crouch down and shoot parallel to the bench, the pigeons become a repeating unit of gray and white against the green grass. The repetition creates a rhythm.
Now, imagine one pigeon flies away, leaving a gap. Or one pigeon stands up and spreads its wings. That break in the sequence becomes the story. The viewer wonders, "What happened to the bird?" That curiosity keeps them engaged with the image longer.
Another example: a bookshelf. A full shelf is a pattern of spines. But if one book is pulled halfway out, or if there’s a plant sitting on top of a stack, that disruption draws the eye. It suggests human presence, making the static object feel alive.
Editing for Impact
Post-processing can enhance or destroy a pattern-based photo. Always check for lens distortion. Wide-angle lenses bend straight lines, which can make architectural patterns look wobbly. Use correction profiles in Lightroom or Photoshop to fix this.
Consider black and white conversion. Sometimes color distracts from the geometric structure. Removing hue allows the viewer to focus purely on shape, tone, and rhythm. High contrast edits can also emphasize the separation between repeated elements, making the pattern pop.
Final Thoughts on Practice
You won’t master pattern hunting in one weekend. It requires rewiring how you see the world. Start small. Pick one location-a staircase, a fence, a field-and spend ten minutes just looking for repetitions. Don’t take a photo until you see something interesting. Then, try breaking it.
Photography is about control. By using visual repetition, you control the pace at which someone consumes your image. You tell their eyes where to go, how fast to move, and when to stop. That is a powerful skill.
What is the difference between pattern and texture in photography?
Texture refers to the surface quality of a single object (like rough stone or smooth silk), while pattern involves the regular repetition of shapes or elements across a larger area. Texture appeals to the sense of touch visually, whereas pattern appeals to the brain's recognition of order and rhythm.
How does breaking a pattern affect a photograph?
Breaking a pattern creates a focal point. The human eye naturally scans for anomalies in a repetitive sequence. When you introduce a unique element (different color, shape, or orientation) into a uniform pattern, it immediately draws attention, adding interest and preventing the image from becoming monotonous.
Can natural scenes have patterns?
Yes, absolutely. Natural patterns include things like tree rings, honeycomb cells, ripples in sand, cloud formations, and rows of flowers. These patterns tend to be less rigid than man-made ones, offering a more organic and flowing visual rhythm that can evoke feelings of calm or wonder.
What lighting works best for emphasizing patterns?
Side lighting or angled light is best for emphasizing patterns. This type of lighting casts long shadows that highlight the depth and dimension of repeating elements. Flat front lighting tends to wash out textures and make patterns look two-dimensional and less engaging.
Should I fill the frame when shooting patterns?
Generally, yes. Filling the frame with the pattern removes distractions and immerses the viewer in the texture or rhythm. Leaving empty space can weaken the impact of the repetition unless that negative space serves a specific compositional purpose, such as balancing the weight of the patterned area.