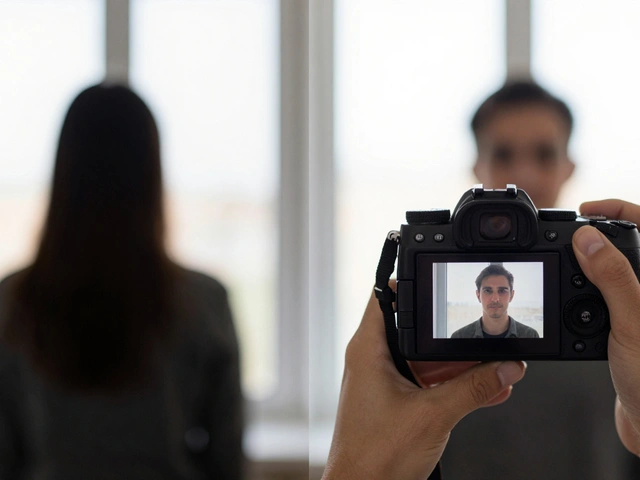
You know that feeling when you review a shoot and realize half the photos are cropped awkwardly at the elbows or knees? It’s frustrating. You spent time on lighting, posing, and connecting with your subject, only to ruin the shot in post-production because you didn’t think about portrait crops beforehand. Cropping isn’t just about fixing mistakes; it’s a creative tool that dictates how much of the environment enters the frame and how intimate the viewer feels with the subject.
Most photographers stick to safe zones, but creative cropping breaks those rules to evoke emotion. Whether you are shooting corporate headshots or artistic full-length portraits, understanding where to cut the frame changes the entire narrative. Let’s break down the three main crop types-headshots, three-quarter shots, and full-length frames-and how to use them creatively without looking like you made an editing error.
The Psychology Behind the Crop
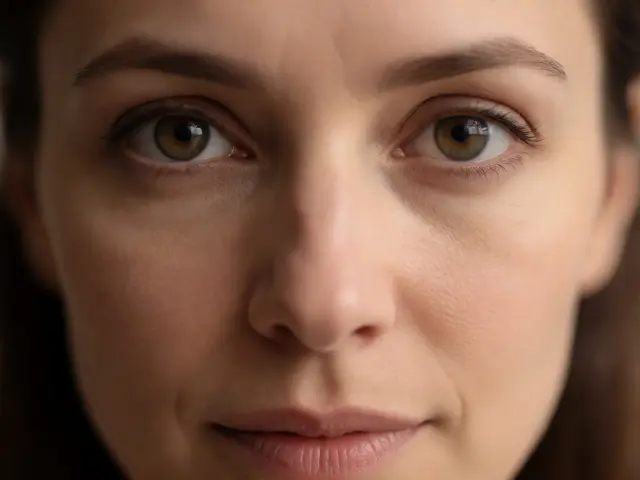
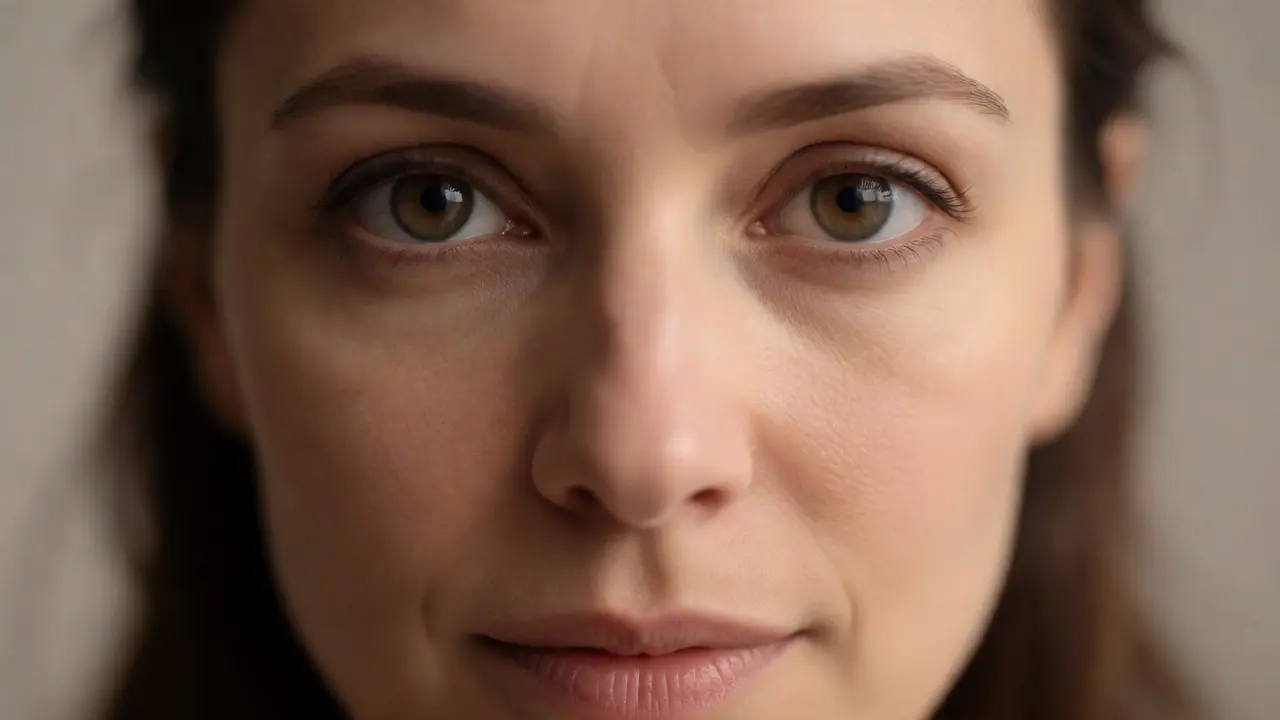
Before we talk about inches and pixels, let’s talk about distance. The closer you crop, the more intimate the connection. A tight close-up forces the viewer to look into the eyes. There is nowhere else to go. This works wonders for emotional storytelling, vulnerability, or intense focus. Conversely, pulling back gives context. A wide shot tells us who the person is by showing what they do, where they are, and how they interact with their surroundings.
Think of cropping as controlling the information flow. If you show too much, the viewer gets distracted by background clutter. If you show too little, you lose the subject’s personality. The goal is balance. You want to guide the eye exactly where you want it, using negative space and subject placement to reinforce the mood.
Mastering the Headshot
The headshot is the bread and butter of professional photography, but it doesn’t have to be boring. Traditionally, a headshot includes the head and shoulders. But "creative" means pushing boundaries here. Instead of cutting right below the chin, try including the collarbone or the top of the chest. This adds a bit of humanity and prevents the floating-head effect.
Here is a quick breakdown of common headshot variations:
- Tight Crop: Includes forehead to chin. Great for actors wanting to showcase facial features. Risky if the subject has skin texture issues you don’t want highlighted.
- Standard Business: Head to mid-chest. Safe, professional, standard for LinkedIn.
- Creative Breakout: Cut off part of the forehead or the bottom of the chin. This creates tension and curiosity. It suggests movement or candidness.
When shooting these, watch your focal length. Using a 85mm lens compresses the face nicely, making features appear flatter and more flattering. A wider lens like a 35mm distorts the nose if you get too close, which can look comical rather than dramatic unless that’s your intent.
The Three-Quarter Shot: The Sweet Spot
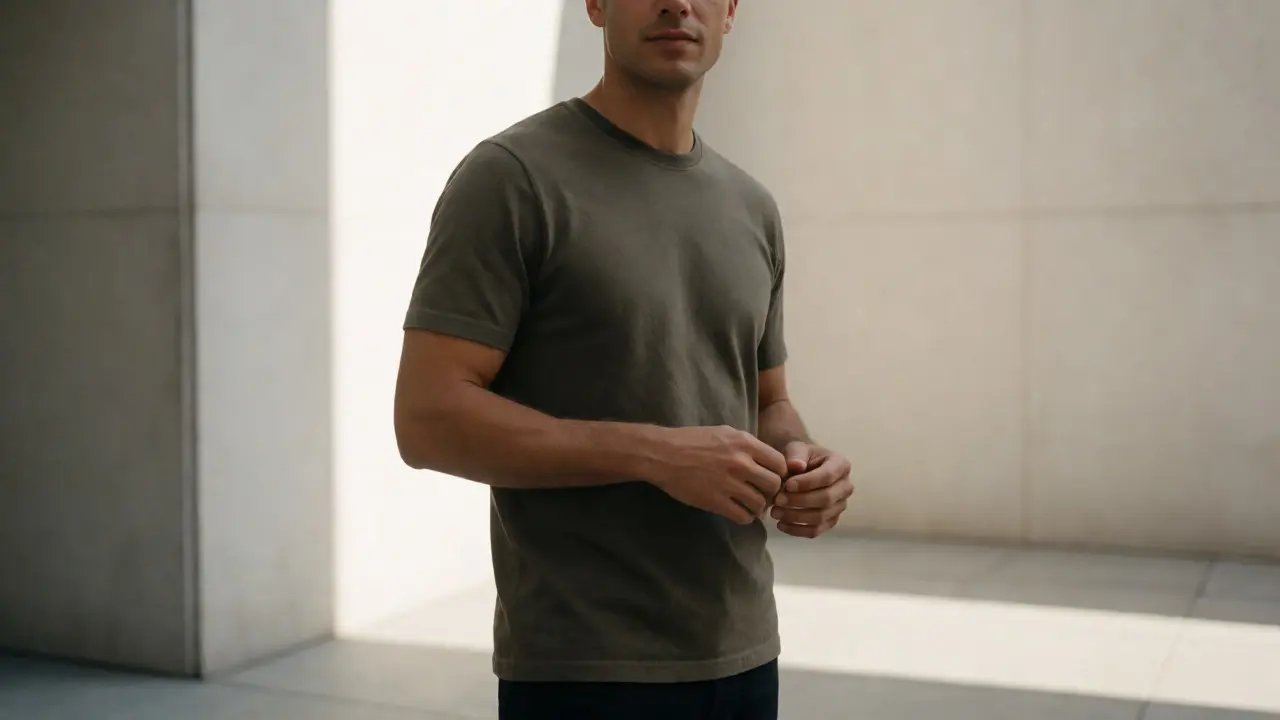
If the headshot is too intimate and the full-body is too distant, the three-quarter portrait sits comfortably in the middle. This crop typically cuts off around the waist or hips. Why is this so popular? Because it allows for hand gestures. Hands are expressive. They tell us if someone is relaxed (hands in pockets), nervous (fidgeting), or authoritative (hands on hips).
A common mistake is cropping directly through the joints. Cutting at the elbow looks like an amputation. Instead, crop between joints-mid-upper arm or mid-thigh. This maintains visual continuity. If you must crop near a joint, ensure the limb continues out of frame naturally, suggesting the rest of the body exists beyond the edge.
Consider the pose. In a three-quarter shot, you can play with angles more effectively. Turn the body slightly away from the camera while keeping the face turned toward the lens. This slims the silhouette and adds depth. Use props or environmental elements that fit within this tighter frame-a coffee cup, a notebook, a railing-to ground the subject without overwhelming the scene.
Full-Length Portraits and Environmental Context
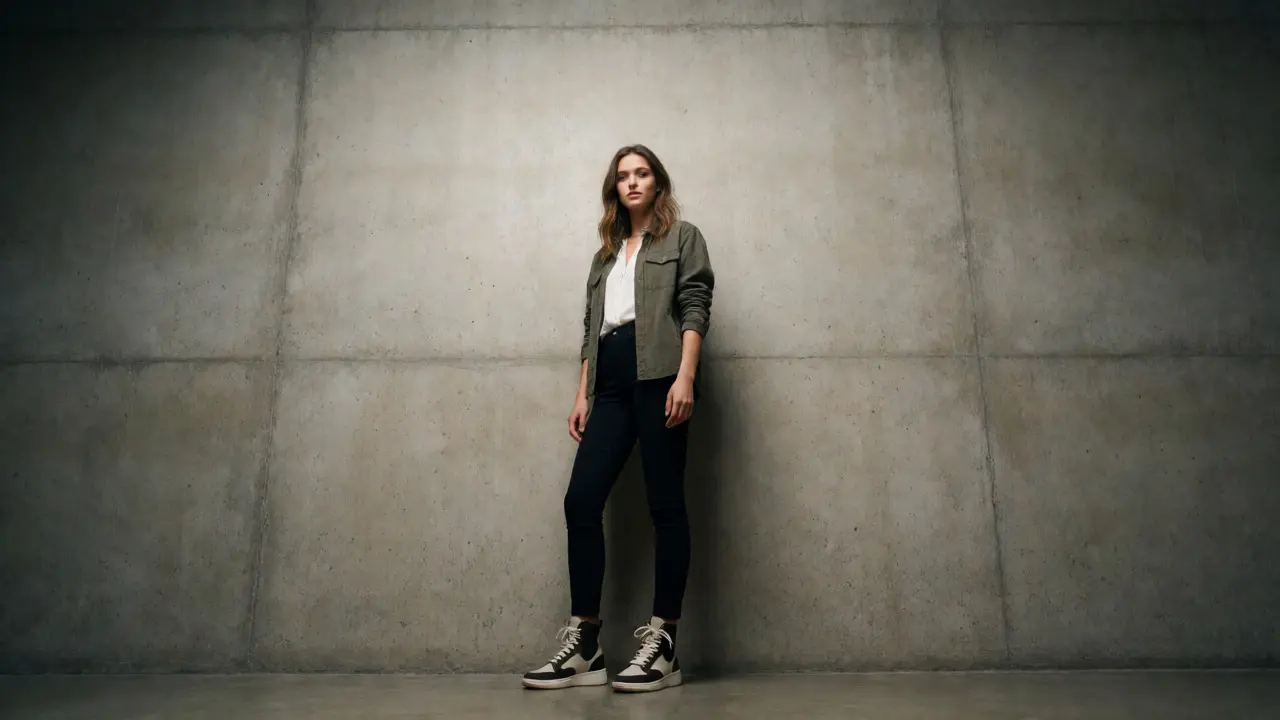
Going full length changes the game entirely. Now you are dealing with posture, footwear, and the floor. The full-body shot is often used in fashion or lifestyle photography because it shows the outfit and the vibe. But it requires careful attention to the ground plane. Is there trash? Uneven tiles? Shadows falling across the feet?
One creative trick is to leave significant headroom. Placing the subject low in the frame emphasizes height and grandeur. Alternatively, cropping the feet out entirely (a seven-eighths crop) focuses attention on the upper body while still implying the full stature. This is useful if the shoes aren’t interesting or if the background behind the legs is messy.
Another approach is extreme cropping. Imagine a full-body shot where you crop tightly around the torso, excluding the head and legs completely. This abstracts the human form, turning clothing and posture into shapes and textures. It challenges the viewer to identify the subject based solely on style and stance.
Comparison of Crop Types
To help you decide which crop fits your project, here is a comparison of attributes for each major type.
| Crop Type | Primary Focus | Best For | Common Pitfall |
|---|---|---|---|
| Headshot | Facial expression & eyes | Corporate profiles, acting reels | Too tight, causing discomfort |
| Three-Quarter | Body language & hands | Lifestyle, editorial, social media | Cropping through joints |
| Full-Length | Posture & environment | Fashion, personal branding | Distracting background/floor |
| Abstract/Cropped | Texture & shape | Artistic portfolios, ads | Loss of identity/context |
Technical Tips for Clean Crops
Shooting for the crop saves hours in Lightroom. Here are some practical steps to nail it in-camera:
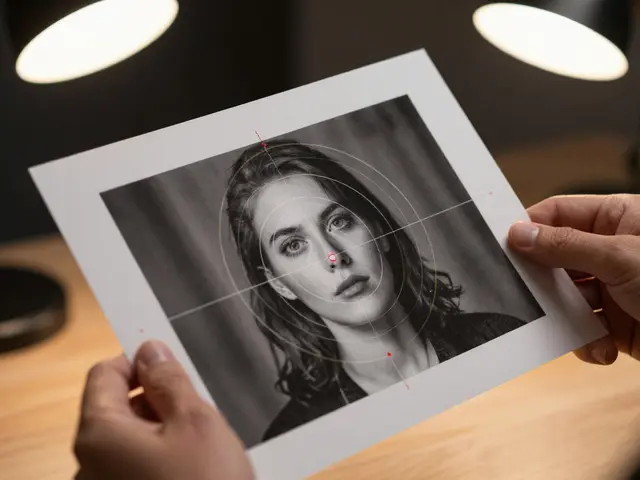
- Use Grid Lines: Enable the rule-of-thirds grid in your viewfinder. Align eyes with the top horizontal line for standard headshots. For creative crops, intentionally break this alignment.
- Shoot Wider Than Needed: Always leave extra room around the subject. It is easier to crop in later than to add pixels back. Aim for at least 10-15% buffer space.
- Check Edges: Before pressing the shutter, scan the four corners of your frame. Remove distracting branches, signs, or colors that clash with the subject.
- Mind the Lens Distortion: Wide-angle lenses stretch edges. If you plan to crop heavily, correct lens distortion in post-processing first, then crop. Otherwise, you might warp facial features unintentionally.
Breaking the Rules Creatively
Once you master the basics, start breaking them. What happens if you crop out the eyes? Suddenly, the mouth becomes the focal point. What if you crop diagonally? This adds dynamic energy, perfect for action shots or edgy fashion editorials.
Try non-standard aspect ratios. Square formats (1:1) work well for Instagram and force symmetrical compositions. Vertical crops (4:5 or 9:16) dominate mobile viewing and allow for taller subjects without excessive side space. Horizontal crops (16:9) feel cinematic, placing the subject off-center to emphasize landscape or isolation.
Remember, there is no single "correct" crop. The right choice depends on your story. Are you selling a product? Show the full outfit. Are you hiring an employee? Show the confident face. Are you creating art? Challenge the viewer’s perception of the human form.
Frequently Asked Questions
What is the safest place to crop a portrait?
The safest places to crop are between joints, such as mid-upper arm, mid-thigh, or just above the knee. Avoid cropping directly through elbows, knees, or ankles, as this can create a disjointed or unnatural appearance that distracts from the subject.
Should I crop before or after taking the photo?
Ideally, compose your shot in-camera to minimize heavy cropping later. However, always shoot RAW files and leave some margin around the subject. This allows for minor adjustments in post-production without losing resolution or quality. Aggressive cropping should be a creative choice, not a rescue technique.
How does focal length affect portrait cropping?
Focal length determines perspective and compression. Longer lenses (85mm+) compress features and are ideal for tight headshots. Wider lenses (35mm) capture more environment but can distort faces if cropped too tightly. Choose your lens based on the desired crop and the level of environmental context you wish to include.
Can I crop out the eyes in a portrait?
Yes, but use it intentionally. Cropping out the eyes shifts focus to other elements like the mouth, hair, or body language. It creates mystery or abstraction but may reduce the emotional connection viewers typically seek in portraits. Ensure the remaining elements carry enough weight to sustain interest.
What is a three-quarter portrait?
A three-quarter portrait typically frames the subject from the head down to the waist or hips. It is called "three-quarter" because it shows approximately three-quarters of the body's vertical extent. This crop is versatile because it allows for hand gestures and body posture while maintaining intimacy.