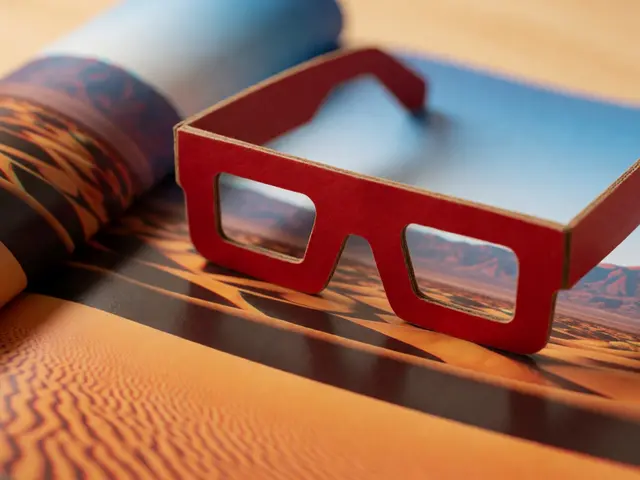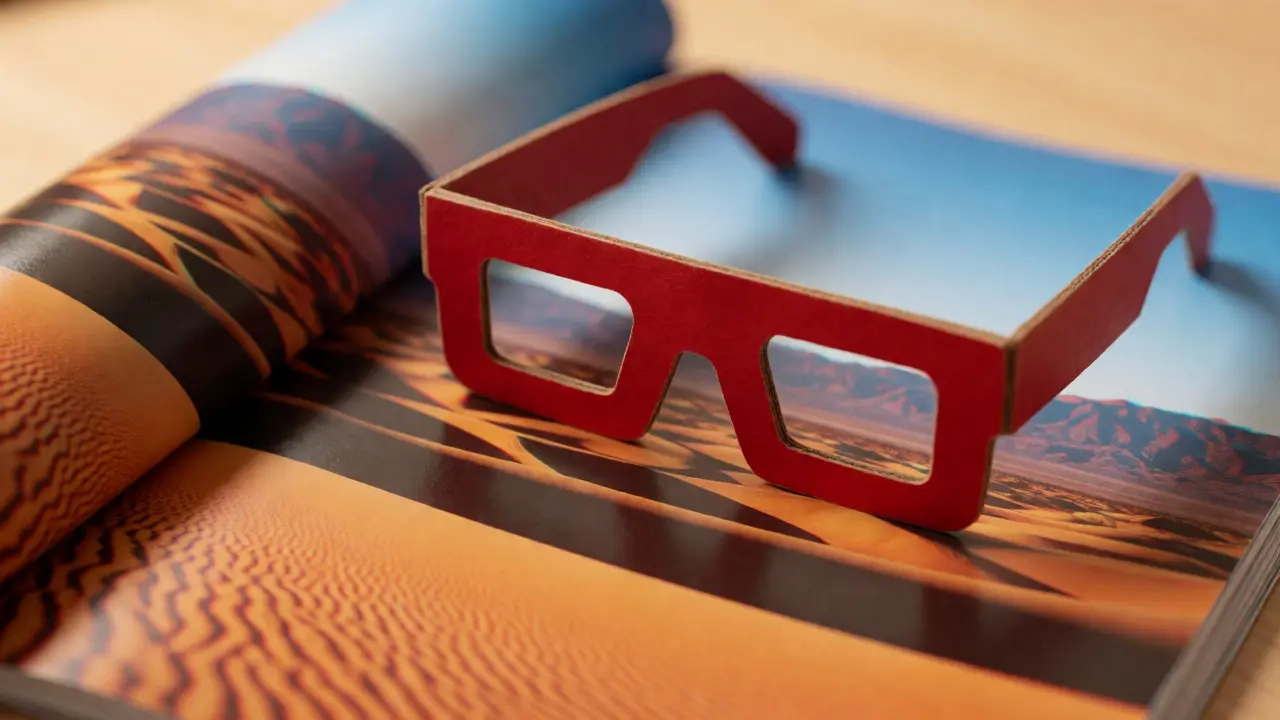
You know that feeling when you put on those cheap cardboard glasses from a movie theater in the early 2000s and suddenly a flat screen pops out at you? It’s magic, but it’s also math. 3D anaglyph photography is a technique for creating stereoscopic images by combining two offset photographs into one image using color filters. It relies on red-cyan glasses to trick your brain into seeing depth where there is only paper or pixels. Most people think this is just a gimmick for kids' birthday parties, but if you look closer, it’s one of the most accessible ways to make your photos feel tangible. You don’t need a VR headset. You don’t need a $5,000 camera rig. You just need two shots, a little patience, and a pair of glasses that cost less than a coffee.
Why bother with this old-school method when we have LiDAR scanners and AI upscaling? Because simplicity wins. Anaglyphs work everywhere. They print on standard paper. They display on any monitor. They don’t require batteries or software updates. If you want to share a sense of space with someone instantly, without them needing to download an app or adjust their eyes, this is the way. Let’s break down how you can actually pull this off without ending up with a blurry mess of red and blue ghosts.
The Science Behind the Ghosting
Your eyes are about 63 millimeters apart. That’s roughly 2.5 inches. Because of this separation, each eye sees the world from a slightly different angle. Your brain takes these two disparate images and fuses them into a single perception of depth. This is called binocular disparity. In stereoscopic photography, the goal is to replicate this natural biological process by capturing two distinct views.
Anaglyphs cheat this system using color. One view is filtered through red, and the other through cyan (a mix of green and blue). When you wear anaglyph glasses, the red lens blocks the cyan information and lets the red channel pass through to the left eye. The cyan lens does the opposite for the right eye. Essentially, you are feeding each eye exactly what it needs to see, while hiding the other eye’s data. The result? Your brain stitches them together, and boom-depth.
The biggest enemy here is "ghosting." This happens when the colors bleed into each other. If you shoot a bright red apple against a white background, the red lens will let too much light through, and the apple might disappear or look washed out in the final composite. Understanding how color channels interact is half the battle. You aren’t just taking pictures; you’re managing light wavelengths.
Capturing the Stereo Pair
You cannot just take one photo and hope for the best. You need two images taken from slightly different positions. There are three main ways to do this, depending on your gear and patience level.
- The Manual Shift: Take a photo. Move your camera horizontally to the side by about 2-3 inches (roughly the distance between human eyes). Take another photo. Keep everything else identical. Do not rotate the camera. Do not change the focus. Just slide.
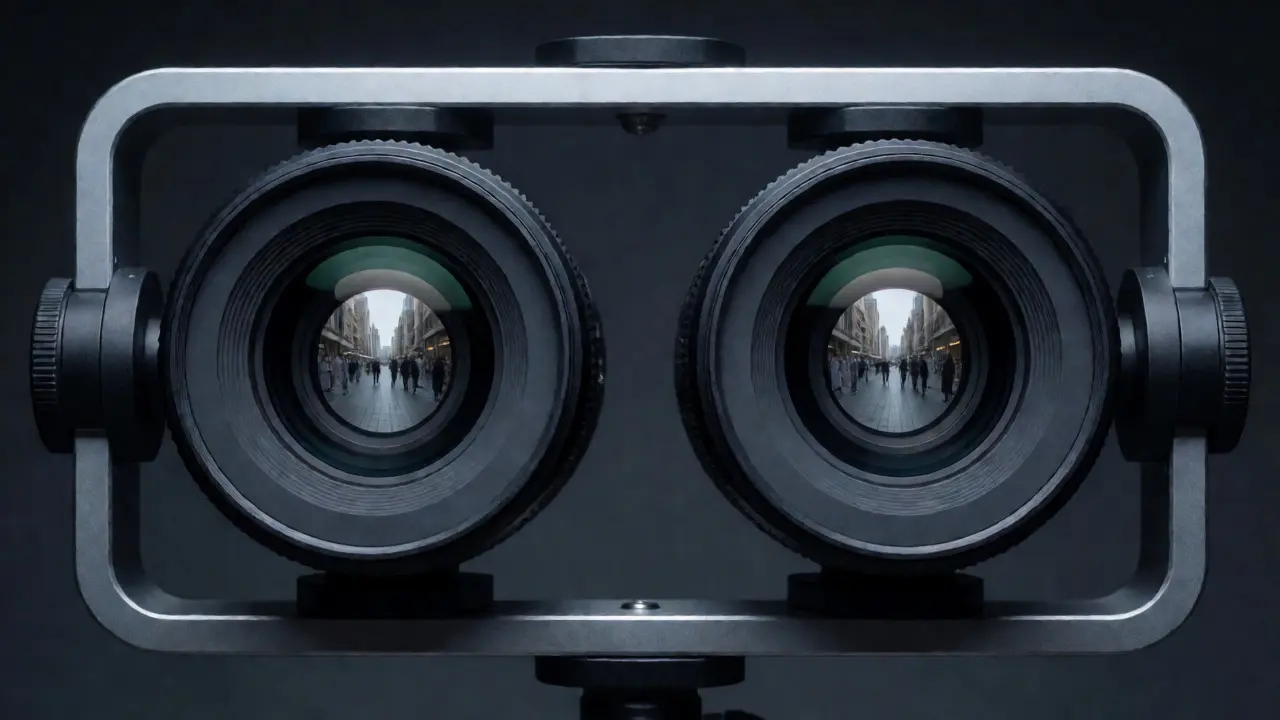
- Stereo Bars: These are metal rails that hold two cameras side-by-side at a fixed distance. This ensures perfect alignment every time. Brands like Stereocamera or DIY aluminum extrusions work well here.
- Single Camera Rig: A mirror-based rig splits the view from one lens into two sensors. This guarantees the focal length and exposure are identical, which saves you hours of post-processing pain.
If you are shooting with a smartphone, use the manual shift method. Lock your exposure and focus first. Tap and hold on your screen until AE/AF lock appears. Then, physically move the phone. If you rely on auto-focus, the second shot will be sharper than the first, and the mismatch will ruin the 3D effect. Consistency is king.
Aligning and Processing the Images
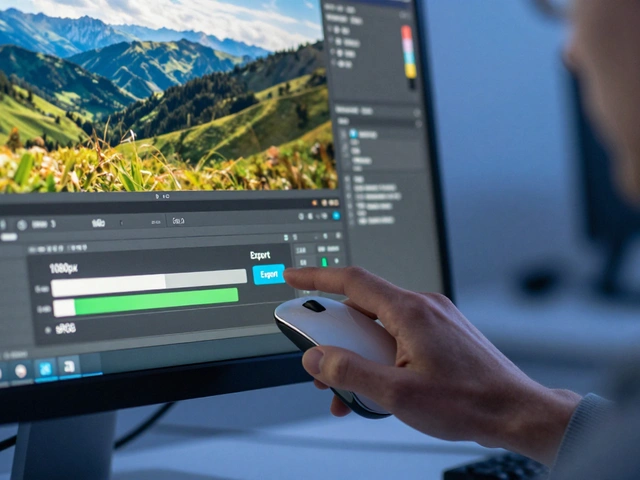
Once you have your left-eye and right-eye shots, you need to combine them. This is where the real work happens. You can use free software like GIMP or paid tools like Photoshop. The core task is horizontal alignment. Since humans only perceive depth through horizontal disparity, vertical misalignment causes eye strain and headaches. If your horizon line is tilted by even one pixel, your viewer’s brain will fight to correct it.
Here is a simple workflow for Photoshop:
- Open both images as layers.
- Set the top layer (usually the right eye) to "Screen" blend mode temporarily to check alignment.
- Use the Move Tool to nudge the top layer left or right until key features align vertically.
- Once aligned, isolate the Red channel from the Left Eye image and the Cyan (Green + Blue) channels from the Right Eye image.
- Merge these channels into a new document.
Automated tools exist, such as StereoPhoto Maker (free for Windows), which can detect alignment errors and correct them automatically. For beginners, I highly recommend starting with automated tools before trying manual channel splitting. It prevents frustration.
Choosing Subjects That Pop
Not all scenes work for anaglyphs. Flat landscapes with no foreground interest look boring in 3D. You need layers. Think of your scene in terms of proximity to the camera.
| Subject Type | Why It Works/Fails | Pro Tip |
|---|---|---|
| Portraits | Strong facial features create clear depth cues. | Use a wide aperture to blur the background, separating the subject further. |
| Forests/Groves | Trees at varying distances create a tunnel effect. | Include a branch or leaf close to the lens for extreme foreground pop. |
| Architecture | Lines and corners provide strong geometric depth. | Avoid glass windows; they confuse the stereo match. |
| Flat Textures | Fails. No disparity means no 3D. | Add a foreground object to anchor the depth. |
| Red/Cyan Objects | Fails. Color filtering removes details. | Avoid wearing red shirts or standing near neon signs. |
The sweet spot for anaglyph depth is usually within 10 feet of the camera. Beyond that, the parallax (the difference between the two views) becomes too small for the human eye to resolve comfortably. If you try to force 3D on a mountain range five miles away, it will just look flat. Bring the camera closer. Get intimate with your subject.
Fixing Common Artifacts
Even pros struggle with two specific issues: crosstalk and color imbalance.
Crosstalk occurs when the red filter isn’t perfectly opaque to cyan light, or vice versa. You’ll see faint double images around high-contrast edges. To fix this, increase the contrast of your source images before merging. Sharpen the edges slightly. Some software allows you to "dial down" the intensity of the ghosting by adjusting the opacity of the color channels.
Color Imbalance makes the whole image look muddy. Anaglyphs naturally lose some saturation because you are throwing away color data. Don’t try to make the colors look "realistic." Embrace the stylized look. Boost the saturation slightly after merging, but keep an eye on the reds. If the reds clip (turn pure white), you lose detail. Use curves adjustment layers to fine-tune the brightness of the red and cyan channels independently.
Viewing and Sharing Your Work
You’ve made the image. Now, how do people see it? Standard red-cyan glasses are widely available online for pennies per pair. Buy them in bulk if you plan to show your work at a gallery or event. Handing out 50 pairs of flimsy cardboard glasses creates a shared experience. It’s tactile. It’s fun.
If you are sharing digitally, remember that viewers need to wear the glasses. A caption like "Wear Red-Cyan Glasses" is essential. For social media, you can upload a short video showing the image popping in and out as the glasses go on and off. This demonstrates the effect to those who haven’t seen it yet.
Printing anaglyphs requires care. Inkjet printers often struggle with the precise color separation needed for crisp 3D. Laser printers tend to produce cleaner results because they lay down toner rather than absorbing ink into fibers. Test prints are crucial. What looks sharp on a 4K monitor might look fuzzy on matte paper.
Modern Twists on an Old Trick
Just because the tech is old doesn’t mean it has to look dated. Artists today are mixing anaglyphs with modern aesthetics. Try shooting black and white images first, then applying the anaglyph effect. This eliminates color confusion and focuses purely on luminance depth. The result is stark, dramatic, and surprisingly readable.
Another trend is "partial anaglyphs." Instead of converting the entire image, mask out parts of the photo so only certain elements pop in 3D. Imagine a portrait where the face is 3D, but the background is flat grayscale. This directs the viewer’s attention exactly where you want it. It’s a subtle way to guide the eye without overwhelming the brain.
Finally, consider animation. GIFs that cycle between the left and right eye views (without glasses) can simulate a shimmering 3D effect, though true depth requires the glasses. But static anaglyphs remain superior for clarity. Don’t chase trends; chase clarity.
Frequently Asked Questions
Do I need special cameras for 3D anaglyph photography?
No, any camera works, including smartphones. The key is capturing two images from slightly different horizontal positions. While dedicated stereo rigs offer better precision, a steady hand and careful movement are sufficient for most hobbyists.
Why does my 3D image give me a headache?
Headaches usually stem from vertical misalignment or excessive disparity. Ensure your two source images are perfectly level relative to each other. Also, avoid forcing objects that are too far away into the 3D space; the brain struggles to fuse images with minimal parallax differences over long distances.
Can I convert existing 2D photos into anaglyphs?
Yes, using AI-powered depth estimation tools. Software like Adobe Photoshop or online converters can generate a fake depth map from a single image. However, the result often looks artificial compared to true stereoscopic captures because the AI guesses the depth rather than recording actual parallax.
What kind of glasses should I buy?
Standard red-cyan glasses are the most common and cheapest. For higher quality viewing, look for "full color" anaglyph glasses (like Dolby 3D or RealD compatible variants), but these are more expensive. For casual sharing, basic red-blue or red-green glasses work fine, though red-cyan offers the best balance of color retention and separation.
Is anaglyph photography still relevant in the age of VR?
Absolutely. VR requires hardware and setup. Anaglyphs are instant. They bridge the gap between traditional print photography and digital immersion. They are particularly useful for educational materials, scientific visualization, and artistic projects where accessibility outweighs high-fidelity resolution.