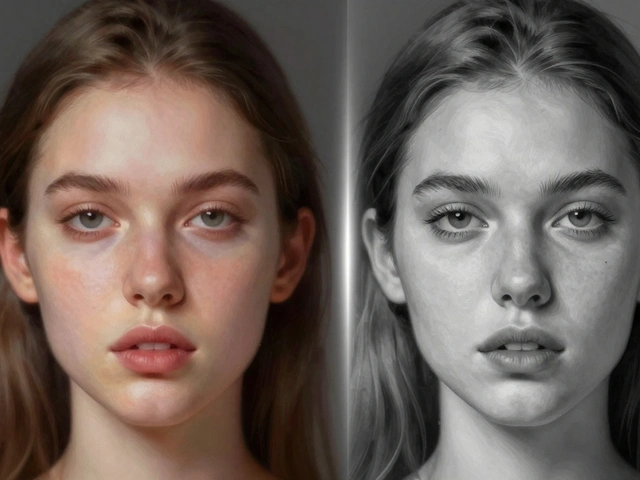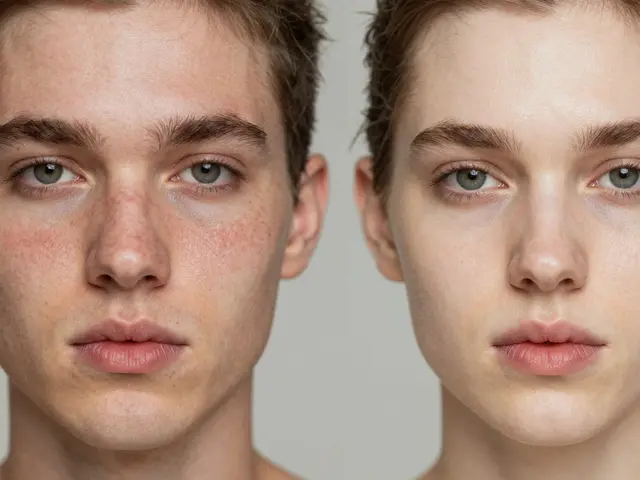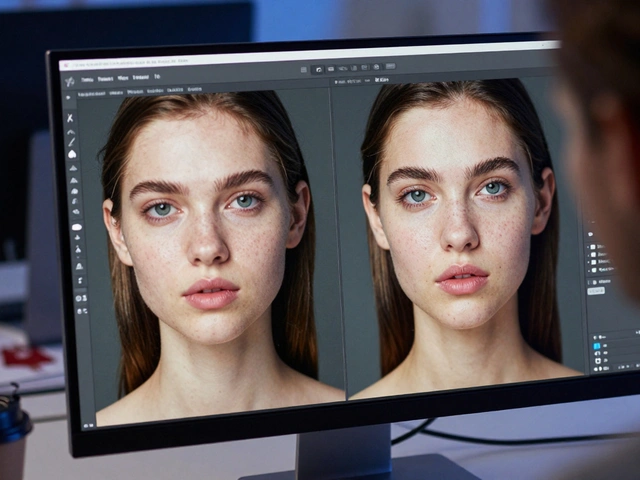
There is a fine line between polished and plastic. One step too far with a frequency separation layer or an aggressive blur, and your subject looks like they are wearing a mask rather than their own face. The goal of skin retouching is not to erase humanity, but to remove distractions so the viewer can connect with the person in front of them.
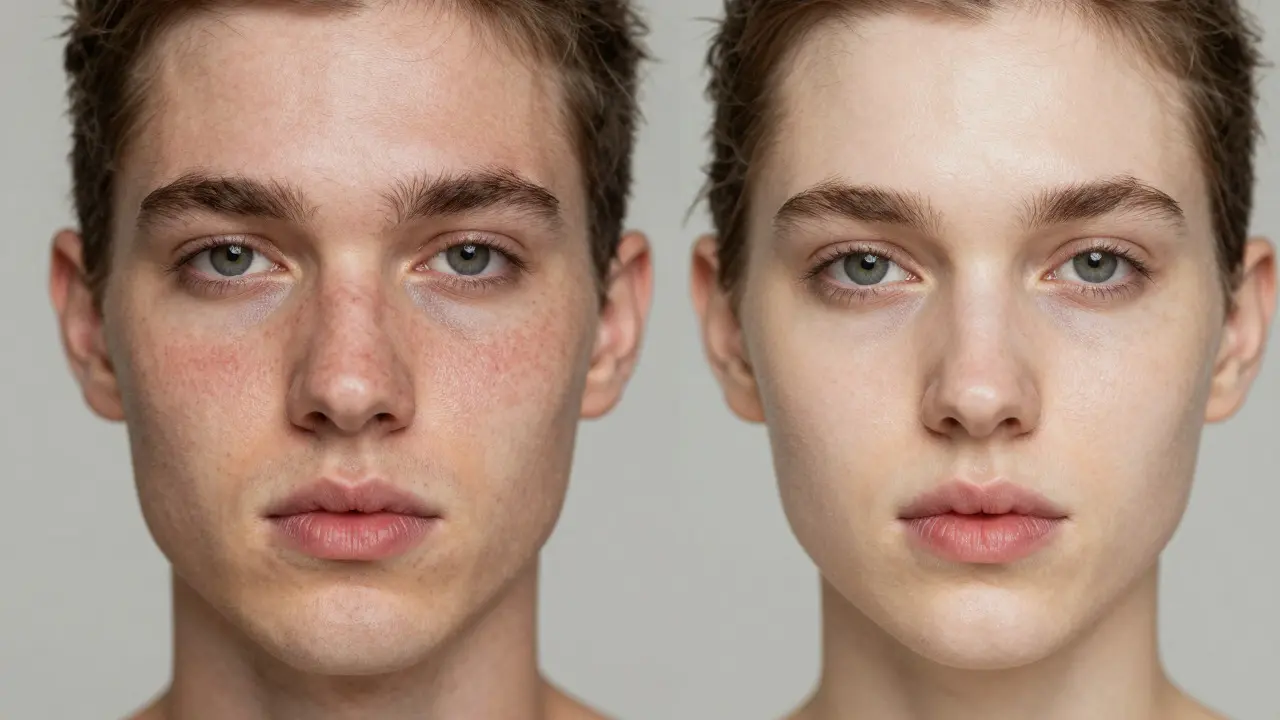
When you look at high-end editorial portraits, the skin doesn't look perfect; it looks healthy. You see pores, subtle shadows under the cheekbones, and faint redness around the nose. These imperfections are what make a face feel real. If you strip them away completely, the image loses its emotional weight. This guide breaks down how to achieve that clean, natural look without falling into the trap of over-processing.
Understanding the Difference Between Correction and Alteration
Before you open any software, you need to define your intent. Are you correcting flaws, or are you altering features? True skin retouching focuses on correction. It addresses temporary issues like blemishes, stray hairs, or uneven lighting that distract from the subject's expression. It does not change bone structure, eye color, or jawline width unless specifically requested for creative purposes.
The most common mistake beginners make is treating every pixel as a problem to be solved. A small mole near the eye adds character. A slight asymmetry in the lips makes the face unique. If you remove these, you risk creating a generic, airbrushed clone. Think of your editing process as cleaning a window. You want to wipe away the dirt and smudges, but you don't replace the glass with a different material.
The Essential Tools for Natural Skin Work
You don't need a plugin suite costing hundreds of dollars to get professional results. The core tools built into standard editing software are sufficient if used correctly. Here are the key instruments you will rely on:
- Frequency Separation is a technique that separates color information from texture details, allowing you to smooth tone without losing pore visibility. This is the gold standard for professional retouchers because it gives you total control over both layers independently.
- Healing Brush is a tool that samples surrounding pixels to blend seamlessly while matching the texture and tone of the area being edited. Unlike the Clone Stamp, which just copies pixels, the Healing Brush blends, making it ideal for removing blemishes without visible artifacts.
- Dodge and Burn is a method of selectively lightening or darkening areas of an image to sculpt facial features and even out skin tone. This technique mimics how light hits a face naturally, adding dimension where flat lighting might wash out features.
- Gaussian Blur is a filter that softens high-frequency details, often used in combination with masking to reduce noise or roughness. Use this sparingly. Too much blur kills detail, while too little leaves the skin looking harsh.
Mastering these four tools covers 90% of portrait retouching scenarios. You do not need AI-powered one-click buttons, which often flatten the face and remove all texture. Manual work takes longer, but the result feels intentional and human.
Step-by-Step: The Frequency Separation Workflow
Frequency separation is the most effective method for achieving a natural finish. It works by splitting the image into two layers: one containing the color and tone (low frequency) and one containing the texture and detail (high frequency). By editing these layers separately, you can smooth out discoloration without blurring the pores.
- Create a duplicate of your background layer. Right-click the new layer and select "Convert to Smart Object." This allows you to edit non-destructively.
- Apply a Gaussian Blur filter to this smart object. Set the radius until the details disappear but the general shape of the face remains. Usually, a radius between 5 and 10 pixels works well for 8K images, but adjust based on your resolution.
- Duplicate the blurred smart object. With the top duplicate selected, go to Image > Apply Image. In the dialog box, set the Blending mode to Subtract, check Invert, and ensure Scale is 1 and Offset is 128.
- Set the blending mode of this top layer to Linear Light. Now you have two layers: the bottom one holds the color/tone, and the top one holds the texture.
- Use a low-opacity brush on the bottom layer to smooth out redness or discoloration. Since the texture is on the top layer, your smoothing won't affect the pores.
- Use the Healing Brush on the top layer to remove individual blemishes. Because the color is handled below, you only need to match the texture, which is easier to do accurately.
This workflow requires patience, especially when learning. However, once it becomes second nature, it offers the highest level of control available in digital retouching.
Dodge and Burn: Sculpting Light, Not Just Smoothing
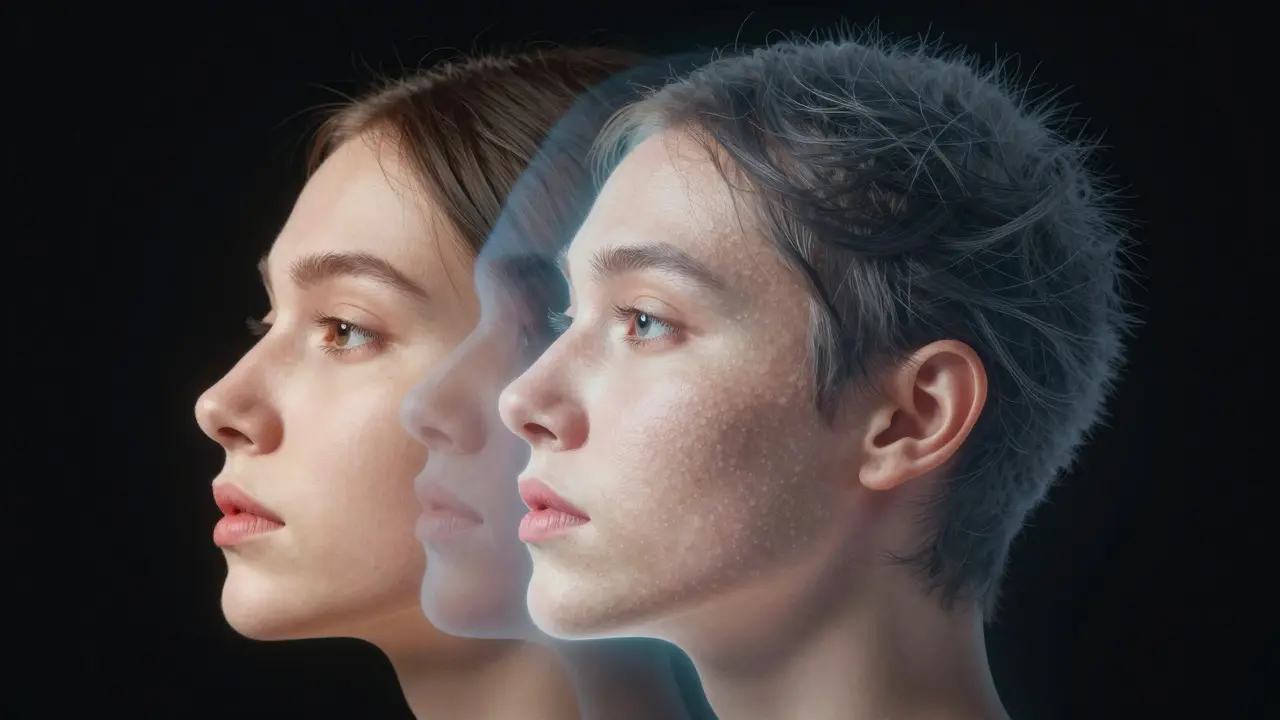
Smoothing skin is only half the battle. The other half is shaping the face. Dodge and burn techniques allow you to manually adjust the highlights and shadows to create a three-dimensional effect. This is crucial for portraits taken in flat lighting, such as studio setups with large softboxes.
To perform dodge and burn, create a new layer filled with 50% gray and set its blending mode to Overlay. Now, use a soft brush with very low opacity (around 1-5%) to paint white for dodging (lightening) and black for burning (darkening).
- Dodge the center of the forehead, the bridge of the nose, the apples of the cheeks, and the cupid's bow of the lips. These are areas where light naturally hits first.
- Burn the sides of the nose, the hollows under the cheekbones, the edges of the forehead, and the shadow under the lower lip. These areas recede naturally.
The key here is subtlety. If you can tell exactly where you painted, you went too hard. The adjustments should be so gradual that the viewer cannot pinpoint the source of the enhancement. This technique adds depth and realism that simple smoothing cannot achieve.
Common Mistakes That Make Photos Look Fake
Even experienced editors fall into traps that ruin the natural look. Avoiding these pitfalls is just as important as knowing the techniques.
| Mistake | Why It Looks Fake | Natural Alternative |
|---|---|---|
| Over-smoothing with blur | Removes all pore detail, creating a wax-like appearance | Use frequency separation to keep texture intact |
| Uniform skin tone | Looks unnatural because real skin has variation | Leave some redness and variation in the cheeks and nose |
| Removing all freckles/moles | Erasess unique identifying features | Keep distinct marks unless client requests removal |
| Harsh contrast adjustments | Creates banding and artificial shadows | Use gentle dodge and burn for gradual transitions |
Another frequent error is ignoring the hairline and neck. If you smooth the face but leave the neck textured, the transition looks jarring. Always extend your retouching slightly beyond the face onto the neck and shoulders to ensure a seamless blend. Similarly, pay attention to the hairline. Stray hairs can be cleaned up, but avoid over-brushing the scalp, which can make the hair look thin or flat.
Workflow Efficiency: Speed Without Sacrificing Quality
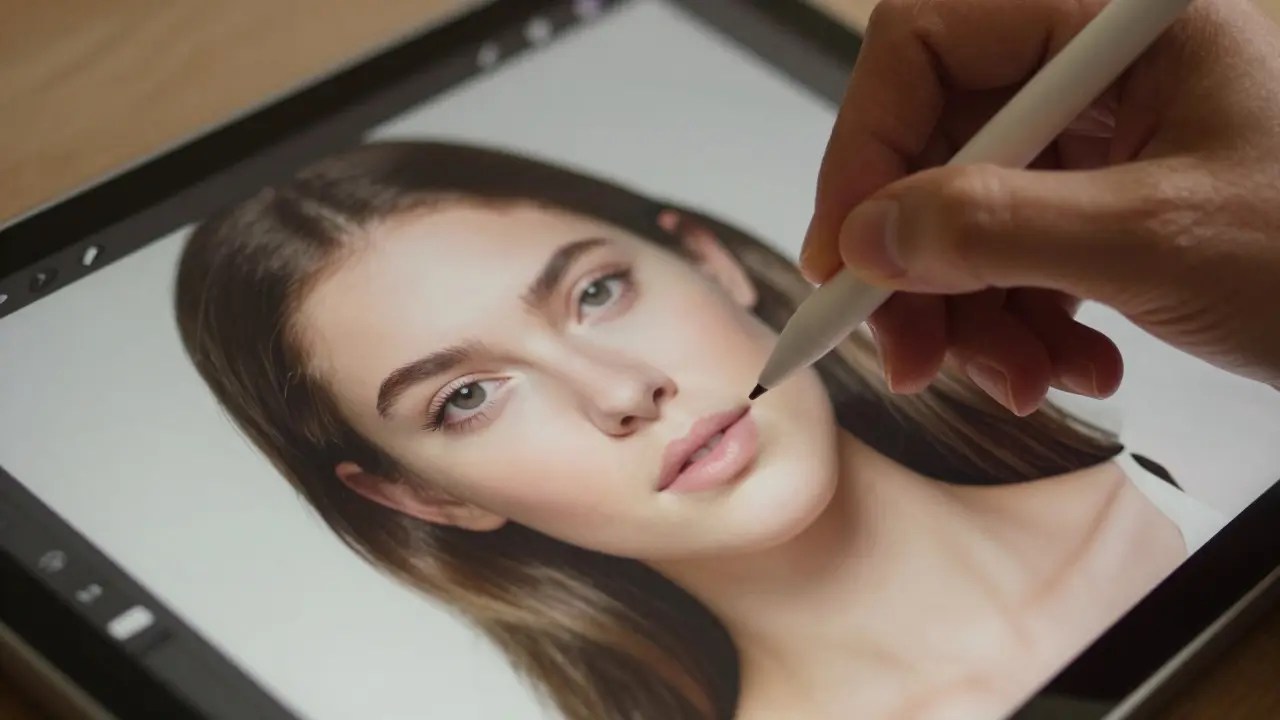
Many photographers worry that manual retouching is too time-consuming for commercial work. While it takes longer than using presets, you can speed up the process significantly with proper organization.
Start by culling your photos before opening them in editing software. Only retouch the final selections. Create action sets for repetitive tasks, such as applying the initial Gaussian blur or setting up the 50% gray overlay. Use keyboard shortcuts for switching tools. For example, pressing 'B' activates the Brush tool, and holding Alt (or Option on Mac) lets you sample colors instantly.
If you are working with a large volume of images, consider using a hybrid approach. Use automated tools for basic cleanup, like removing dust spots or minor blemishes, but reserve manual frequency separation and dodge/burn for the hero shots. This balances efficiency with quality, ensuring your best images receive the detailed attention they deserve.
Frequently Asked Questions
How long does it take to retouch a single portrait?
For a beginner, it can take 30 to 60 minutes per image. As you gain speed and develop muscle memory, you can reduce this to 10 to 15 minutes for a clean, natural finish. Complex creative retouches may take hours, but standard beauty corrections are relatively quick once mastered.
Do I need expensive plugins for good skin retouching?
No. Built-in tools like the Healing Brush, Dodge/Burn, and Filters are sufficient for professional results. Plugins can speed up the process, but they often apply uniform effects that lack nuance. Manual control always yields a more natural outcome.
What is the difference between cloning and healing?
The Clone Stamp copies pixels exactly from one area to another. The Healing Brush blends the sampled pixels with the target area's texture and tone. For skin, the Healing Brush is usually better because it matches the surrounding skin's grain, whereas Cloning can sometimes paste a patch of skin that looks out of place.
Should I retouch every photo in a session?
It depends on the client's expectations. For social media posts, lighter edits may suffice. For print portfolios or commercial campaigns, full retouching is standard. Always clarify the level of editing required during the pre-shoot consultation to avoid mismatched expectations.
How can I prevent my retouched images from looking overly processed?
Zoom out to 100% view frequently to check the overall impression. Ensure you are leaving some texture and natural variation in the skin. Compare your edit to the original side-by-side. If the difference is dramatic, you likely went too far. Aim for an improvement that is noticeable upon close inspection but pleasant at normal viewing distance.