You’ve probably heard of the Rule of Thirds. It’s the first thing every beginner learns: draw two horizontal and two vertical lines across your frame, place your subject on one of the intersections, and call it a day. But sometimes, that grid feels too rigid. Too boxy. Your landscape looks flat, or your portrait feels static. That’s where Golden Triangle Composition comes in. Unlike the square grids of thirds, this method uses diagonals to create movement, tension, and dynamic energy. It’s not just about placing things; it’s about guiding the eye through a journey.
Think of it like this: if the Rule of Thirds is a calm lake, Golden Triangle composition is a flowing river. The diagonals pull you forward. They suggest motion even in still life. If you’re tired of images that feel "correct" but boring, switching to diagonal-based framing might be the exact shift you need. This guide breaks down exactly how to use it, when to use it, and why it works better for certain subjects than others.
What Is Golden Triangle Composition?
Golden Triangle Composition is a compositional technique that divides an image into three triangular sections using diagonal lines. Instead of a grid, you draw one diagonal from corner to corner, then drop perpendicular lines from the opposite corners to meet that main diagonal. This creates four triangles, but photographers typically focus on the two large ones formed by the primary diagonal.
The core idea is simple: align key elements along these diagonal lines or within the triangular spaces they create. Why does this work? Human eyes naturally follow lines. Diagonals are more active than horizontals (which imply stability) or verticals (which imply strength). A diagonal line suggests action, growth, or decline. By structuring your photo around these angles, you tap into our subconscious preference for movement.
This isn’t new. Artists have used triangular compositions for centuries. Look at Renaissance paintings-many feature a central figure forming the apex of a triangle, with supporting elements filling the base. In photography, we adapt this by finding natural diagonals in the scene or positioning subjects to create them artificially.
How to Find and Use Diagonals
You don’t need complex math to apply this. Most cameras and editing software let you overlay a golden triangle grid. But even without tools, you can train your eye. Start by looking for existing diagonal lines in the world. Roads, fences, rivers, shadows, architectural edges-these are all ready-made guides.
- Natural Diagonals: A winding path disappearing into a forest. A river cutting across a valley. These naturally lead the viewer’s eye from the foreground to the background.
- Artificial Diagonals: You can create them by tilting your camera (Dutch angle) or arranging objects. Placing a chair at an angle rather than straight-on introduces immediate dynamism.
- Implied Diagonals: Sometimes, the line isn’t physical. If a person is looking off-camera toward the top right corner, their gaze creates an invisible diagonal vector. Align their face with that imaginary line to strengthen the effect.
Once you spot a diagonal, decide which side of the triangle holds your subject. Typically, you want the most important element in one of the larger triangular areas. If you’re shooting a portrait, try placing the subject’s eyes near the intersection of the main diagonal and the perpendicular line. This anchors the image while keeping the composition lively.
When to Choose Triangles Over Thirds
Not every photo needs a golden triangle. Using it everywhere would make your portfolio look chaotic. So, when should you switch? Here’s a quick decision framework.
| Feature | Rule of Thirds | Golden Triangle |
|---|---|---|
| Primary Feeling | Stability, Balance | Movement, Energy |
| Best For | Landscapes, Portraits, Static Subjects | Action Shots, Architecture, Dynamic Scenes |
| Visual Path | Zig-zag or L-shaped | Linear or Curved Flow |
| Complexity | Low (Easy to learn) | Medium (Requires spatial awareness) |
| Risk | Can look predictable | Can look messy if unbalanced |
Use Golden Triangle when you want to emphasize motion. Think sports photography, street scenes with walking crowds, or any situation where things are happening quickly. The diagonals mimic the speed of the moment.
Conversely, stick to the Rule of Thirds for serene landscapes or formal portraits where you want the viewer to pause and absorb details. If your goal is calmness, diagonals might introduce unnecessary tension.
Practical Examples in Different Genres
Let’s get concrete. How does this look in real-world scenarios?
Landscape Photography: Imagine standing on a hill overlooking a coastline. The shoreline curves from the bottom left to the top right. If you shoot straight on, the horizon splits the frame evenly-boring. Instead, tilt slightly so the shoreline becomes the main diagonal. Place a prominent rock or tree in the lower-left triangle. The eye travels from the rock, follows the water’s edge up to the horizon, and exits the frame. That’s a journey, not just a snapshot.
Portrait Photography: Traditional headshots often feel stiff. Try having your subject lean against a wall at an angle. Their body forms a diagonal line. Position their face in the upper triangle. This adds depth and makes the pose feel more candid and relaxed. If they’re holding something, like a guitar, ensure the neck of the instrument follows the same diagonal direction to avoid visual conflict.
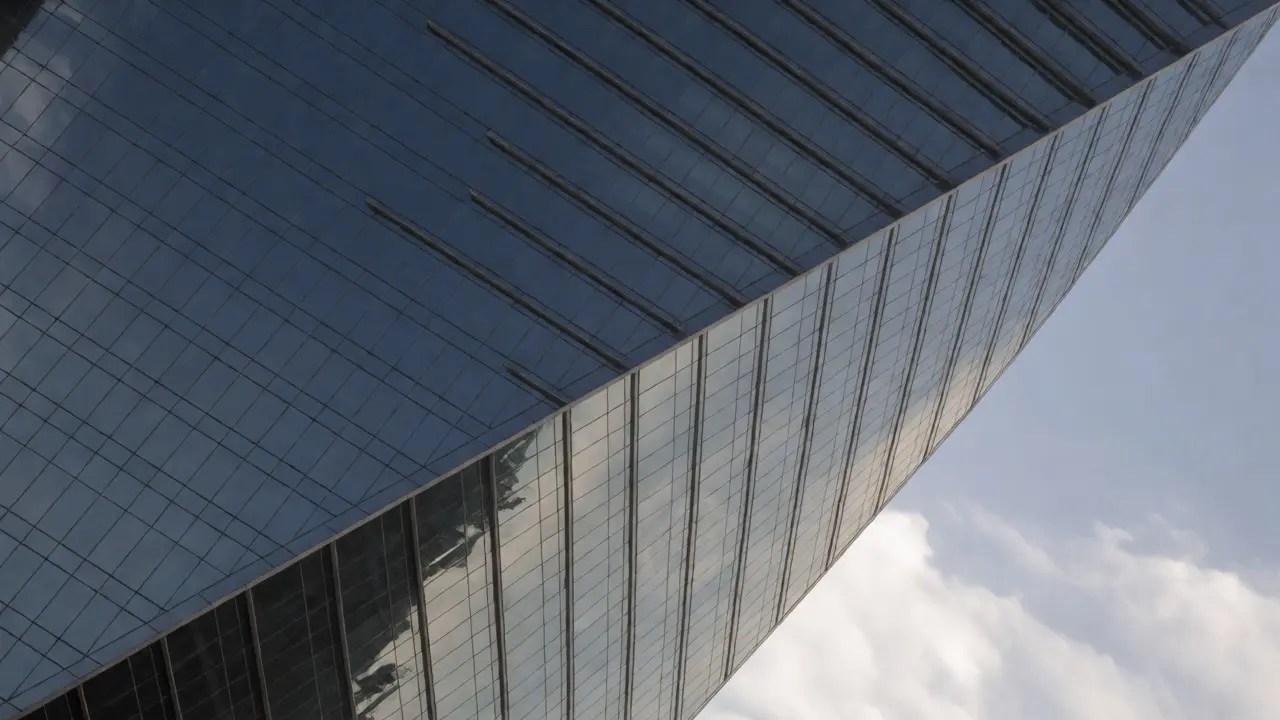
Street Photography: Urban environments are full of diagonals. Building facades, staircases, light beams. Capture a pedestrian crossing a street where the crosswalk stripes form strong diagonals. Place the person in the center triangle. The converging lines point directly at them, acting as arrows that say, "Look here." This is powerful because it uses the environment to highlight the subject without cropping tightly.
Common Mistakes to Avoid
Diagonal compositions can fail if you’re not careful. Here are the pitfalls I see most often.
- Conflicting Diagonals: If you have multiple diagonal lines pointing in different directions, your image becomes confusing. The eye doesn’t know where to go. Simplify the scene. Move closer or change your angle until only one dominant diagonal remains.
- Ignoring Weight: Diagonals create imbalance. To counteract this, you need visual weight on the opposite side. If your main subject is in the top-right triangle, ensure there’s enough interest in the bottom-left triangle to keep the frame from feeling like it’s tipping over.
- Forcing It: Don’t twist your camera just to fit a template. If the natural lines in the scene don’t support a diagonal structure, forcing it will look unnatural. Trust your instinct. Sometimes, a centered subject with no diagonals is the strongest choice.
A pro tip: review your shots on a larger screen later. On a small camera LCD, it’s hard to judge whether the diagonals are working. Zoom in and check if the flow feels smooth or jerky.

Tools and Post-Processing Tips
You don’t need expensive gear to master this. Most smartphones now include grid overlays in their camera apps. Enable the "square" or "thirds" grid, then mentally visualize the diagonal. Some advanced apps, like Lightroom Mobile or Snapseed, offer custom crop overlays that include golden ratio grids. Turn these on during editing to fine-tune your alignment.
In post-processing, you can also correct slight misalignments. If your horizon is tilted unintentionally, fix it before applying diagonal logic. An accidental tilt can confuse the viewer-is it a Dutch angle or a mistake? Be intentional. If you want a diagonal, make it obvious. If you want level, make it perfect.
Another trick: use contrast to reinforce the diagonal. Brighten the area along the diagonal line slightly, or darken the surrounding triangles. This subtle lighting adjustment guides the eye even if the lines themselves aren’t physically sharp.
Final Thoughts on Breaking the Grid
Composition rules are tools, not laws. The Golden Triangle is simply another lens through which to view your scene. It helps you break free from the habit of always centering subjects or strictly following thirds. By embracing diagonals, you add energy to your work. You invite the viewer to move through the image rather than just stare at it.
Start small. Pick one walk or one shoot dedicated solely to finding diagonals. Ignore everything else. Just hunt for lines that cut across your frame. Once you start seeing them, you’ll never stop. And when you combine this with other techniques-like leading lines or negative space-you’ll create photos that feel both structured and alive.
Is Golden Triangle composition better than Rule of Thirds?
Neither is inherently better; they serve different purposes. Rule of Thirds excels at creating balanced, stable images suitable for landscapes and traditional portraits. Golden Triangle is superior for adding dynamism, movement, and tension, making it ideal for action shots, street photography, and architectural details. Many professional photographers use both depending on the mood they want to convey.
How do I visualize the Golden Triangle without a grid?
Imagine drawing a single line from one corner of your frame to the opposite corner. Then, imagine dropping lines from the remaining two corners perpendicularly to meet that first line. This creates a network of triangles. Practice doing this mentally until it becomes second nature. You can also print out a transparent sheet with the pattern drawn on it and hold it up to your viewfinder for practice.
Can I use Golden Triangle composition for macro photography?
Yes, absolutely. In macro shots, depth of field is shallow, so composition is critical. Using diagonals can help guide the eye through the tiny details of a flower petal or insect wing. For example, aligning the length of a leaf along the main diagonal draws attention to its texture and shape, creating a sense of scale and direction even in a close-up.
Does the orientation of the diagonal matter?
Yes. Diagonals going from bottom-left to top-right generally feel more natural and uplifting, mimicking the way we read text in Western cultures (left to right, upward). Diagonals from top-left to bottom-right can feel heavier or descending. Experiment with both to see which supports the emotional tone of your image better.
What if my subject doesn't fit the triangles?
If your subject is large or centrally located, you might not fit it neatly into a triangle. In this case, use the diagonal as a leading line that points to the subject rather than containing it. Alternatively, consider if a different compositional rule, such as symmetry or framing, might suit the scene better. Not every photo requires a strict geometric structure.