Ever stared at a landscape photo and felt something was off? The sky looks too empty, or the ground feels cramped. It’s not about your camera settings; it’s about where you put the horizon line. That single horizontal cut determines whether your viewer feels awe at the vastness above or grounded in the details below. Getting this wrong can make even a stunning sunset feel flat.
The core problem is visual weight. Humans naturally perceive the sky as lighter and less detailed than the land. If you split the frame 50/50, the image often feels static because both halves fight for equal attention without one winning. Your goal isn’t just to fit the scene in the box; it’s to guide the eye to what matters most. Is it the dramatic clouds? Or the textured foreground rocks? The answer dictates your horizon placement.
Why the Rule of Thirds Isn't Always Right
You’ve probably heard the Rule of Thirds is a compositional guideline that divides the frame into nine equal parts using two horizontal and two vertical lines, suggesting placing key elements along these lines rather than in the center. It works well for general balance, but it fails when the subject demands dominance.
If your main subject is a towering mountain peak, placing the horizon on the lower third might bury the peak in negative space. Conversely, if the sky is filled with stormy, textured clouds, putting the horizon on the upper third wastes that drama. The rule is a starting point, not a law. Think of it as a default setting you can override based on the specific story you’re telling.
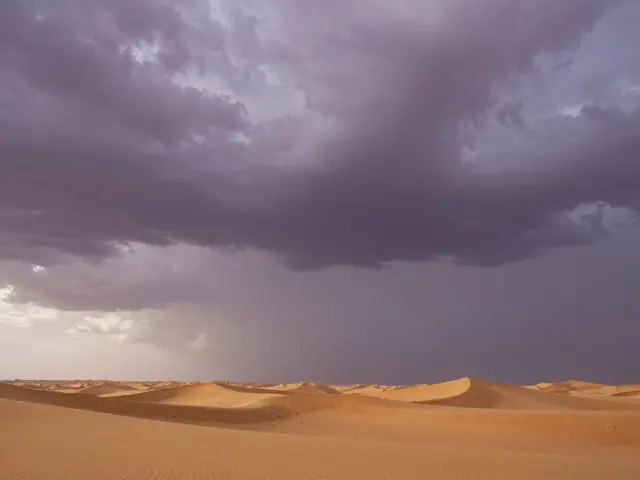
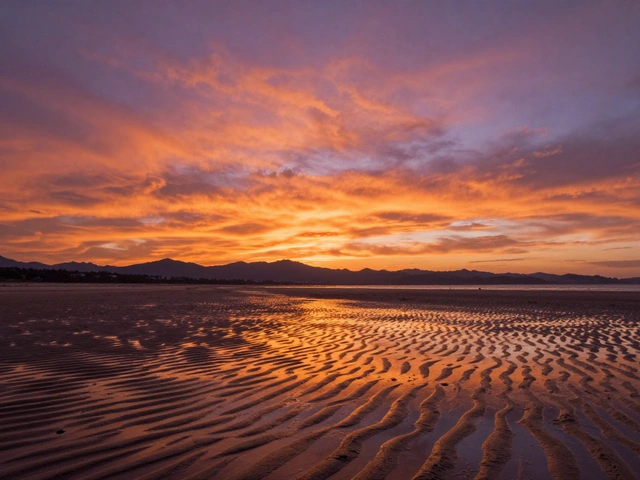
- Sky-Dominant Scenes: Place the horizon in the bottom third (or lower) to give the sky 60-70% of the frame.
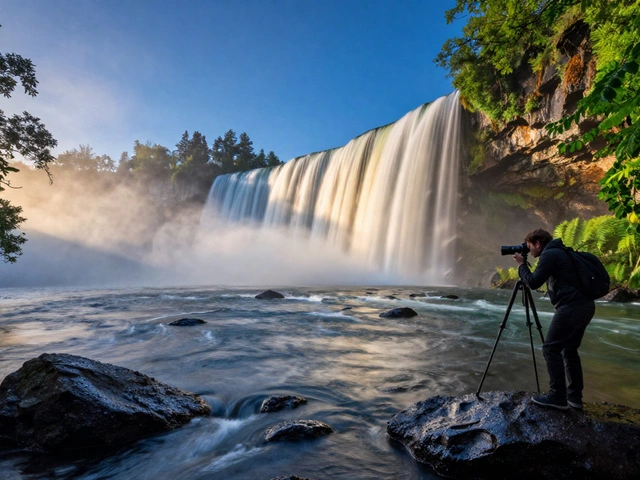
- Land-Dominant Scenes: Place the horizon in the top third (or higher) to give the land 60-70% of the frame.
- Equal Weight: Use the middle only if both sky and land have similar visual complexity and importance.
Visual Weight: Understanding What Holds Attention
Before you adjust your tripod, ask yourself: what has more "visual mass"? Visual weight refers to how much an element attracts the viewer's eye. Darker tones, sharp details, and complex textures carry more weight than bright, blurry, or simple areas.
A clear blue sky has low visual weight. A forested hillside with intricate tree patterns has high visual weight. If you place a high-weight element in a small area, it can feel crowded. If you place a low-weight element in a large area, it can feel empty. Balancing these weights is the real skill behind horizon placement.
| Element Type | Typical Visual Weight | Recommended Horizon Position |
|---|---|---|
| Clear Blue Sky | Low | Lower third (give sky space) |
| Stormy/Textured Clouds | High | Upper third (emphasize sky) |
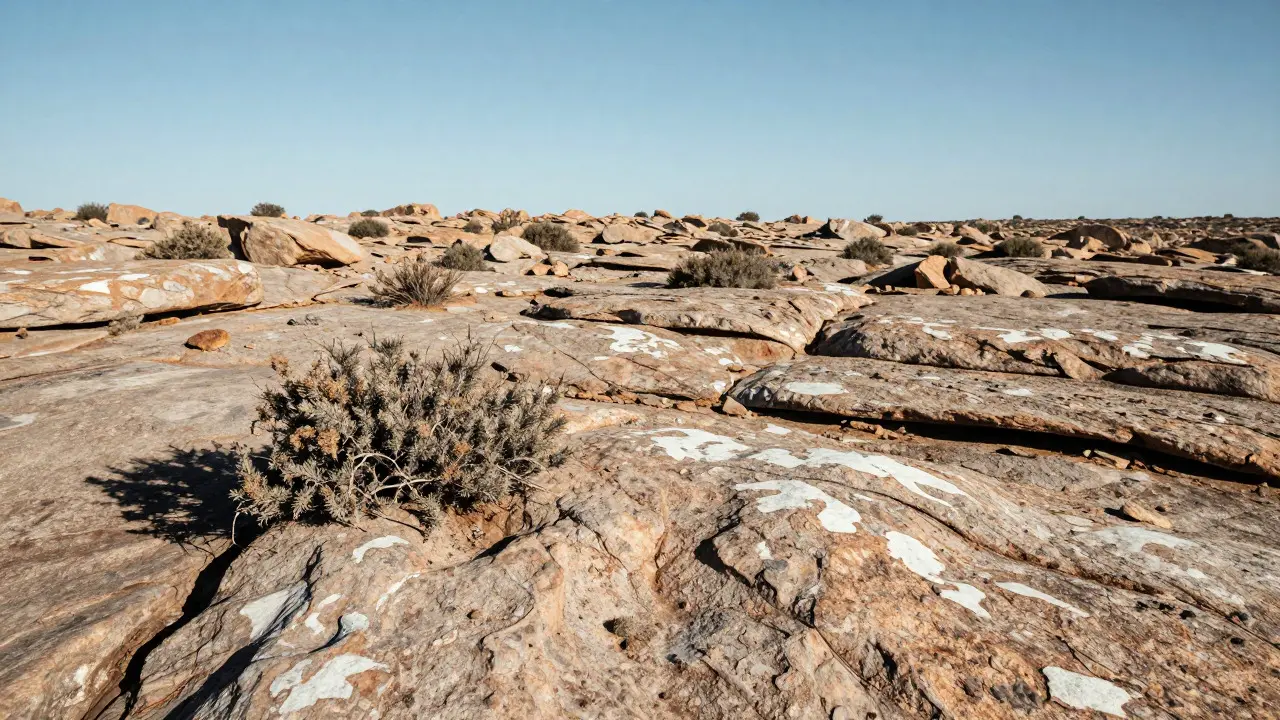
| Detailed Foreground Rocks | High | Upper third (emphasize land) |
| Smooth Water Surface | Medium-Low | Middle or slightly lower |
| Dense Forest | Very High | Top edge (maximize land view) |
Practical Techniques for Adjusting the Horizon
You don’t need to move miles to change your horizon line. Sometimes, walking ten feet left or right changes the angle enough to shift the perceived balance. Here are practical ways to adjust your composition on the fly.
- Change Your Height: Crouch down to lower the horizon relative to tall subjects like mountains or trees. Stand up to raise the horizon for foreground-heavy scenes.
- Use Tilt Correction: If shooting handheld, use a tilt-shift lens or post-processing perspective correction to straighten verticals without cropping away essential sky or land.
- Crop Strategically: In post-production, crop to the rule of thirds grid first, then check if the balance feels right. Don’t be afraid to crop tightly to remove distracting elements from the non-dominant half.
- Wait for Light Changes: Golden hour light adds warmth and texture to the land, increasing its visual weight. Midday harsh light flattens details, making the sky more prominent. Adjust your horizon based on the time of day.
Common Mistakes to Avoid
Even experienced photographers fall into these traps. Recognizing them will help you avoid unbalanced compositions.
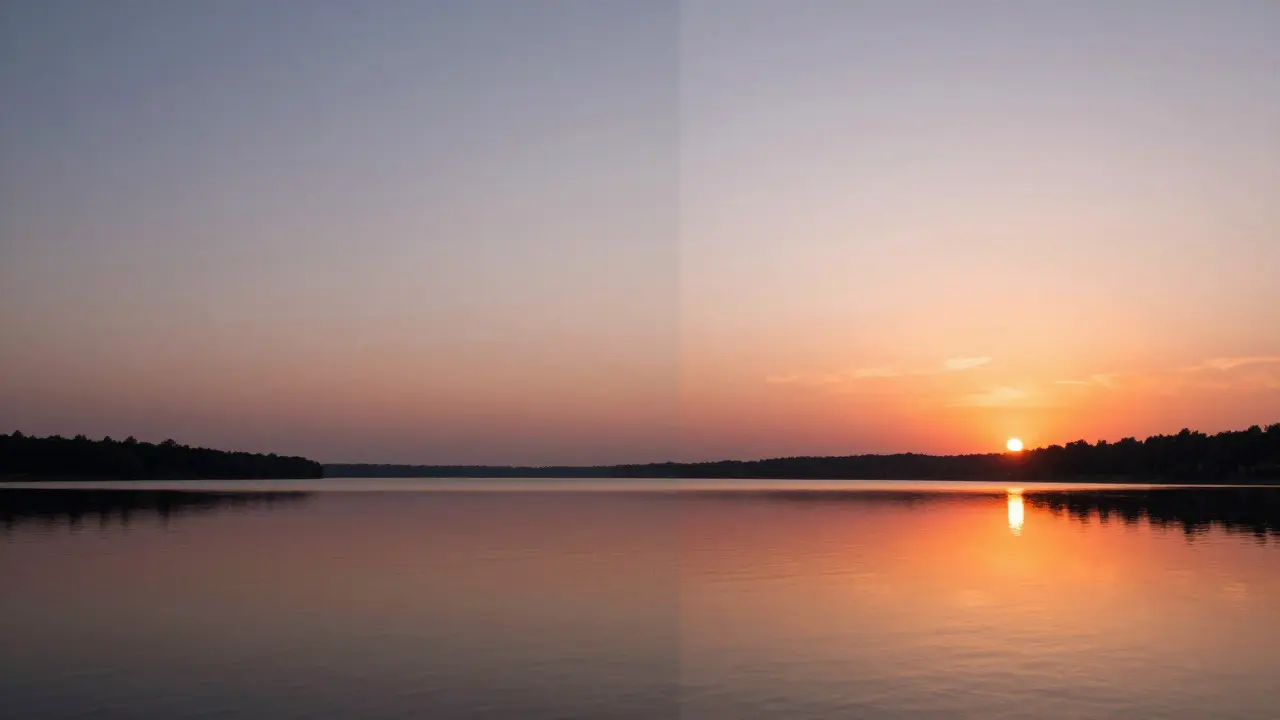
- The Centered Horizon Trap: Placing the horizon exactly in the middle splits the viewer's attention evenly. Unless you’re creating a deliberate symmetrical reflection, this usually results in a boring image.
- Ignoring Foreground Interest: If you place the horizon high to show the sky, ensure there’s something interesting in the land portion. An empty strip of dirt at the bottom looks unfinished.
- Over-Cropping the Sky: Sometimes, we crop too aggressively to follow the rule of thirds, cutting off important cloud formations or sun flares. Keep the full emotional impact of the sky intact.
- Forgetting Vertical Lines:** Trees, cliffs, and buildings create strong vertical lines. If these lines touch the top or bottom edge of the frame, they can feel cut off. Leave some breathing room around major vertical elements.
Advanced Concepts: Negative Space and Emotion
Beyond technical balance, horizon placement sets the mood. A low horizon with a vast sky creates feelings of freedom, isolation, or grandeur. A high horizon with a detailed foreground creates feelings of intimacy, stability, or tension.
Consider Negative Space is the empty or unoccupied area in a composition that surrounds the main subject, helping to define it and provide visual breathing room. In landscape photography, the sky often acts as negative space. Using it effectively means letting it breathe. Don’t clutter the sky with unnecessary elements unless they serve a purpose.
Think about the emotion you want to evoke. Are you trying to show the power of nature? Give the sky room to dominate. Are you highlighting human presence in the landscape? Keep the horizon higher to anchor the viewer in the physical world.
Frequently Asked Questions
Where should I place the horizon in a portrait-oriented landscape photo?
In portrait orientation, the vertical space is limited. If the sky is the focus, place the horizon in the bottom quarter. If the land is the focus, place it in the top quarter. Avoid the middle, as it can feel cramped in a narrow frame.
Does the rule of thirds apply to video landscapes?
Yes, but with caution. In video, the horizon must remain stable. Shifting the horizon during a pan can disorient viewers. Use the rule of thirds to set your initial framing, then keep the horizon aligned with the same grid line throughout the shot for consistency.
What if my subject is centered, like a lone tree?
Centered subjects work best when the horizon is also centered or slightly offset to create symmetry. This technique emphasizes isolation and tranquility. Ensure the background is clean so the centered subject stands out clearly.
How do I fix a tilted horizon in post-processing?
Use the straighten tool in software like Lightroom or Photoshop. Align the horizon with the grid lines. After straightening, crop to remove any uneven edges. Be mindful that tilting corrections may require cropping, which affects your final aspect ratio.
Is it better to shoot wide or zoom in for balanced compositions?
Wide angles exaggerate depth and include more sky and land, giving you more flexibility to adjust the horizon later. Zoom lenses compress distance, making the sky and land appear closer together. Choose wide angles if you want to emphasize scale and atmosphere.