Ever taken a photo where the sun looks like a glowing blob instead of a sharp star? It’s frustrating. You wanted that crisp, spiky burst of light that makes a landscape pop, but you got a soft, hazy mess instead. The secret isn’t magic; it’s physics. Specifically, it’s about how light bends through tiny holes in your camera lens.
To get that perfect sunstar, you need to control two things: how small you make the opening of your lens (aperture) and where you place the sun relative to your scene (angle). Get these right, and you turn a flat afternoon shot into a dramatic masterpiece. Here is exactly how to do it without guessing.
The Physics Behind the Spikes
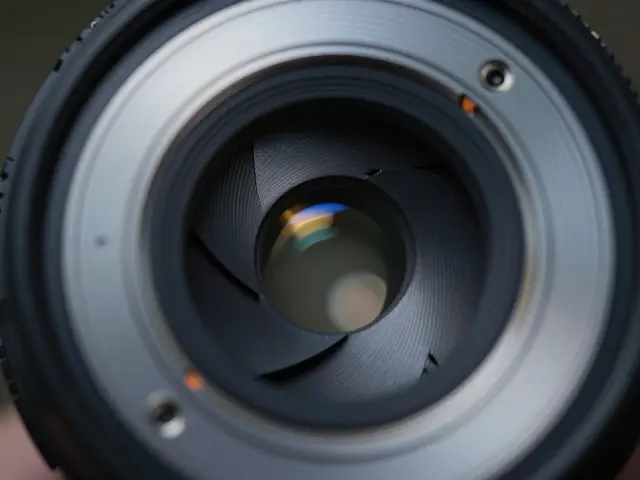
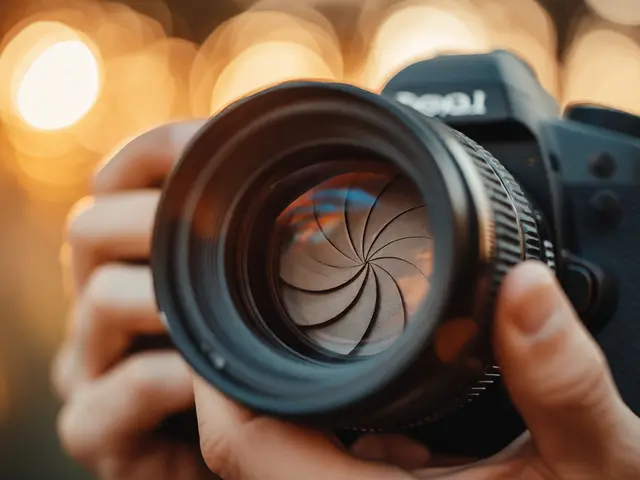
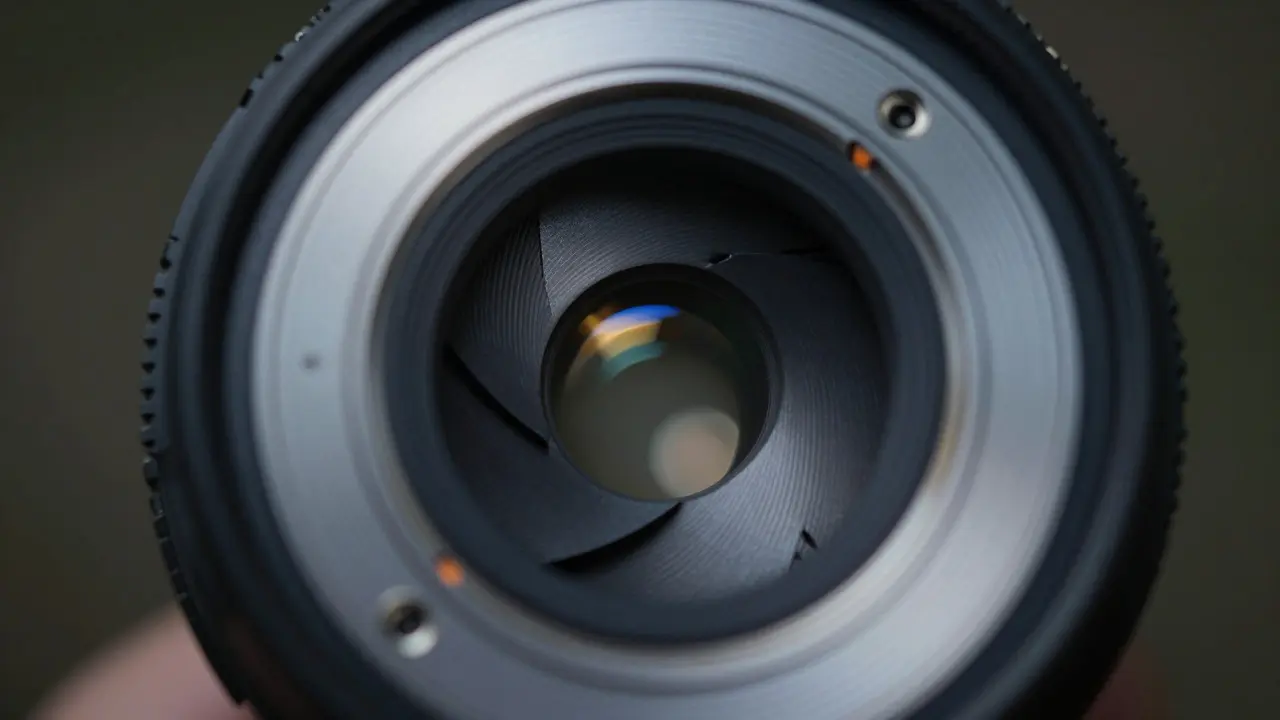
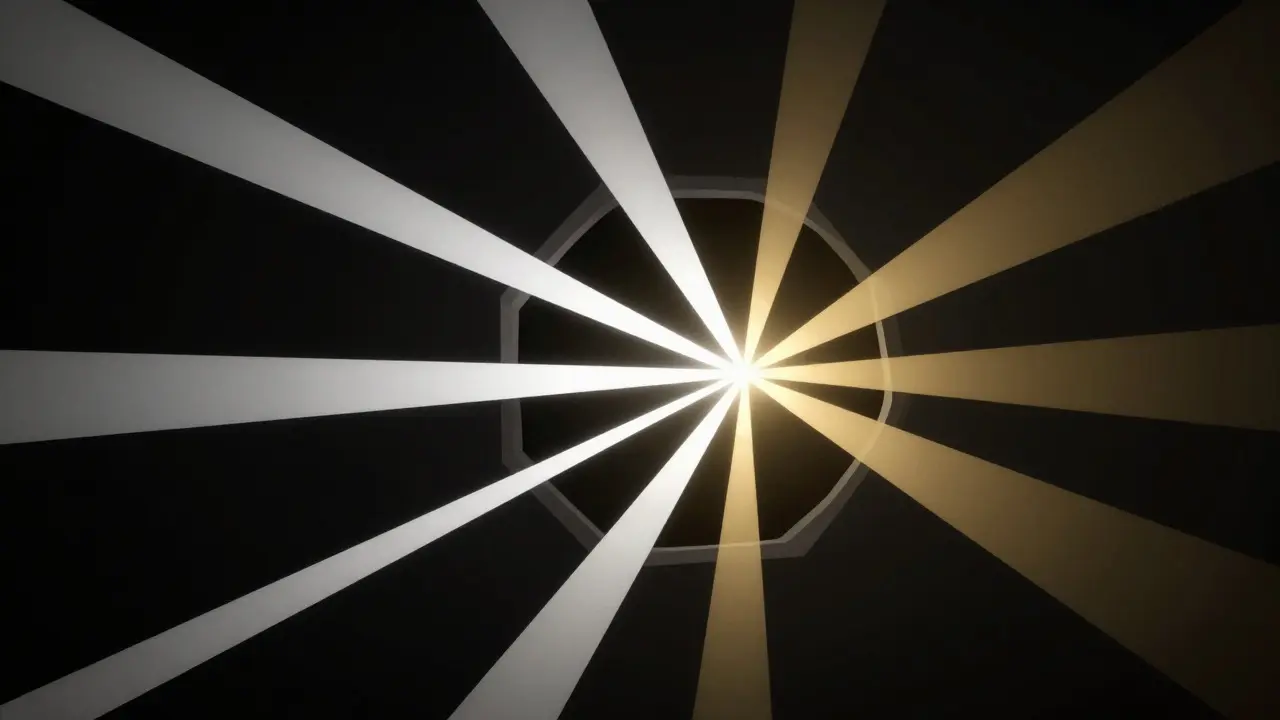
Before we touch a dial, let’s understand what is happening inside your camera. When light passes through a circular aperture, it diffracts, or bends, around the edges. If the aperture is wide open, the light flows freely with minimal bending. But when you stop down to a smaller aperture, the light has to squeeze through a tighter space. This squeezing creates interference patterns that result in those distinct spikes radiating from the light source.
The number of spikes depends on your specific lens design, but the sharpness of those spikes depends entirely on the aperture size. A common misconception is that any small aperture will work. In reality, there is a sweet spot. If you go too small, the stars become blurry due to excessive diffraction. If you are too wide, they disappear. The goal is to find the balance where the spikes are defined but not smeared.
Choosing the Right Aperture Setting
This is the most critical technical step. For most modern lenses, the ideal range for creating clear sunstars is between f/11 and f/16. Let’s break down why this range works and what happens outside of it.
- f/8 or wider: The aperture is still relatively large. Light diffraction is low, meaning the spikes are faint or non-existent. The sun appears as a round, bright disc.
- f/11 to f/16: This is the "sweet spot." The aperture blades create enough restriction to form sharp, distinct spikes. At f/13 or f/15, many photographers find the best balance between spike clarity and overall image sharpness.
- f/22 or smaller: You are now entering the realm of heavy diffraction. While the spikes might look long, the entire image starts to lose fine detail. Textures in rocks or leaves become soft. Unless you are using a very high-resolution sensor and a top-tier lens, f/22 often results in a softer image than f/16.
A pro tip: Test your specific lens. Some older or cheaper lenses perform better at f/11, while premium prime lenses can hold up well at f/16. Do a quick test shoot with a bright light source (like a streetlamp at night) to see which setting gives you the crispest spikes on your gear.
Positioning the Sun: Angles Matter
You have the right aperture set, but the sun is still looking like a blob. Why? Because you haven’t positioned it correctly. The angle of the sun relative to your horizon and foreground elements dictates whether the star effect is visible.
The sun needs to be partially obscured or placed near a hard edge. If the sun is fully exposed against a clear blue sky, the intense brightness blows out the highlights, washing out the star shape. To fix this, use natural occluders:
- Tree Branches or Leaves: Place a dark branch in the foreground so the sun peeks through the gaps. The contrast between the dark wood and the bright light enhances the starburst.
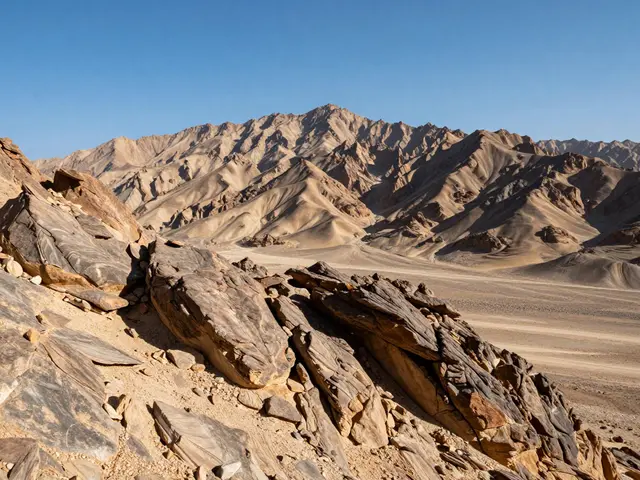
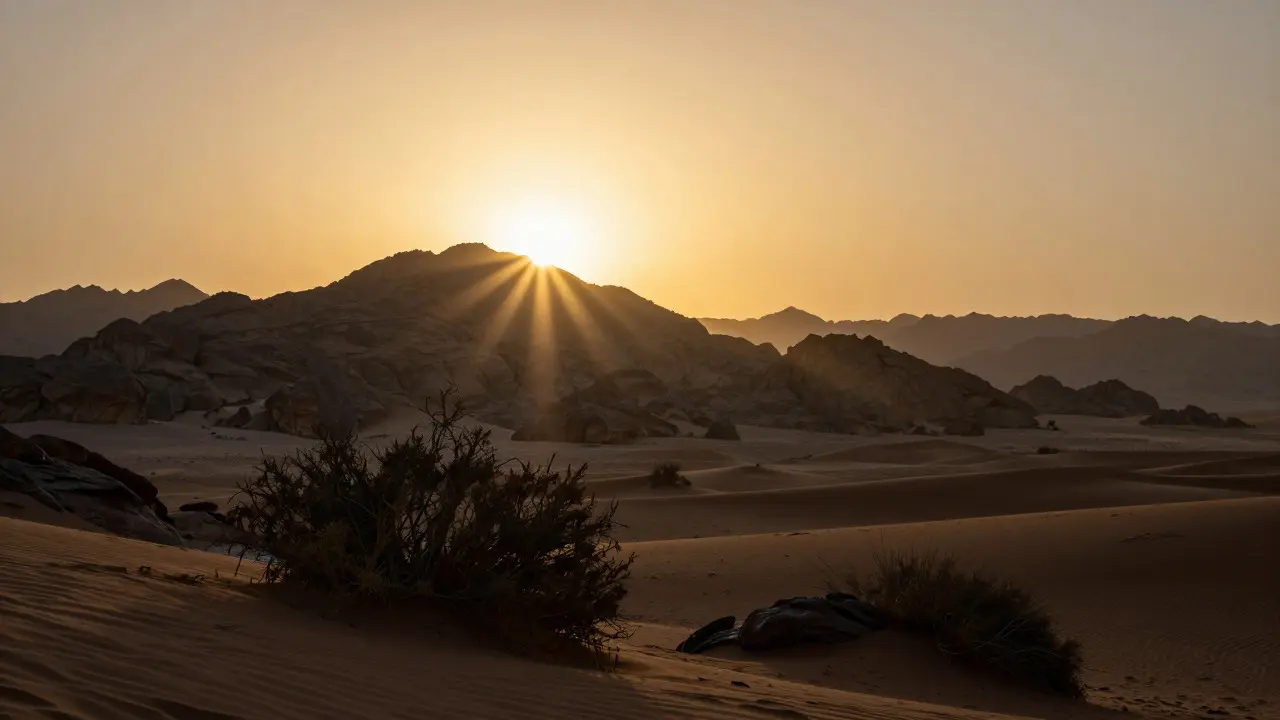
- Mountain Ridges: Position the sun just above a mountain peak. As the sun dips behind the ridge, the light rays scatter dramatically, creating a classic alpine sunstar.
- Architectural Elements: If shooting urban landscapes, use window frames, fences, or building corners to frame the sun.
The key here is contrast. The darker the object blocking the light, the more pronounced the star will appear. A sun shining through thin, translucent leaves won’t give you the same punch as one shining through a thick, dark oak branch.
Composition and Exposure Control
Getting the technical settings right is only half the battle. Composition determines if the photo feels intentional or accidental. When shooting sunstars, you are dealing with extreme dynamic range. The sun is incredibly bright, while your foreground shadows are deep. Your camera’s meter will likely try to expose for the midtones, leaving the sun blown out and the shadows crushed.
To manage this, consider these exposure strategies:
- Expose for the Shadows: Use spot metering on a mid-tone area in your foreground. This ensures your landscape details are visible, even if the sun itself clips to pure white. Since the star effect comes from the diffraction pattern, not the actual color of the sun, clipping the center is acceptable.
- Use a Polarizing Filter: A circular polarizer helps cut glare from water or foliage, increasing color saturation. However, be careful: rotating the filter can change the intensity of the sunstar. Always compose with the filter screwed on to see the true effect.
- Shoot in RAW: JPEGs compress data aggressively. With the extreme contrast of a sunstar shot, you need the flexibility of RAW files to bring back shadow details in post-processing without introducing noise.
Compositionally, don’t just put the sun in the center. Use the Rule of Thirds. Placing the sunstar in one of the four intersection points creates visual tension and guides the viewer’s eye across the rest of the landscape. If you do place it in the center, ensure your foreground elements are symmetrical to support the radial nature of the star.
Common Mistakes and How to Avoid Them
Even experienced photographers trip up on sunstars. Here are the three most frequent errors I see in portfolios and how to fix them instantly.
Mistake 1: Shooting at Midday. The sun is directly overhead. There are no long shadows, no low angles, and no natural occluders at eye level. The light is harsh and vertical. Wait for the Golden Hour (first hour after sunrise, last hour before sunset) or Blue Hour. The lower angle allows you to use mountains, trees, or buildings to block the light effectively.
Mistake 2: Ignoring Lens Hoods. While lens hoods prevent flare, they can also interfere with sunstars if the sun is outside the hood’s field of view. Sometimes, removing the hood allows the light to hit the front element differently, enhancing the effect. Conversely, keeping it on prevents unwanted internal reflections. Test both. If you see stray flares, keep the hood on. If the star looks weak, try removing it.
Mistake 3: Over-Sharpening in Post. When you enhance the sunstar in editing software, it’s tempting to crank up the clarity or sharpening sliders. This adds halos around the spikes, making them look artificial. Instead, use local adjustments. Mask the sun area and slightly increase exposure or reduce highlight clipping. Keep the surrounding landscape natural.
Practical Workflow for Your Next Shoot
Here is a simple checklist to follow when you’re out in the field aiming for that perfect shot.
- Scout the Location: Identify where the sun will rise or set. Look for potential occluders (trees, peaks, structures) in that direction.
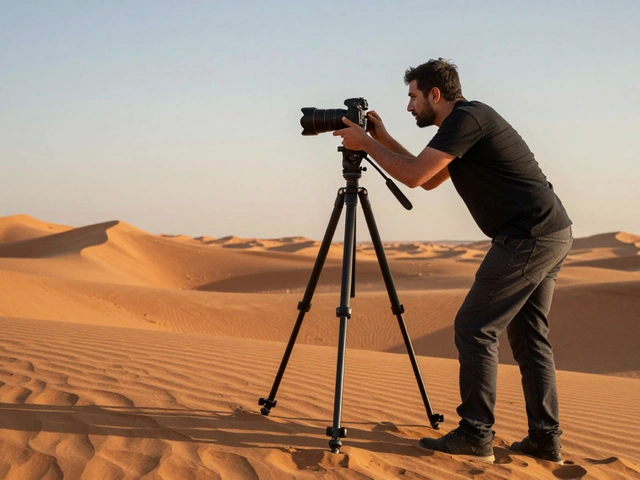
- Set Your Gear: Mount your tripod. Set your lens to f/13 or f/16. Switch to Manual Focus and focus on a mid-ground element to ensure depth of field covers the whole scene.
- Check the Preview: Zoom in on your LCD screen. Is the sun a star or a blob? Adjust aperture if needed. Rotate the polarizer if attached to maximize contrast.
- Compose and Meter: Frame your shot using the Rule of Thirds. Spot meter on a mid-tone shadow area. Take a test shot.
- Review and Refine: Check the histogram. Ensure the shadows aren’t completely black. If the sun is too bright, accept the clip or use bracketing to blend exposures later.
Remember, consistency is key. Once you find the aperture setting that works best for your specific lens, stick with it. Every photographer’s gear behaves slightly differently, so trust your own tests over generic advice.
What is the best aperture for sunstars?
For most lenses, the ideal range is between f/11 and f/16. f/13 or f/15 often provides the sharpest spikes without excessive diffraction blur. However, you should test your specific lens, as some perform better at f/11 while others handle f/16 well.
Why does my sun look like a blob instead of a star?
This usually happens because your aperture is too wide (e.g., f/4 or f/5.6) or the sun is not partially obscured by an object. To get a star, you need a smaller aperture (f/11 or smaller) and the sun should be peeking through a tree branch, mountain ridge, or other dark object to create contrast.
Does the number of spikes depend on the aperture?
No, the number of spikes is determined by the number of aperture blades in your lens. For example, a lens with six blades typically produces six spikes (or twelve if the blades are curved). Changing the aperture size affects the length and sharpness of the spikes, not their count.
Can I use a polarizing filter for sunstars?
Yes, and it is highly recommended. A circular polarizer increases color saturation and reduces glare from reflective surfaces like water or wet rocks. Just remember that rotating the filter changes the polarization angle, which can alter the appearance of the sunstar. Always compose with the filter attached.
What time of day is best for sunstar photography?
Golden Hour is ideal. During the first hour after sunrise and the last hour before sunset, the sun is low on the horizon. This low angle allows you to use landscape features like mountains, trees, or buildings to partially block the sun, which is necessary for creating a strong starburst effect. Midday sun is too high and harsh for most compositions.