You know that feeling when you snap a photo of your homemade lasagna, and it looks flat? Or maybe the background is so busy with cluttered mugs and napkins that your eye doesn't know where to look. That’s usually a depth of field problem. Depth of field is simply the distance between the nearest and farthest objects in a scene that appear acceptably sharp in an image. In food photography, controlling this isn’t just technical-it’s how you tell the story of the meal.
Most beginners think more sharpness equals better quality. They stop down their lens to f/16, thinking they’re being precise. But often, that kills the mood. A blurred background (or foreground) isolates the subject, making the texture of a crispy cookie or the steam rising from coffee pop. You don’t need expensive gear to master this. You need to understand how aperture, distance, and focal length work together to guide the viewer's eye.
What Actually Controls Depth of Field?
Three things dictate how much of your food shot is in focus: aperture size, distance to the subject, and focal length. If you change one, you change the others' impact. Let’s break them down without the jargon.
Aperture is the hole in your lens that lets light in. It’s measured in f-stops. Here’s the counter-intuitive part: a lower number (like f/1.8 or f/2.8) means a wider opening and a shallower depth of field. A higher number (like f/11 or f/16) means a smaller opening and deeper depth of field. If you want that creamy, dreamy blur behind a plate of pasta, you open up the aperture. If you want every ingredient on a salad bowl crisp and clear, you close it down.
Distance matters more than people realize. The closer your camera gets to the food, the thinner the slice of focus becomes. If you’re shooting a single cupcake macro-style at six inches away, even at f/5.6, the frosting might be sharp while the cake base blurs out. Step back two feet, and suddenly more of the cupcake stays sharp. This is why macro lenses are tricky-they exaggerate shallow depth of field.
Focal length compresses the background. A 50mm or 85mm lens will give you more background blur than a 24mm wide-angle lens at the same aperture and distance. Wide angles keep everything relatively sharp because they capture a broader scene. Telephoto-like lenses isolate the subject by narrowing the angle of view and magnifying the background blur.
When to Use Shallow Depth of Field
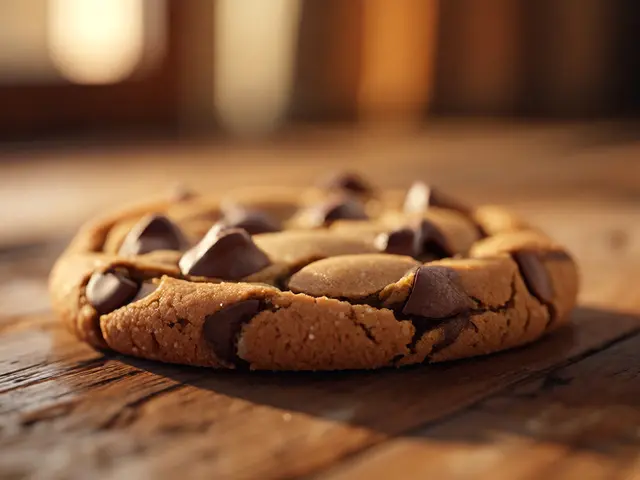
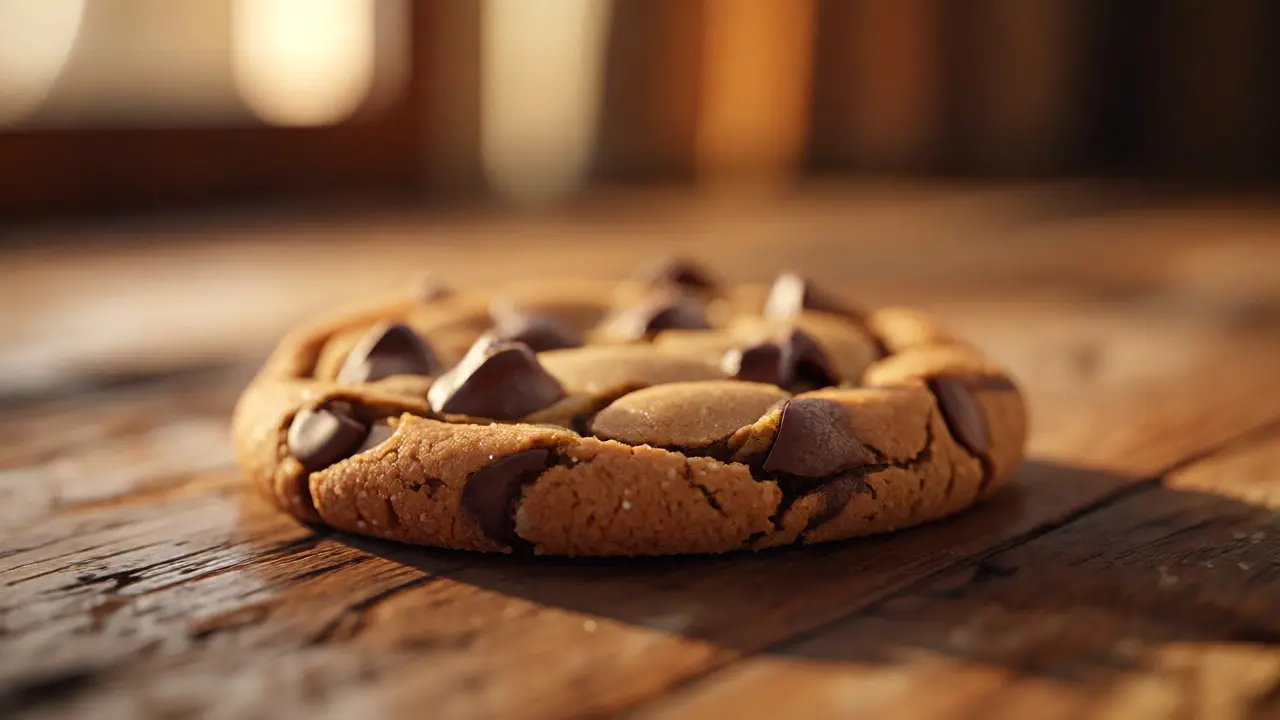
Shallow depth of field is your go-to for emotional, appetizing shots. Think about a close-up of a chocolate chip cookie. You want the viewer to taste the crunch. By using a wide aperture like f/2.8, you keep the front edge of the cookie razor-sharp while letting the rest melt into a soft blur. This creates bokeh, which is the aesthetic quality of the blur produced in the out-of-focus parts of an image.
This technique works best for:
- Single hero items: burgers, steaks, desserts, or drinks.
- Textured foods: bread crusts, bubbly cheese, or condensation on glass.
- Creating mood: dark, moody shots benefit from selective focus to hide distractions.
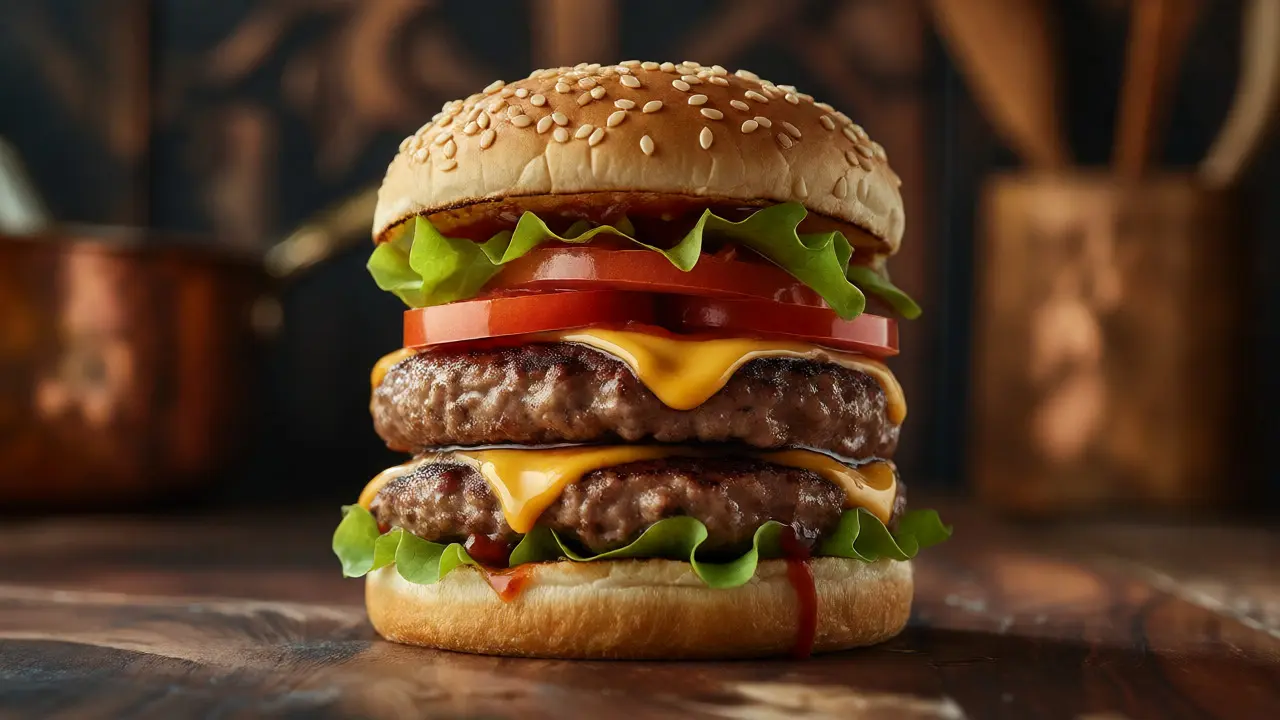
But here’s a trap: if you go too shallow, say f/1.4 on a burger, only the top bun seeds might be in focus. The patty below goes blurry. Does that look appetizing? Usually, no. We want to see the layers. So, for multi-layered dishes, aim for f/4 to f/5.6. It gives you enough separation from the background but keeps the vertical stack readable.
When to Go Deep: Sharp Details Everywhere
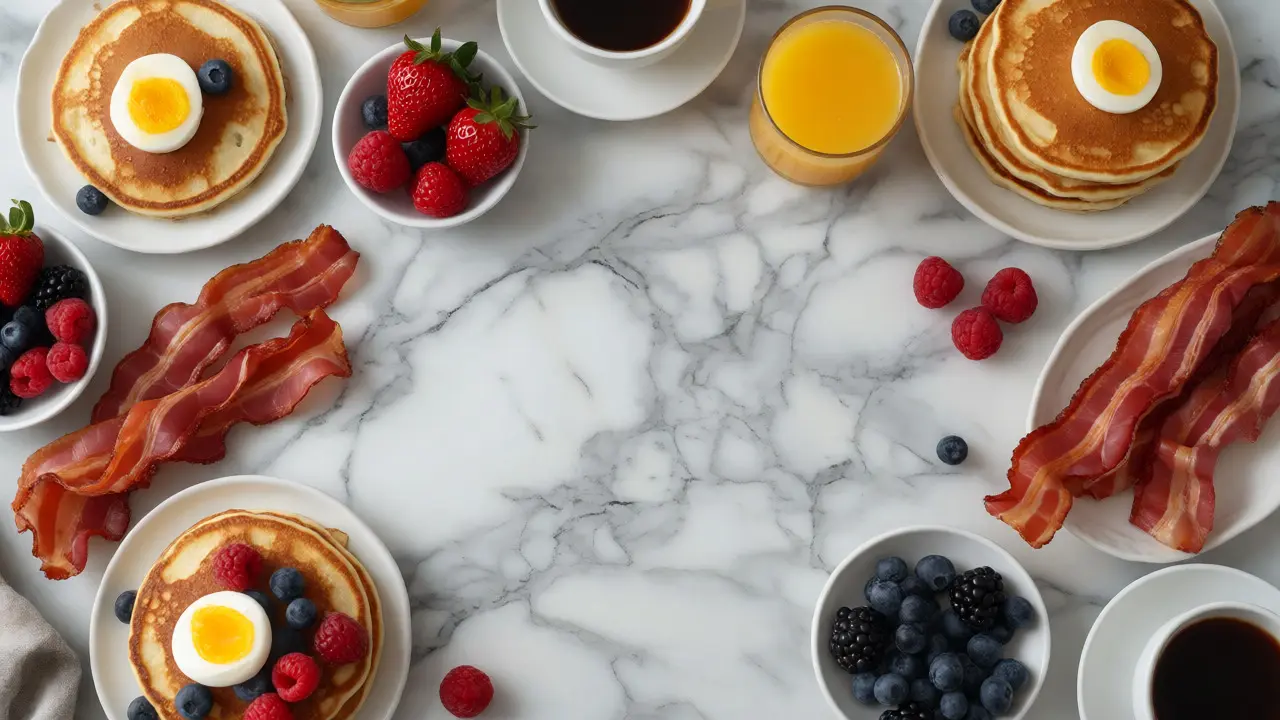
Sometimes, the story is in the spread. Imagine a Thanksgiving table or a brunch spread with pancakes, bacon, coffee, and juice. If you use a shallow depth of field, half the items disappear into mush. You lose the abundance.
For these scenes, you need deep depth of field. Stop down to f/8, f/11, or even f/16. Yes, you’ll need more light or a tripod because less light enters the lens. But the result is a comprehensive, editorial-style image where every element contributes to the narrative. This is common in recipe blogs where the reader needs to see all ingredients clearly.
Another case for deep focus is overhead shots (flat lays). When you shoot straight down, the distance from the camera to the center of the frame versus the edges changes slightly. At wide apertures, corners can get soft unexpectedly. Stopping down to f/8 ensures uniform sharpness across the entire square frame. It makes the composition feel organized and intentional.
The Sweet Spot: Finding Your Aperture
There’s no single “best” aperture. It depends on what you’re photographing. However, there are reliable starting points based on experience.
| Food Type | Recommended Aperture | Why This Works |
|---|---|---|
| Single Item (Cookie, Drink) | f/2.8 - f/4 | Isolates the subject; creates creamy background blur. |
| Burgers/Sandwiches | f/4 - f/5.6 | Keeps layers visible while separating from background. |
| Pasta/Salad Bowls | f/5.6 - f/8 | Captures texture across the surface area. |
| Flat Lays/Spreads | f/8 - f/11 | Ensures corner-to-corner sharpness. |
| Table Scenes/Context | f/11 - f/16 | Shows environment and multiple subjects clearly. |
Notice the trend? As the physical size and complexity of the subject increase, you stop down. A single macaron needs little depth. A full charcuterie board needs a lot.
Common Mistakes That Ruin Focus
Even with the right settings, small errors kill the shot. First, watch your focus point. Always place your autofocus point on the most important part of the dish-the eyes of a fish, the rim of a drink, or the top layer of a cake. Never let the camera guess. If you’re shooting handheld, half-press the shutter to lock focus before recomposing, but be careful not to shift the plane of focus.
Second, beware of diffraction. This is a physics thing. If you stop down too far, like f/22 on many consumer lenses, light waves bend around the tiny aperture blades, causing overall softness. You think you’re getting sharpness, but you’re actually losing detail. For most kit lenses, f/11 is the limit before diffraction kicks in. Stick to f/8-f/11 for deep focus unless you have a high-end prime lens.
Third, don’t ignore the foreground. Beginners obsess over the background blur but forget that a blurry fork handle in the front left corner can distract just as much. Sometimes, including a slightly out-of-focus foreground element adds depth and dimension, pulling the viewer into the scene. Just make sure it doesn’t obscure the main subject.
Tips for Better Control
If you’re struggling to get the look you want, try these adjustments:
- Move the camera, not just the dial. Instead of cranking the aperture to f/1.8 to get blur, try moving physically closer to the food. You’ll get similar background compression with better control over the focus plane.
- Use manual focus for macros. Autofocus hunts in low contrast situations (like white plates or smooth sauces). Switch to manual and zoom in on the live view screen to nail the exact spot you want sharp.
- Shoot tethered. Connect your camera to a laptop or tablet. Reviewing images on a big screen reveals focus issues instantly. You’ll catch missed focus before you leave the studio.
- Stack focus if needed. For extreme macro shots (like water droplets on berries), take three photos at different focus points and blend them in Photoshop. This extends depth of field beyond what the lens allows optically.
Remember, food photography is about appetite. If the blur confuses the viewer or hides the texture, adjust. If the sharpness feels clinical and sterile, soften it. Play with the balance until the image makes someone hungry.
Does smartphone camera simulate depth of field well?
Modern smartphones use software algorithms to create portrait mode blur. While convenient, it often fails around complex edges like hair or crumbs. For professional results, a real lens with optical bokeh is superior because the blur falls off naturally rather than looking cut-out.
Why is my food photo blurry even at f/8?
It’s likely motion blur or missed focus. If you’re shooting handheld at slow shutter speeds due to low light, hand shake causes blur. Use a faster shutter speed (at least 1/125s) or a tripod. Also, ensure your focus point is on the subject, not the background.
Can I fix depth of field in post-production?
You can add artificial blur in software like Lightroom or Photoshop, but you cannot easily add sharpness to an out-of-focus area. It’s always better to get the correct optical depth of field in-camera. Post-processing should enhance, not rescue, poor focus choices.
What lens is best for food photography?
A 50mm or 85mm prime lens is ideal. These lenses offer excellent sharpness and beautiful natural bokeh. Macro lenses (90mm or 100mm) are great for extreme close-ups but require careful handling of shallow depth of field. Avoid wide-angle lenses unless you’re shooting large spreads.
How does lighting affect depth of field perception?
Hard light increases contrast, making sharp edges stand out more, which can trick the eye into perceiving greater sharpness. Soft light reduces contrast, potentially making slight focus misses less noticeable. However, lighting doesn’t change the actual optical depth of field; it only affects visual clarity.