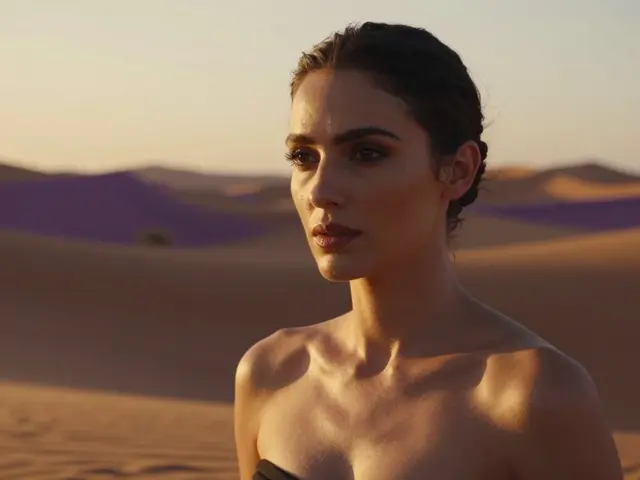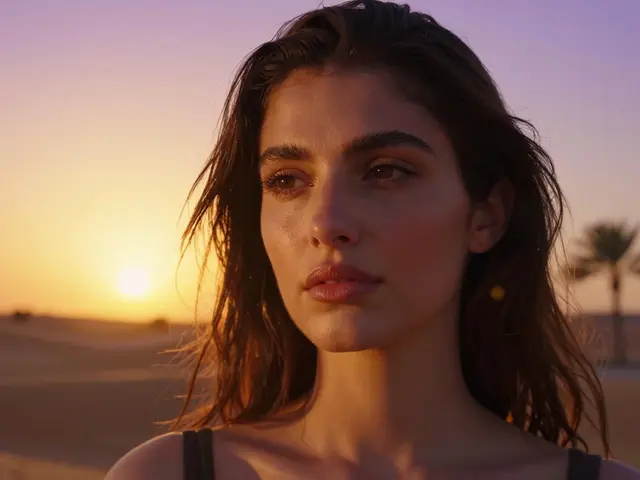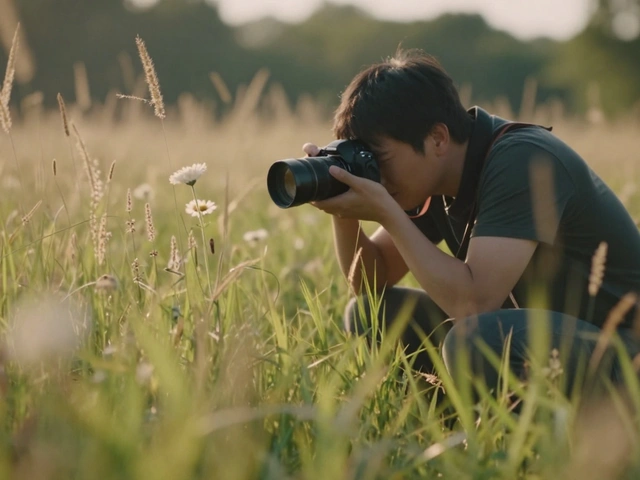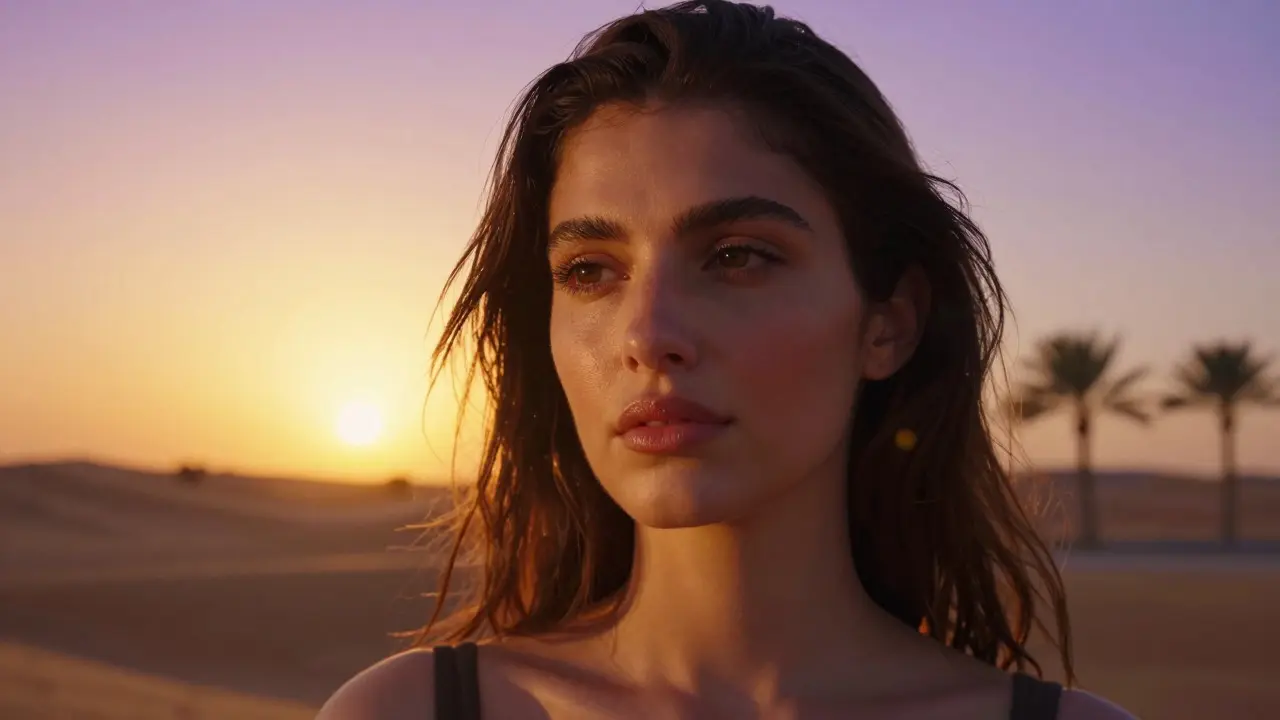
There is a specific moment when the sun drops low enough to turn harsh shadows into soft gradients. That window, often called golden hour, transforms an average outdoor shot into something that feels alive. But waiting for perfect light is only half the battle. The other half is knowing how to position your subject so the environment enhances their expression rather than competing with it.
Many photographers treat outdoor portraits as a gamble on weather. If the sky is blue, you shoot; if it’s gray, you cancel. This mindset misses the point. Overcast days offer some of the most flattering lighting conditions available because the clouds act as a massive, natural softbox. Understanding how to manipulate direction, intensity, and color temperature is what separates a snapshot from a professional portrait.
Understanding the Behavior of Sunlight
Sunlight is not static. It changes character based on its angle relative to the horizon and the atmosphere. When the sun is high overhead, typically between 10 AM and 2 PM, the light is hard and direct. This creates deep, dark shadows under the eyes and nose, often resulting in unflattering "raccoon eyes." Conversely, when the sun is lower, the light travels through more atmosphere, scattering blue wavelengths and leaving behind warmer tones of orange and red.
The key attribute here is Color Temperature. In Kelvin (K), noon sunlight sits around 5500K-6000K, which appears neutral white. As the day progresses toward sunset, this value drops to 3000K or lower, introducing warmth. You don't need to correct this in post-production; often, the warm cast adds emotional depth to a portrait. However, if you are shooting at midday, you might want to balance the cool ambient light against the warm direct sun to avoid mixed color casts on your subject's skin.
Positioning Your Subject for Flattering Results
Direction matters more than intensity. A common mistake is placing the subject directly facing the sun during midday hours. This forces them to squint and creates uneven exposure across the face. Instead, use the sun as a side light or backlight.
- Side Lighting: Position the subject at a 45-degree angle to the sun. This sculpts the face, creating dimension without harsh contrast. It highlights texture in hair and skin while keeping shadows soft enough to retain detail.
- Backlighting: Place the subject between the camera and the sun. This creates a rim light or halo effect around the hair and shoulders, separating the subject from the background. To expose the face correctly, you must either meter for the highlights and accept a darker face (adding fill later) or use a reflector to bounce light back onto the front of the subject.
- Front Lighting: Only effective during golden hour or overcast conditions. At noon, front lighting flattens the face. In the evening, it fills in shadows gently, making it ideal for close-up headshots where uniformity is desired.
If you are working with a group, arrange them in a staggered line rather than a straight row. This ensures that no one is completely hidden by another person's shadow, especially when using side lighting.
Managing Contrast with Reflectors and Diffusers
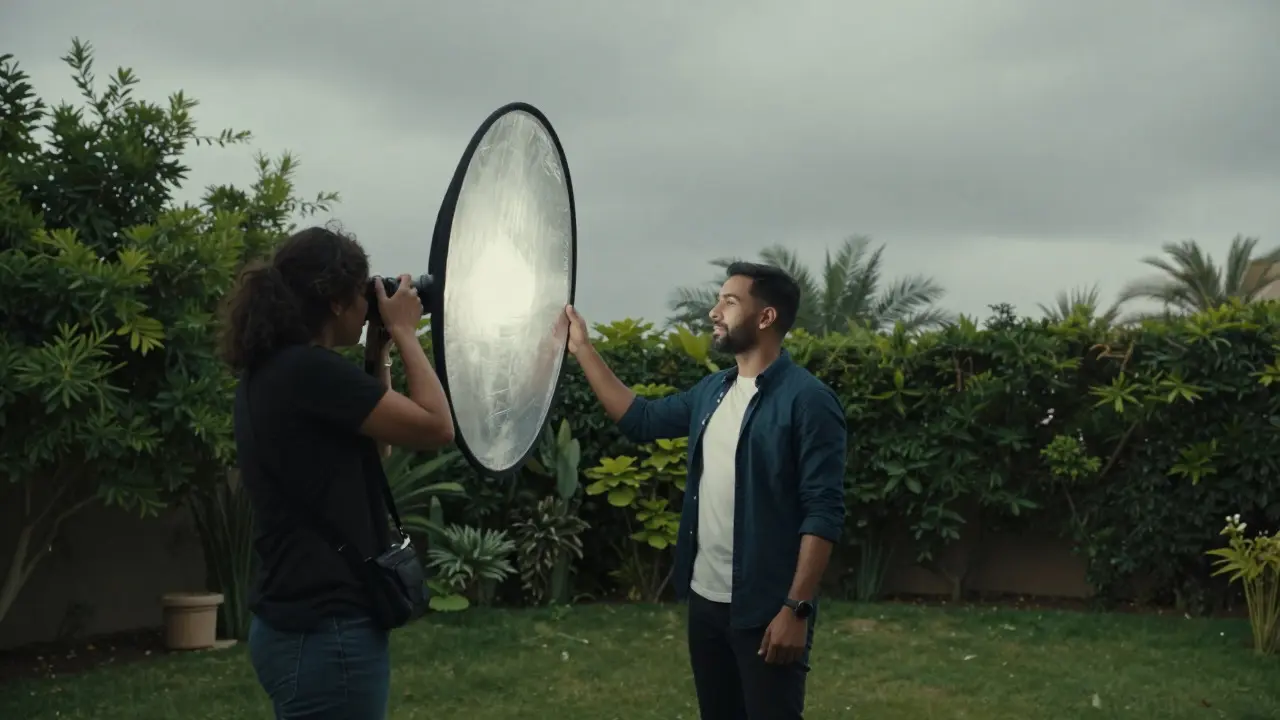
Natural light can be unpredictable, but tools like Reflectors give you control without adding heavy gear. A 24-inch silver reflector can boost shadow details by two stops, effectively brightening dark areas under the chin or eyes. For softer results, a white reflector adds about one stop of gentle fill light, preserving the mood of the scene.
When the light is too strong even during golden hour, a Diffuser becomes essential. A 4x4 foot silk diffuser placed between the sun and the subject breaks up the hard rays, creating a look similar to shooting in open shade. This is particularly useful for weddings or family sessions where you cannot ask everyone to stand in a specific spot for long periods.
| Condition | Characteristics | Best Technique | Pitfalls to Avoid |
|---|---|---|---|
| Midday Sun | Hard, High Contrast, Neutral Color | Open Shade or Strong Diffusion | Direct Frontal Exposure |
| Overcast Sky | Soft, Even, Cool Tones | Standard Exposure, Watch White Balance | Underexposing due to Low Contrast |
| Golden Hour | Warm, Long Shadows, Low Angle | Backlighting or Side Lighting | Mixed Light Sources (e.g., street lamps) |
| Blue Hour | Cool, Ambient Glow, Pre/Dawn-Dusk | Long Exposures with Fill Flash | Camera Shake without Tripod |
Leveraging Environmental Elements
Your background is part of the portrait. In natural settings, elements like trees, water, or architecture can frame the subject. Look for leading lines-paths, fences, or branches-that guide the viewer's eye toward the person's face. Be mindful of distracting elements; a bright patch of grass or a random object sticking out of a head can ruin an otherwise perfect composition.
Water bodies provide excellent reflective surfaces. Shooting near a lake or river allows you to capture reflections, adding symmetry and depth. However, watch the wind. Ripples distort reflections, so timing your shot between gusts is crucial. Similarly, foliage can act as a natural foreground blur. Using a wide aperture, such as f/1.8 or f/2.8, isolates the subject from busy backgrounds, creating a creamy bokeh effect that draws attention to the eyes.
Technical Settings for Outdoor Portraits
Exposure strategy depends on your priority. If you want to preserve highlight details in a bright sky, use Spot Metering on the subject's brightest area. This will likely underexpose the background, which is often acceptable because viewers focus on the face. Alternatively, use Histogram analysis to ensure you aren't clipping highlights in the hair or skin.
Aperture selection balances depth of field and sharpness. For solo portraits, f/2.8 to f/4 provides a good balance between subject isolation and ensuring the entire face is sharp. For environmental portraits where context matters, stop down to f/8 or f/11. This keeps both the subject and significant parts of the background in focus, telling a story about where the person is in relation to their world.
Shutter speed should generally stay above 1/200th of a second to freeze minor movements, especially if the subject is a child or if there is wind affecting hair and clothing. ISO should remain as low as possible to maintain image quality, relying on aperture and shutter speed to adjust exposure. In low-light situations like blue hour, increasing ISO to 1600 or 3200 is often necessary and produces cleaner images than using a slow shutter speed that introduces motion blur.
Common Mistakes and How to Fix Them
One frequent error is ignoring the transition zones. When moving from a shaded area to sunlight, the camera struggles to adapt quickly. Take a test shot every time you change location. Another issue is mixed lighting, where artificial lights (like park lamps) mix with natural daylight. This creates conflicting color temperatures that are difficult to fix in post-processing. Try to position the subject away from these sources or wait until the artificial lights are dominant.
Finally, don't forget the eyes. They are the focal point of any portrait. Ensure they are well-lit and catchlights are visible. Catchlights add life and sparkle to the eyes. If they are missing, adjust the angle of the light source or use a small reflector to create a pinpoint reflection in the pupil.
What is the best time of day for outdoor portraits?
The best times are early morning (shortly after sunrise) and late afternoon (before sunset). These periods, known as golden hour, provide soft, directional light with warm tones that flatter skin tones and reduce harsh shadows. Midday light is too hard unless heavily diffused or used in open shade.
How do I deal with overcast days?
Overcast days are actually ideal for portraiture because the cloud cover acts as a giant softbox, providing even, diffuse light. The main challenge is the lack of contrast. To fix this, look for environmental interest in the background or use a reflector to add a bit of pop to the subject's face. Also, check your white balance, as overcast light tends to be cooler (bluer).
Should I use a flash outdoors?
Yes, but usually as fill light rather than the primary source. A flash with a diffuser or bounced off a wall can fill in shadows created by strong side lighting or backlighting. This technique, known as sync flash, allows you to keep the ambient light as the main source while controlling the contrast ratio on the subject's face.
What lens is best for outdoor portraits?
A prime lens in the 50mm to 85mm range (full-frame equivalent) is standard for portraits. These focal lengths provide natural perspective without distortion and allow for shallow depth of field to isolate the subject. For environmental portraits that include more background, a 35mm lens works well, though it requires you to stand closer to the subject.
How do I handle wind during a shoot?
Wind can be a creative tool or a nuisance. Use a higher shutter speed (1/500s or faster) to freeze hair and fabric movement. If you want motion blur, lower the shutter speed slightly. For clothing, secure loose items with pins or clips if necessary, or embrace the movement as part of the dynamic feel of the image.