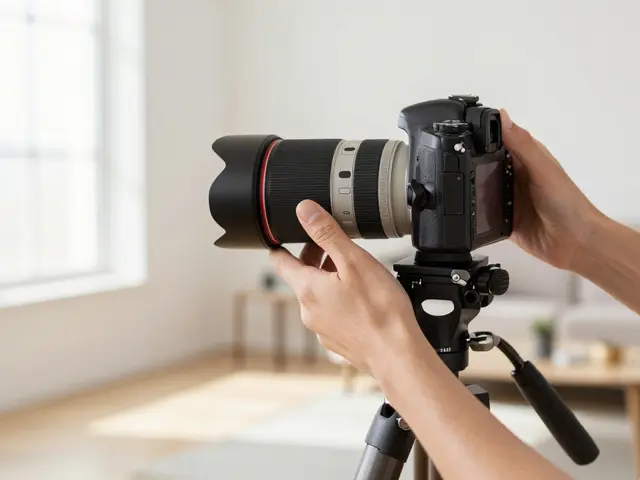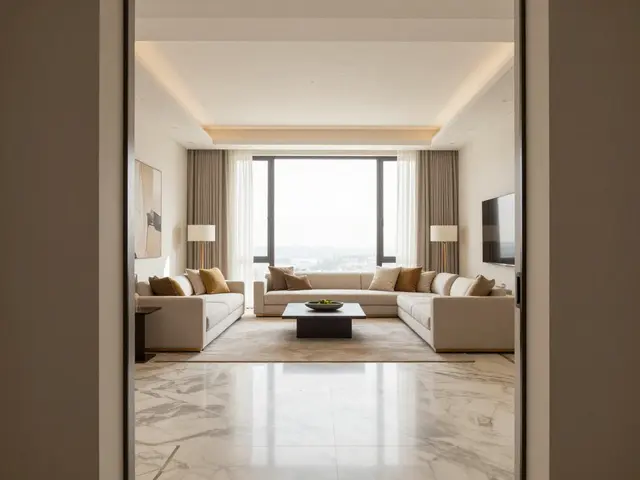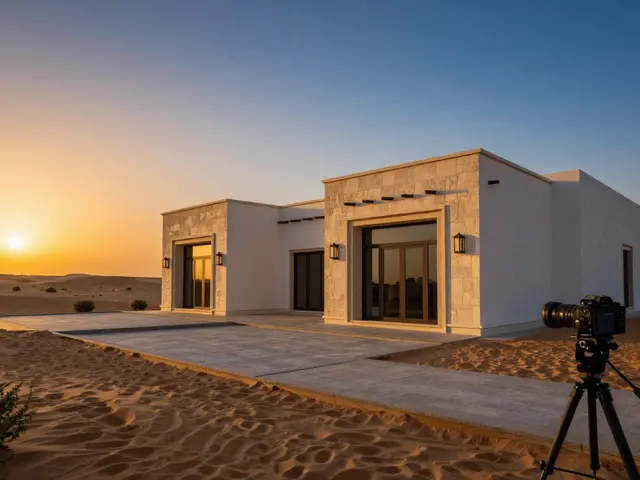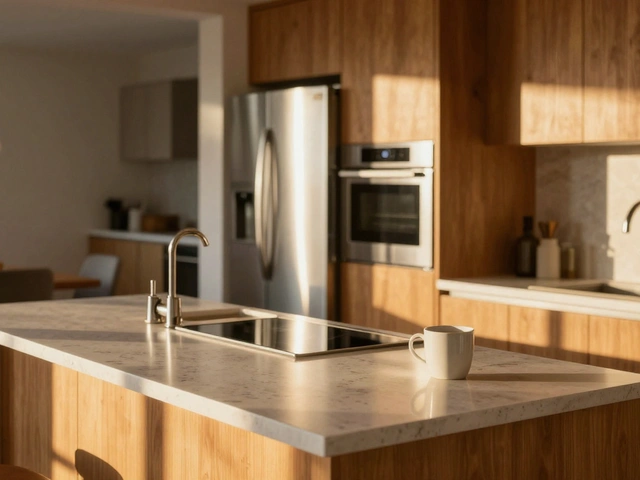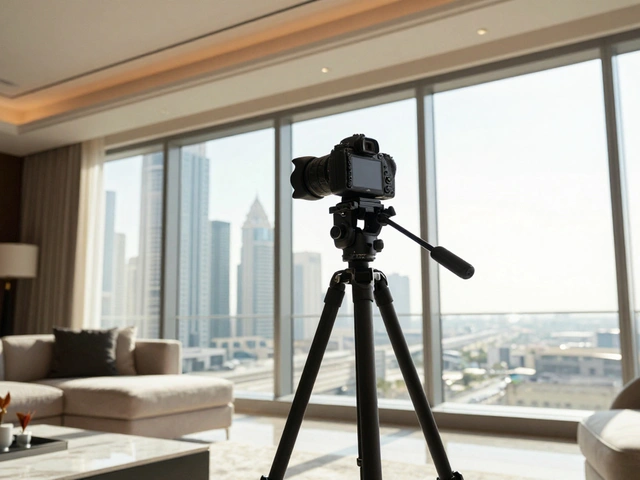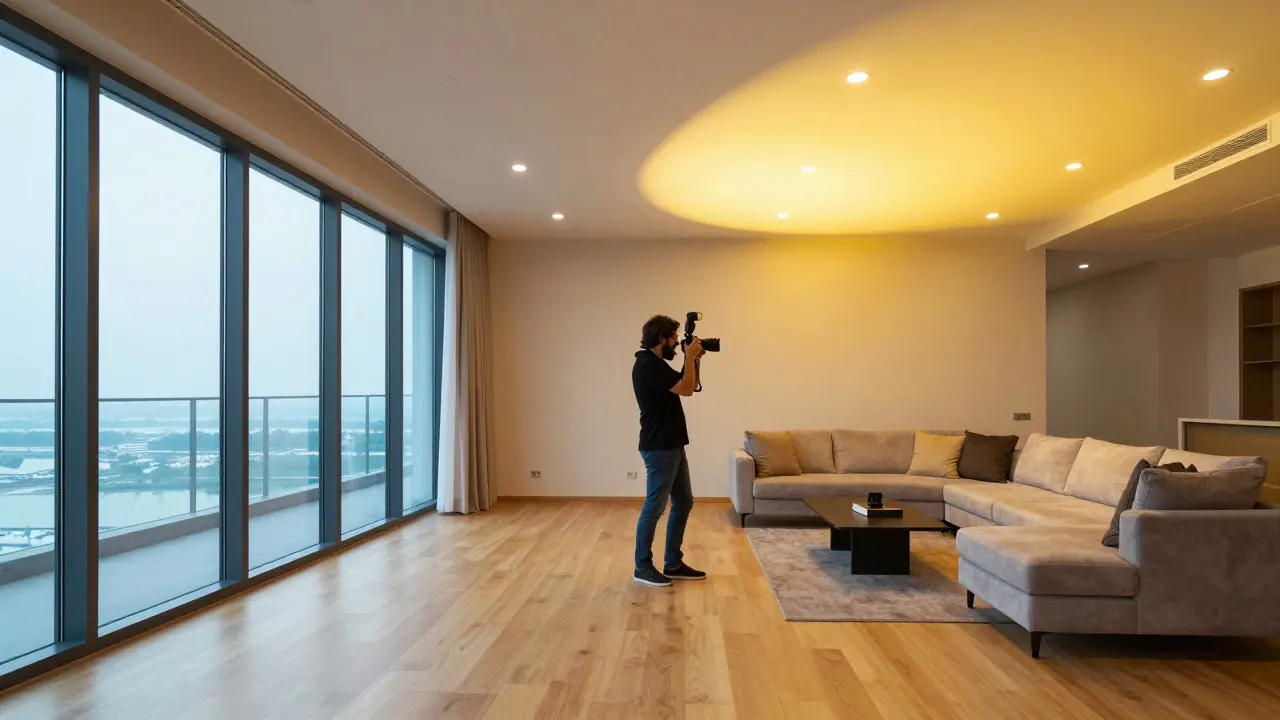
Walk into a dark living room on a cloudy day, and you know exactly what I mean. The walls look gray, the furniture disappears into shadows, and that beautiful hardwood floor looks like wet cardboard. In real estate photography, light is not just a setting; it is the product. If the light fails, the house fails to sell, no matter how nice the kitchen cabinets are.
The core challenge we face as photographers is balancing interior lighting. We have two distinct sources fighting for dominance: the sun streaming through windows (natural light) and the bulbs inside the home (artificial light). Mixing them incorrectly creates color casts that make skin tones look green or orange, and it flattens the depth of the room. Getting this balance right turns a standard listing photo into a visual magnet that stops buyers from scrolling.
Understanding the Two Light Sources
To balance them, you first need to respect their differences. Natural light changes constantly. It depends on the time of day, the weather, and the season. In Portland, Oregon, where I shoot, the light can shift from bright blue hour to overcast white in ten minutes. This variability means you cannot set your camera once and walk away. You must adapt your settings every few shots if the clouds move.
Artificial light, on the other hand, is static but inconsistent across rooms. A bedroom might have warm 2700K bulbs, while the kitchen has cool 4000K LEDs. This mismatch is the biggest enemy of clean images. When you mix these temperatures without correction, your white balance becomes a guessing game. One wall looks yellow, the next looks blue, and the transition between them looks unnatural to the human eye.
| Attribute | Natural Light | Artificial Light |
|---|---|---|
| Color Temperature | Varies (3000K-5500K+) | Fixed per bulb (2700K-6500K) |
| Directionality | High (from windows) | Low/Omnidirectional |
| Consistency | Low (weather dependent) | High (stable output) |
| Primary Use Case | Setting base exposure | Filling shadows/Adding warmth |
Pre-Shoot Preparation: Controlling the Environment
You cannot fix bad lighting entirely in post-production. It is always easier to manage the scene before you press the shutter. Before you even pick up your camera, walk through the property with a checklist. Your goal is to create a uniform environment that makes technical adjustments easier.
- Turn off all lamps: Floor lamps and table lamps often have colored shades that cast strong orange or pink hues. They ruin white balance accuracy. Keep them off unless you specifically need to highlight a fixture.
- Check ceiling lights: Ensure all overhead lights are on. Empty corners look dead and dark. Full coverage provides a baseline of illumination that helps fill shadows created by window glare.
- Open all blinds and curtains: Maximize the intake of natural light. If a window is covered by heavy drapes, you are losing half your potential light source. Pull them back fully.
- Close exterior doors: If there is a patio door leading to a bright backyard, open it. This brings in additional daylight and reduces the contrast ratio between the interior and exterior.
This preparation step alone solves 80% of lighting issues. It ensures that the artificial light you are using is consistent in temperature and that the natural light is at its maximum volume. It transforms the space from a cluttered mess of mixed signals into a controlled studio-like environment.
Camera Settings for Mixed Light Scenarios
Now that the room is prepped, you need to tell your camera how to handle the data. The most critical setting here is White Balance (WB). Many beginners leave WB on Auto (AWB), hoping the camera will figure it out. In mixed light, AWB often struggles. It tries to average the colors, resulting in a muddy, neutral image that lacks vibrancy or suffers from a weird tint.
Instead, use manual White Balance or Kelvin presets. Here is a practical workflow:
- Identify the dominant light: Look at the histogram. If the windows are blown out and the rest of the room is dark, natural light is dominating. Set your WB to match the daylight (around 5500K-6000K).
- Adjust exposure for the shadows: Lower your ISO or slow down your shutter speed slightly to bring up the details in the darker corners illuminated by artificial light.
- Use a flash if necessary: If the artificial light is too weak to compete with the bright windows, use an external flash with a bounce card. This adds a controllable burst of light that matches your chosen WB.
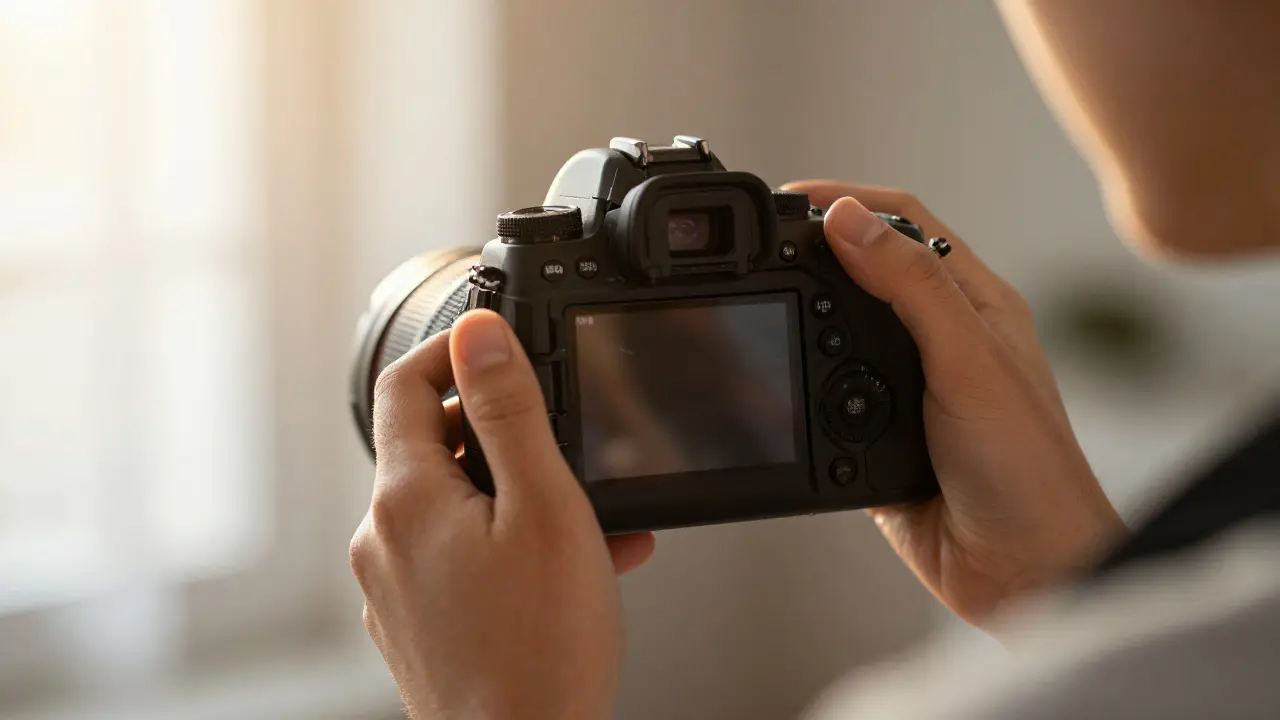
A pro tip: Shoot in RAW format. JPEG files bake in the white balance decision, making corrections difficult later. RAW files keep the color data flexible, allowing you to nudge the temperature slider in Lightroom until the whites look truly white and the warm areas look inviting.
Techniques for Balancing Contrast
Even with correct white balance, you might struggle with dynamic range. Windows can be so bright they turn pure white, while the back of the room remains pitch black. This high-contrast scenario requires specific techniques to maintain detail in both areas.
Expose for the Highlights In real estate, preserving detail in the sky or bright window views is usually more important than capturing deep shadow detail. Why? Because shadows can be lifted in post-processing, but blown-out highlights are gone forever. Set your exposure so the brightest part of the window retains texture. Then, use your post-processing software to lift the shadows. This results in a cleaner image with fewer noise artifacts than trying to expose for the shadows and clipping the highlights.
Use HDR Blending Carefully If the contrast is extreme, take three shots: one exposed for the windows, one for the midtones, and one for the shadows. Blend them in software. However, be careful. Over-blended HDR images look unnatural and plastic. Aim for a subtle blend that only recovers the extreme values. The goal is realism, not hyper-realism. Buyers want to see the house as it actually looks, just in its best light.
Fill Flash Technique Sometimes, the simplest solution is adding light. Use a speedlight on your hot shoe or a separate unit on a stand. Bounce the flash off the ceiling to create soft, diffused light that fills in the dark corners. This reduces the reliance on the existing artificial bulbs, which may have inconsistent temperatures. By controlling the added light yourself, you ensure it matches your intended aesthetic.
Post-Processing: Final Adjustments
No amount of on-site perfection guarantees a perfect file. Post-processing is where you fine-tune the balance. Open your RAW files in editing software and start with global adjustments.
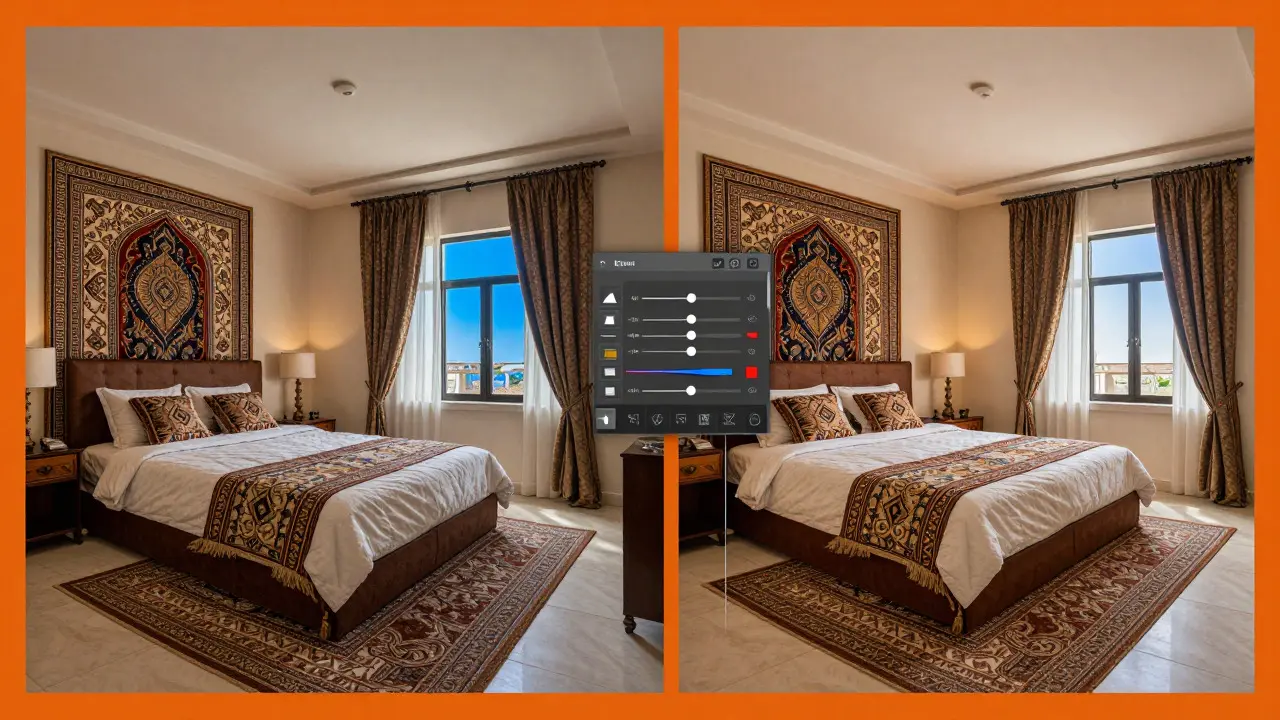
- White Balance Sliders: Nudge the temperature and tint sliders until the white walls appear neutral. Don't trust your monitor; zoom in on a known white object (like a curtain or paper towel roll) to check for color casts.
- HSL Panel: Use the Hue/Saturation/Luminance panel to target specific colors. For example, if the wooden floors look too red due to warm artificial light, lower the saturation of the orange channel slightly. This cleans up the color without affecting the whole image.
- Local Adjustments: Use radial filters or brush tools to darken overly bright window reflections or lighten specific shadowy corners. This targeted approach prevents the entire image from becoming flat or washed out.
Remember, the goal is consistency. All photos in a gallery should feel like they belong together. If one shot is warmer than another, it breaks the immersion. Spend extra time matching the tone across the entire set. Consistency builds trust in the photographer's work and presents the property professionally.
Common Mistakes to Avoid
Even experienced photographers make errors when rushing. Here are the pitfalls that cost you the sale.
- Ignoring the Time of Day: Shooting at noon creates harsh, short shadows and intense contrast. Early morning or late afternoon offers softer, directional light that flatters interiors better. Plan your shoots around the sun’s position.
- Mixing Bulb Types: If you can’t change the bulbs, try to avoid mixing warm and cool lights in the same frame. If you must, use local adjustments in post to correct the different zones separately.
- Over-Reliance on Auto Mode: Letting the camera decide everything leads to inconsistent results. Manual control allows you to predict the outcome before pressing the shutter.
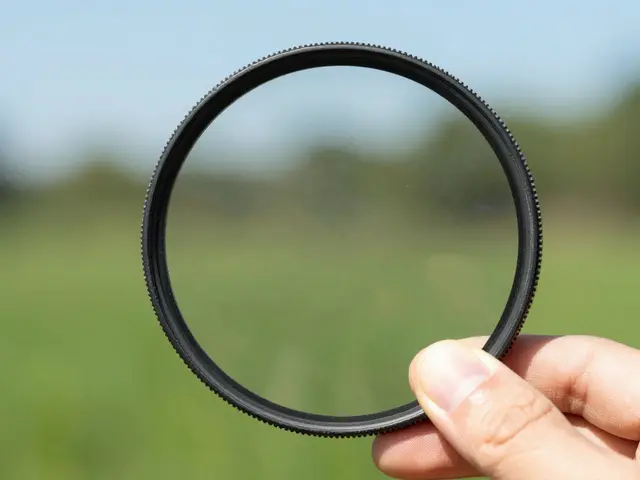
- Neglecting Reflections: Glass tables, mirrors, and glossy countertops reflect light unpredictably. Angle your camera to minimize distracting reflections or use a polarizing filter to cut through the glare.
Avoiding these mistakes saves hours in post-production and ensures your final images are sharp, balanced, and appealing. It shows attention to detail, which clients notice and appreciate.
Practical Workflow Example
Let’s walk through a real scenario. You are shooting a modern condo in downtown Seattle. It’s a rainy Tuesday, so natural light is diffuse and gray. The apartment has large floor-to-ceiling windows facing north. North-facing windows provide steady, even light but lack direct sunlight. This is actually ideal for real estate because it minimizes harsh shadows.However, the interior has warm 3000K LED strips under the kitchen cabinets and cool 4000K recessed lights in the living room. If you shoot this as-is, the kitchen will look orange and the living room will look blue. Here is how you handle it:
- Prep: Turn off the cabinet strip lights if possible. If not, note their location. Open all blinds. Close the balcony door to prevent cold air drafts from messing up the humidity levels (which can fog lenses).
- Settings: Set your camera to Manual mode. Aperture f/8 for maximum depth of field. Shutter speed 1/60s (handheld limit). ISO 400. Set White Balance to 4500K as a starting point.
- Shoot: Take a test shot. Check the histogram. The highlights near the window are safe. The shadows in the corner are a bit dark. Lift the shadows in post.
- Correct: In Lightroom, adjust the White Balance to 4800K to neutralize the coolness of the north light. Then, use the HSL panel to reduce the saturation of the oranges in the kitchen area slightly. The result is a balanced, neutral image that feels spacious and bright.
This process takes about five minutes on-site and ten minutes in post. It’s worth it. The difference between a 'good' photo and a 'great' photo is often just this level of precision.
Frequently Asked Questions
What is the best time of day for interior real estate photography?
The best time is typically between 9 AM and 11 AM or 2 PM and 4 PM, depending on the orientation of the windows. You want enough natural light to illuminate the space but avoid the harsh, direct sunlight of noon which creates hard shadows. Overcast days are also excellent because they act as a giant softbox, providing even, diffused light throughout the room.
Should I use a flash for interior shots?
Yes, but use it strategically. Onboard camera flashes are rarely powerful enough to fill a large room. Use an external speedlight bounced off the ceiling or a wall to create soft, ambient-looking light. This helps balance the exposure between bright windows and dark corners. Just ensure your flash color temperature matches your white balance settings.
How do I fix color casts caused by mixed lighting?
The best way is to prevent it by turning off inconsistent bulbs before shooting. If you already have mixed light, shoot in RAW and use the White Balance sliders in post-processing. You can also use local adjustment brushes to correct specific areas with different color temperatures independently. This gives you full control over the final look.
Is HDR necessary for real estate photography?
HDR is useful but not always necessary. It is essential when dealing with extreme dynamic ranges, such as large windows with bright exteriors and dark interiors. However, overuse of HDR can make images look unnatural. Many professional photographers prefer to expose for the highlights and lift the shadows in post-processing, which often yields a more natural result than blended HDR images.
What aperture should I use for interior shots?
For real estate photography, you generally want a wide depth of field so that both the foreground and background are in focus. An aperture between f/5.6 and f/11 is ideal. f/8 is often considered the sweet spot for most lenses, providing sharpness across the entire frame. Avoid very wide apertures like f/2.8 as they will blur the background, which is undesirable in architectural shots.