You’ve got the gear. You know your exposure triangle. But when you’re standing in a packed church or a sun-drenched garden with two families watching your every move, things get messy fast. Wedding ceremony photography isn’t just about snapping pictures; it’s about being invisible yet omnipresent. It requires knowing exactly where to stand before the officiant says "I do," understanding how light hits the couple’s faces at 2 PM versus 6 PM, and anticipating the exact second a tear rolls down a cheek.
If you’re new to this or trying to refine your craft, you might feel overwhelmed by the sheer number of variables. Will you block the guests? Will the flash ruin the mood? Did you miss the ring exchange because you were changing lenses? This guide breaks down the practical mechanics of capturing the ceremony without becoming the center of attention. We’ll cover physical positioning strategies, lighting techniques that work in real-world scenarios, and a checklist of the non-negotiable moments you must capture.
The Art of Invisible Positioning
Most amateur photographers make one critical mistake during ceremonies: they stand directly in front of the couple. Sure, you get a clear shot, but you also become a giant distraction. The couple sees you. The parents see you. The guests behind you are annoyed. Your goal is to be a fly on the wall, not a performer on stage.
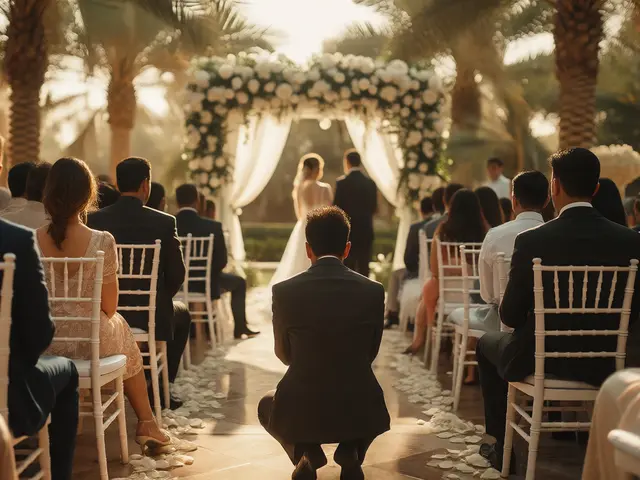
Positioning is your first line of defense against awkward interactions. Start by scouting the venue beforehand if possible. Look for angles that allow you to shoot from the side or slightly behind the guest seating rows. If you’re shooting a traditional church wedding, the aisle is often off-limits once the processional begins. Instead, position yourself at the end of the aisle, near the altar, but stay low. Use a wide-angle lens (like a 35mm or 24mm) to capture the context without needing to physically crowd the space.
For outdoor ceremonies, mobility is easier, but shadows are your enemy. Stand on the side opposite the sun if you want soft, even light on the couple’s faces. If the sun is directly overhead, look for shade provided by trees or structures. Never let the sun hit the back of the camera lens unless you’re intentionally creating a flare effect-otherwise, you’ll deal with haze and washed-out contrast all day long.
- The Side-Angle Strategy: Shoot from 45-degree angles relative to the couple. This adds depth to your images and avoids the flat, passport-photo look.
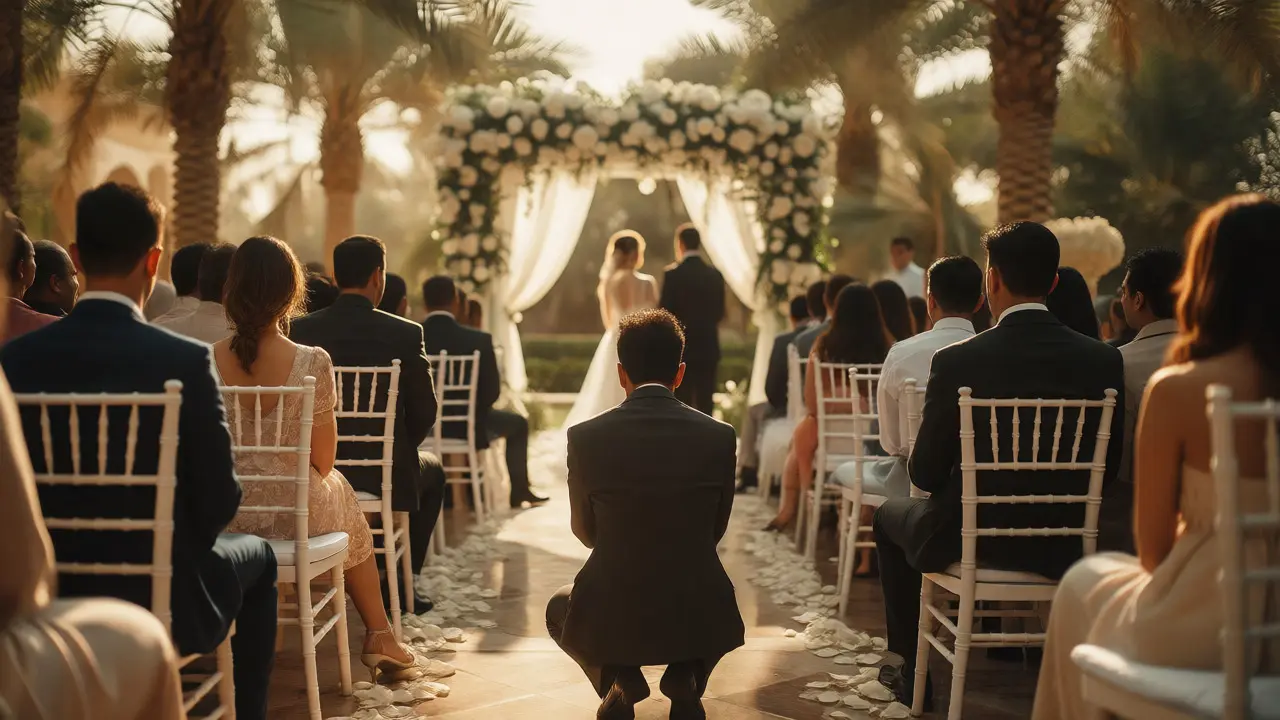
- The Low-Angle Advantage: Kneeling or sitting allows you to shoot over the heads of seated guests, keeping their backs out of your frame while still capturing the couple.
- The Rear-Guard Move: During vows, if allowed, move to the very back of the room. Use a telephoto lens (70-200mm) to isolate the couple from the background noise and clutter.
Mastering Light Without Killing the Vibe
Lighting is where many photographers panic. Indoor venues often have mixed color temperatures-yellow tungsten bulbs clashing with blue daylight streaming through windows. Outdoor venues present harsh midday sun or unpredictable cloud cover. Here’s how to handle both without turning your photos into a technical disaster.
In dim churches or chapels, natural light is usually insufficient. You need artificial assistance, but popping a built-in flash looks cheap and dated. Invest in an external speedlight with a bounce card or a small softbox diffuser. Bounce the flash off a nearby white ceiling or wall to create soft, directional light that mimics natural sources. If the ceilings are black or vaulted, use a handheld diffuser or a bracket setup to angle the light downward onto the couple’s faces.
What if bouncing isn’t an option? Crank up your ISO. Modern cameras like the Sony A7 IV or Canon R6 Mark II handle high ISOs (3200-6400) beautifully. Grain is far better than motion blur. Keep your shutter speed above 1/125th of a second to freeze any sudden movements, like a nervous hand gesture or a quick turn of the head.
Outdoors, the golden hour (the hour after sunrise or before sunset) is magical, but ceremonies rarely align perfectly with it. If you’re stuck with harsh midday sun, look for open shade. A large tree or a building’s shadow provides diffuse, flattering light. If no shade exists, use a reflector. Have a second shooter or a helpful groomsman hold a silver or white reflector to bounce sunlight back into the couple’s eye sockets and under their chins. This eliminates those ugly, dark shadows under the eyes.
| Scenario | Challenge | Solution |
|---|---|---|
| Dark Church | Mixed color temps, low light | Bounced flash + High ISO (3200+) |
| Midday Sun | Hard shadows, squinting | Open shade + Reflector |
| Rainy Day | Flat light, wet gear | Use rain covers + Embrace moody tones |
| Candlelit Evening | Extreme low light, orange cast | Wide aperture (f/1.8) + White Balance adjustment |
The Non-Negotiable Key Moments
You can have perfect lighting and great positioning, but if you miss the emotional peak of the ceremony, the photos fail. Couples hire you to document the story. They don’t care about a technically perfect shot of the empty pews. They care about the moment their father cries or the instant the rings go on.
Create a mental (or printed) checklist of key moments. These are the universal beats of almost every Western-style ceremony. Missing these will lead to difficult conversations later. Prioritize them over artistic experimentation.
- The Processional: Capture the bride entering. Get a wide shot showing the setting, then switch to close-ups of her face and her father’s expression. Don’t forget the groom’s reaction as he sees her.
- The Readings: Focus on the readers’ faces and the couple’s reactions to the words. Are they laughing? Tearing up?
- The Vows: This is crucial. Get tight crops of hands holding each other. Capture the intensity in their eyes. If they have written vows, shoot them reading from paper.
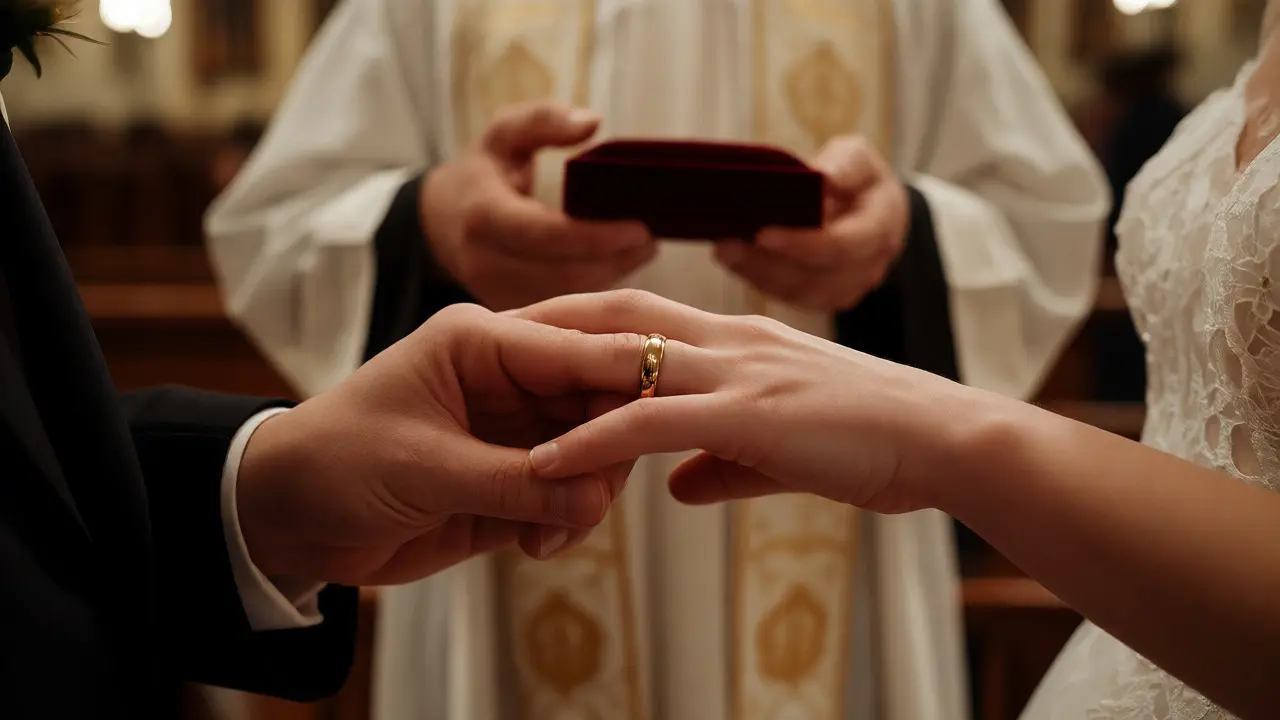
- The Ring Exchange: Zoom in. Ensure you catch the slide of the ring onto the finger. This is a tiny detail that carries massive symbolic weight.
- The Kiss: The climax. Anticipate it. When the officiant says "You may now kiss...", start shooting immediately. Take multiple frames to ensure you don’t blink at the wrong time.
- The Recessional: The joyous exit. Capture the laughter, the confetti throwing, and the couple walking away together.
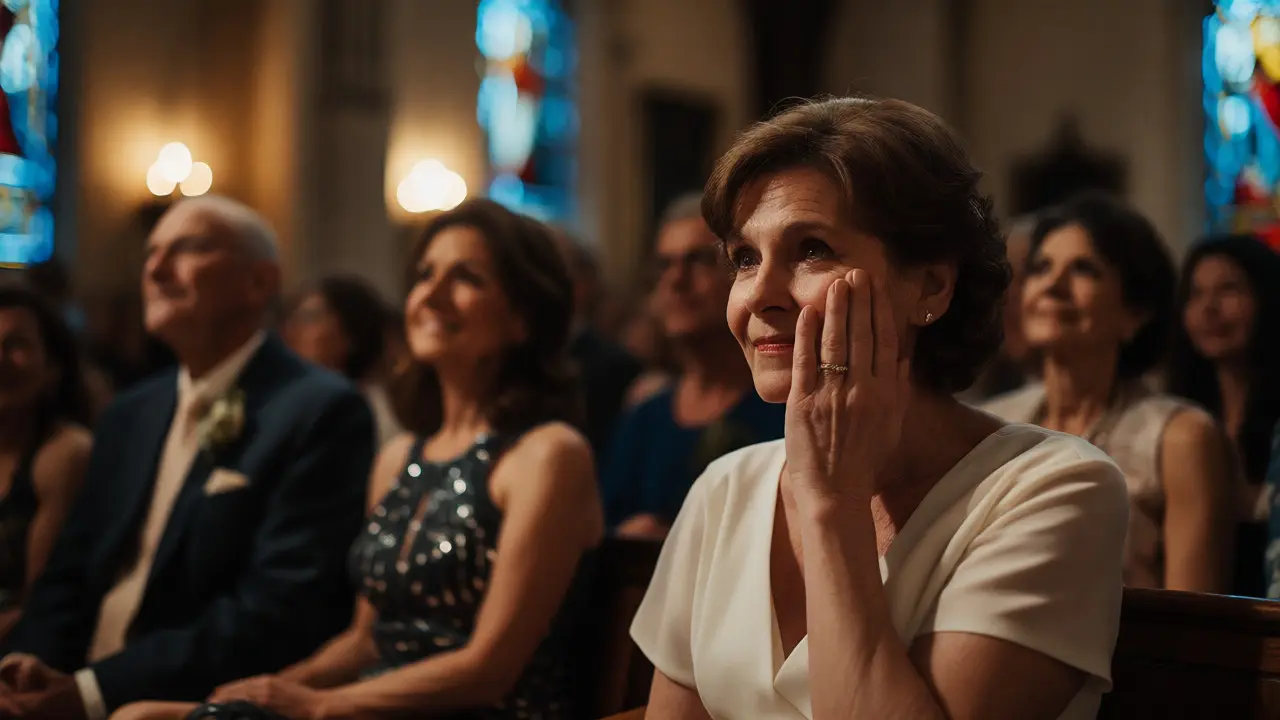
Don’t ignore the guests. While the couple is the focus, the parents and grandparents provide essential context. A photo of the mother of the bride wiping a tear during the vows tells a deeper story than just the couple standing there. Include these reactions in your editing selection.
Etiquette and Gear Considerations
Being a good photographer is half technical skill and half social awareness. You are a guest in someone else’s most important day. Respect the boundaries set by the officiant and the couple. Some religions prohibit flash photography during specific prayers. Others require silence. Always ask the officiant beforehand: "Are there any parts of the ceremony where I should stop taking photos?"
Your gear choice impacts your behavior. A massive DSLR with a loud mirror slap can be distracting. Mirrorless cameras are quieter and smaller, allowing you to blend in more easily. Use silent shutter mode if available. Also, dress appropriately. Wear dark, neutral clothing. Avoid bright patterns or logos. You want to disappear visually.
Consider using a dual-body setup. Strap a 35mm lens to one body for wide environmental shots and a 70-200mm to the other for tight portraits. Changing lenses during a ceremony is risky-you might miss a moment while swapping glass. With two bodies, you’re always ready for the next shot, regardless of focal length needs.
Post-Ceremony Workflow Tips
Once the ceremony ends, your job isn’t done. You need to organize your files efficiently. Back up your cards immediately. Don’t wait until you get home. If you’re shooting tethered or using a backup drive on-site, do it now. Card failures happen, and losing ceremony photos is a nightmare scenario.
When editing, maintain consistency. Match the white balance across all ceremony images so the skin tones look natural throughout the sequence. Don’t over-edit. The goal is to enhance reality, not replace it. Subtle adjustments to exposure and contrast are usually enough. Save heavy color grading for the reception party shots, where the atmosphere is louder and more vibrant.
Do I need permission to take photos during a religious ceremony?
Yes, absolutely. Many places of worship have strict rules regarding photography, especially concerning flash usage or movement during sacred rites. Always consult with the officiant or venue coordinator before the event begins to understand any restrictions.
What is the best lens for wedding ceremony photography?
A versatile zoom lens like a 24-70mm f/2.8 is ideal for general coverage. For tighter details and isolating subjects, a 70-200mm f/2.8 is highly recommended. If you prefer prime lenses, a 35mm f/1.4 works well for environmental shots, while an 85mm f/1.4 is excellent for portraits.
How do I handle mixed lighting in a church?
Set your custom white balance manually rather than relying on auto-white balance. Use bounced flash to overpower the ambient yellow light slightly, bringing skin tones closer to neutral. Post-processing in software like Lightroom can further correct color casts.
Should I use flash during the ceremony?
It depends on the venue and tradition. In dark venues, yes, but always use a diffuser or bounce technique to avoid harsh shadows. In bright outdoor settings, avoid flash unless you need fill-light for deep eye sockets. Always check with the officiant first.
What if I miss a key moment?
Anticipation is key. Watch the officiant’s cues closely. If you miss a shot, don’t panic and rush forward. Stay calm, keep shooting surrounding moments, and rely on your second shooter if you have one. Sometimes, a blurred or partially obscured shot captures the emotion better than a sterile, perfect image.