Why Kitchens, Bathrooms, and Living Spaces Decide the Sale
Buyers don’t fall in love with square footage. They fall in love with kitchens, bathrooms, and living spaces. These are the rooms people remember. The ones they picture themselves in-making coffee at sunrise, soaking in the tub after a long day, or hosting friends on the couch. If your property photos don’t make these spaces feel alive, you’re losing sales before the first tour.
In 2026, property feature photography isn’t about making things look perfect. It’s about making them feel real. Buyers have seen too many overly edited, glowing, surreal interiors. They know when something’s fake. The goal now is to show the space exactly as it is-but at its best. That means lighting that looks natural, colors that match reality, and angles that reveal flow, not distortion.
The Winning Photo Sequence: Order Matters
Shooting your property in random order won’t cut it. Top agents and photographers follow a proven sequence called the Winning Photo Sequence. It’s not about what looks prettiest first-it’s about what influences buyers most.
- Start with the Hero Shot-the front of the house. Curb appeal sets the tone.
- Next, go straight to the Heart of the Home: the kitchen. This is your anchor shot.
- Then, move into the Kitchen-Dining-Living Room sequence. Show how these spaces connect. Buyers need to see the flow.
- After that, hit the primary bedroom and primary bathroom. These are emotional triggers.
- Finish with lifestyle shots: the backyard, a reading nook, or a sunlit hallway.
Why this order? Because studies show buyers make up their minds about a home within the first five photos. If the kitchen looks cramped or dark, they’ll stop scrolling. If the living room feels spacious and warm, they’ll keep going.
Kitchen Photography: Show Function, Not Just Form
A kitchen isn’t just cabinets and countertops. It’s a workflow. Buyers want to know: Can I make breakfast here? Can I host a dinner party? Can I clean this easily?
Shoot two to four angles max. Too many shots just clutter the listing.
- Corner angle shot: Stand in one corner and shoot diagonally across the room. This shows cabinetry, countertops, and window light all at once.
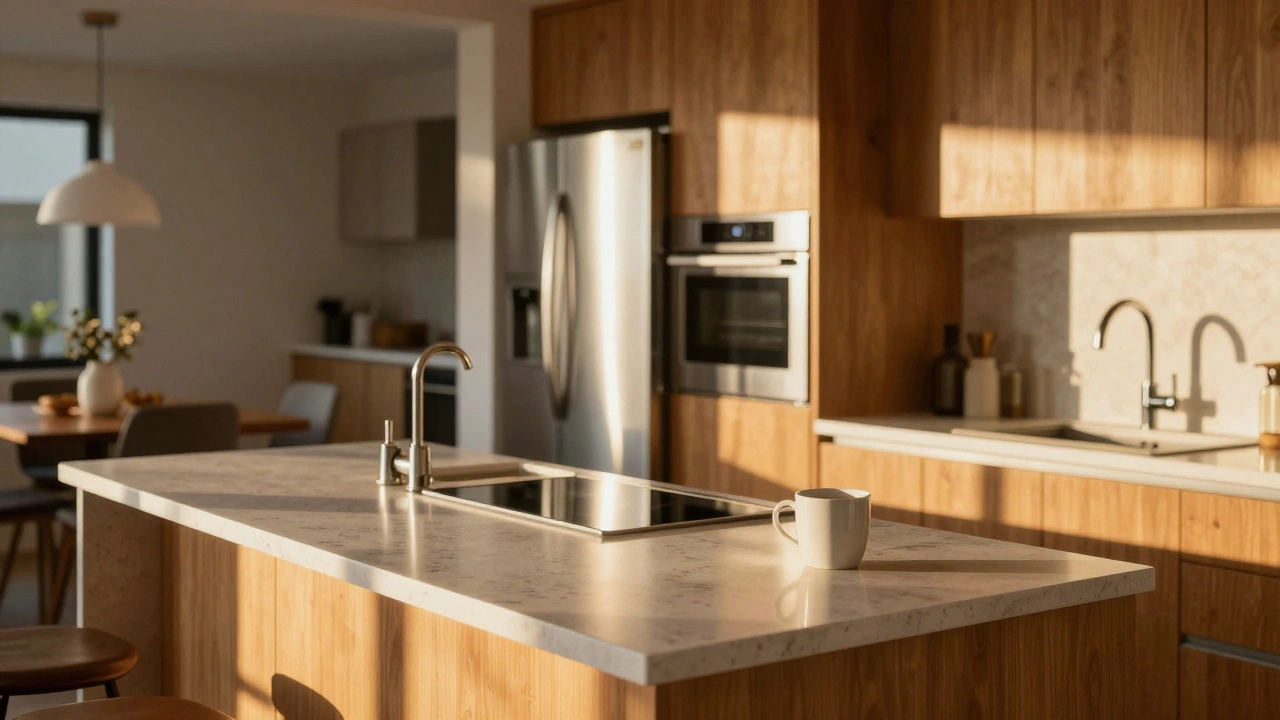
- Flow shot: Frame the kitchen so you can see into the dining or living area. This proves it’s part of an open, connected space.
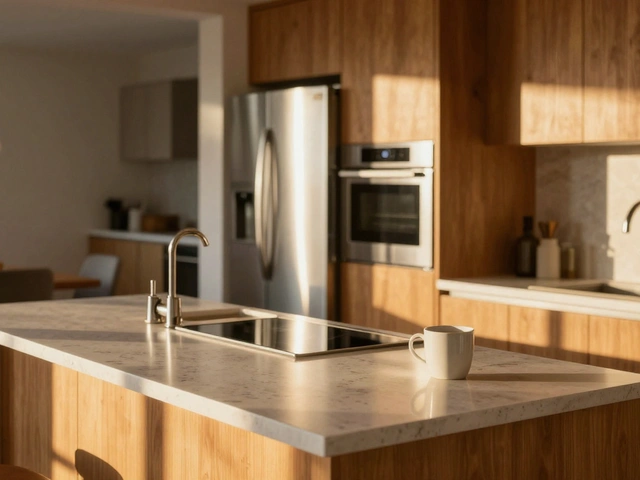
- Appliance focus: A clean, well-lit refrigerator, oven, or island with bar stools tells buyers this is a modern, functional space.
Lighting is everything. Shoot during early morning or late afternoon when sunlight hits the counters naturally. Avoid midday sun-it creates harsh shadows. If the room feels dark, use bounce flash off the ceiling. Never point flash directly at cabinets-it turns wood into plastic.
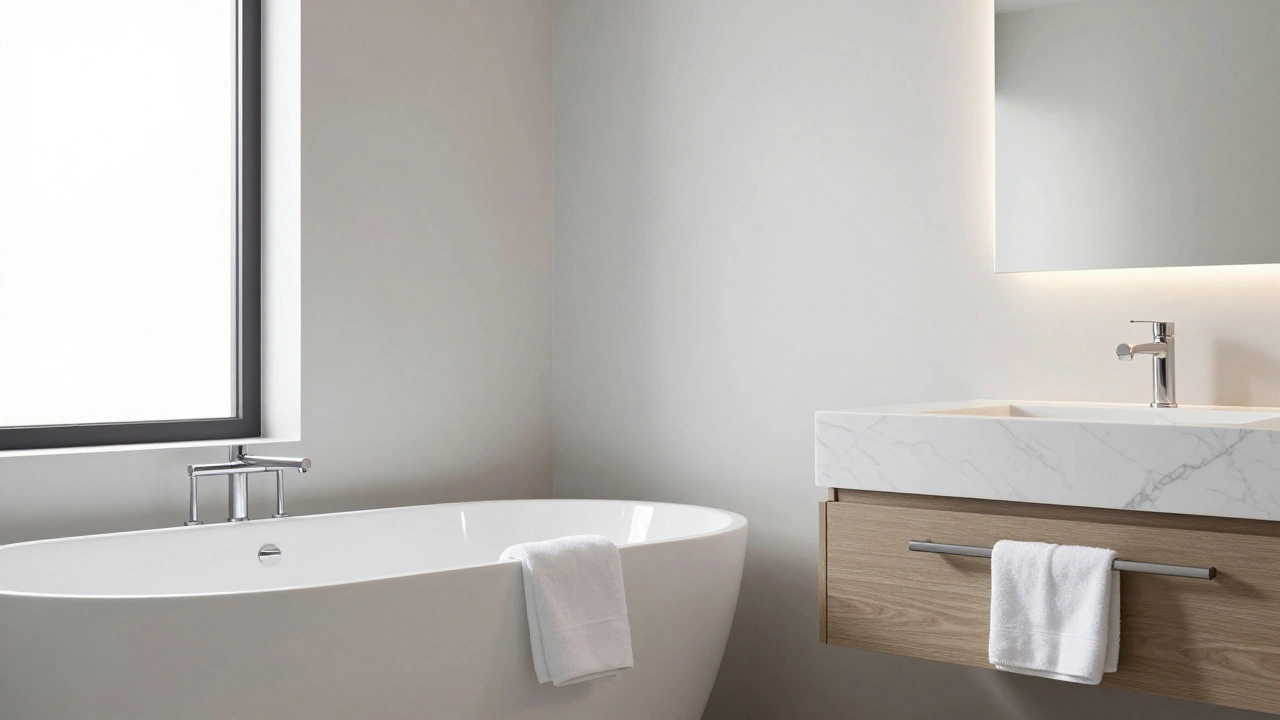
Bathroom Photography: Small Space, Big Impact
Bathrooms are tiny, but they’re where buyers judge maintenance. A stained grout line or a foggy mirror can kill a sale faster than a leaky roof.
Stick to two shots:
- Layout shot: From the doorway, capture the full bathroom. Show the sink, shower, and toilet in relation to each other. This tells buyers if it’s a one-towel or two-towel setup.
- Feature shot: Zoom in on what makes this bathroom special. A freestanding tub? A marble vanity? A rainfall showerhead? Highlight it. Make it look luxurious, not just clean.
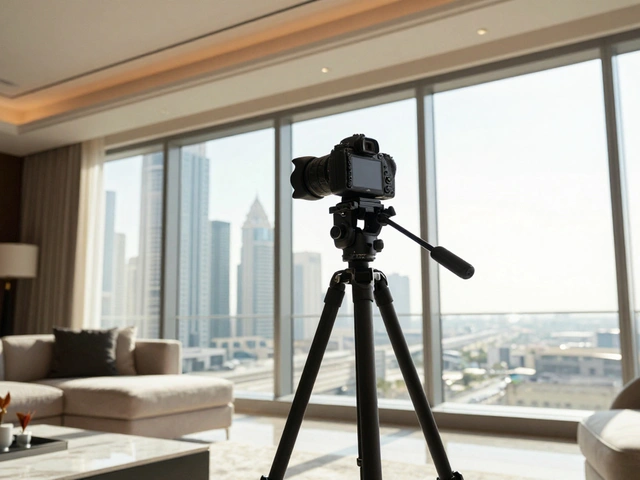
Use a tripod. Bathrooms are low-light by nature. If you shoot handheld, you’ll get blur or noise. Also, clean the mirrors and glass doors before shooting. Even a smudge looks like neglect.
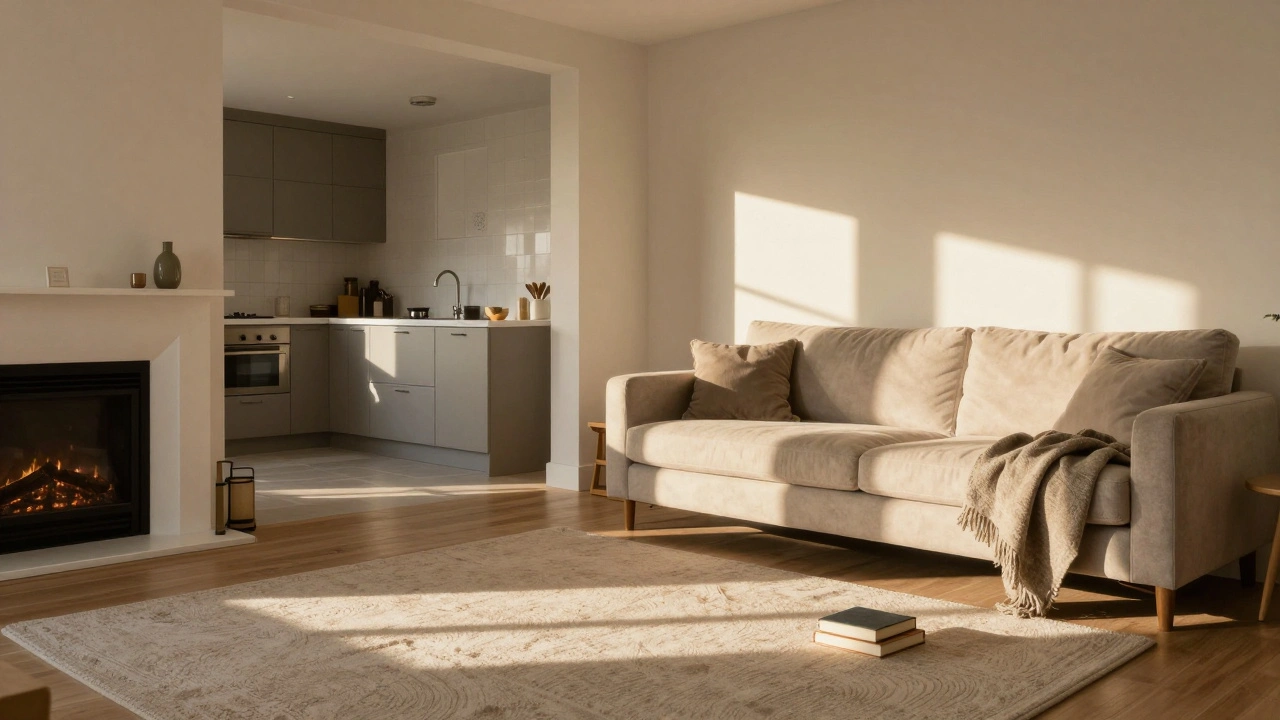
Living Spaces: Make It Feel Like Home
A living room isn’t a showroom. It’s where people relax. Buyers don’t care if the sofa is designer. They care if it looks like a place they’d sit with a book or watch a movie.
- Corner angle: Again, shoot from a corner to show depth. Position the camera so the sofa faces a window or fireplace.
- Flow to adjacent rooms: Show how the living room opens into the kitchen or dining area. This proves the home has natural movement.
- Light direction: Shoot when sunlight hits the floor or a rug. It adds warmth. Avoid flat, overcast light-it makes everything look gray.
Remove clutter. A single coffee mug is fine. A pile of mail, toys, or remote controls isn’t. Clean up, but don’t stage it like a catalog. Buyers want authenticity, not a movie set.
The Flambient Technique: Light That Feels Real
Forget the old trick of blasting flash everywhere. In 2026, the gold standard is flambient-a mix of ambient light and subtle flash.
Here’s how it works:
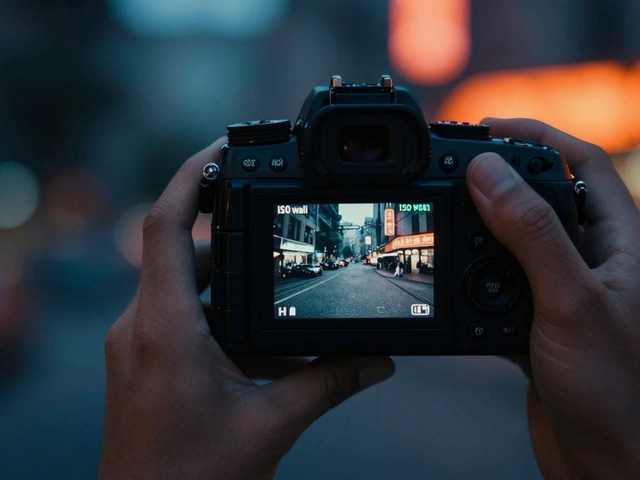
- Take three exposures: one underexposed (-2), one normal (0), one overexposed (+2). This captures every detail in shadows and windows.
- Use a tripod. No movement. Ever.
- Use bounce flash-point the flash at the ceiling, not the walls or furniture.
- In editing, blend the exposures. Keep the ambient light on floors and walls. Use the flash exposure only to lift detail on cabinets, countertops, and mirrors.
This technique avoids the fake glow of old HDR. It looks like sunlight came in naturally-because, in essence, it did.
Color Accuracy: Don’t Trick the Buyer
White walls should be white. Not cream. Not off-white. Wood tones should look like wood-not orange candy. Tile should look like tile.
Buyers are smarter than you think. If the kitchen cabinets look too yellow in the photo, they’ll assume the real ones are even worse. If the bathroom tile looks neon green, they’ll think you’re hiding something.
Use a gray card during shooting to set white balance. In editing, adjust color temperature, not saturation. Increase brightness to reveal details, not to make everything pop unnaturally. The goal isn’t to make the room look better-it’s to make it look real.
What You Can and Can’t Edit
There’s a line between enhancement and deception-and buyers know where it is.
- Allowed: Remove clutter, fix perspective distortion, balance lighting, correct color, crop edges.
- Not allowed: Add cabinets, remove walls, extend room size, erase stains, fake window views, or alter fixtures.
Removing a coffee cup from the counter? Fine. Adding a second sink? Fraud. Buyers will find out. And when they do, they won’t just walk away-they’ll warn others.
Final Tip: Shoot When the Light’s Right
Don’t rush. Wait for the right day. Overcast skies are ideal. Clouds act like a giant softbox, diffusing sunlight and eliminating harsh shadows. Avoid sunny days with direct midday light-it bleaches out colors and creates deep, ugly shadows.
For kitchens and bathrooms, shoot between 8 a.m. and 10 a.m. or 4 p.m. and 6 p.m. That’s when natural light slants gently through windows, highlighting textures and finishes without glare.
And always, always use a tripod. No excuses. Even if you’re shooting in a hurry, a shaky shot ruins everything. You can’t fix blur in editing. You can’t fix bad lighting. But you can fix a crooked horizon. Make sure your camera is level. Use a spirit level or in-camera grid. Buyers notice when walls lean.
Why This Works
Homes with professional feature photography sell 30% faster and for 5-10% more, according to 2025-2026 industry data from the National Association of Realtors. Why? Because these photos don’t just show a house. They show a life.
Buyers aren’t just looking for a place to live. They’re looking for a place where they’ll feel calm, comfortable, and in control. Kitchens that glow with morning light. Bathrooms that feel like a spa. Living rooms that invite you to sit down and stay awhile. That’s what sells.
It’s not magic. It’s technique. And it’s repeatable.
What’s the best time of day to photograph kitchens and bathrooms?
The best time is early morning (8-10 a.m.) or late afternoon (4-6 p.m.). During these hours, sunlight enters windows at a low angle, creating soft, even light that highlights textures without harsh shadows or glare. Avoid midday sun-it flattens colors and creates deep, unflattering shadows. Overcast days are even better-they act as natural diffusers.
Should I use HDR for feature room photos?
Yes-but only if done subtly. Hard, overdone HDR makes rooms look fake with glowing edges and unnatural textures. The modern standard is soft HDR: blend three bracketed exposures (-2, 0, +2) to recover detail in windows and dark corners, then tone it down so it looks natural. The goal is to match what the human eye sees, not what a camera struggles with.
Can I remove clutter in post-processing?
Absolutely. Removing stray dishes, cleaning supplies, cables, or personal items is standard practice. It’s not deception-it’s decluttering. Buyers need to see the space, not the mess. Just don’t remove permanent fixtures like cabinets, sinks, or built-in shelves. That crosses the line into misrepresentation.
Do I need a tripod for every shot?
Yes. Even if you’re in a hurry. A tripod is non-negotiable for feature room photography. It ensures sharpness, prevents motion blur, and allows for bracketed exposures needed for HDR. Handheld shots in low light create noise and blur that can’t be fixed later. A $50 tripod is cheaper than a failed listing.
How many shots should I take of each room?
Kitchens: 2-4 shots. Bathrooms: 2 shots. Living rooms: 2 shots. Bedrooms: 1-2 shots. More shots don’t mean better results-they mean longer editing, more file clutter, and slower uploads. Stick to the essentials: one wide shot showing layout, and one detail shot if there’s a standout feature like a fireplace or island.