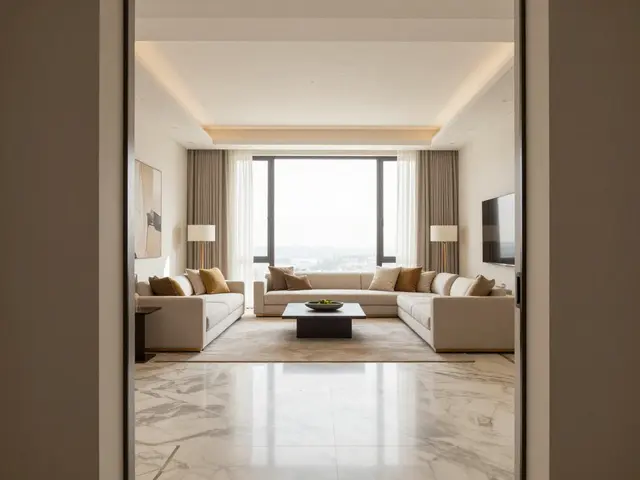
Ever walked into a listing photo that made a cozy bedroom look like a cathedral? Or worse, saw a kitchen where the refrigerator looked taller than the walls? That’s not magic. It’s geometry, and it’s usually the result of picking the wrong wide-angle lens is a camera lens with a focal length shorter than 35mm on full-frame sensors, designed to capture a broader field of view. in your real estate workflow.
The difference between a professional-grade listing and one that looks amateurish often comes down to how you manage perspective. You don’t just need a lens; you need to understand how focal length interacts with room dimensions. If you shoot at 16mm from the corner of a small apartment, you’re fighting vertical lines that bow outward. But if you step back and use a 24mm or even a rectilinear lens, the space feels honest. Buyers trust what they can visualize. If the photos distort reality, they doubt the accuracy of the square footage, the ceiling height, and even the layout.
Understanding Focal Length in Interior Spaces
Focal length determines two things: how much of the scene fits in the frame and how compressed or stretched the elements appear. In real estate photography, we generally operate between 16mm and 35mm on full-frame cameras. Each millimeter has a specific job.
- 16mm - 18mm: These are ultra-wide lenses. They fit entire living rooms into a single frame without moving the camera much. However, they introduce significant barrel distortion. Straight lines near the edges curve outward. This is acceptable for very large, open-plan spaces but risky for standard bedrooms.
- 24mm - 28mm: The sweet spot for most interiors. You get a wide enough view to show context (where the room connects to the next) while keeping perspective manageable. Vertical lines remain straighter if you keep the camera level.
- 35mm: Often considered a "normal" wide angle. It requires you to stand further back. This is ideal for smaller rooms where stepping too close would cause extreme distortion. It provides a natural perspective that matches human vision more closely.
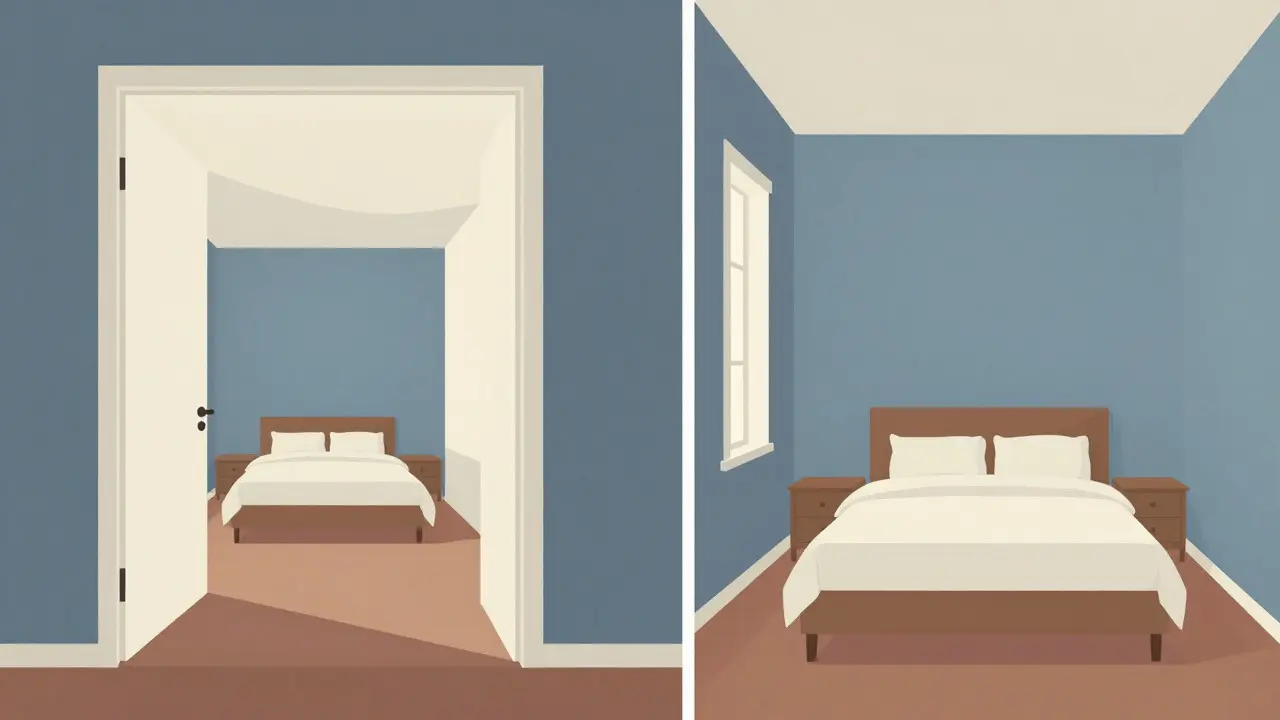
A common mistake is assuming wider is always better. It isn’t. A 16mm lens forces you to shoot from the corner, which creates a 'fisheye' effect on corners. A 24mm lens lets you move slightly toward the center, reducing edge distortion and making the room feel larger rather than warped.
The Geometry of Distortion
Distortion in real estate photos isn't just about curved lines. It’s about relative size. When you place a wide-angle lens close to an object, that object appears disproportionately large compared to the background. This is why a door frame might look massive if shot from the opposite wall with a 16mm lens.
To minimize this, you must control your distance. The rule of thumb is simple: the closer you are to the subject, the more exaggerated the perspective becomes. For a standard 10x12 foot bedroom, shooting from the doorway with a 16mm lens will make the headboard look huge and the far wall recede rapidly. Shooting from the same spot with a 24mm lens compresses that depth, making the room feel more balanced.
Vertical distortion is another critical factor. If you tilt your camera up to include the ceiling, parallel lines converge upward. This makes ceilings look lower than they are. To fix this, you have two options: use a Tilt-Shift lens (expensive and complex) or, more practically, keep the camera sensor parallel to the floor and accept that you might lose some ceiling detail. Most buyers care more about accurate wall heights than seeing every light fixture.
| Focal Length | Ideal Use Case | Distortion Risk | Required Distance |
|---|---|---|---|
| 16mm | Large open plans, grand foyers | High (barrel distortion) | Very close to corners |
| 24mm | Standard living rooms, kitchens | Moderate | Mid-room position |
| 28mm | Medium-sized bedrooms, bathrooms | Low-Moderate | Doorway or slightly inside |
| 35mm | Small closets, tight hallways | Low | Must step back significantly |
Choosing Your Gear: Rectilinear vs. Fisheye
Not all wide-angle lenses behave the same way. There are two main types: rectilinear and fisheye. For real estate, you almost exclusively want rectilinear optics. A rectilinear lens keeps straight lines straight across the entire frame, though it may stretch the edges slightly. A fisheye lens bends everything into curves, creating a bubble-like effect that screams "amateur."
When shopping for a lens, look for terms like "distortion correction" in the specifications. Modern lenses from brands like Sigma, Tokina, and Canon include built-in corrections that help mitigate barrel distortion. Even so, post-processing is essential. Software like Adobe Lightroom allows you to adjust the "Loom" slider to pull converging vertical lines back to parallel. But if you start with too much distortion, the software struggles to correct it without introducing unnatural stretching in the middle of the image.
Practical Workflow for Minimal Distortion
You don’t need expensive gear to take great photos. You need discipline. Here is a workflow that works for 90% of residential listings.
- Start with 24mm or 28mm. Avoid 16mm unless the room is unusually large. Start wider only if necessary.
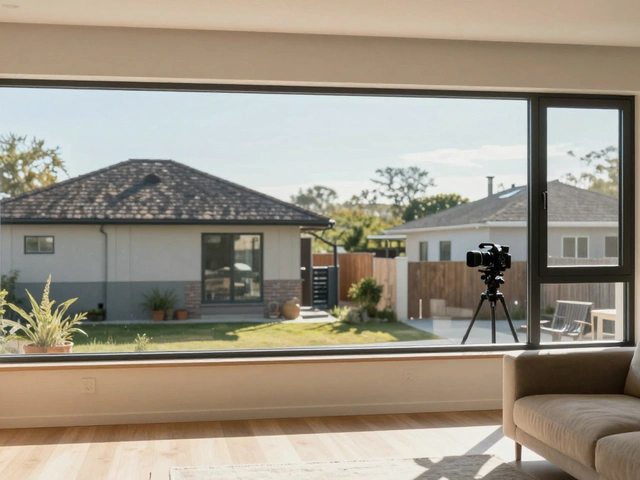
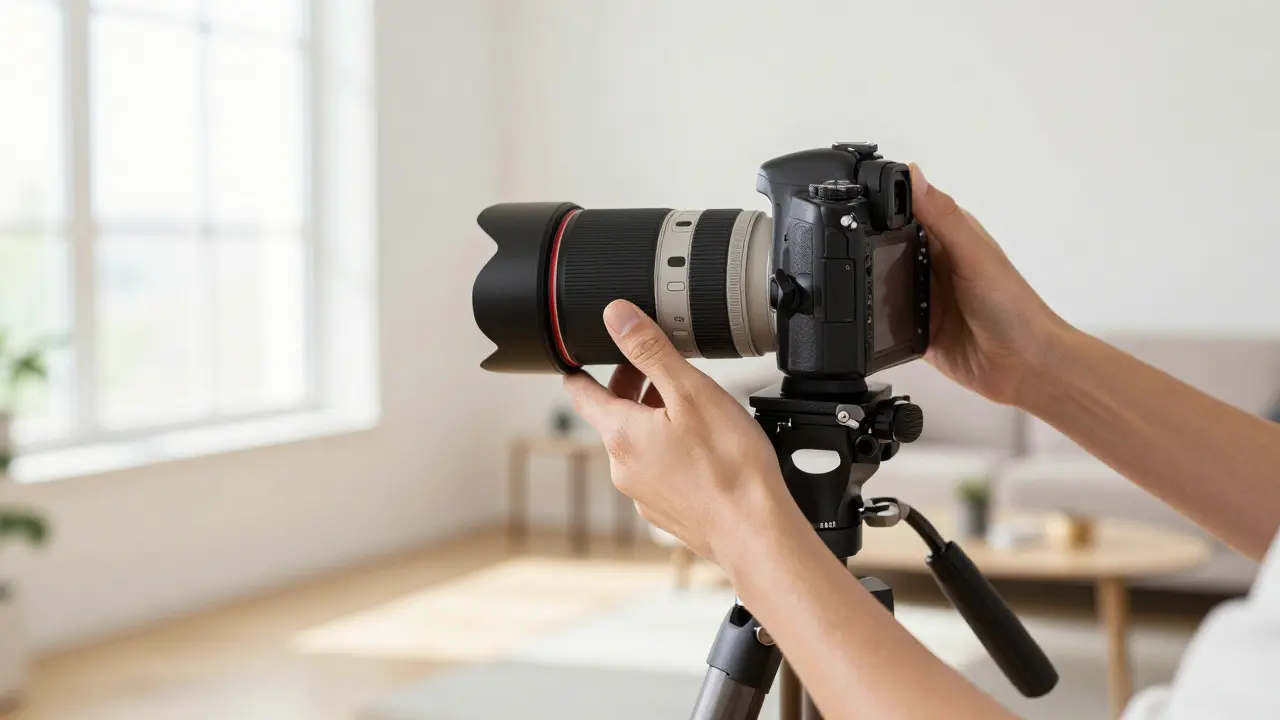
- Keep the camera level. Use a tripod and a bubble level. Ensure the top of your frame is parallel to the ceiling. This eliminates vertical convergence.
- Stand back. Move as far away from the room as possible before framing. This reduces perspective exaggeration.
- Check the edges. Look at the corners of your photo. Are the walls curving? If yes, zoom in slightly or move back further.
- Use Post-Processing Wisely. Apply lens profile corrections first. Then, manually adjust vertical/horizontal distortion sliders by no more than 10-15%. Over-correction makes the room look like a trapezoid.
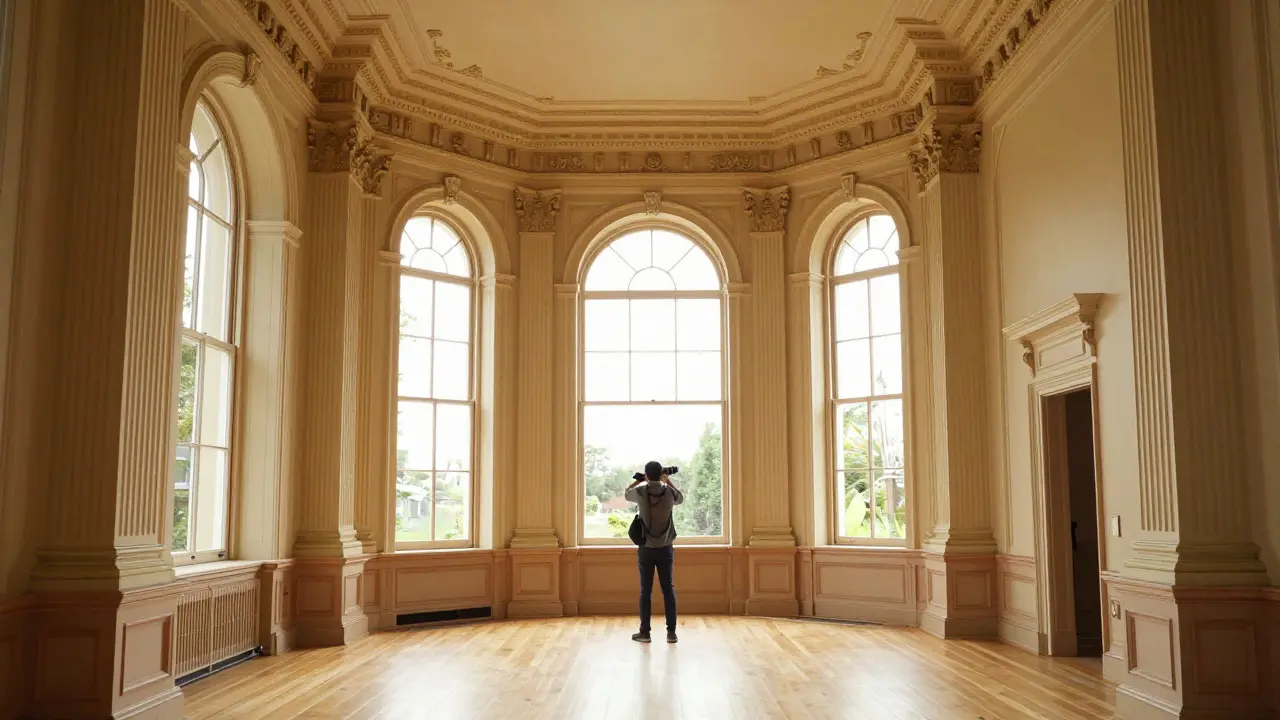
In my experience shooting homes in Portland, Oregon, older Victorian houses present unique challenges. High ceilings and ornate moldings tempt photographers to tilt up. Resist. Keep the horizon line dead level. If you miss the chandelier, crop it out later. A distorted ceiling looks worse than a missing light fixture.
Crop Sensors and Full Frame Considerations
If you shoot with an APS-C (crop sensor) camera, the numbers change. A 16mm lens on a crop sensor behaves like a 24mm lens on a full-frame body. This is actually beneficial for beginners because it naturally reduces distortion compared to using a true 16mm on full frame. However, it limits your ability to capture very wide angles. If you are working in tight urban apartments where you cannot step back, a 10-12mm lens on a crop sensor might be your only option, but expect higher distortion levels that require careful post-processing.
Full-frame users have more flexibility. You can choose between 16mm for maximum width and 35mm for natural perspective. The best approach is often to own both a 16-35mm zoom and a fixed 24mm or 35mm prime. Zooms offer speed; primes offer sharpness and less internal distortion. For high-end listings, primes are preferred because they render details more crisply.
Common Mistakes to Avoid
Even experienced photographers fall into these traps:
- Shooting from the corner. This maximizes diagonal distortion. Try to shoot from the side or slightly off-center.
- Ignoring foreground clutter. Wide angles exaggerate foreground objects. A trash can in the corner will look like a boulder. Clear the room thoroughly.
- Over-correcting in post. Don’t try to make every line perfectly straight if it means warping the furniture. Slight imperfections are natural; geometric impossibilities are not.
- Forgetting window light. Wide angles catch more sky. If windows are bright, they will blow out. Use HDR techniques or exposure bracketing to balance interior and exterior light.
Final Thoughts on Lens Selection
There is no single "best" focal length. The best lens is the one that lets you capture the room accurately from a position where you can keep the camera level. For most standard American homes, 24mm and 28mm are your workhorses. Save the 16mm for the grand foyer or the expansive living-dining combo. And keep a 35mm in your bag for those awkward, narrow spaces where stepping back is impossible.
Your goal isn’t to make the house look bigger-it’s to make it look true. Buyers are savvy. They know when a photo is manipulated. By mastering focal lengths and managing distortion, you build trust. And in real estate, trust sells.
What is the best focal length for real estate photography?
For most residential interiors, 24mm to 28mm on a full-frame camera is the ideal range. It provides a wide enough view to show context while minimizing perspective distortion. 16mm is reserved for very large open spaces, and 35mm is useful for smaller rooms where you can step back.
How do I reduce vertical distortion in real estate photos?
Keep the camera sensor parallel to the floor. Use a tripod and a bubble level to ensure the camera is perfectly horizontal. Avoid tilting the camera up or down. If you need to include the ceiling, consider cropping later rather than tilting the camera, which causes converging lines.
Is a 16mm lens too wide for real estate photography?
It depends on the room size. For standard bedrooms or bathrooms, 16mm is often too wide and causes noticeable barrel distortion and exaggerated foreground objects. It works well for large living rooms, dining areas, or open-plan spaces where you can stand further back.
Should I use a rectilinear or fisheye lens for real estate?
Always use a rectilinear lens. Fisheye lenses create curved lines that distort the architecture, making the space look unnatural and unprofessional. Rectilinear lenses keep straight lines straight, which is essential for accurate architectural representation.
How does crop sensor affect wide-angle lens choice?
On a crop sensor (APS-C), a 16mm lens acts like a 24mm lens on full frame. This reduces distortion compared to using a true 16mm on full frame. However, it limits your maximum field of view. If you need to capture very tight spaces, you may need a 10-12mm lens on a crop sensor, but expect higher distortion.