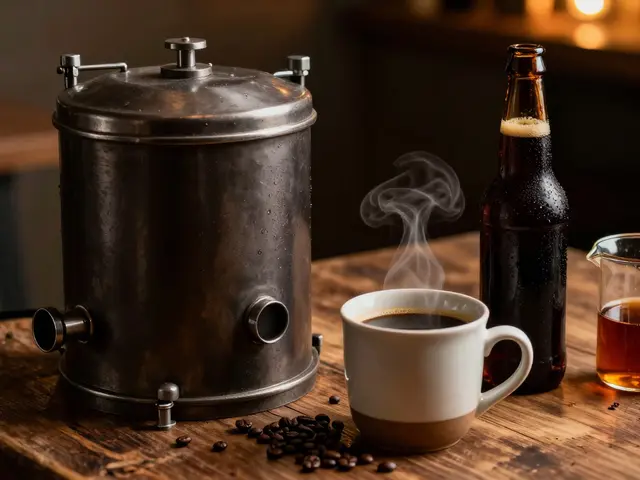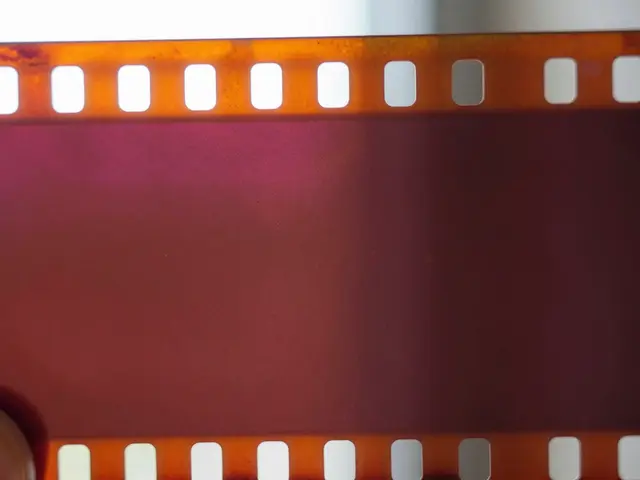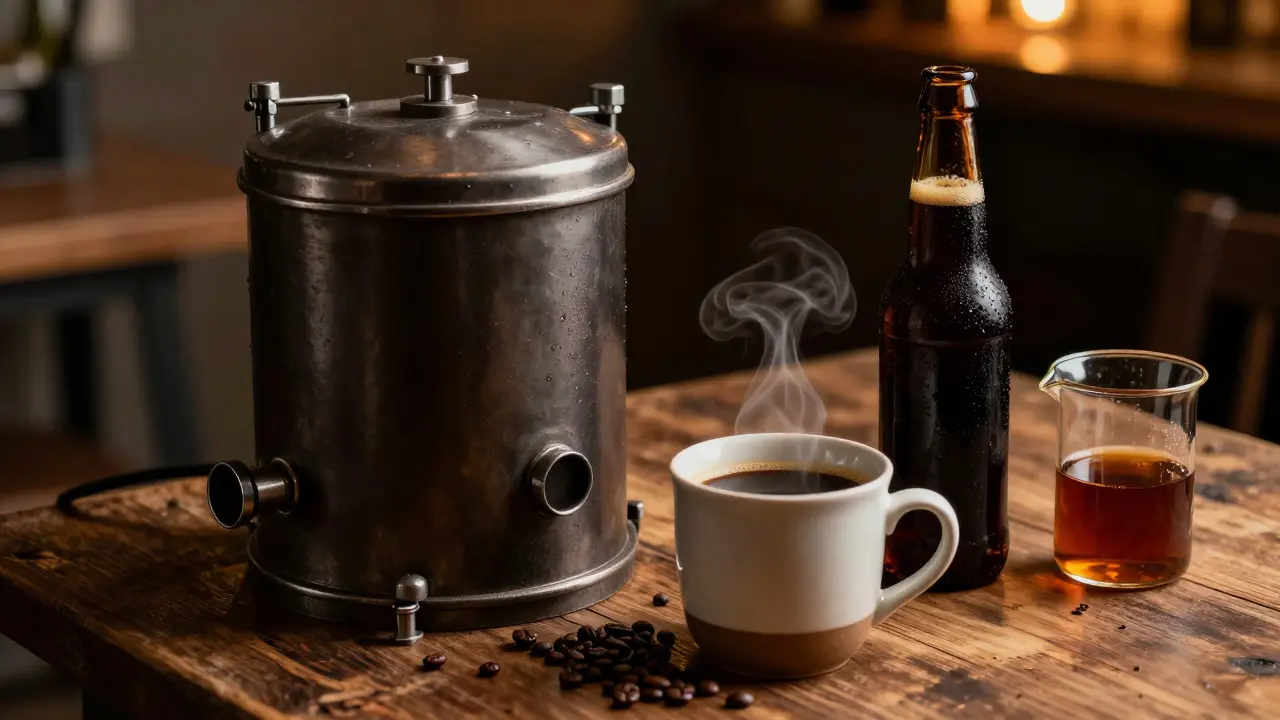
Grab a cup of joe or a cold brew, because you might just use it to develop your next roll of film. While Coffee Developer is a natural alternative photographic developer made from roasted coffee beans that produces unique tonal qualities with high contrast and warm highlights, it isn't the only option. Beer developer, often overlooked, offers its own distinct character. These methods strip away the chemical complexity of standard developers like D-76 or HC-110, replacing them with ingredients found in your kitchen. The result? Images that feel organic, textured, and deeply personal.
You don't need a lab coat or a degree in chemistry to try this. You need a light-tight changing bag, a developing tank, and a bit of patience. Whether you are shooting black-and-white negatives for printing or experimenting with color reversal (though that’s a different beast), these alternatives bring a raw, unfiltered aesthetic to your work. Let’s break down how to make them, what they do to your images, and when you should actually use them.
Why Bother with Alternative Developers?
Standard developers are engineered for consistency. They give you predictable contrast, sharpness, and grain structure. But sometimes, predictability is boring. Alternative developers introduce variables that standard chemistry doesn’t control. Coffee, for instance, contains tannins and acids that interact with silver halide crystals differently than hydroquinone or metol. This interaction creates a specific look: deep blacks, slightly lifted shadows, and a grain pattern that feels coarser and more organic than modern fine-grain films.
The main appeal is accessibility. If you run out of D-76, you can still develop a roll with coffee. It’s also a conversation starter. Showing someone a print made with coffee developer always sparks curiosity. And let’s be honest, the smell is part of the experience. Developing with coffee smells like a cozy café; developing with beer smells like a pub. It makes the process less sterile and more tactile.
Coffee Developer: The Recipe and Process
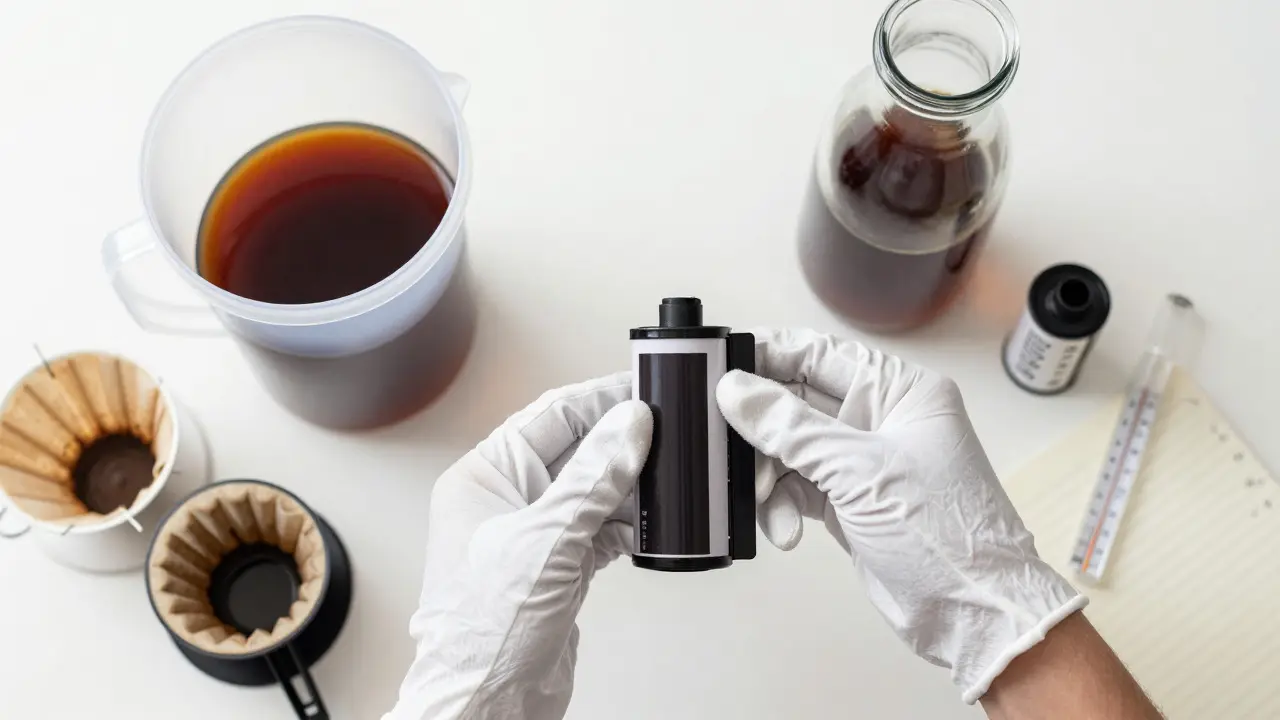
Making coffee developer is straightforward. You need strong, freshly brewed coffee. Instant coffee works, but ground coffee brewed fresh yields better results due to higher concentration of active compounds. Here is a reliable recipe for a one-gallon batch:
- Brew 4 cups of strong coffee using about 8 tablespoons of ground coffee per quart of water.
- Let the coffee cool completely to room temperature. Hot liquid will cook your film emulsion.
- Pour the cooled coffee into a clean, light-tight container.
- Use it within 24 hours for best results, as oxidation affects strength.
When developing, fill your tank with the coffee solution. Agitate gently for the first 30 seconds, then every minute thereafter. Development time varies significantly based on film stock and desired contrast. As a rule of thumb, start with 10 minutes at 20°C (68°F) for medium-speed films like Tri-X 400. Check a test strip if you’re unsure. Remember, coffee developer tends to produce higher contrast than standard developers, so you might need to rate your film half a stop lower (e.g., shoot Tri-X at 200 instead of 400) to retain shadow detail.
Beer Developer: The Untapped Option
Beer Developer is an alternative photographic developer utilizing the sugars and acidity of beer to reduce silver halides, resulting in softer contrast and cooler tones compared to coffee. Unlike coffee, which is acidic and tannic, beer contains malt sugars and hops that create a different chemical environment. The result is often a gentler image with less harsh contrast. Some photographers report that beer developer brings out a subtle blue-green cast in certain papers, though this is less consistent than with other alternatives like pyro gallate.
To make beer developer, use a dark, stout, or porter. Light lagers lack the necessary body and acidity. Pour a full bottle or two of beer into your developing tank. No mixing required. Just pour, load your film, and agitate. Development times are similar to coffee, often around 8-12 minutes depending on the film. Because beer is less aggressive than coffee, you might get slightly finer grain, but the tonal range is narrower. It’s best used for portraits or scenes where you want soft, dreamy blacks rather than punchy, graphic contrasts.
Comparing Coffee vs. Beer: What to Expect
Choosing between the two depends on the mood you want to capture. Coffee is bold; beer is mellow. Here’s a quick comparison to help you decide:
| Attribute | Coffee Developer | Beer Developer |
|---|---|---|
| Contrast Level | High / Punchy | Medium / Soft |
| Grain Structure | Coarse, Organic | Fine, Subtle |
| Tonal Cast | Warm, Brownish Blacks | Neutral to Cool |
| Best For | Street, Documentary, High-Contrast Scenes | Portraits, Low-Light, Moody Scapes |
| Shelf Life | ~24 Hours | ~48 Hours (if sealed) |
Notice how the shelf life differs. Coffee oxidizes quickly, turning brown and losing potency. Beer, thanks to its carbonation and alcohol content, holds up slightly longer, but both are single-use or short-batch solutions. Don’t try to save leftover coffee developer for next week; it won’t work the same way.
Practical Tips for Success
Working with liquids that aren’t designed for photography means you have to be careful. Here are some pitfalls to avoid:
- Temperature Control: Both coffee and beer are sensitive to heat. Keep your developing tank in a room-temperature environment. If your apartment is hot, put the tank in a bowl of ice water to keep things stable.
- Agitation Consistency: Since these developers aren’t buffered like commercial ones, inconsistent agitation leads to uneven development. Stick to a strict rhythm: 10 seconds inverted, 5 seconds rest.
- Film Choice Matters: High-contrast films like Ilford Pan F 50 may not respond well to the extra contrast of coffee. Try slower films like HP5+ or Delta 100 for a more balanced result.
- Stop Bath: After developing, rinse your film thoroughly. A dilute acetic acid stop bath helps neutralize any remaining alkalinity or acidity, preventing stains. Plain water works too, but take your time.
One pro tip: keep a notebook. Record the exact brand of coffee or beer, the brewing method, the temperature, and the development time. Small changes in roast level or hop bitterness can shift your results dramatically. Over time, you’ll build a library of recipes that match your style.
Common Mistakes to Avoid
Newcomers to alternative processing often make the same errors. The biggest one is expecting perfection. These developers are unpredictable by design. If your first roll comes out too dark, don’t panic. That’s part of the learning curve. Another mistake is using decaf coffee. Decaf lacks the full spectrum of compounds found in regular coffee, leading to weaker development. Always use caffeinated, roasted beans.
Also, watch out for sediment. Ground coffee leaves particles that can stick to your film, causing scratches or spots. Strain your coffee through a paper filter before pouring it into the tank. For beer, foam can be an issue. Let the beer sit for a few minutes after opening to settle the bubbles before pouring it into the tank.
When to Use Which
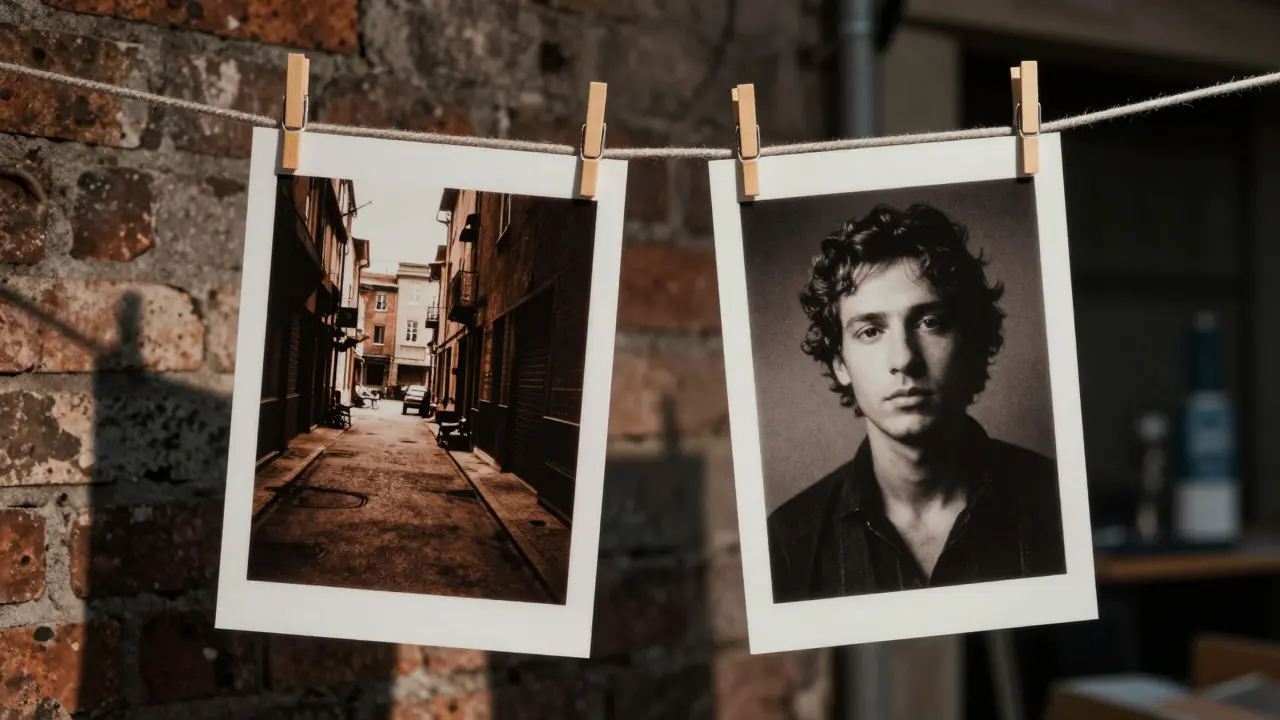
Think of coffee developer as your “graphic novel” tool. It’s great for street photography, urban landscapes, and any scene with strong light and shadow. The high contrast pops in small prints and digital scans alike. Beer developer is your “moody portrait” tool. It softens skin tones and reduces the harshness of direct sunlight. If you’re shooting a friend’s wedding reception in dim lighting, beer might give you those ethereal, low-key looks without needing heavy post-processing.
Ultimately, the choice is artistic. There’s no right or wrong. The goal is to explore how different chemicals-or in this case, beverages-affect the final image. It’s a reminder that photography isn’t just about clicking the shutter; it’s about making choices at every step, from lens selection to the liquid in your tank.
Can I use instant coffee for developing film?
Yes, instant coffee works, but freshly brewed ground coffee is preferred. Freshly brewed coffee has a higher concentration of tannins and acids, which leads to more consistent and stronger development. Instant coffee may result in weaker contrast and less predictable outcomes.
What type of beer is best for film development?
Dark beers like stouts, porters, and IPAs are recommended. These varieties have higher acidity and sugar content, which aids in the reduction of silver halides. Light lagers are generally too weak and may not develop the film sufficiently.
How long does coffee developer last?
Coffee developer is best used within 24 hours of brewing. Oxidation causes the solution to lose its developing power quickly. If left for several days, it will turn dark brown and become ineffective. For best results, brew fresh for each roll or batch of rolls.
Do I need to adjust my exposure when using alternative developers?
Yes, usually. Coffee developer tends to increase contrast, so you may need to rate your film one stop slower (e.g., ISO 200 instead of 400) to preserve shadow detail. Beer developer is milder, so standard ratings often work, but testing strips are always recommended for new combinations.
Can I mix coffee and beer developers?
While possible, mixing them is rarely done intentionally. The chemical interactions are unpredictable. It’s better to choose one based on the desired aesthetic. If you want a middle ground, you might dilute coffee with water or use a lighter beer, but dedicated single-solution recipes yield more consistent results.