Most photographers think the desert is easy. You point your camera at a big pile of sand, press the shutter, and you're done. But if you've ever tried to shoot in the Mojave or the Sahara, you know that's a lie. The real challenge isn't finding a subject; it's fighting the environment. Desert landscape photography is about taming three specific enemies: shifting sand, rising heat, and brutal light. If you can handle these, you'll capture images that feel vast and alive. If you ignore them, you'll end up with flat, hazy postcards that look nothing like what you saw with your eyes.
The Physics of Seeing Through Heat
Let's start with the thing that ruins more desert shots than anything else: heat haze. It’s not just dirt on your lens; it’s physics. When the ground gets hot, the air directly above it expands and becomes less dense than the cooler air above it. This creates turbulent layers that bend light rays randomly. Your camera sees this as shimmering distortion, especially when zooming in on distant mountains or dunes.
You cannot eliminate heat haze entirely because you can't stop the sun from heating the ground. But you can manage it. The biggest factor is distance. Heat haze intensifies over long distances. If you try to compress a background mountain range using a 200mm lens from 5 miles away, you will get a blurry mess. Instead, get closer. Move your feet. Shooting from 1 mile out instead of 5 drastically reduces the amount of turbulent air between you and your subject.
Time of day matters, too. Midday is the worst time for heat haze because the ground temperature peaks. If you must shoot midday, use a wide-angle lens. Wide angles compress less distance into the frame, so there’s less air to distort your image. If you want to shoot telephoto landscapes, wait until early morning or late evening when the ground has cooled down. The difference is night and day-literally.
Composing Sand Dunes Without Losing Scale
Sand dunes are deceptive. They look massive in person but can appear like small bumps in a photo. Why? Because they lack reference points. There are no trees, buildings, or people to tell your brain how big the dune actually is. To fix this, you need to introduce scale manually.
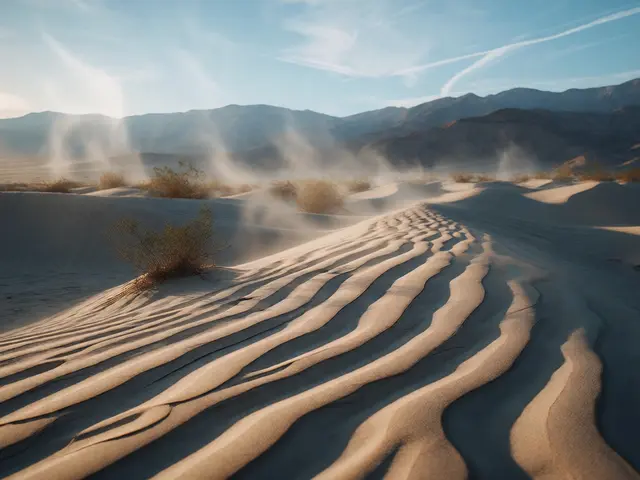
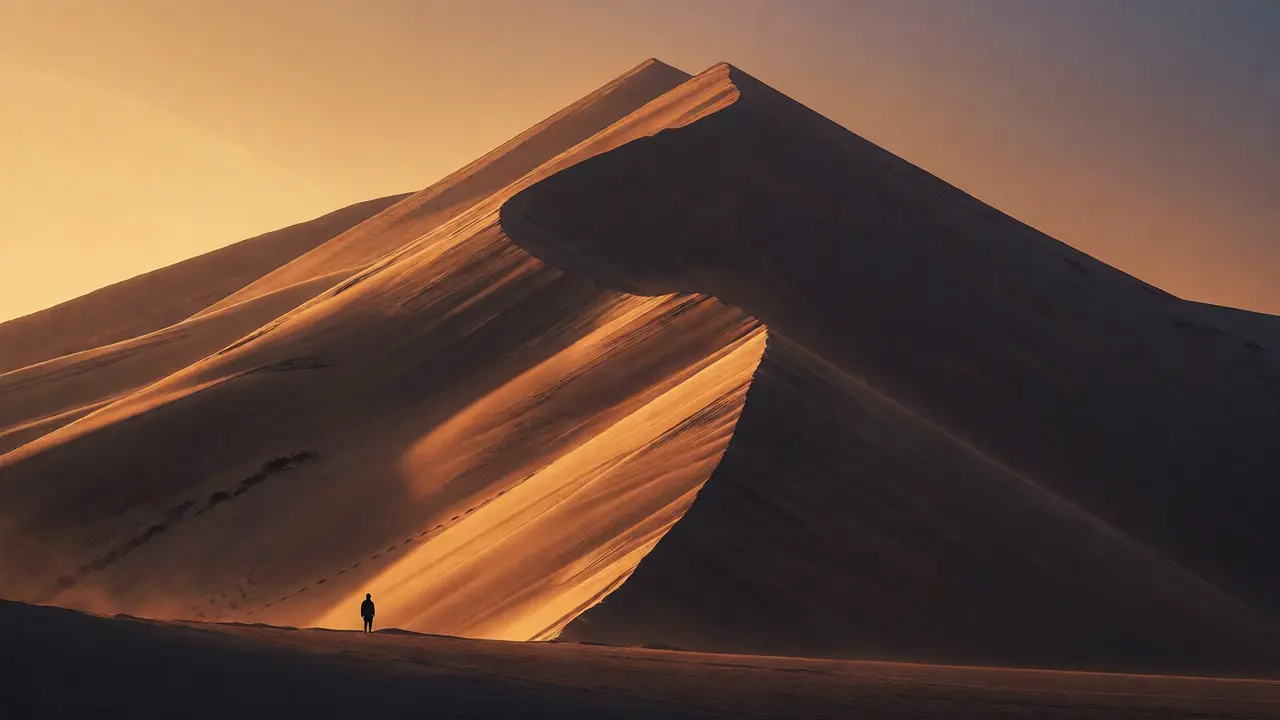
The most effective trick is using leading lines. Ridges along the top of a dune act as natural guides that draw the viewer’s eye into the depth of the image. Don’t just shoot the side of a dune; shoot the crest where the light hits one side and leaves the other in shadow. That contrast defines the shape. If the sun is directly overhead, the dunes look flat and featureless. You need low-angle light to reveal texture.
Another common mistake is centering everything. Desert scenes thrive on negative space. Place your main subject off-center using the rule of thirds, but don’t be afraid to break it. Sometimes, placing a single track mark or a lone bush in the bottom third creates a sense of isolation that feels powerful. If you include a human figure, make them tiny. A person who takes up 5% of the frame emphasizes the vastness. A person who takes up 20% turns it into a portrait session, which changes the story completely.
Mastering Exposure in High-Contrast Light
Desert light is harsh. The dynamic range-the difference between the brightest highlight and the darkest shadow-is often wider than your camera sensor can handle. If you expose for the bright sand, the shadows become pitch black. If you expose for the shadows, the sky blows out to white.
Here is a practical workflow to handle this. First, check your histogram. In the desert, you’ll often see a spike on the right (highlights) and a gap on the left (shadows). Aim to keep the highlights just shy of clipping. Recovering blown-out sand is nearly impossible in post-production because the color information is gone. Shadows, however, can be lifted significantly without adding too much noise.
Use graduated neutral density (ND) filters if you’re shooting film or want to preserve detail in-camera. For digital shooters, bracketing is your best friend. Take three shots: one for the sky, one for the foreground, and one balanced. Merge them later. This isn't cheating; it's replicating what your eye sees. Your brain automatically adjusts exposure constantly; your camera doesn't. Bracketing gives you the data to recreate that visual experience.
Watch out for the "golden hour" trap. Everyone wants to shoot at sunrise or sunset. While the light is beautiful, it’s also fleeting. The sun drops fast in the desert because there’s no humidity to slow it down. Have your settings dialed in before the light arrives. Use manual mode. Auto-exposure will chase the changing light and give you inconsistent results across a series of shots.
Gear Selection and Protection
The desert is hard on equipment. Fine silica dust is abrasive and gets everywhere. It grinds against gears, scratches glass, and clogs buttons. You need to protect your gear aggressively.
First, avoid changing lenses in open wind. Carry two bodies with lenses already mounted-one wide, one telephoto. If you absolutely must change lenses, do it inside your car or a tent, or shield the camera body with your jacket while swapping quickly. Never lay your camera on the sand. Silica particles will scratch the LCD screen and mount threads instantly.
Regarding lenses, prime lenses often perform better in dusty conditions because they have fewer moving parts than zooms. However, modern weather-sealed zooms like the Canon RF 70-200mm f/2.8L IS USM or Nikon Z 70-200mm f/2.8 VR S are excellent choices if you seal them properly. Use UV or clear protective filters on all lenses to keep the front element safe from sandblasting.
| Item | Purpose | Pro Tip |
|---|---|---|
| Wide-Angle Lens (16-35mm) | Capturing vast skies and foreground textures | Minimizes heat haze distortion compared to telephotos |
| Telephoto Lens (70-200mm) | Isolating dune ridges and patterns | Use only during cool hours to reduce haze |
| Polarizing Filter | Deepening blue skies and reducing glare | Rotate carefully; effect varies by angle to sun |
| Graduated ND Filter | Balancing bright sky and dark foreground | Soft-edge is usually better for uneven horizons |
| Lens Blower | Removing dust without touching glass | Never use compressed air cans; moisture damages electronics |
Finding Unique Perspectives
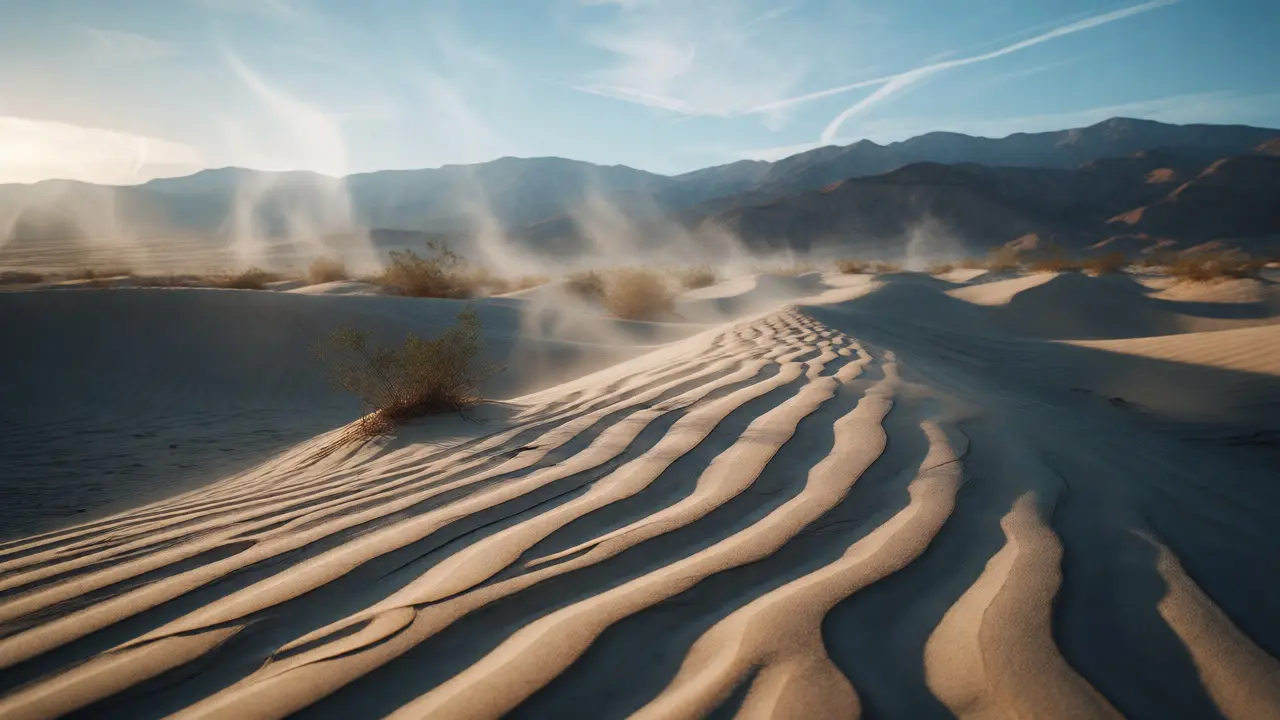
Stop shooting from standing height. Most desert photos fail because they look like everyone else’s. Get low. Shoot from knee level or even place your camera on the ground. This exaggerates the foreground, making ripples in the sand look like ocean waves. It adds depth and drama that eye-level shots miss.
Look for patterns. The desert is full of geometric shapes created by wind erosion. Spirals in sand, parallel lines of dunes, or cracked earth patterns can make abstract compositions. Sometimes the best shot isn't the whole landscape, but a detail within it. A close-up of a cactus spine against a blurred dune background tells a different story than a wide panorama.
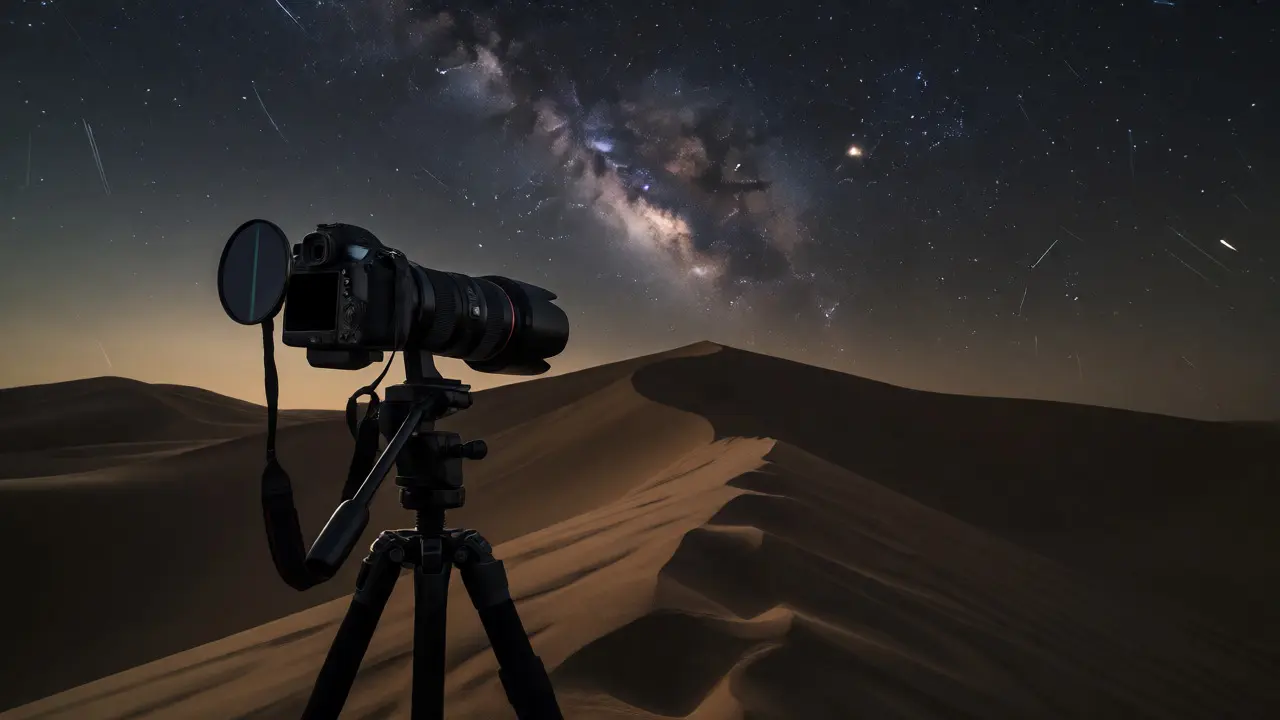
Don't ignore the night. Desert nights are clear and dry, offering incredible star visibility. If you stay past sunset, you can capture the Milky Way over silhouetted dunes. Use a fast lens (f/2.8 or wider), high ISO (3200-6400), and a 15-20 second exposure. Focus manually on a bright star to ensure sharpness. Autofocus struggles in low light.
Why does my desert photo look hazy?
Heat haze causes this. Hot ground heats the air above it, creating turbulence that bends light. To fix it, shoot earlier in the day when the ground is cooler, get physically closer to your subject to reduce the distance light travels through turbulent air, or use a wide-angle lens which minimizes the compression of that distance.
What is the best time of day for desert photography?
Sunrise and sunset offer the best light for texture and color. However, for minimizing heat haze, early morning is superior to evening because the ground has been cooling all night. Midday light is harsh and flat, causing strong shadows and washed-out colors, though it can work for high-contrast abstract shots.
How do I protect my camera from sand?
Avoid changing lenses in windy conditions. Keep your camera in a sealed bag when not in use. Use a blower bulb to remove dust from the body and lens before wiping. Never set your camera directly on the sand. Consider using weather-sealed gear and fitting protective filters on all lenses to prevent scratches on the front element.
Should I use a polarizer in the desert?
Yes, a circular polarizer is highly effective in the desert. It deepens the blue of the sky, enhances cloud definition, and cuts glare off reflective surfaces like wet sand or rocks. Be careful not to over-polarize, which can create an unnatural, gradient-heavy sky. Rotate the filter slowly while looking through the viewfinder to find the sweet spot.
How do I add scale to empty dunes?
Include a reference object such as a person, a vehicle, a shrub, or footprints. Place these objects in the foreground or middle ground to provide size context. Alternatively, use leading lines like dune ridges that recede into the distance, which helps the viewer perceive depth and magnitude even without a direct size reference.