You’ve spent months picking the perfect venue, tasting cake flavors until your palate is numb, and arguing over seating charts. But when you finally flip through your wedding album three years from now, what will actually make you stop and stare? It’s rarely the wide shot of the reception hall. It’s the close-up. The intimate details. The wedding flatlay that captures the tactile essence of your day.
Here’s the thing about flatlays: they’re deceptively difficult to nail. You can’t just throw a dress on a bed and call it art. A great flatlay tells a story through composition, lighting, and texture. It turns inanimate objects-paper, metal, fabric-into emotional anchors. If you’re trying to capture those Instagram-worthy shots of your invitations and rings, or if you’re a photographer looking to elevate your detail game, this guide breaks down exactly how to style these scenes without them looking like cluttered piles of stuff.
The Psychology of the Perfect Composition
Why do some flatlays feel calm while others induce anxiety? It comes down to visual weight and negative space. When you arrange items for a photo, you’re essentially designing a mini landscape. Your eye needs somewhere to rest. If every inch of the frame is packed with lace, flowers, and crystals, the viewer gets overwhelmed. The secret weapon here is negative space, which is simply the empty area around your subjects.
Think about your invitation suite. It’s usually rectangular. If you center it perfectly, it feels static. Boring. Instead, try placing it slightly off-center, following the rule of thirds. Leave room on one side for a secondary object, like a perfume bottle or a dried flower stem. This creates a visual path for the eye to follow. Start at the invitation, drift right to the flower, and end on the texture of the background cloth. That journey is what makes a photo engaging rather than just informative.
Also, consider the angle. Most people shoot straight down (top-down). It’s clean and graphic. But sometimes, shooting from a 45-degree angle adds depth and dimension, especially if you have layered elements like stacked envelopes or tall candlesticks. Experiment with both. See which one highlights the height of your objects better.
Mastering Light: Natural vs. Artificial
Lighting makes or breaks the mood. For wedding details, soft, diffused light is king. Harsh midday sun creates deep shadows under the rings and blows out the white paper of invitations. You want that creamy, even illumination that makes gold look rich and paper look crisp.
Find a window facing north (in the Northern Hemisphere) or a shaded outdoor spot. North-facing windows provide consistent, indirect light throughout the day. If you’re indoors and don’t have good natural light, don’t reach for the ceiling fixture. That overhead light casts ugly shadows downward. Instead, use a large window as your main source and bounce fill light back onto the scene using a piece of white foam core or a reflector. Position the foam core opposite the window to lift the shadows gently.
| Scenario | Best Time | Technique | Avoid |
|---|---|---|---|
| Natural Window Light | 10 AM - 2 PM | Side lighting; use sheer curtain to diffuse harshness | Direct sunlight causing squinting subjects or blown highlights |
| Overcast Day | All Day | Shoot outdoors near a wall to block wind; natural softbox effect | Raindrops on lenses or wet backgrounds |
| Artificial LED | Evening/Night | Use two lights at 45-degree angles; set color temp to 5600K | Yellow household bulbs which distort skin tones and metal colors |
Styling the Invitation Suite
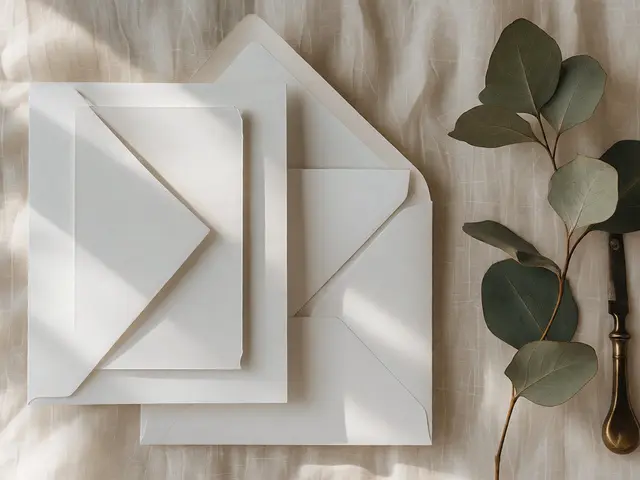
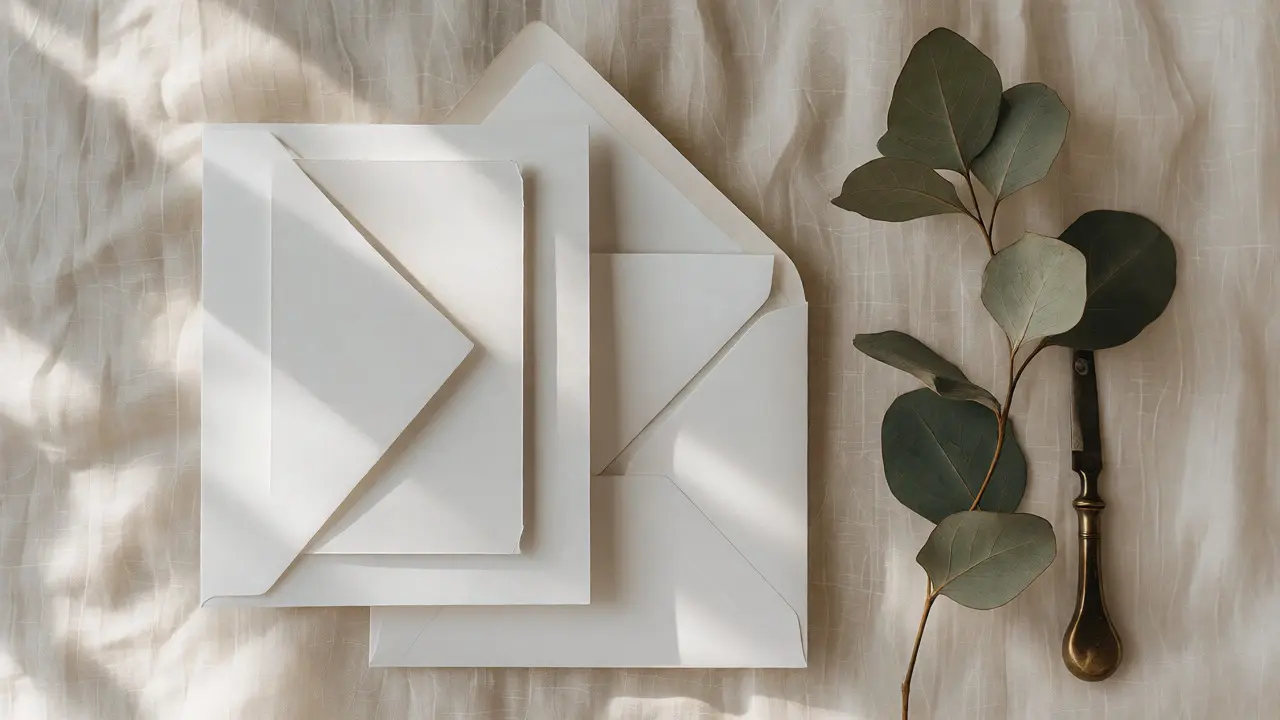
Your stationery is often the first physical touchpoint guests have with your wedding. It sets the tone. When styling invitations, don’t just lay them flat. Show layers. Stack the envelope, the backing card, the invite, and the RSVP card in a staggered arrangement. This reveals different parts of each piece, giving the viewer a complete picture of the suite’s design.
Add context clues. If your wedding has a rustic vibe, pair the invites with burlap ribbon and eucalyptus sprigs. If it’s modern and minimalist, keep the background stark white or concrete gray, adding only sleek metallic accents like a brass letter opener. The key is consistency. Don’t mix bohemian feathers with industrial gears unless you’re going for a very specific eclectic theme.
One pro tip: handle the paper with care. Fingerprints show up easily on matte finishes. Wear cotton gloves if you’re handling high-end textured stock. Also, check for creases. Steam the envelopes lightly if they’ve been stored folded for too long. Wrinkles distract from the typography.
Capturing the Rings: Scale and Reflection
Engagement rings are tiny, shiny, and notoriously hard to photograph because they reflect everything-including the photographer’s face. To get sharp focus, you need macro capability. If you’re using a smartphone, tap to focus on the diamond or gemstone, then manually adjust exposure down slightly to preserve sparkle without blowing out the highlights.
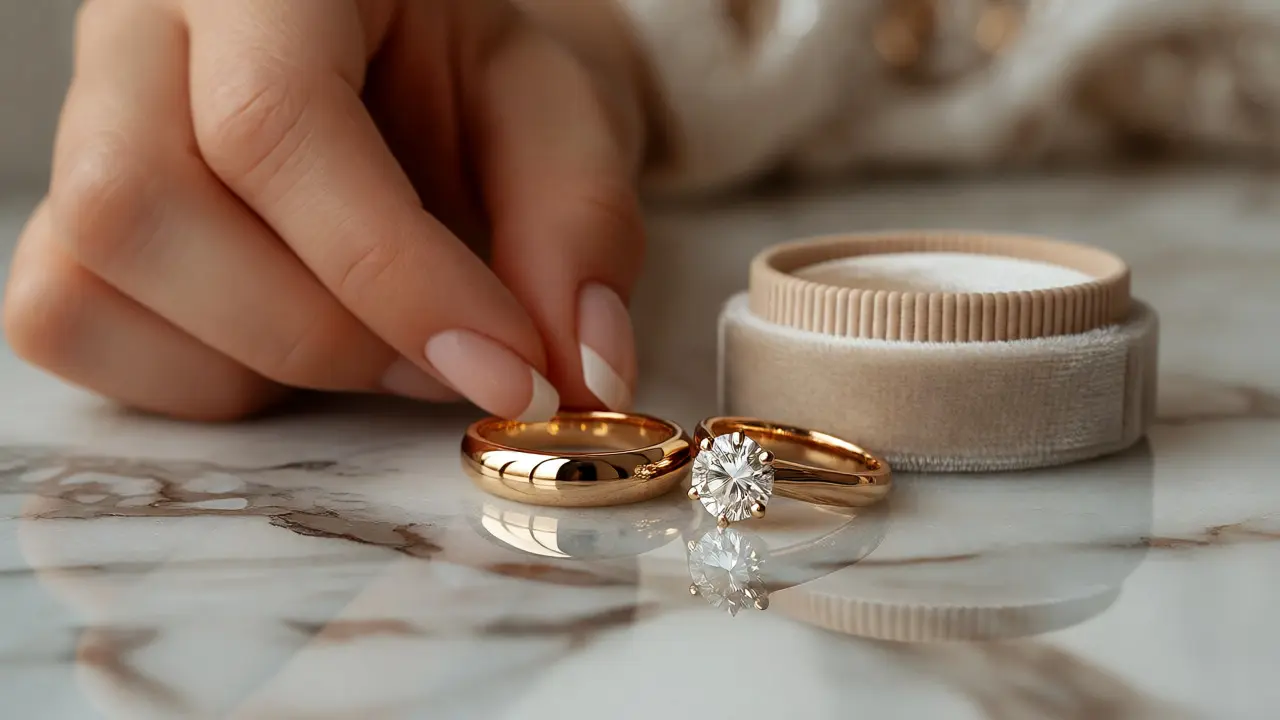
Reflections are your friend, but they need control. Place the rings on a reflective surface like marble, glass, or polished wood. This doubles the visual interest by showing the underside of the band. However, be mindful of what’s reflecting into the stone. If you’re wearing a red shirt, your diamond might have a reddish tint. Wear neutral clothing or position yourself so your reflection isn’t captured in the stone.
For scale, include a human element. A hand holding the ring provides immediate size reference and adds warmth. Ensure nails are manicured and hands are relaxed. Tense hands look awkward. Alternatively, place the rings inside an open jewelry box lined with velvet. The contrast between the hard metal and soft velvet emphasizes luxury.
Texture Play: Mixing Materials
Flatlays fail when everything looks the same. Smooth paper next to smooth glass next to smooth plastic equals visual monotony. You need contrast. Pair rough with smooth, matte with glossy, organic with geometric.
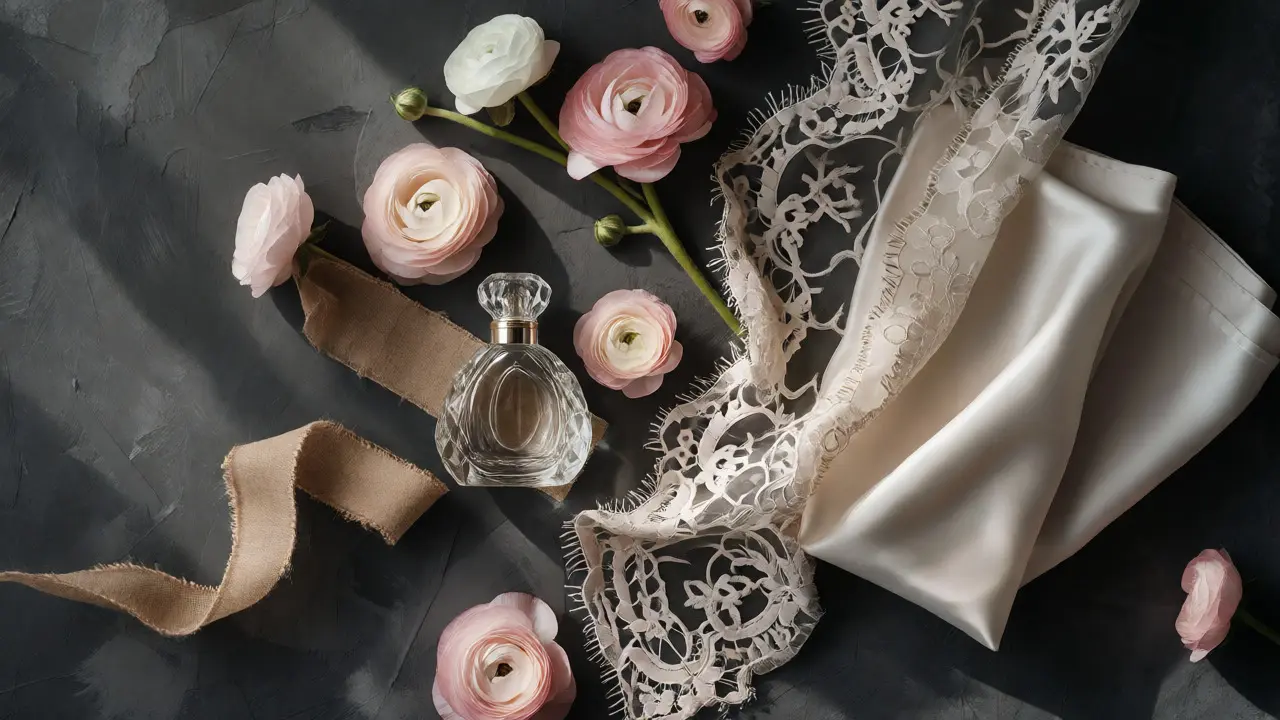
Consider the tactile experience of your wedding day. Will guests touch linen napkins? Hold crystal glasses? Run their fingers across silk dresses? Capture those materials. Lay a swatch of your table runner beneath the rings. Drape a piece of lace over the corner of the invitation. These small touches add depth and tell guests what the day will feel like, not just what it will look like.
Flowers are excellent texture boosters, but choose wisely. Large blooms like peonies can overwhelm small details. Opt for smaller, delicate flowers like ranunculus, sweet peas, or baby’s breath. Or go botanical with ferns and olive branches. Their linear shapes guide the eye differently than round petals. Keep fresh flowers away from direct heat sources to prevent wilting during the shoot.
Common Pitfalls to Avoid
We’ve all seen bad flatlays. Usually, it’s due to a few recurring errors. First, clutter. Less is more. If you have ten items, pick five. Remove anything that doesn’t serve the composition. Second, ignoring the background. A busy patterned rug behind your white dress kills the shot. Use solid-colored backgrounds or simple fabrics like muslin or linen.
Third, poor color harmony. Stick to a palette of 2-3 main colors plus neutrals. If your wedding colors are navy and gold, don’t introduce bright pink flowers unless they’re part of the official palette. Color clashes create visual noise.
Finally, forget the story. Every flatlay should answer a question. “What does our wedding smell like?” (Show candles and potpourri.) “What does our wedding taste like?” (Show champagne flutes and chocolates.) Connect the objects to sensory experiences.
Quick Checklist for Shooting Day
- Prep Objects: Clean rings, steam paper, iron linens.
- Set Scene: Choose a stable, level surface. Clear distractions.
- Arrange Layers: Start with largest items (background), then medium (invites), then small (rings).
- Check Angles: Shoot top-down and 45-degree. Review on laptop screen, not just phone.
- Adjust Light: Block harsh shadows with diffusion panels or white cards.
- Edit Minimally: Correct white balance, enhance clarity, crop tightly.
Frequently Asked Questions
What is the best background material for wedding flatlays?
The best background depends on your wedding style, but neutral fabrics are universally safe. Linen, muslin, or plain cotton sheets in white, cream, or grey provide texture without competing with your subject. For a modern look, marble tiles or concrete surfaces work well. For rustic themes, reclaimed wood or burlap adds character. Always ensure the background is wrinkle-free and clean before shooting.
How do I keep flowers fresh during a flatlay shoot?
Keep flowers hydrated by wrapping their stems in damp paper towels and placing them in water until the moment you’re ready to arrange them. Once placed in the composition, mist them lightly with water for freshness, but avoid soaking delicate petals. Work quickly-ideally within 15-20 minutes-to prevent wilting, especially if shooting outdoors in warm weather. Have backups like dried flowers or greenery available if fresh ones fade too fast.
Do I need professional equipment for good wedding detail photos?
No, you don’t need expensive gear. Modern smartphones with dual-lens cameras can produce stunning results if you master lighting and composition. Key features to look for include portrait mode for depth of field and manual focus controls. If you do invest in gear, a prime lens (like a 50mm f/1.8) offers superior sharpness and low-light performance compared to kit zoom lenses, making it ideal for capturing intricate details like ring engravings.
How many items should be in a wedding flatlay?
Aim for 3 to 7 items maximum. This range allows for enough variety to tell a story without creating visual chaos. Each item should have a distinct role: one focal point (e.g., the invitation), one supporting element (e.g., a pen or wax seal), and one textural accent (e.g., a flower or fabric swatch). If you find yourself struggling to fit everything, remove the least significant item.
Can I use artificial flowers for wedding flatlays?
Yes, high-quality artificial flowers are perfectly acceptable, especially for pre-wedding shoots or if real flowers wilt quickly. Look for realistic options made from silk or latex rather than cheap plastic. They offer the advantage of being reusable and unaffected by temperature changes. Just ensure they match the actual flowers used on the wedding day so the photos remain accurate representations of the event.