Most people walk into a photo shoot feeling a bit nervous, and for good reason. They aren't just worried about their clothes or hair; they're worried about how their face looks from a specific angle. We've all been there-checking the back of the camera and realizing that a slight tilt of the chin can be the difference between a shot that looks like a professional headshot and one that looks like a poorly timed webcam screenshot. The secret isn't in the gear or the lighting, but in understanding the geometry of the human face. portrait photography posing is less about telling someone to "smile" and more about manipulating angles to balance proportions.
| Face Shape | Recommended Camera Angle | Key Technique | What to Avoid |
|---|---|---|---|
| Round | Slightly upward | Elongate the neck | Low angles (widens jaw) |
| Oval | Slightly lowered | Push chin out and down | Hair crowding the face |
| Square | Tilted (Left/Right) | Lift chin toward light | Tilting face downward |
| Heart | Any / Straight on | Wide smile to lift cheeks | Over-rotating the head |
Mastering the Five Core Facial View Angles
Before you worry about the specific shape of a jawline, you need to understand the horizontal relationship between the lens and the subject. There are five primary views, and each tells a different story.
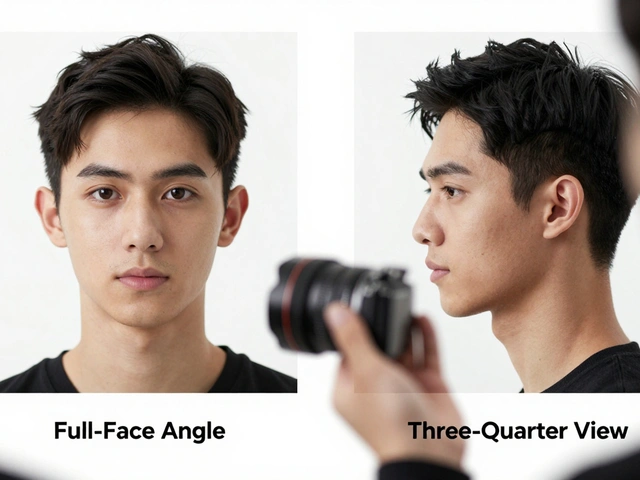
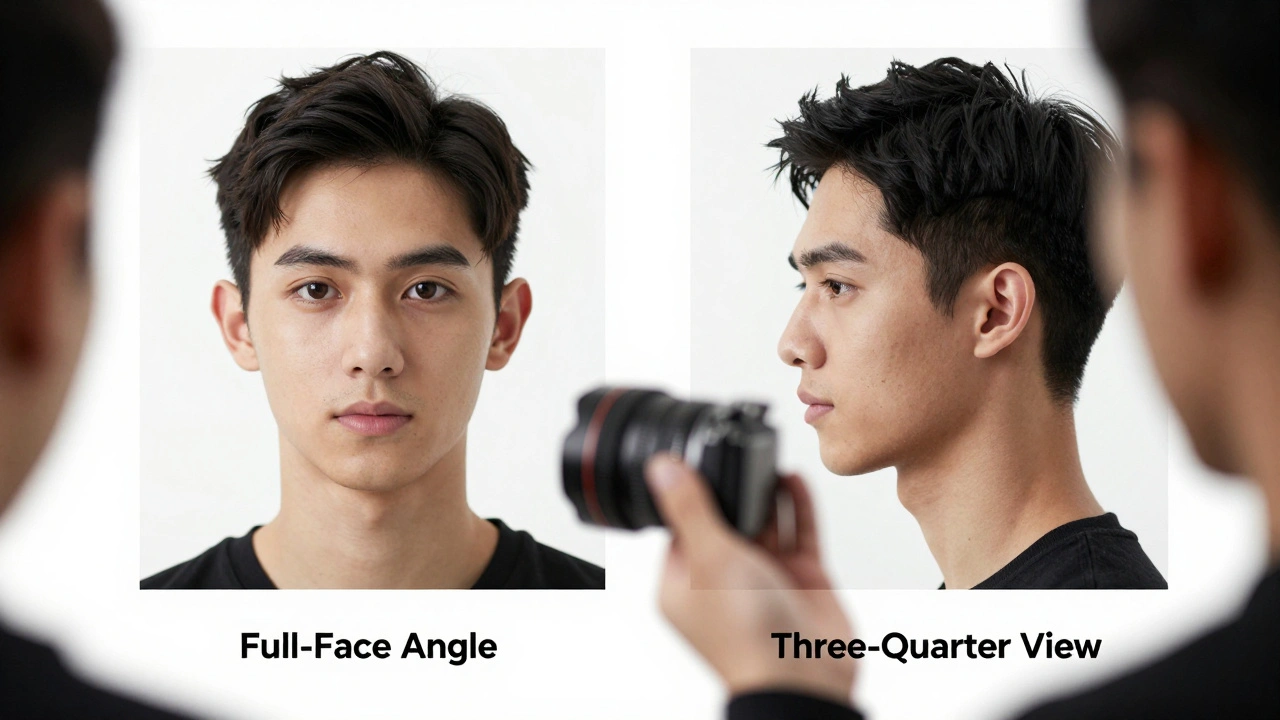
The Full-Face Angle is a direct, head-on shot where both ears and eyes are equally visible. It's the most sincere and authentic view, creating an immediate connection. However, be careful: because it's a flat projection, it can emphasize the width of the face, which might not be ideal for rounder face shapes.
Most pros lean on the Three-Quarter View. You get this by having the subject turn slightly away from the camera until only one ear is visible. It's widely considered the most flattering angle for the majority of people because it adds depth and slims the facial profile.
If you want more drama, move to the Two-Thirds View. The subject turns further, but here is the golden rule: the tip of the nose should not break the plane of the far cheek. If the nose crosses that line, the proportions look off and the image feels "broken."
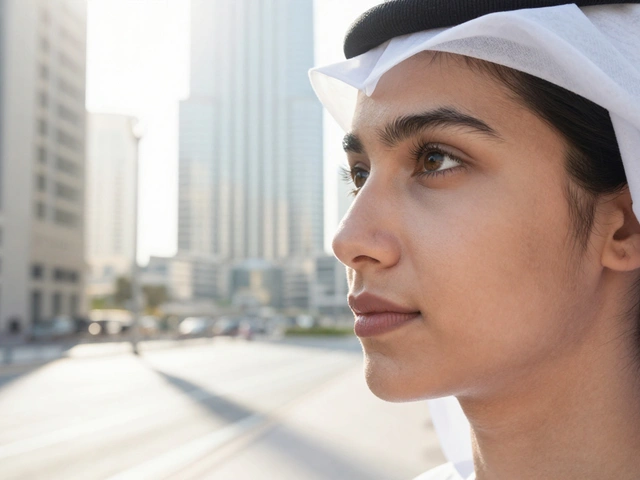
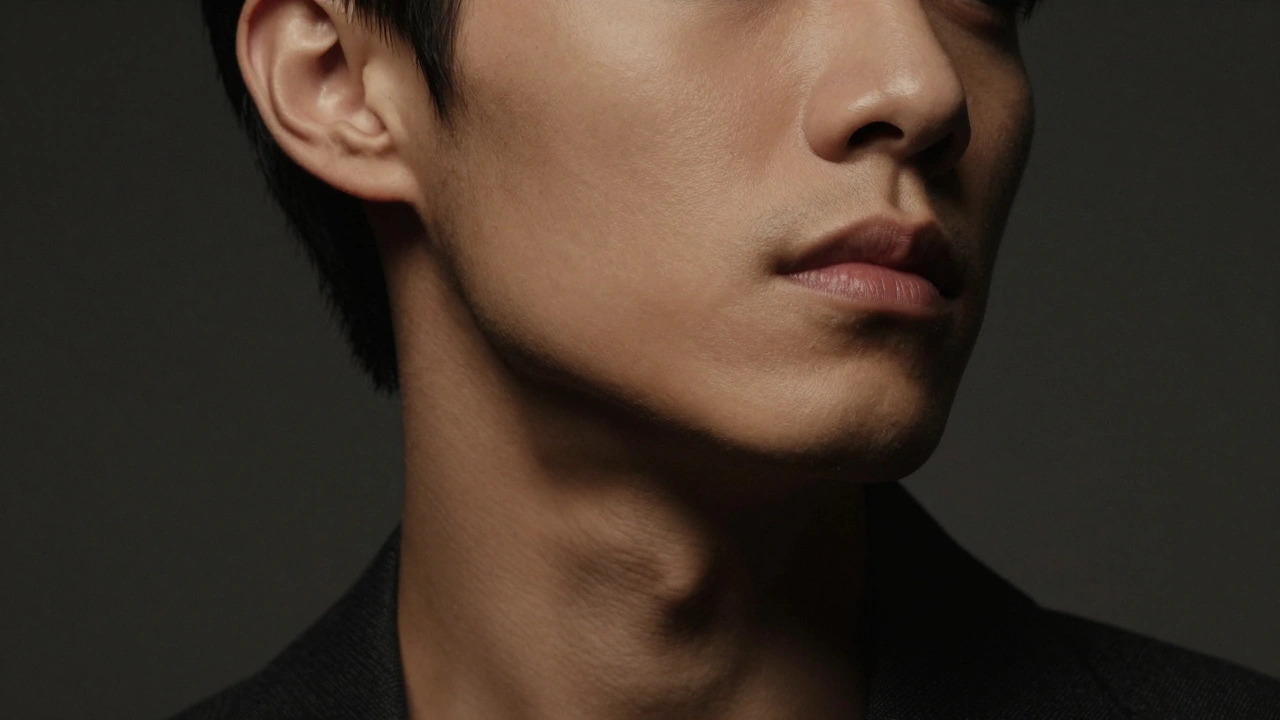
Then there's the Profile View. This is a strict 90-degree turn. It's not about symmetry; it's about character. It highlights the bridge of the nose and the line of the jaw, giving off a contemplative or mysterious vibe.
Finally, the Half-Face Angle is where you obscure half the face. It's a niche technique, but it's incredible for focusing on a single eye or creating an air of intrigue.
How Camera Height Changes Everything
Horizontal angles are only half the battle. Where you stand vertically-whether you're looking up at your subject or down at them-changes their perceived physical attributes.
Shooting from a high angle (above eye level) tends to make the face more prominent than the body. In practical terms, this is a great trick for making a person appear slimmer. It forces the subject to look up, which naturally tightens the skin around the neck and jawline.
Conversely, a low angle (below eye level) can make a person look powerful, towering, or heroic. However, this is a dangerous game. If you go too low, you're essentially photographing the subject's nostrils. For most people, this is unflattering because it flattens the chin and makes the face look rounder.
For a natural look, eye-level is the standard. If you're shooting a group, stick to eye level or slightly below to avoid weird distortions where people in the back look like they have tiny heads compared to those in the front.
Customizing Poses for Specific Face Shapes
Now we can apply these angles to the actual geometry of the face. No two faces are identical, but they generally fall into a few categories that respond well to specific tweaks.
Round Faces: The goal here is to create the illusion of length. Avoid low angles that broaden the jaw. Instead, try a slightly upward camera angle. This helps stretch the visual proportions and prevents the face from looking "squashed."
Oval Faces: This is often seen as the "ideal" shape because it's naturally balanced. To make it pop, try a slightly lowered angle while instructing the subject to push their chin out and slightly down. This emphasizes the jawline and creates shadows that add fullness and definition. Also, tell them to keep their hair behind their ears; too much hair framing an oval face can make it look overly long.
Square Faces: Square faces have strong, bold lines. The biggest mistake you can make here is tilting the face downward, which creates boxy, harsh angles. Instead, have them lift their chin up toward the light and tilt their head slightly to the left or right. This softens the edges of the jaw and makes the features look more dynamic.
Heart-Shaped Faces: These are incredibly photogenic and usually look great from any angle, including straight-on. To really enhance this look, encourage a big, genuine smile. A wide smile lifts the cheekbones and draws attention to the center of the face, balancing the narrower chin.
Dealing with Asymmetry and "The Good Side"
Almost nobody has a perfectly symmetrical face. One eye might be slightly higher, or the smile might pull more to one side. The trick is to embrace this rather than fight it.
If a subject is very asymmetrical, move away from full-face shots. The Two-Thirds View or Half-Face Angle allows you to highlight the more balanced side of the face.
Most importantly: ask your subject. Most people know their "good side." If they tell you they prefer the left side of their face, believe them. Your job is to make them feel confident; if they feel they look bad, it will show in their expression, no matter how perfect your technical angle is.
When doing profile shots, keep an eye on the details. Check if an earring is dangling awkwardly under the chin or if a stray piece of hair is creating a weird line against the neck. A quick request to brush the hair back or remove a piece of jewelry can save you twenty minutes of cloning in Photoshop.
The Experimental Approach to Posing
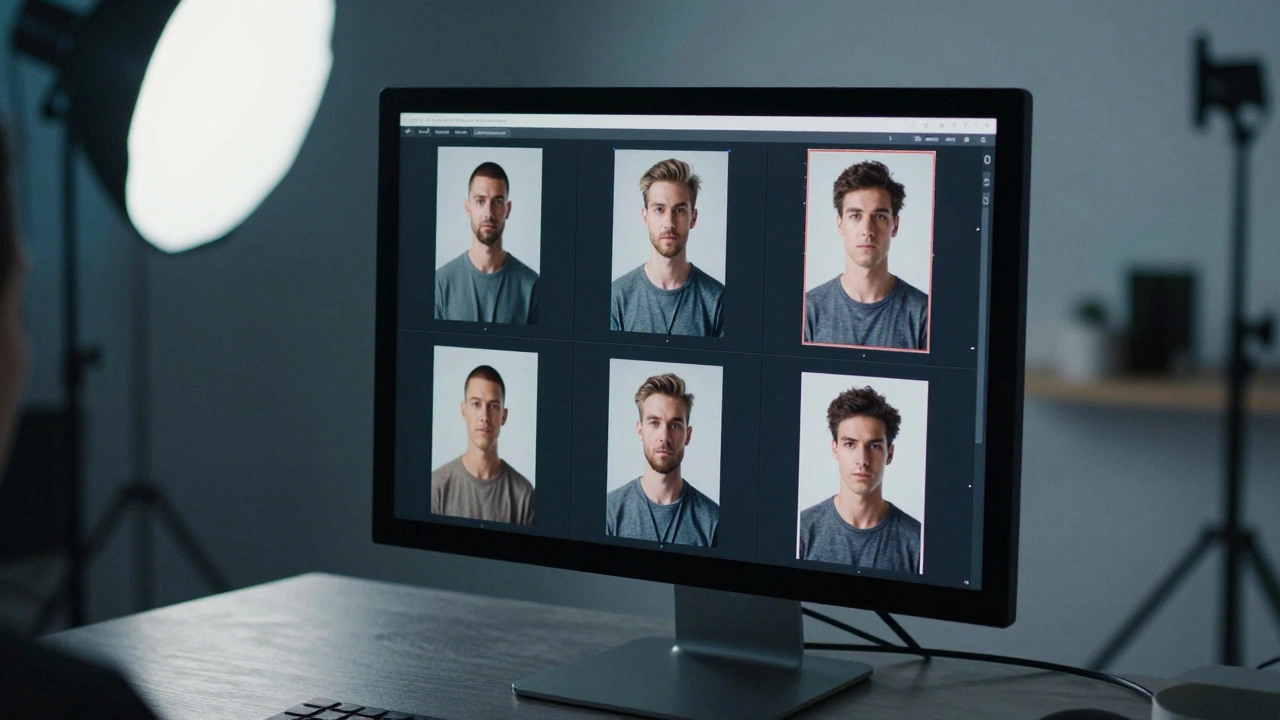
You can't just memorize a chart and expect every shoot to be perfect. The way light hits a face changes based on the skin tone, the depth of the eye sockets, and the bridge of the nose. The best way to find the "money shot" is through systematic testing.
Try this sequence with your next model: have them sit still and slowly rotate their head through all five view angles. While they do this, shift your camera height. Take one shot slightly below the chin, one slightly below eye level, one exactly at eye level, one slightly above, and one significantly above.
When you review these, you'll see exactly where the chin flattens and where the jawline sharpens. You'll notice how the light shifts from the forehead to the cheeks. This a-b testing is the only way to truly understand the unique topography of your subject's face.
What is the most flattering angle for almost everyone?
The Three-Quarter View is generally the safest and most flattering option. By turning the head slightly away from the camera, you create a sense of depth and naturally slim the appearance of the face compared to a flat, full-face shot.
Why should I avoid low angles for round faces?
Low angles tend to flatten the chin and emphasize the widest part of the jawline. For someone with a round face, this can make the face appear wider and less defined, whereas a high angle helps elongate the features.
How do I stop a square face from looking too "boxy"?
Avoid tilting the chin down, as this emphasizes the straight, horizontal lines of the jaw. Instead, lift the chin slightly toward the light source and introduce a slight tilt to the left or right to break up those harsh lines.
What is the "nose rule" for two-thirds views?
The rule is that the tip of the nose should not break the plane of the far cheek. If the nose extends past the outline of the cheek, the turn is too far, and the portrait will look unnatural or distorted.
Should I always shoot at eye level?
Eye level is a great baseline, but it's not always the most flattering. Slightly above eye level is often better for slimming the face, while slightly below can be used to convey power or authority, provided you don't go so low that you're looking up the subject's nostrils.