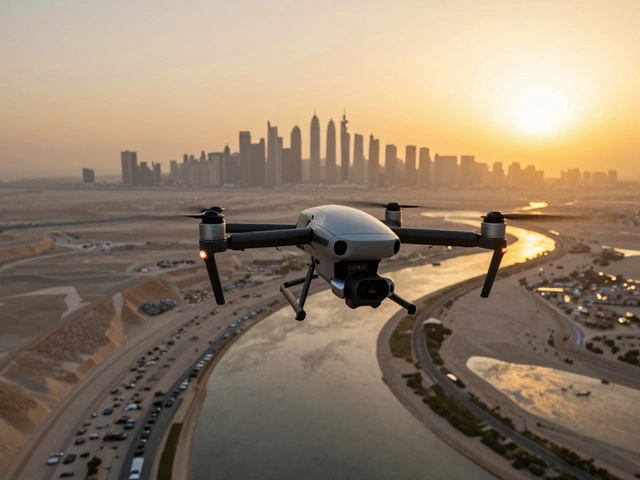
Imagine standing on a mountain peak, but instead of just seeing what's in front of you, you can see every single detail of the valley, the distant city skyline, and the winding river all in one massive, crisp image. That's the magic of drone panorama photography. It isn't just about hitting a "panorama" button on an app; it's about capturing a series of high-resolution frames and weaving them into a digital megascape that can easily exceed 10,000 pixels in width.
If you've tried the built-in auto-panorama modes on your drone, you know they're okay for a quick social media post. But if you want something you can actually print on a wall without seeing pixels, you need to move beyond the "auto" settings. To get those professional results, you have to manage three things: your focal length, your overlap, and your post-processing workflow.
The Gear: Why Focal Length Matters
Most people assume a wider lens is better for panoramas. Actually, it's often the opposite. When you use an ultra-wide lens, you get "barrel distortion"-that annoying curve where straight lines start to bend. This makes stitching a nightmare because the software struggles to align the edges.
If you have a drone like the DJI Mavic 2 Zoom is a drone featuring a 24-48mm equivalent focal length range, you have a huge advantage. Using a slightly longer focal length (around 35mm or more) reduces distortion and gives you a tighter, more controlled frame. This makes the digital stitching process much smoother and the final image looks more natural.
| Lens Type | Best For... | Stitching Difficulty | Common Issue |
|---|---|---|---|
| Ultra-Wide (24mm) | Quick snapshots | High | Barrel distortion / Curved horizons |
| Zoom/Tele (35mm+) | High-res megascapes | Low | More frames required |
Mastering the Capture: Single-Row vs. Multi-Row
There are two ways to skin this cat. A single-row panorama is exactly what it sounds like: you keep the gimbal at one angle and rotate the drone horizontally. It's fast, but you lose the vertical scale of the landscape.
For a true "megascape," you want multi-row panoramas. This is where you treat the sky like a grid. You start at the top left, capture a row from left to right, tilt the gimbal down, and then capture the next row from right to left. This "S-curve" pattern ensures you don't miss any gaps.
The secret sauce here is image overlap. If you don't overlap your photos enough, the stitching software won't find enough common points to lock the images together, leaving you with weird gaps or "ghosting." Aim for at least 40% to 50% overlap between every single shot. It feels like you're taking too many photos, but that redundancy is what saves your project in post-processing.
One pro tip: turn off Auto ISO. If the drone decides to change the exposure because the sky is brighter than the ground, you'll get visible "seams" where the photos meet. Lock your ISO is the camera's sensitivity to light, which should be kept at a base value like 100 to minimize noise at 100 and manually set your exposure.
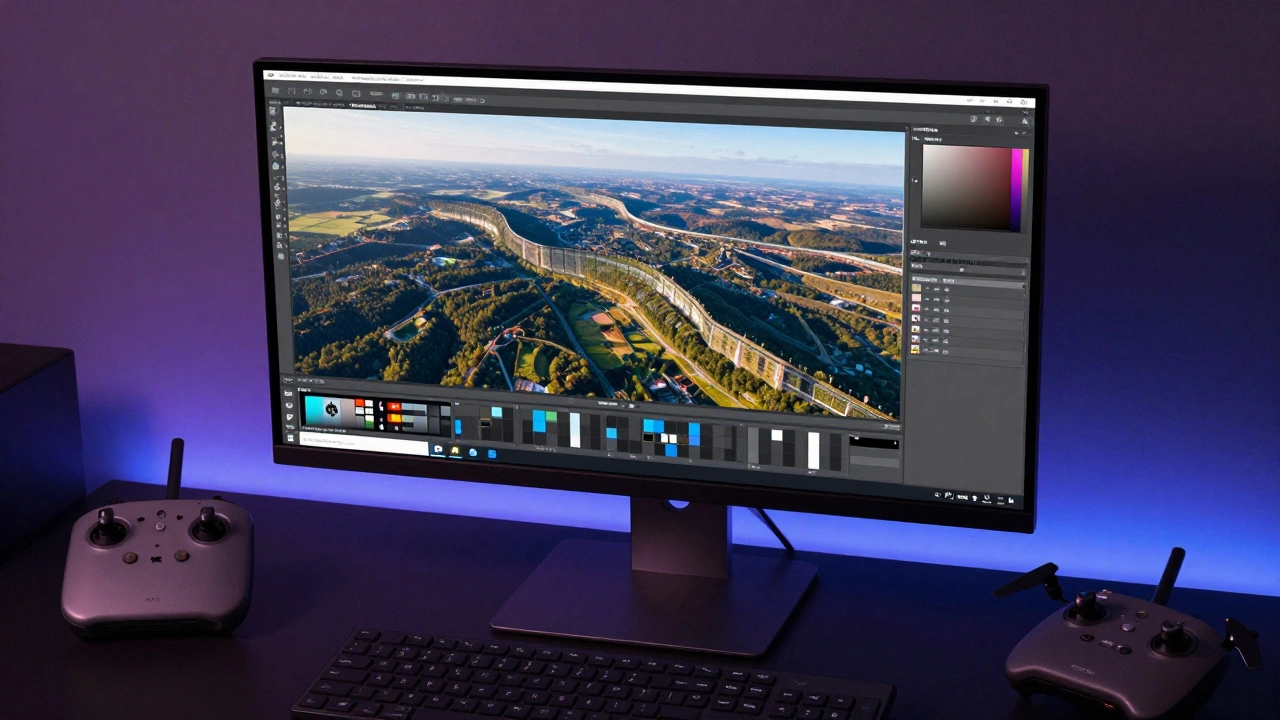
The Digital Stitch: Turning Frames into Landscapes
Once you've landed your drone and moved your files to the computer, the real work begins. You'll likely use Adobe Lightroom is a professional photo editing software used for raw processing and basic panorama merging or Adobe Photoshop is a powerful raster graphics editor used for advanced stitching and distortion correction.
For most of your work, a spherical or cylindrical projection works well. But if you used a wide-angle lens and your horizons look like a bowl, you'll need the Adaptive Wide Angle tool in Photoshop. This lets you manually draw lines over the horizon to tell the software, "This part needs to be perfectly straight," forcing the image into a rectilinear projection.
If you're going for a 360-degree interactive view, you'll need to handle "edge blending." This involves taking a slice from the far right edge of your panorama, flipping it, and blending it into the far left edge. It's a bit like wallpapering a room-you have to make sure the pattern matches perfectly so the viewer doesn't see a harsh line when they rotate the image.
Advanced Blending and Lighting
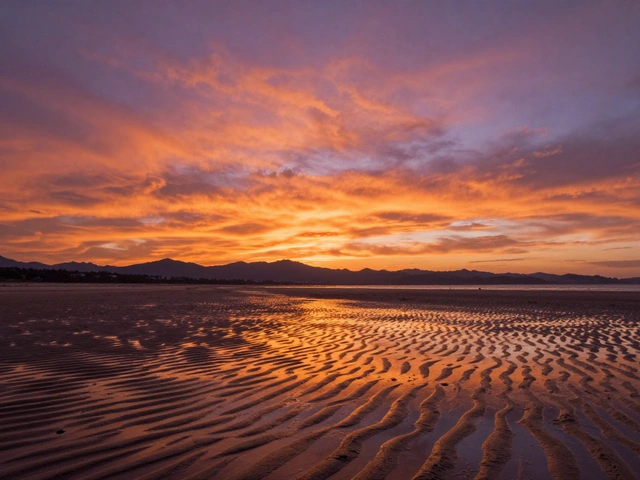
Ever notice how some aerial panoramas have a breathtaking sunset but the ground is too dark? Or the sky is a white blob of overexposed light? This is where Luminosity Masks is a technique that allows for precise blending of images based on the brightness values of specific pixels come in.
The trick is to use exposure bracketing. Take three versions of each frame: one for the highlights, one for the mid-tones, and one for the shadows. During the stitching process, you can blend these layers so the dramatic clouds stay detailed while the dark forest below retains its texture. This prevents "sky clipping" and gives the image a professional, high-dynamic-range feel without looking fake.
Common Pitfalls to Avoid
- Relying on Auto-Modes: The built-in panorama modes on drones like the DJI Mavic 4 Pro are great for speed, but manual stitching almost always yields a higher-quality result with fewer artifacts.
- Ignoring Wind: Even if your drone is stable, wind can cause slight shifts in position between frames. If you see "jagged" edges in your stitch, it's usually because the drone drifted. Try to shoot in the calmest window of the day.
- Skipping Raw Processing: Never stitch JPEGs. Use RAW files so you can synchronize the white balance and exposure across all frames in Camera Raw before you merge them.
How many photos do I actually need for a multi-row panorama?
It depends on your focal length. If you're using a 35mm equivalent lens, you'll likely need 3 to 5 horizontal rows to cover the scene from the sky down to the foreground. Each row typically consists of 4 to 8 photos depending on how wide the landscape is. In total, a high-quality megascape often consists of 20 to 40 individual RAW images.
What is the best software for stitching drone photos?
For most users, Adobe Lightroom Classic is the best starting point because of its simple "Panorama Merge" feature. For those needing professional-grade precision, Adobe Photoshop's Adaptive Wide Angle tool is essential for fixing distortion. Specialized tools like Kolor Autopano are also excellent for those focusing specifically on 360-degree or ultra-wide aerial captures.
Why is my stitched panorama showing a 'seam' or a line?
Seams are usually caused by two things: exposure changes or lack of overlap. If you used Auto ISO, the brightness changed between shots. If you didn't have at least 40% overlap, the software guessed the alignment. You can often fix this in Photoshop using the Clone Stamp or Content-Aware Fill tools to blend the seam manually.
Can I do this with a standard wide-angle drone camera?
Yes, but it's harder. Standard wide-angle lenses (24mm) create more distortion at the edges. You will spend significantly more time in the "Warp" or "Perspective" tools in Photoshop to make the horizon look flat. For the best results, use a zoom lens or a slightly tighter crop if your drone supports it.
Does the height of the drone affect the stitching?
Higher altitudes generally make stitching easier because the perspective is flatter and there's less parallax (the shift in position of objects relative to each other). When you're low to the ground, objects in the foreground shift drastically between frames, which can confuse the stitching software and create "ghosts" or misaligned buildings.
Next Steps for Your Workflow
If you're just starting, try a 3x3 grid: three rows of three photos. It's the best way to practice the "S-curve" movement without getting overwhelmed by too many files. Once you've mastered the alignment, start experimenting with exposure bracketing to get those professional, high-contrast skies. If you run into trouble with distorted lines, head over to community forums like DroneVibes to see how other pilots are handling specific lens profiles for their drone models.