You've spent an hour setting up, your subject looks great, and you're confident in your gear. But when you get home and look at the screen, something is off. Maybe their jawline looks heavy, the face feels "flat," or the proportions just seem wrong. Most of the time, this isn't a problem with the person in front of the lens-it's a result of two invisible culprits: portrait photography mistakes is the occurrence of technical or compositional errors, specifically unflattering angles and poor lighting, that diminish the visual appeal of a human subject . If you've ever felt that a photo doesn't capture the "real" essence of a person, you're likely dealing with a perspective or illumination issue that can be fixed with a few simple adjustments.
Quick Fixes for Better Portraits
- Camera Height: Keep the lens slightly above eye level to sharpen the jawline.
- Body Position: Turn shoulders at an angle; never shoot a subject square-on.
- Light Direction: Move your light source away from the camera axis to add depth.
- Subject Placement: Pull your subject away from the wall to create natural blur.
- Focal Length: Avoid wide-angle lenses for close-ups to prevent facial stretching.
The Danger of the "Square-On" Shot
One of the most common traps is having your subject face the camera directly with both shoulders at the same height. This creates a static, blocky look. Since the shoulders are the widest part of the human body, shooting them head-on emphasizes width and makes the image feel flat. Whether your subject is thin or full-figured, this angle rarely does them any favors.
Instead, try asking your subject to shift their weight and turn their body slightly. This creates diagonal lines that lead the eye through the photo and make the composition feel more dynamic. To finish the look, have them tilt their head slightly and look back toward the lens. This simple move reveals the whites of the eyes more favorably and breaks the "passport photo" vibe. Sometimes, you don't even need the subject to move-just taking a few steps to your left or right can completely change how their features are perceived.
Finding the Flattering Angle
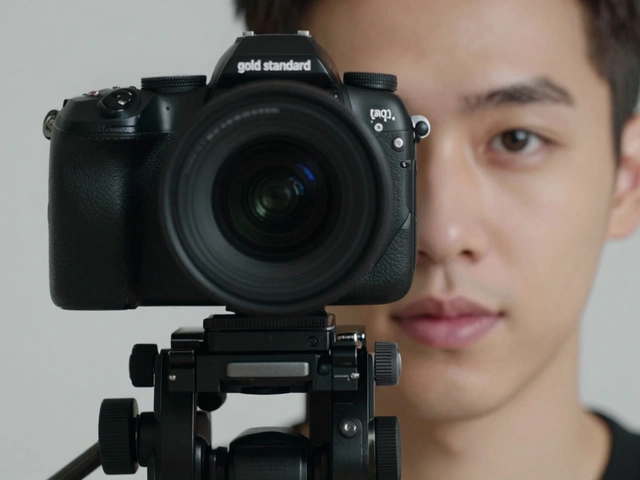
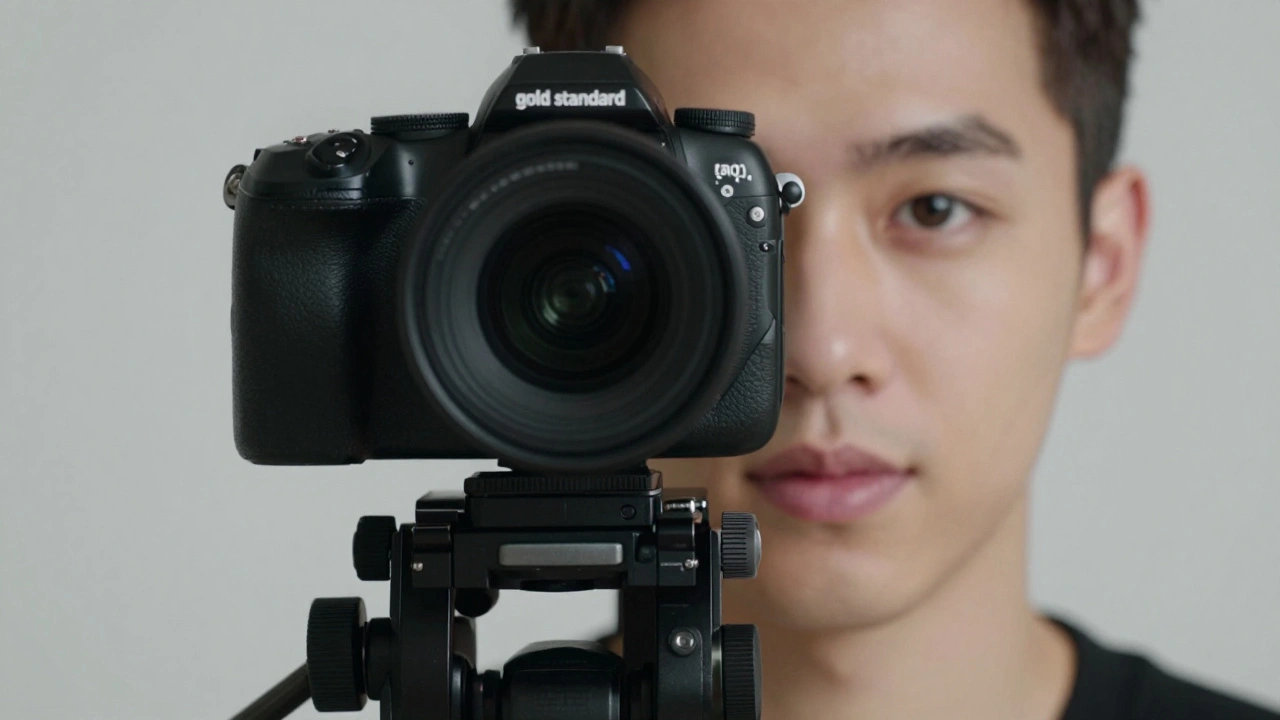
Where you place the camera vertically changes everything. Shooting from below eye level is a risky move; it often emphasizes the area under the chin and can create an unintentional "double chin" effect. On the other hand, positioning the camera slightly above eye level is a gold standard for a reason. It naturally lifts the facial features and keeps the neck properly proportioned.
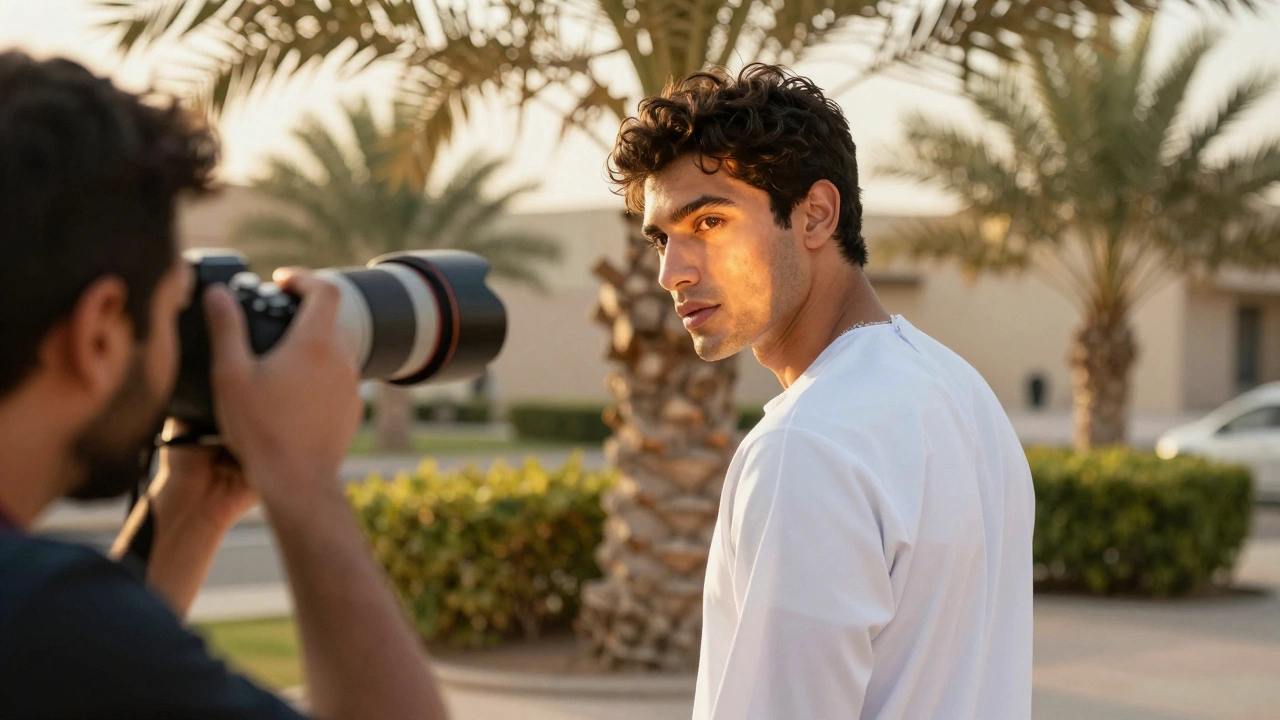
However, don't just stick to one spot. The best portraits come from photographers who move. Try varying your perspective-move up, down, and around your subject. Just be mindful of your gear. If you use a Wide-Angle Lens is a lens with a short focal length that captures a broad field of view, often causing distortion when used for close-up subjects too close to a face, you'll end up with "nose stretch," where the center of the face looks bulbous and the edges stretch away. For portraits, a Telephoto Lens is a lens with a long focal length that narrows the field of view, compressing features and creating a flattering perspective for faces is a much safer bet, as it compresses the features and lets you blur the background more effectively.
| Angle Position | Visual Effect | Result |
|---|---|---|
| Below Eye Level | Emphasizes chin and neck | Often unflattering |
| Eye Level | Natural, conversational | Neutral/Standard |
| Slightly Above Eye Level | Defines jawline, opens eyes | Generally flattering |
Solving the "Flat Light" Problem
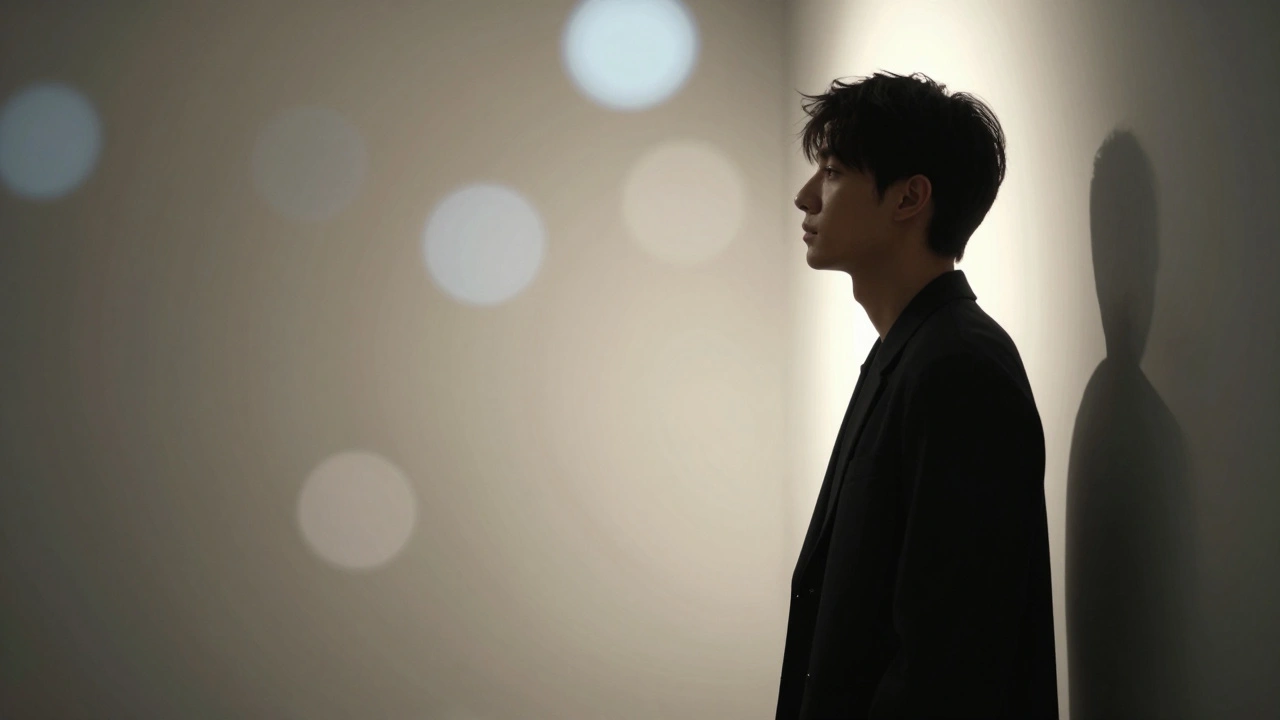
Lighting is where a portrait either gains soul or loses it. "Flat light" happens when the light source is too close to the camera-think of a direct on-camera flash or standing with a bright window directly behind you. This wipes out all the shadows that define the human face, making the subject look two-dimensional and washed out.
To create a sense of three-dimensional depth, you need modeling light. This means positioning your light source to the side. If you're outdoors, look for "open shade"-the edge of a building's shadow or under a large tree where the sky is still visible. Moving your subject just 50 feet to a spot where light falls more naturally on the face while the background remains dark can be the difference between a snapshot and a professional portrait.
If the shadows are too harsh, don't panic. You can use a Reflector is a tool used to bounce existing light back onto the subject to fill in deep shadows to bounce some light back into the dark areas of the face. For men, a bit of harsh shadow can add mystery and grit, but for women, a softer transition of light usually works better to enhance their features without creating distracting contrast.
Composition and the "Pop" Factor
Even with a great angle and light, bad framing can kill the mood. A common mistake is leaving too much empty space above the subject's head, which makes them look like they're sinking in the frame. Instead, use the rule of thirds to place the eyes or the face in the upper third of the image to create a more balanced feel.
Then there's the background. If your subject is leaning directly against a wall, the image will feel cramped and the light will bounce off the wall in a messy way. Pull them a few steps forward. This does two things: it separates them from the background and allows your lens to create Bokeh is the aesthetic quality of the out-of-focus blur in a photograph, produced by a shallow depth of field , that creamy blur that makes the subject "pop."
When chasing that blur, be careful with your Aperture is the opening of a lens through which light passes, controlling the depth of field . While shooting at f/1.8 looks cool, it's a tightrope walk. If you're off by an inch, the tip of the nose might be sharp while the eyes are blurry. Dropping your aperture to f/2.8 often provides the perfect balance-plenty of background blur but enough depth to keep the entire face in focus.
The Photographer's Responsibility in Posing
Remember, your subject is probably nervous. Most people aren't professional models and don't know their "good side." If they look stiff or awkward, it's usually because they're waiting for you to tell them what to do. Unnatural poses lead to images that feel forced and disconnected.
Instead of giving vague instructions like "look natural," give specific directions. "Shift your weight to your back leg," or "Tuck your chin slightly and push it toward the camera." When you take control of the posing, you remove the subject's anxiety, which reflects in their expression. A relaxed subject is always more flattering than a perfectly lit but terrified one.
Finally, avoid the temptation to "fix it in post." Over-processing an image to correct a bad angle or terrible lighting usually leads to over-saturation and a plastic look. The goal is to capture the natural beauty of the person, and that happens in the moment, not in a software editor.
Why does my subject look wider than they are in photos?
This usually happens because you're shooting them square-on to the camera. When shoulders are parallel to the lens, you're capturing their full width. By having the subject turn their body slightly and offset their shoulders, you create a slimmer, more dynamic profile.
How do I stop the "double chin" effect?
The fastest way is to move your camera slightly above the subject's eye level and tilt the lens down. You can also ask the subject to push their chin forward and slightly down, which stretches the neck and defines the jawline.
What is the best aperture for portraits?
While wide apertures like f/1.8 create great background blur, they often make the depth of field too shallow, leaving parts of the face blurry. f/2.8 is generally considered the sweet spot for providing a blurred background while keeping the eyes and face sharp.
How do I fix lighting that feels too "flat"?
Flat lighting occurs when the light source is directly behind the photographer. Move the light (or the subject) so the light hits the face from a 45-degree angle. This creates subtle shadows that add dimension and shape to the features.
Should I use a zoom lens or a prime lens for portraits?
Prime lenses are often preferred because they generally offer sharper images and wider maximum apertures, which help in isolating the subject with a shallower depth of field. However, a telephoto zoom can also work well as long as you avoid the wide-angle end of the lens.
Next Steps for Improvement
If you're struggling with these concepts, try a "lighting scavenger hunt." Spend an hour in your home or a local park and take the same portrait in five different spots. Notice how the light changes the shape of the face and how moving the camera just two inches higher or lower changes the jawline. Once you see these patterns in real-time, you'll stop guessing and start directing your subjects with confidence.