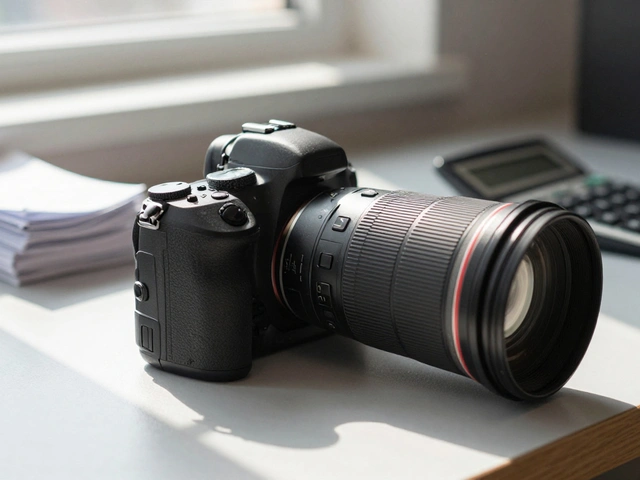
When you’re selling a product online, your photo isn’t just a picture-it’s the store window, the salesperson, and the guarantee all in one. If the image looks off, customers walk away. Post-processing for product photography is what turns a good shot into a conversion. It’s not about making things look fancy. It’s about making every product look exactly like itself, every time.
Why Consistency Matters More Than Creativity
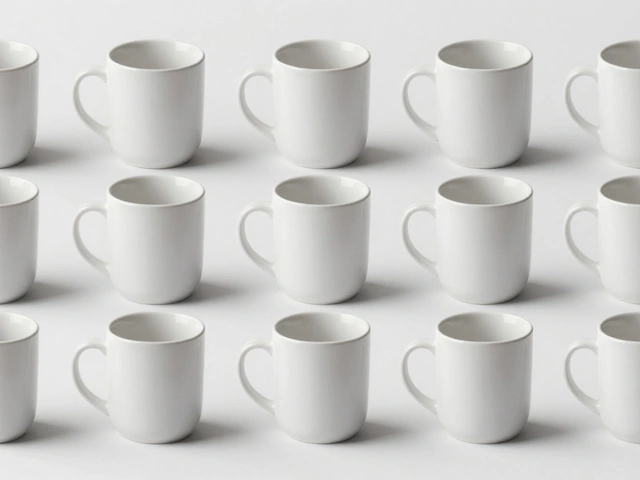
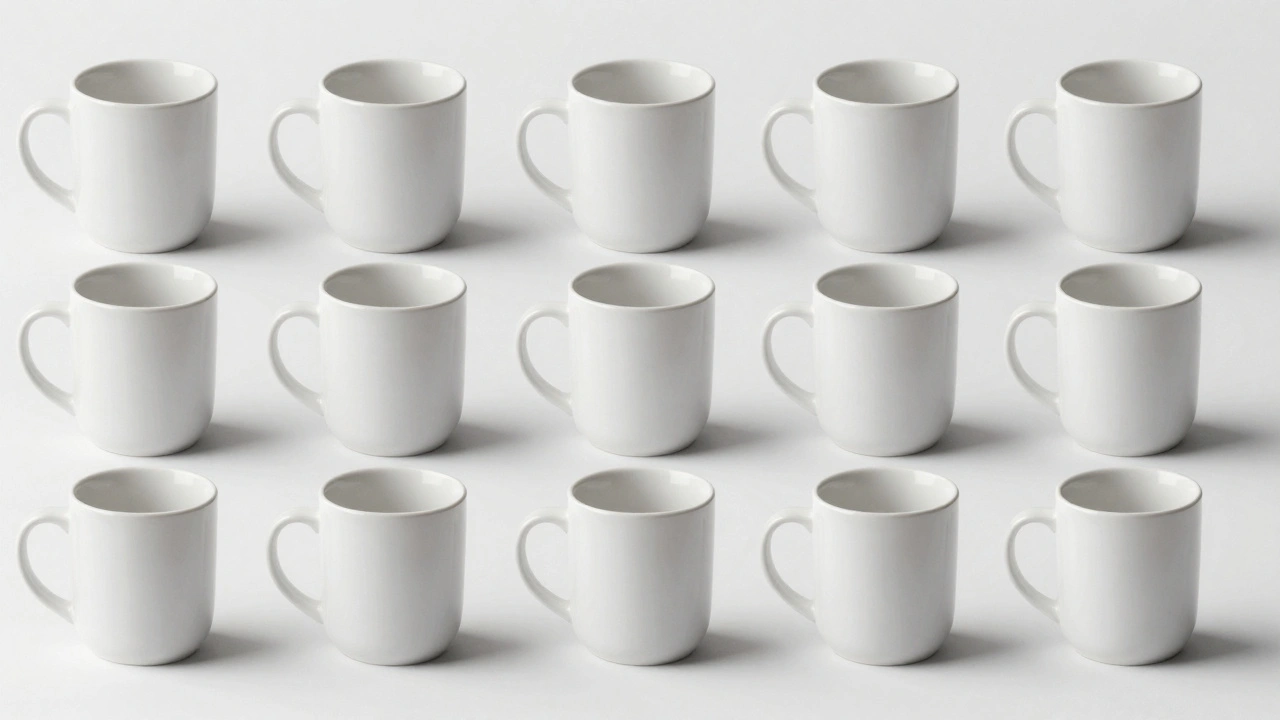
You don’t need artistic flair to sell a coffee mug. You need the same white background, the same shadow depth, the same color tone across all 50 variations of that mug. If one looks warm and another looks cool, shoppers think they’re different products. Or worse-they think you’re sloppy. That’s why consistency beats creativity every time in product photography. A 2025 e-commerce report found that 75% of shoppers decide whether to buy based on product images alone. And if those images aren’t consistent? Conversion rates drop by up to 40%. But brands that nail consistency? They see 94% higher conversion than those with sloppy editing. This isn’t about perfection. It’s about predictability. Your customer should be able to scroll through ten products and feel like they’re looking at one cohesive collection-not a random pile of photos.The Workflow: Lightroom First, Photoshop Only When Needed
Most professionals use Adobe Lightroom for 90% of their product editing. Why? Because it’s built for batches. You don’t edit one image at a time-you edit ten, fifty, or two hundred at once. Start with culling. Go through your shoot and delete anything blurry, poorly lit, or framed wrong. Don’t waste time editing junk. That’s the first rule: edit less, but edit better. Then, pick one image from the batch-the one that’s closest to perfect-and edit it fully. Adjust exposure, white balance, contrast, shadows, highlights. Use the Basic panel. Don’t jump around. Do it in order: exposure, then contrast, then whites and blacks. Then move to the Tone Curve for fine-tuning. Once that one image looks right, sync those settings to every other photo in the batch. Lightroom lets you do this with one click. That’s how you lock in consistency. White balance? Same. Sharpening? Same. Noise reduction? Same. Now, open only the outliers in Photoshop. Maybe one product has a reflection you need to clone out. Or a label that got slightly out of focus. That’s when you switch. But 80% of the time? Lightroom is enough.Detail Adjustments That Make the Difference
The Detail panel in Lightroom is where amateur edits fail and professional ones shine. Sharpening isn’t just about cranking up the amount. Too much creates halos around edges-especially on shiny products like metal or glass. Use the Masking slider. Hold Alt (Option on Mac) while dragging it to see exactly where sharpening is applied. You want it only on edges, not on smooth surfaces like plastic or fabric. This keeps detail sharp without adding digital noise. Noise reduction? Use it sparingly. If your image looks grainy, the problem is probably your ISO setting during the shoot. Shoot at ISO 100 or 200. That way, you don’t need to soften the image in editing, which blurs fine textures like fabric weaves or product textures. Lens Corrections? Always turn them on. Even the best lenses distort slightly. Lightroom automatically applies corrections based on your camera and lens model. It fixes barrel distortion, vignetting, and chromatic aberration. No manual tweaking needed. Just check the box.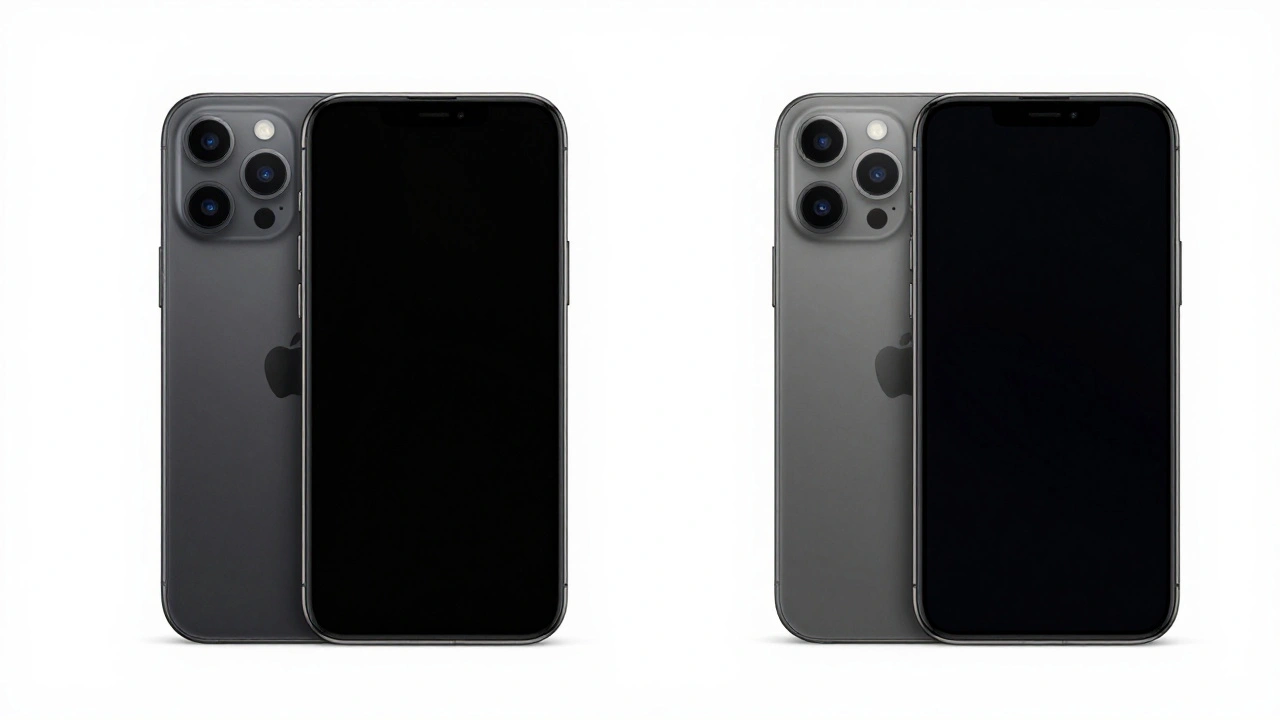
Color Accuracy: HSL Is Your Best Friend
Colors lie in photography. A red shirt might look orange under one light, purple under another. If you don’t fix this, customers get angry when their order arrives and doesn’t match the photo. That’s where the HSL panel comes in. You can tweak Hue, Saturation, and Luminance for each color individually. Need the reds to pop? Increase saturation. Is the blue too muddy? Raise luminance. Want to cool down the yellows? Shift the hue slightly toward green. Don’t rely on white balance alone. It fixes overall color temperature, but not individual color shifts. Use HSL to make sure the product’s true color is preserved, no matter the lighting conditions during the shoot.Cropping and Composition: Less Is More
Cropping isn’t just about cutting out empty space. It’s about guiding the eye. Use the Rule of Thirds. Place the product’s key feature-like a logo, button, or handle-at one of the four intersection points. That creates natural visual interest. Straighten every image. A tilted product looks unprofessional, even if it’s just 2 degrees off. Use the crop tool’s angle slider. Click and drag along a straight edge on the product or background. Lightroom will rotate the image perfectly. Leave breathing room. Don’t cram the product to the edge. A little negative space makes the image feel premium. For e-commerce, leave at least 10% clear space around the product for platform cropping.Backgrounds: Pure White Isn’t Just White
Most product photos use white backgrounds. But “white” isn’t just 255,255,255. It’s 253,253,253. Or 250,250,250. Why? Because pure white looks unnatural and harsh under screen lighting. Use the Adjustment Brush in Lightroom to gently brighten the background. Don’t just use the exposure slider-paint it in. That way, you don’t overexpose the product edges. Then, check each image individually. Even with batch processing, backgrounds vary. One might have a faint gray shadow. Another might have a dust speck. Zoom in. Clean it. It takes five seconds per image, but it’s what separates amateur catalogs from professional ones.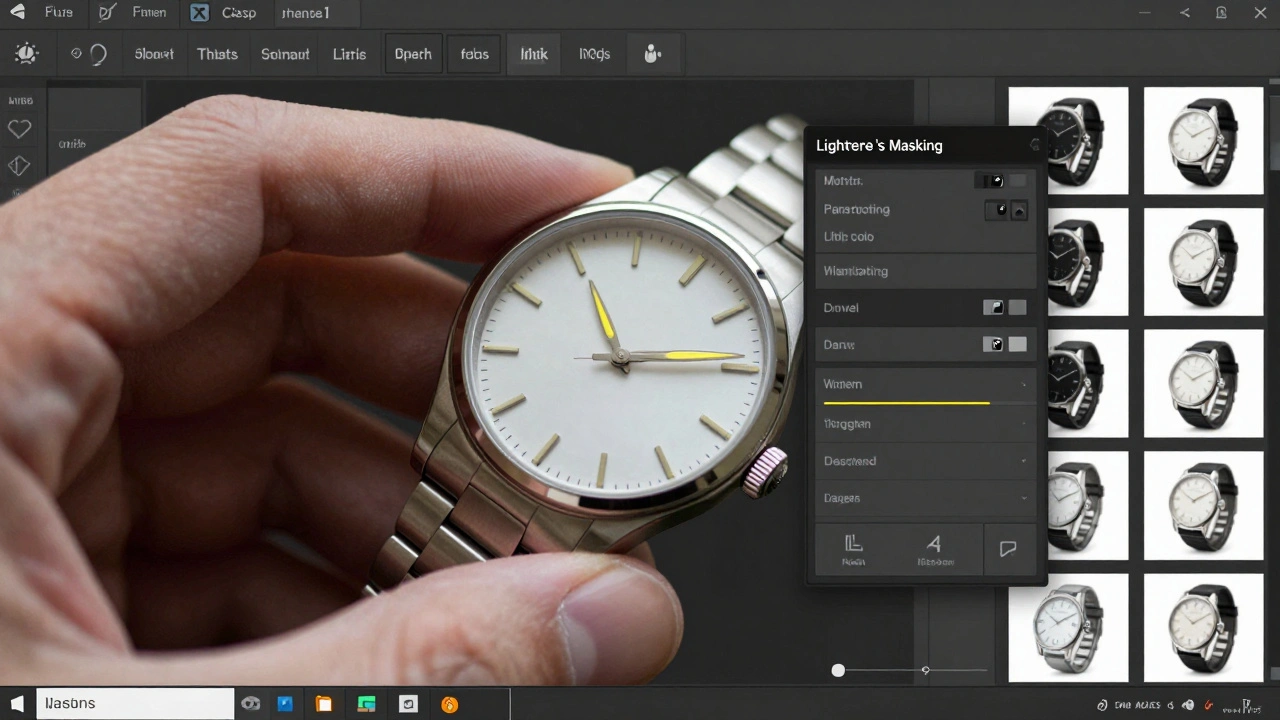
Advanced Techniques: When You Need More
Some products need special treatment. For glass, reflective surfaces, or products with extreme contrast-like a black phone on a white table-use HDR. Take three shots: one underexposed, one normal, one overexposed. Merge them in Lightroom. You’ll get detail in the shadows and highlights without losing either. For jewelry, watches, or small items with depth, use focus stacking. Take 5-10 shots, each focused on a different part of the product. Then merge them in Photoshop. The result? Everything from the front of the watch to the back of the band is razor-sharp. These aren’t daily tools. But when you need them? They’re game-changers.Export Settings: Don’t Waste All Your Work
You’ve edited. You’ve synced. You’ve cleaned. Now export. Always export as JPEG at 90-100% quality. Lower than that? You lose detail. Higher? File sizes get huge for no benefit. Use sRGB color space. It’s the standard for web and e-commerce. Adobe RGB? Save it for print. Online stores don’t support it. Name your files clearly: ProductName_Color_Size.jpg. No “IMG_0043.jpg.” That’s chaos. Set dimensions based on where the image will live. Amazon? 2000x2000 pixels. Shopify? 1200x1200. Instagram? 1080x1080. Don’t guess. Check the platform specs.Final Rule: Edit Like a Machine, Think Like a Human
The goal isn’t to make every image identical. It’s to make them feel like they belong together. A product’s texture, material, and form should be clear. Its color should be true. Its background should be clean. And every image in the set should follow the same rules. That’s consistency. That’s professionalism. And that’s what turns browsers into buyers.Do I need Photoshop for product photography post-processing?
Not always. Lightroom handles 80-90% of product editing tasks-color correction, exposure, sharpening, background cleanup, and batch processing. You only need Photoshop for advanced fixes like removing reflections, cloning out dust, or combining multiple focus layers (focus stacking). Most e-commerce brands get by with Lightroom alone.
What’s the best ISO setting for product photography?
Use ISO 100 or 200. Lower ISO means less digital noise, which gives you cleaner images and less need for noise reduction in post-processing. Product photography relies on fine detail-like fabric weave or texture-so noise can blur those details. If you’re shooting in a well-lit studio, ISO 100 is ideal.
How do I make sure product colors are accurate in post-processing?
Use the HSL panel in Lightroom to adjust individual colors. Don’t just rely on white balance. For example, if your red product looks too orange, lower the Hue slider for reds slightly. If it looks dull, increase Saturation. If it’s too bright, lower Luminance. Always compare your edited image to a physical sample under natural light to verify accuracy.
Should I use the same sharpening settings for all products?
No. A metal watch needs more sharpening than a soft fabric shirt. Use the Masking slider to control where sharpening is applied. For shiny or detailed items, increase Masking to 70-80 so sharpening only hits edges. For soft textures, keep it lower. Always zoom to 100% to check for halos-those glowing edges mean you’ve overdone it.
Why is background clipping so important in product photography?
Because platforms like Amazon, Shopify, and Etsy require clean, consistent backgrounds. A gray or uneven background looks unprofessional and can get your product rejected. Even if you shot on a white backdrop, lighting can create shadows or gradients. Use the Adjustment Brush to manually paint in pure white (or your brand color) to ensure every product sits cleanly on its background.
What file format should I export product photos in?
Export as JPEG at 90-100% quality using the sRGB color space. Avoid TIFF or PNG unless specifically requested. JPEG gives you the best balance of quality and file size for web use. Make sure your export size matches the platform-2000x2000 pixels for Amazon, 1200x1200 for Shopify, and 1080x1080 for Instagram.