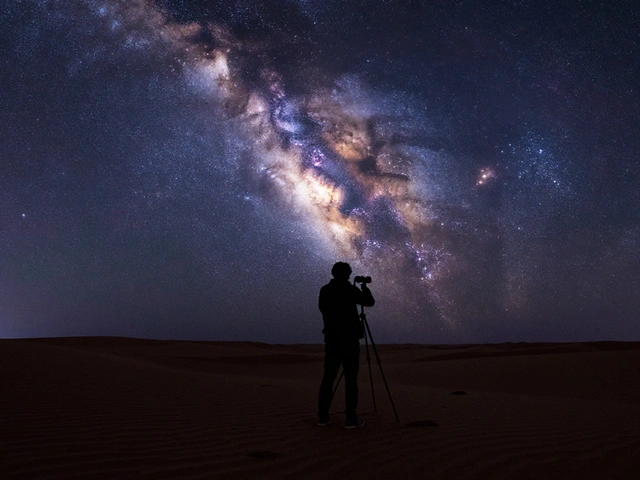
Imagine standing under a blanket of stars and wanting to capture the entire galactic arch in one shot. You look at your lens and realize that even the widest angle isn't enough to fit the scale of the cosmos into a single frame. This is where Panoramic Milky Way Photography is a specialized astrophotography technique that combines multiple individual frames of the night sky to create a single, expansive image. Instead of fighting the limitations of your glass, you rotate your camera and build a massive image piece by piece. It allows you to capture the core and the arch with a level of detail and width that a single exposure simply can't touch.
The Essential Gear for Wide Night Skies
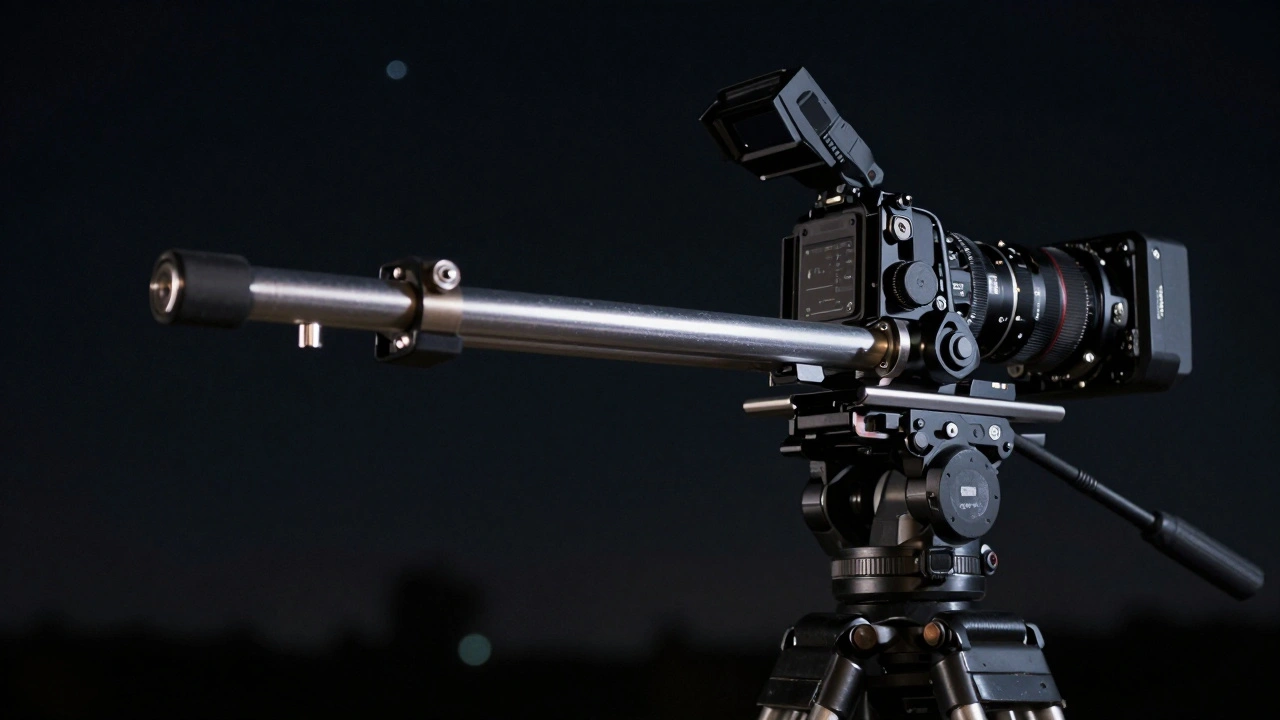
You can't just wing it with a handheld camera; the night sky is unforgiving. To get a seamless stitch, you need a rock-solid foundation. A sturdy tripod is non-negotiable, and having one with degree markings helps you track exactly how far you've rotated the camera between shots.
If you want to take your work seriously, look into a Panoramic Head. This tool ensures the lens rotates around a specific pivot point, which drastically reduces errors when the software tries to merge the images. For those including a landscape in their shot, a Nodal Rail is a lifesaver. It eliminates parallax-that annoying shift in perspective that happens when foreground objects move relative to the background. To set it up, place a thin object like a lamp post in your frame and slide the rail until that object stays in the exact same spot while you swing the camera left and right.
| Lens Focal Length | Suggested Rotation Angle | Estimated Frames for Arch |
|---|---|---|
| 28mm | 15° | 12-13 frames |
| 50mm | 10-15° | Varies (often multi-row) |
Planning Your Composition and Capture
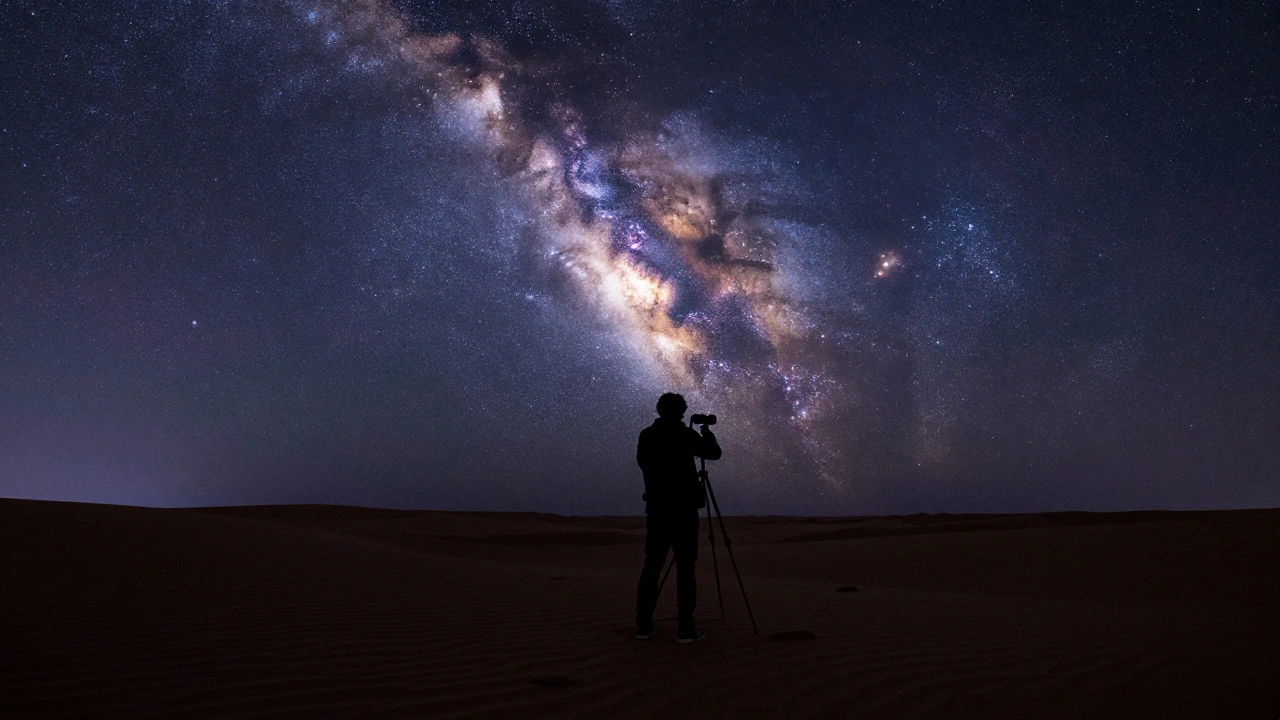
Timing and direction are everything. If you're in the Northern Hemisphere and aiming for that iconic arch, face east. This should be the center of your final image. Because the Milky Way rotates clockwise and the galactic core rises over time, start your capture from the right side (the brighter end). It's easier to see, which helps you keep your starting position accurate.
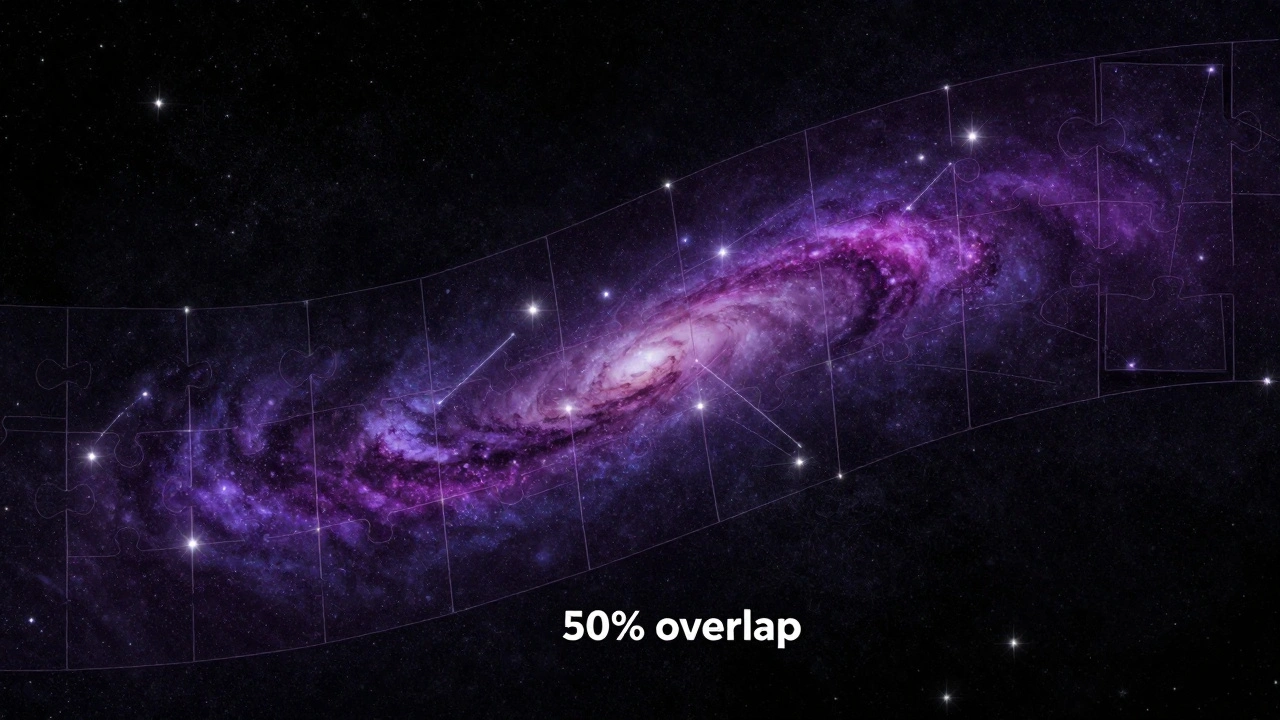
Don't be stingy with your frames. Capture significantly more area than you think you need. If you stop exactly where the core ends, you'll likely end up with awkward cropping later. Start well to the right of the core and work your way across. One critical rule: maintain at least a 50% overlap between every frame. While some software like Adobe Photoshop can manage with 40%, 50% is the gold standard. In the pitch black, you'll have to rely on the positions of bright stars and silhouettes to judge this overlap.
The Stitching Process: Turning Frames into Art
Once you've gathered your shots, it's time to merge them. You have a few great options depending on your workflow. Lightroom is a favorite for many because of its intuitive "Photo Merge" function. If you need more precision, software like PTGui, Autopano, or Microsoft ICE offers deeper control.
Sometimes the software gets confused, especially with the darkness of space. If the images don't align, you'll need to manually set control points. This means telling the software, "This star in frame one is the same star as this one in frame two." Be warned: some free stitching tools struggle with multi-row panoramas (images stacked vertically), even if they handle daytime shots perfectly. If you're experiencing massive lag during processing, try downsizing your images first, provided they all remain the same resolution and aren't cropped.
Pre-Editing for Seamless Transitions
If you stitch images straight from the camera, you might notice dark lines or "seams" where the frames meet. This happens because of vignetting-the darkening of the corners of a lens. To fix this, do a bit of light pre-editing on individual frames before you merge them.
- Shadows: Bump the shadow slider up (try +5) to lift the corners.
- Contrast: Drop the contrast slightly (try -2) to create a more even tone.
- Brightness: Adjust any underexposed frames so the luminosity matches across the set.
Once the panorama is stitched, you can use masking in Lightroom or layer techniques in Paint.Net to blend away any remaining artifacts at the stitch lines.
Advanced Moves: Vertoramas and Medium Format Simulation
Who says panoramas have to be horizontal? A "vertorama" is created by stacking horizontal frames vertically. The logic is the same, but the challenge is keeping the camera perfectly level. Any side-to-side wobble during the vertical climb will result in cut-off edges and a failed stitch.
For the truly ambitious, you can actually simulate medium format photography using a standard camera and a 50mm lens. By shooting a multi-row grid-for example, six frames on the bottom and five on top-you create an image with a massive negative size, similar to a 6x6 format camera. To make this work without visible seams, stop down your aperture (increase your f-number). This reduces vignetting and makes the merge much smoother.
Why is my panorama showing distorted lines or "ghosting"?
This is usually caused by parallax error. It happens when the camera rotates around the tripod head instead of the lens's optical center. To fix this, use a nodal rail to move the lens back or forward until the foreground elements don't shift relative to the background between shots.
Can I use a super wide-angle lens for these panoramas?
Generally, no. Super wide-angle lenses (like fisheyes or extreme wides) introduce too much distortion at the edges. This makes it nearly impossible for stitching software to find matching points, resulting in a warped or failed image.
How many frames are too many for a beginner?
If you're just starting, try to keep your panorama to 12 frames or fewer. The more frames you add, the more opportunities there are for alignment errors and the longer the processing time will be.
What is the best way to crop the final image?
In Lightroom, the combination of "Boundary Warp" and "Auto Crop" usually gives the cleanest result. Boundary Warp helps fill in some of the empty edges created during the stitching process.
Do I need to edit the images before or after stitching?
A little bit of both. Perform basic adjustments to shadows and contrast on individual frames first to ensure the tone is even. Once the stitch is complete, perform your final color grading and detail work on the combined large image.
Next Steps for Your Night Sky Journey
If you've never tried this, don't head straight into the wilderness at midnight. Spend an afternoon in your backyard or a local park. Practice rotating your tripod and capturing overlapping images of a building or a treeline. This helps you understand how your specific software handles overlaps and whether it can handle multiple rows.
Once you're comfortable with the daylight process, find a dark-sky location. Remember to start your panorama wider than you think you need and double-check your overlap. If you find the Milky Way has climbed too high in the sky for a single row, don't be afraid to add a second tier of images-just make sure your software supports multi-row night sky merges.