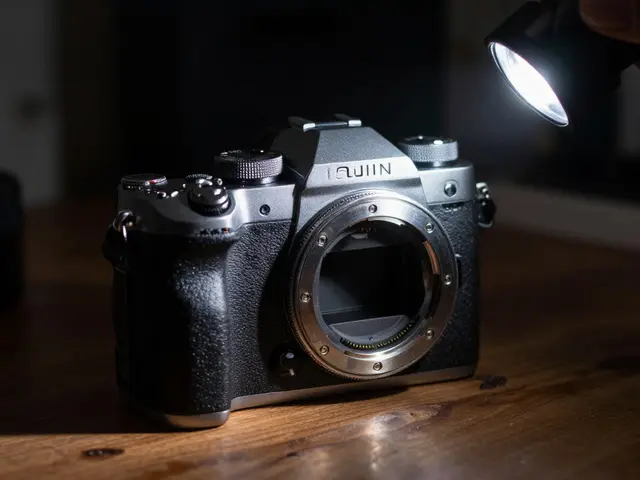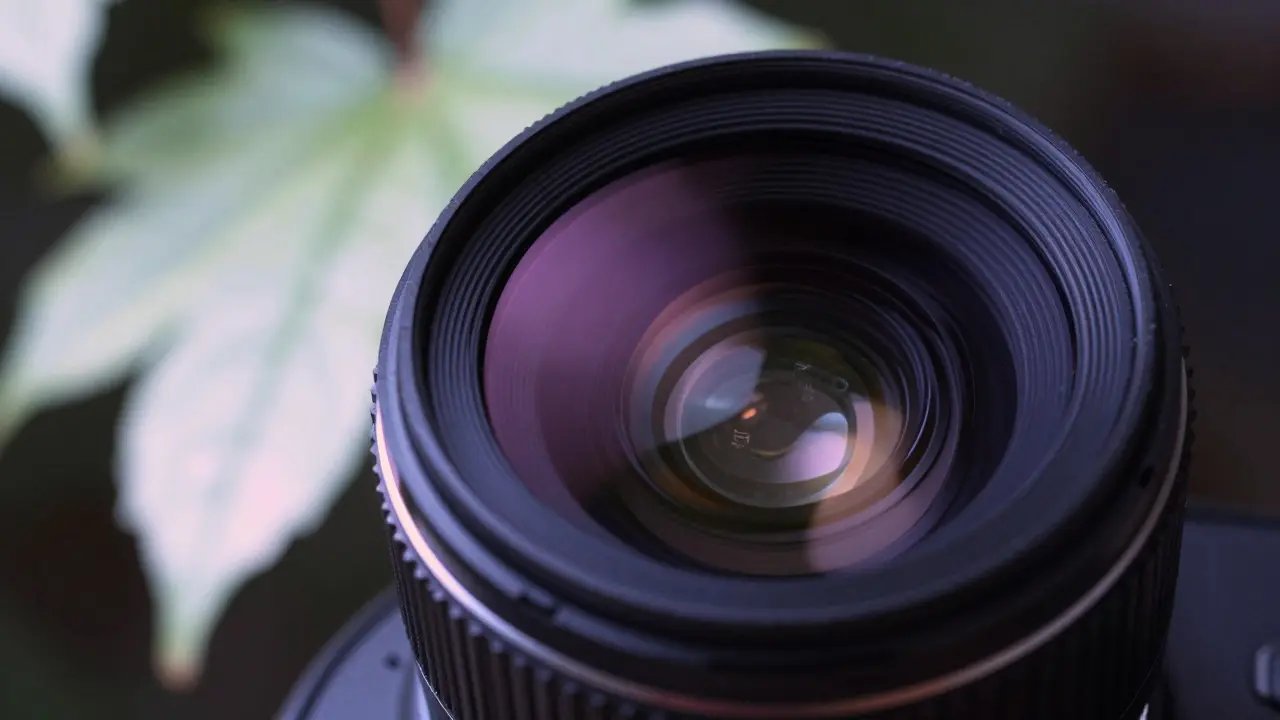
Most digital cameras come with a factory-installed hot mirror that blocks infrared light. This filter sits between the lens and the sensor, allowing only visible light (roughly 400-700 nanometers) to pass through. If you want to capture the world as it looks in the infrared spectrum-where foliage glows bright red and skies turn deep blue-you have two main paths: use external Infrared Filters is optical glass or resin filters that block visible light and transmit specific bands of infrared radiation, typically starting at 720nm or higher. Or, for permanent results, convert your camera body by removing the internal hot mirror and replacing it with an infrared-passing filter.
The difference matters. External filters are cheap, reversible, and easy to test. Conversions are expensive, semi-permanent, and transform how you shoot forever. Choosing the wrong path can cost you hundreds of dollars and leave you with a camera that doesn’t suit your workflow. Here’s how to decide which route fits your needs, what the technical details actually mean, and how to execute either option without ruining your gear.
How Infrared Light Differs from Visible Spectrum
To understand why IR photography looks so different, you need to grasp the physics. The human eye sees wavelengths from about 400nm (violet) to 700nm (red). Infrared light starts just beyond that, at 700nm, and extends up to around 1mm. Digital sensors, however, are sensitive to near-infrared light up to about 1,100nm. That’s why unmodified cameras can sometimes show IR leakage in high-contrast scenes, though it’s usually negligible.
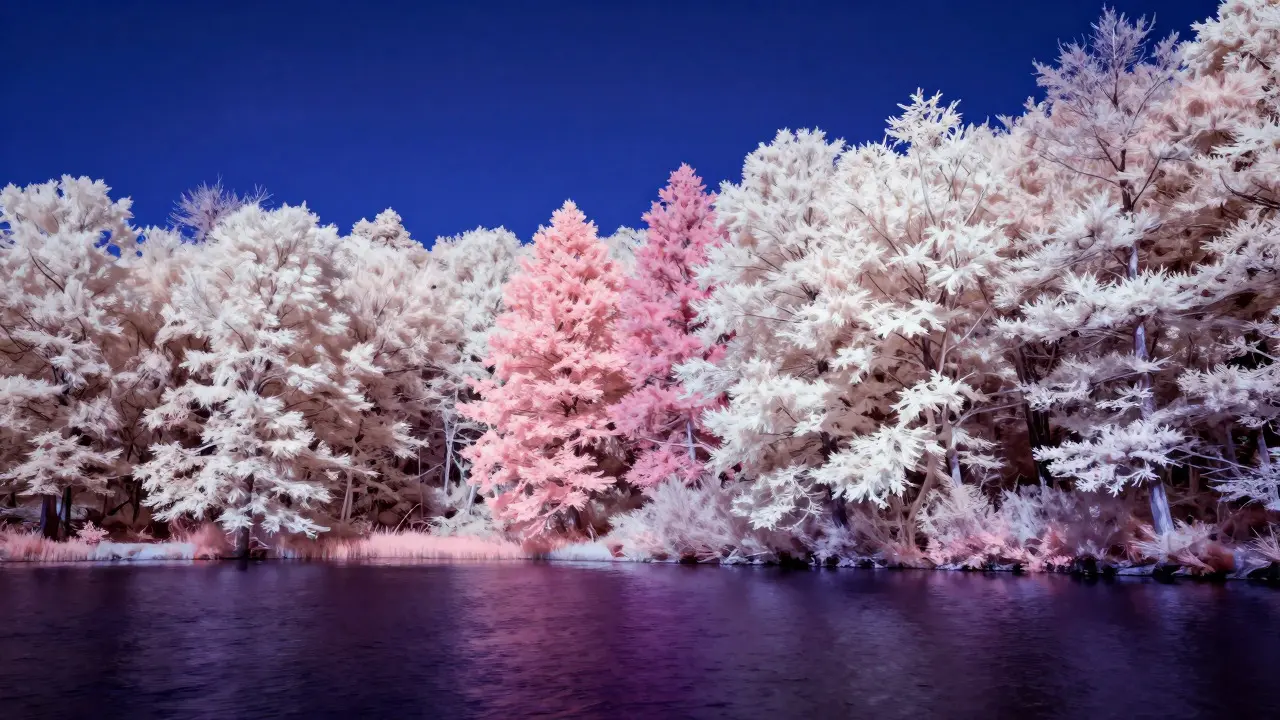
The key phenomenon in IR photography is the Wood Effect. Chlorophyll in healthy plants reflects near-infrared light very efficiently, while absorbing most visible light. When you shoot through an IR filter that blocks visible light but passes IR, leaves appear bright white or pale pink against dark backgrounds. Water absorbs IR strongly, so oceans and lakes often look black or deep purple. Skies scatter less IR than visible light, resulting in darker, more dramatic blues. These effects aren’t software tricks-they’re physical properties of how materials interact with different wavelengths.
Understanding this helps you predict outcomes before you even lift the camera. You’ll know why a forest scene might look like a winter landscape, or why a portrait shot in IR will require careful exposure compensation because skin tones shift dramatically toward magenta and gray.
External Infrared Filters: The Low-Cost Entry Point
If you’re new to IR, start here. External IR filters screw onto your lens front element and block all visible light, forcing you to shoot with a long exposure or tripod. Common cut-off wavelengths include:
- 720nm (R72): Allows some visible red light to pass. Good for beginners who want subtle IR effects without extreme darkness. Exposure times are manageable (1-30 seconds).
- 850nm (R850): Blocks almost all visible light. Requires longer exposures (30s-several minutes). Produces classic IR look with strong Wood Effect.
- 950nm (R950): Pure IR band. Very dark viewfinder. Longest exposures needed. Maximum contrast and effect intensity.
Popular brands include Hoya, Tiffen, and NiSi. A good 850nm filter costs $50-$150 depending on diameter and build quality. The downside? You lose autofocus capability because the viewfinder goes completely black. You must focus manually, often using live view magnification or a fixed distance preset. Metering also becomes unreliable, so bracketing shots is essential.
This method is ideal for testing whether you enjoy the aesthetic. It requires no modification, no risk to your camera, and minimal investment. Many photographers stick with external filters for years, especially if they only shoot IR occasionally.
Full Spectrum Camera Conversion: The Permanent Solution
For dedicated IR shooters, converting the camera body makes sense. The process involves disassembling the camera, removing the original hot mirror (which blocks IR), and installing a replacement filter that transmits infrared while blocking ultraviolet (UV) light. UV can cause color shifts and fogging in IR images, so a UV-blocking IR-passing filter is standard.
Conversion options vary by wavelength:
| Filter Type | Cut-off Wavelength | Visible Light Pass | IR Pass | Best For |
|---|---|---|---|---|
| Full Spectrum + No Filter | None | All | All (400-1100nm) | Mixed visible/IR shooting; requires manual filter switching |
| Full Spectrum + R72 | 720nm | Minimal red | 720-1100nm | Subtle IR effects; easier exposure |
| Full Spectrum + R850 | 850nm | None | 850-1100nm | Classic IR look; balanced detail |
| Full Spectrum + R950 | 950nm | None | 950-1100nm | Pure IR; maximum contrast |
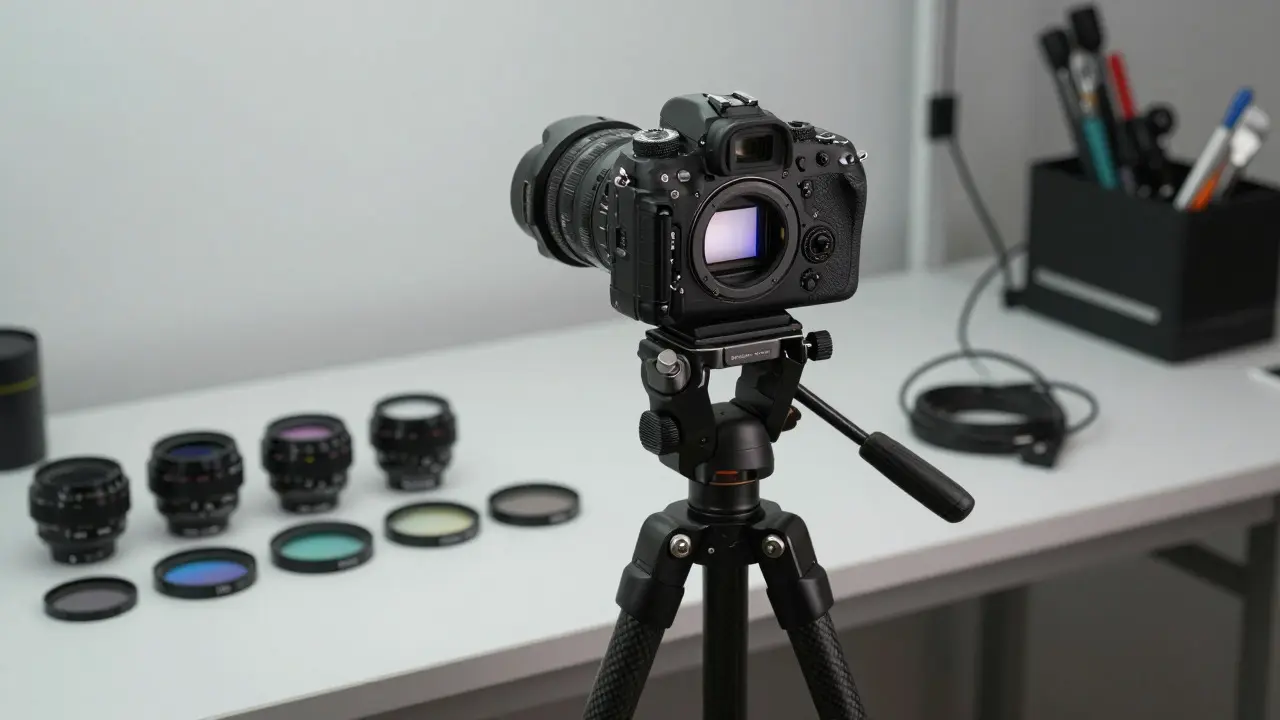
A “full spectrum” conversion means the camera can now capture both visible and IR light. But since the original hot mirror is gone, you’ll need to attach external filters to control which wavelengths reach the sensor. Without a filter, your camera will capture everything, leading to washed-out colors and unpredictable results. Most converted users keep a set of visible-light correction filters (like a 720nm or 850nm) permanently attached when shooting IR, and remove them for normal photography.
Costs range from $300-$600 for professional services, plus $50-$150 for replacement filters. DIY kits exist for $100-$200 but require precision work. Risk includes dust contamination, misaligned filters, or damaged sensors. Reputable labs like LifePixel, Baader Planetarium, or local camera repair shops handle thousands of conversions annually.
Choosing the Right Workflow: External vs. Converted
Your choice depends on frequency, budget, and flexibility. If you shoot IR less than once a month, external filters are smarter. You avoid paying for a conversion you’ll rarely use. If you plan to shoot IR weekly or as your primary style, conversion saves time. No more changing filters mid-session, no lost autofocus, and consistent results.
Consider these factors:
- Camera Body Value: Converting a $500 entry-level body is risky. Converting a $2,000+ body is safer and more worthwhile.
- Lens Compatibility: Some lenses have IR correction coatings that may interfere with pure IR shots. Test before committing.
- Autofocus Needs: If you rely on AF for action or portraits, external filters will frustrate you. Converted cameras retain AF if you use visible-light modes.
- Travel Constraints: Carrying multiple large IR filters is bulky. A converted body simplifies your kit.
Many hybrid shooters convert one body and keep another unmodified. This gives them flexibility without sacrificing their main camera for everyday use.
Technical Setup and Shooting Tips
Whether using external filters or a converted body, technique changes significantly. First, disable auto-exposure lock. IR light behaves differently, so metering off-center highlights can underexpose shadows. Use histogram review and bracket ±2 stops minimum.
White balance is critical. Auto WB fails in IR. Set it manually to tungsten or incandescent mode for warmer tones, or daylight for cooler moods. Experiment-there’s no single correct setting.
Focusing requires patience. With external filters, use live view zoom to focus on high-contrast edges. On converted bodies, you can use AF if shooting in visible mode, but switch to manual when attaching IR filters. Pre-focus at infinity for landscapes, or use a fixed distance for portraits.
Exposure times grow exponentially with deeper IR cut-offs. An 850nm filter might need 30 seconds where visible light takes 1/250th. A 950nm filter could require several minutes. Use a sturdy tripod, remote shutter release, and enable noise reduction for long exposures. Mirror lock-up helps reduce vibration on DSLRs.
Post-processing enhances but doesn’t fix bad exposure. Levels and curves adjustments bring out detail in dark skies and bright foliage. Channel mixing lets you swap color channels to intensify the Wood Effect. Avoid over-saturating-natural IR looks best with restrained color grading.
Common Pitfalls and How to Avoid Them
New IR shooters often make predictable mistakes. Here’s what to watch for:
- Ignoring UV Contamination: In converted cameras, UV light can cause color fringing. Always use a UV-blocking filter when shooting IR unless you intentionally want UV effects.
- Over-relying on Auto Modes: Cameras struggle with IR. Switch to manual mode for full control.
- Underestimating Exposure Time:** Start with shorter brackets and extend as needed. Don’t assume your visible-light settings will work.
- Skipping Test Shots:** Every lens-filter combination behaves slightly differently. Shoot a test frame before committing to a session.
- Neglecting Sensor Cleaning:** Dust spots become glaring in long-exposure IR shots. Clean your sensor before major shoots.
Also, be aware that some lenses flare more in IR due to coating differences. Stop down to f/8 or f/11 to minimize internal reflections. Prime lenses often perform better than zooms in IR due to simpler optical designs.
Can I use any lens with an infrared filter?
Yes, but performance varies. Lenses with multicoated elements generally handle IR better, reducing flare and ghosting. Older or cheaper lenses may show more color fringing. Test your specific lens with an IR filter before investing in a conversion.
Do I need a special tripod for IR photography?
You need a sturdy tripod capable of holding your camera-lens combo steady for minutes-long exposures. Carbon fiber tripods offer better stability-to-weight ratios. Ensure the ball head locks firmly to prevent creep during long exposures.
Is camera conversion worth it for beginners?
Usually not. Start with external 850nm filters ($50-$150) to determine if you enjoy the aesthetic. Only consider conversion after 6-12 months of consistent IR shooting. This avoids wasting money on a modification you may not fully utilize.
What happens to my camera warranty after conversion?
Most manufacturers void warranty when third parties open the camera body. Check your specific brand’s policy. Some converters offer limited warranties on their work, but sensor damage from pre-existing issues may not be covered.
Can I revert a converted camera back to normal?
Yes, but it’s costly. Reinstallation of a standard hot mirror costs $200-$400 and carries the same risks as initial conversion. Factor this into your decision before committing to a permanent change.