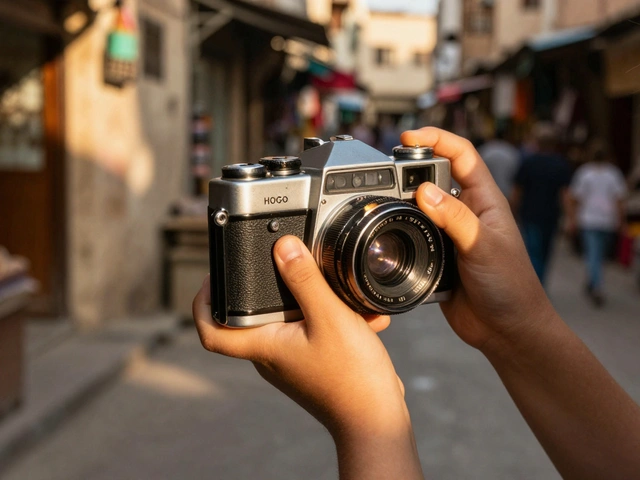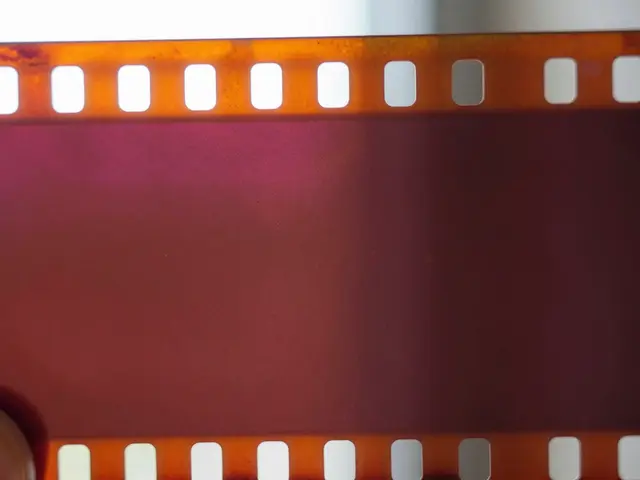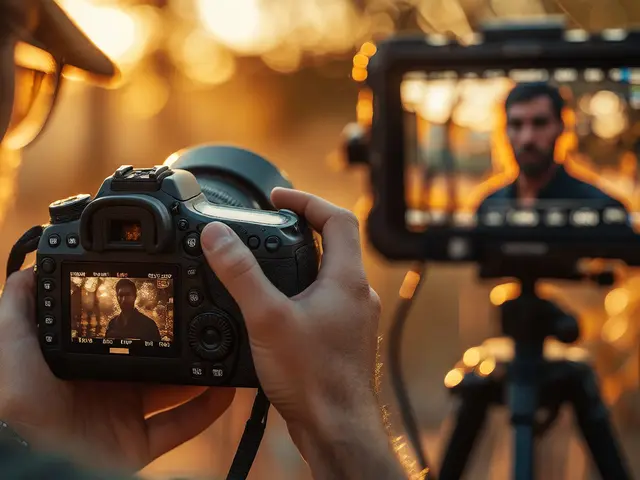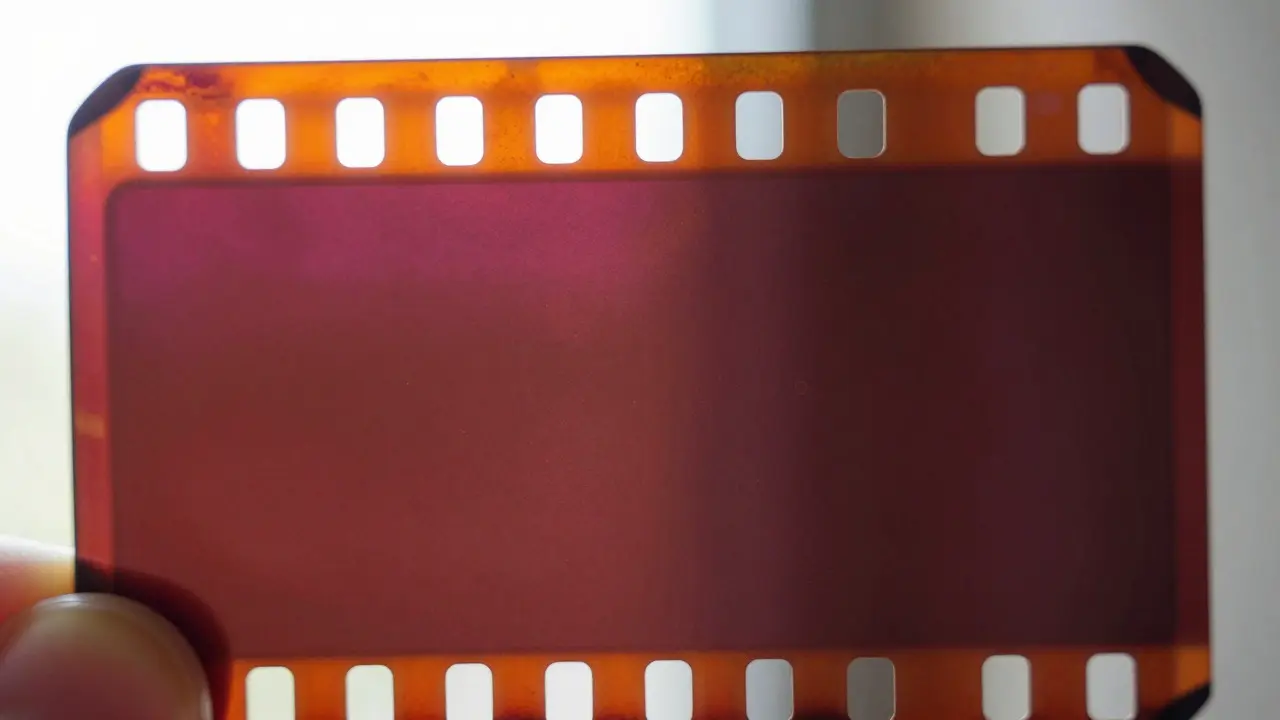
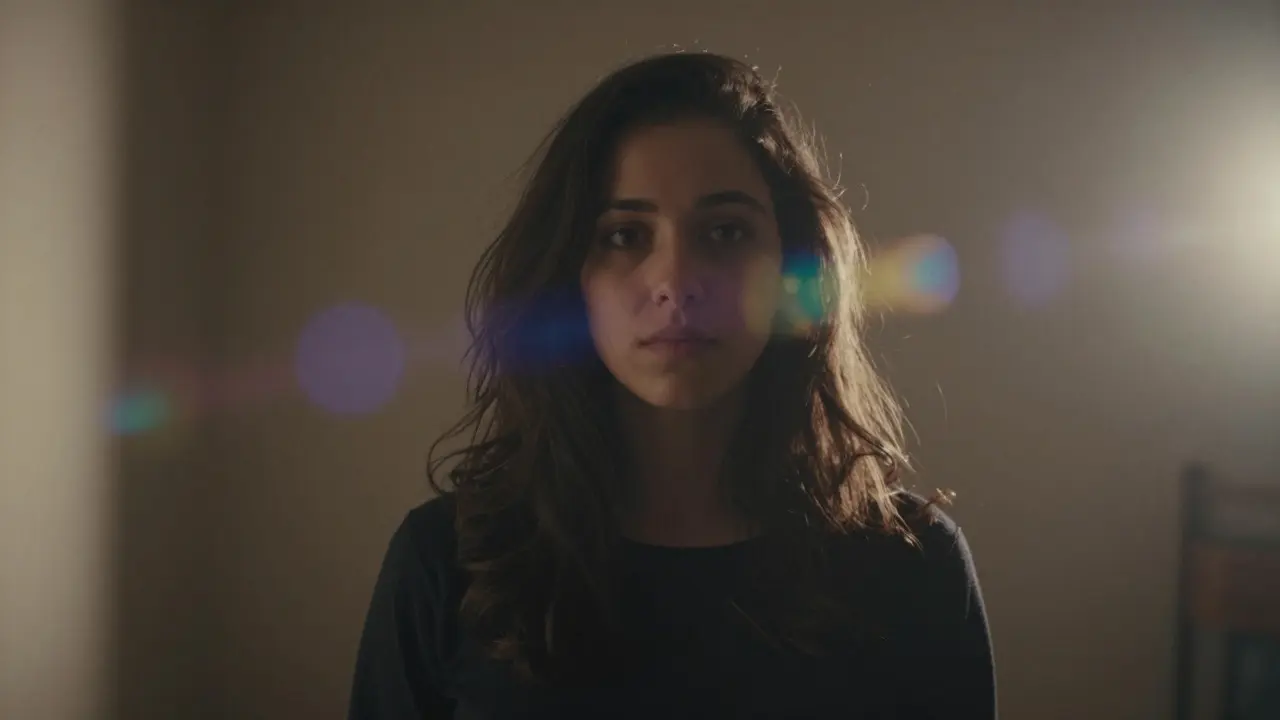
There is a specific type of imperfection that digital filters struggle to replicate. It’s the warm, unpredictable wash of orange or magenta that bleeds across the edge of a frame. This is light leak an unintentional exposure of light onto photographic film or sensor, creating unique color gradients and flares. Unlike the clean, calculated look of modern post-processing, light leaks carry the chaotic energy of analog media. They remind us that photography isn’t just about capturing reality; it’s about interpreting it through the physical limitations of the medium. If you are shooting digital but craving that nostalgic, sun-drenched vibe, you don’t need a dusty box of expired 35mm rolls. You can achieve authentic-looking vintage color and flare effects with simple tools and a bit of understanding. The goal here isn’t just to add a random streak of red; it’s to understand how light interacts with your image to create depth, mood, and texture.
Why Light Leaks Work: The Psychology of Imperfection
Before you start experimenting, it helps to know why these "flaws" are so appealing. In a world of high-resolution, perfectly balanced images, perfection can feel cold. Light leaks introduce organic chaos. They break up the rigid geometry of a photograph. A soft glow in the corner can draw the eye inward, while a harsh streak can suggest motion or time passing.
Psychologically, these artifacts trigger a sense of memory. We associate them with childhood snapshots, travel photos from the 90s, or music videos from the early 2000s. This emotional connection makes the subject matter feel more intimate and personal. When you apply a light leak, you aren’t just editing pixels; you are adding a layer of narrative. It tells the viewer that this moment was captured by a human, with all their unpredictability.
Analog vs. Digital: Creating the Effect
You have two main paths to achieving this aesthetic: shooting on actual film or simulating it digitally. Both have distinct advantages and trade-offs.
- Shooting on Film: This is the source material. By holding a small light source (like a flashlight) near the back of your camera during development, or using a dedicated light-leak tool, you expose the emulsion directly. The result is unique every single time. The grain structure interacts with the light, creating textures that are nearly impossible to fake perfectly in software.
- Digital Simulation: Using software like Adobe Lightroom, Capture One, or mobile apps like VSCO, you can overlay pre-made light leak textures. This offers control. You can adjust opacity, blend modes, and color balance until it looks right. It’s faster and cheaper, but requires an eye for subtlety to avoid looking like a cheap filter.
For most photographers today, a hybrid approach works best. Shoot your base image digitally for sharpness and dynamic range, then add simulated light leaks in post-production. This gives you the reliability of digital with the soul of analog.
Mastering Color Grading for Vintage Vibes
A light leak alone isn’t enough. To make it feel cohesive, the rest of the image needs to support it. Vintage color grading a post-processing technique that mimics the color profiles of older film stocks, often featuring faded blacks and shifted hues typically involves three key adjustments:
- Fade the Blacks: Lift the shadows slightly so they aren’t pure black. Aim for a dark gray instead. This reduces contrast and gives the image a hazy, dreamlike quality.
- Shift the Highlights: Tint your highlights toward yellow, orange, or cyan depending on the era you’re emulating. 1970s films often had warmer, yellower highlights, while 1990s slide films might have cooler, cyan-tinted skies.
- Desaturate Midtones: Slightly reduce the saturation of the middle tones. This prevents colors from clashing with the vibrant light leak. The leak should pop against a more muted background.
Think of the color grade as the canvas. If the canvas is too loud, the light leak will get lost. Keep the base image calm and let the artifact do the talking.
Techniques for Authentic Lens Flare
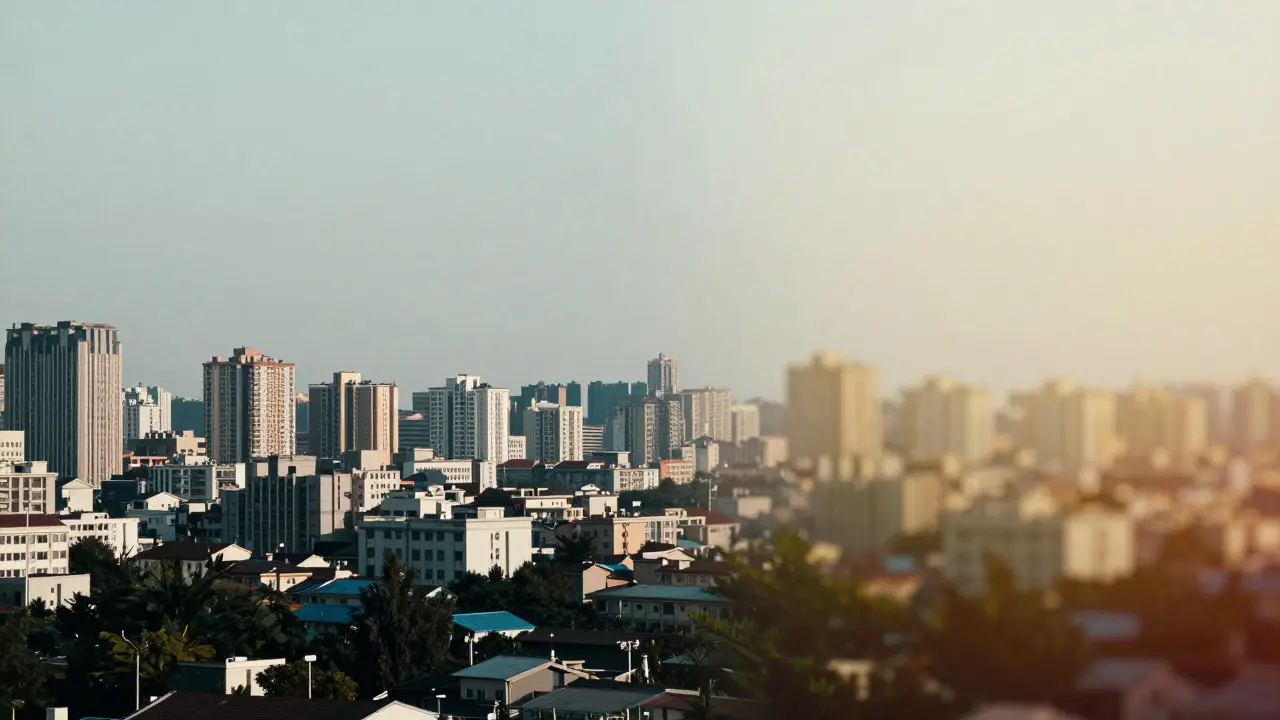
While light leaks usually come from outside the lens, lens flare optical artifacts caused by bright light sources entering the lens system, resulting in streaks, ghosts, or halos happens inside the glass. Both contribute to the vintage look, but they behave differently.
To create realistic lens flare digitally, follow these rules:
- Direction Matters: Real lens flares always originate from a light source. If you see a flare coming from nowhere, it looks fake. Place the virtual light source where the sun or a streetlamp would logically be.
- Use Additive Blending: In photo editing software, set your flare layer to "Screen" or "Add" blend mode. This ensures the flare only adds brightness, never darkening the underlying image.
- Keep It Subtle: Most people overdo it. Start with 10-20% opacity. You want the viewer to feel the presence of the light, not be blinded by it.
Combining a subtle lens flare with a softer, broader light leak creates a layered effect. The flare provides the "spark," while the leak provides the "wash." Together, they mimic the complex way light scatters in a real optical system.
Common Mistakes to Avoid
Even experienced photographers can fall into traps when chasing this aesthetic. Here are the most common errors and how to fix them.
| Error | Why It Looks Fake | Solution |
|---|---|---|
| Uniform Color | Real leaks vary in intensity and hue across the frame. | Use textured overlays or brush tools to vary opacity and color temperature locally. |
| Too High Contrast | Vintage film has lower contrast than modern digital sensors. | Lift shadows and compress highlights to match the low-contrast profile of film. |
| Ignoring Grain | Smooth digital noise doesn't interact with light like film grain does. | Add a fine, monochromatic grain overlay at 5-10% opacity after applying the leak. |
| Wrong Blend Mode | Multiply or Overlay can darken areas incorrectly. | Stick to Screen, Soft Light, or Linear Dodge for additive light effects. |
Grain is crucial. Without it, the light leak looks like a digital smudge. With it, the light seems to be trapped in the physical medium. Always add grain last, ensuring it sits on top of both the image and the leak.
Tools and Workflow Recommendations
You don’t need expensive gear to get started. For digital simulation, any major editing suite will work. However, some tools specialize in this area.
- Adobe Lightroom: Use the Adjustment Brush to paint in color shifts manually. Combine with the Grain slider for texture.
- Capture One: Offers superior color rendering, making it easier to dial in specific film stock emulations like Kodak Portra or Fujifilm Velvia.
- Mobile Apps: Apps like Dazz Cam or Halide offer built-in light leak features that are surprisingly effective for quick edits on the go.
Your workflow should be non-destructive. Keep your original file untouched. Create a new layer or copy for the light leak effects. This allows you to tweak the intensity later without starting over. Save your favorite settings as presets, but remember that each photo is different. What works for a sunset portrait might look muddy on a landscape shot.
Frequently Asked Questions
Do light leaks ruin my photo?
Not necessarily. In commercial or documentary photography, they might be considered defects. But in artistic, portrait, or lifestyle photography, they are a powerful stylistic choice. The context determines whether it’s a mistake or a feature.
What is the best color for a light leak?
There is no single best color. Orange and yellow mimic sunlight and are very popular. Magenta and purple evoke a dreamy, surreal feel. Blue and green are rarer but can create a cool, mysterious atmosphere. Choose a color that complements the dominant hues in your image.
Can I use light leaks on black and white photos?
Yes, but it changes the genre entirely. Adding color to a B&W image creates a duotone or tinted effect. It can look very artistic, but ensure the color is desaturated and subtle to maintain the timeless feel of black and white.
How much opacity should I use for a light leak?
Start between 10% and 30%. If you can clearly see the edges of the leak texture, it’s probably too strong. The effect should feel integrated into the scene, not pasted on top of it. Adjust based on the brightness of your original image.
Is it better to shoot on film or simulate digitally?
It depends on your goals. Film offers authenticity and unpredictability but costs money and time. Digital offers control and convenience. Many pros shoot digital and simulate the effects because it allows for precise client revisions while still achieving the desired aesthetic.