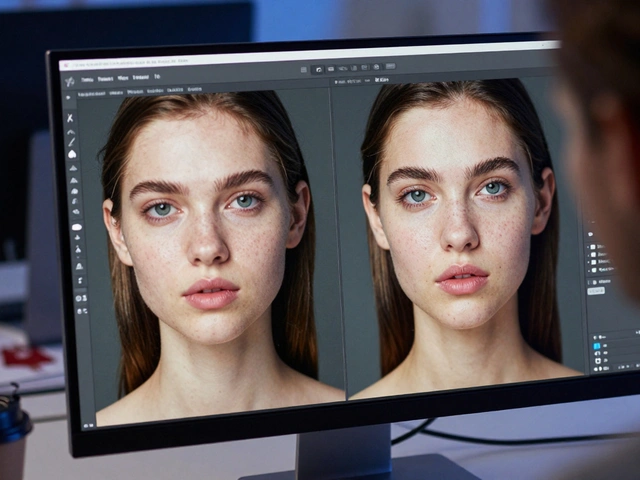
You’ve shot the perfect editorial. The lighting is dramatic, the pose is iconic, and the outfit tells a story. But when you open the file in Adobe Photoshop is the industry-standard software for professional image editing and digital retouching., reality hits. There’s a stray hair on the cheek, a wrinkle in the silk that looks like a crease from the dryer, and the skin tones are slightly uneven. This is where fashion retouching comes in. It isn’t about making someone look fake; it’s about refining the image so the viewer sees the vision, not the distractions.
Many beginners make the mistake of reaching for the blur tool or the healing brush immediately. That’s a fast track to plastic-looking skin and flat, lifeless fabric. Professional fashion retouching relies on specific techniques that preserve texture while correcting imperfections. If you want your work to look high-end rather than amateurish, you need to understand three core pillars: skin refinement, fabric integrity, and general cleanup.
The Golden Rule: Texture Is Your Friend
Before you touch a single pixel, remember this: texture sells quality. In fashion photography, the weave of a wool sweater, the grain of denim, and the pores on a model’s face provide visual interest. When you erase texture, you erase realism. The goal of Fashion Retouching is the process of enhancing fashion photographs by refining skin, fabric, and color while maintaining natural appearance. is not perfection in the sense of smoothness; it’s polish. You want the viewer to feel the fabric and see the skin as healthy and vibrant, not airbrushed into oblivion.
This philosophy dictates every tool you choose. Instead of smearing pixels together, you separate tone from texture. This approach allows you to fix color casts and shadows without destroying the intricate details that make the image look expensive. Let’s break down how to do this using the industry-standard technique known as Frequency Separation.
Frequency Separation: The Foundation of Pro Retouching
Frequency Separation is a digital imaging technique that separates an image into two layers: one for color/tone (low frequency) and one for texture/detail (high frequency). is the most critical skill you can learn for both skin and fabric. Think of your photo as having two components: the "what" (texture, pores, fabric weave) and the "how" (color, brightness, shadows). Frequency separation splits these into two distinct layers so you can edit them independently.
Here is how you set it up in Photoshop:
- Duplicate your background layer twice. Name the bottom copy "Low Frequency" and the top copy "High Frequency."
- Select the Low Frequency layer. Go to Filter > Blur > Gaussian Blur. Apply enough blur until you lose all detail but can still see the shapes and colors. For high-resolution images, this is often between 5 and 10 pixels.
- Select the High Frequency layer. Go to Layer > Smart Objects > Convert to Smart Object (optional but recommended for non-destructive editing). Then go to Image > Apply Image.
- In the Apply Image dialog box, set Layer to "Low Frequency," Blending to "Subtract," Scale to 2, Offset to 128, and check "Invert." Click OK.
- Change the blending mode of the High Frequency layer to "Linear Light."
Now, magic happens. If you toggle the visibility of the High Frequency layer off, you see only color and tone. Toggle it back on, and the texture returns. When you paint on the Low Frequency layer with a soft brush, you change the color and light without affecting the pores or fabric weave. When you clone or heal on the High Frequency layer, you fix wrinkles and blemishes without altering the surrounding skin tone. This separation is what keeps skin looking like skin and fabric looking like fabric.
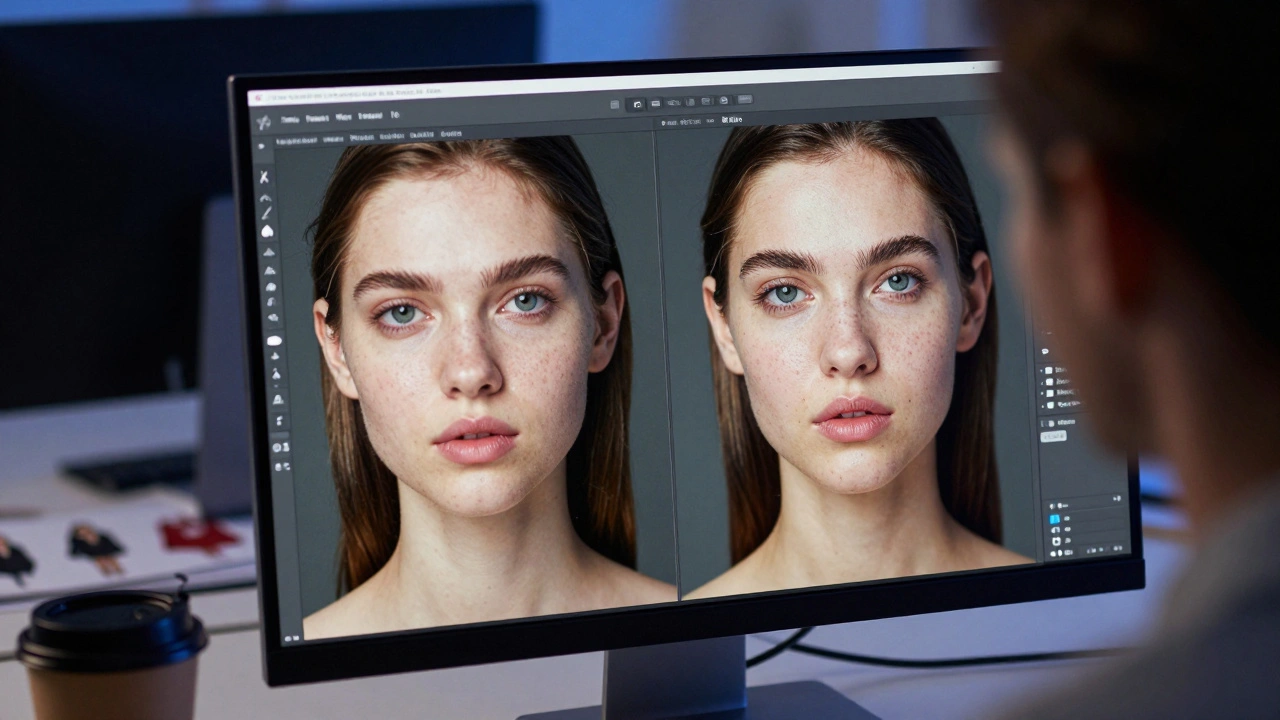
Skin Retouching: Natural and Flawless
Skin retouching is a balancing act. You want to remove acne, dark circles, and redness, but you must keep the skin’s natural character. Using Frequency Separation, start with the Low Frequency layer. Use a soft, low-opacity brush (around 10-20%) to sample clean skin tones and paint over redness or uneven patches. Sample from areas close to the area you’re fixing to maintain consistent lighting direction.
For the High Frequency layer, use the Healing Brush is a Photoshop tool that samples texture from one area and blends it into another, preserving lighting and color. or the Spot Healing Brush. These tools are excellent for removing pimples, stray hairs, and small scars because they automatically blend the texture. However, be careful not to overuse them on large areas, as they can create repetitive patterns. For larger blemishes, the Clone Stamp tool gives you more control because you manually select the source point.
A common mistake is smoothing out every single pore. Don’t do this. Leave some texture visible, especially in areas like the forehead and cheeks. If the skin looks too smooth, it will reflect light unnaturally, making the model look waxy. Remember, you are cleaning up distractions, not erasing humanity.
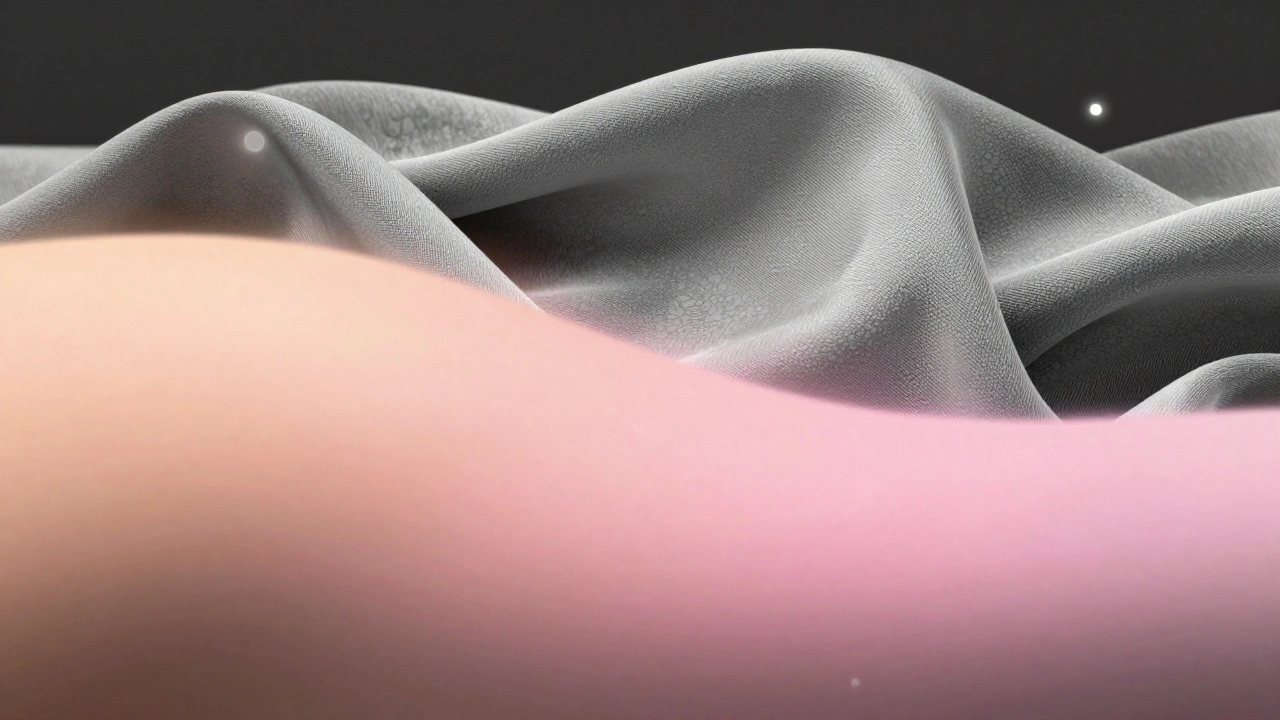
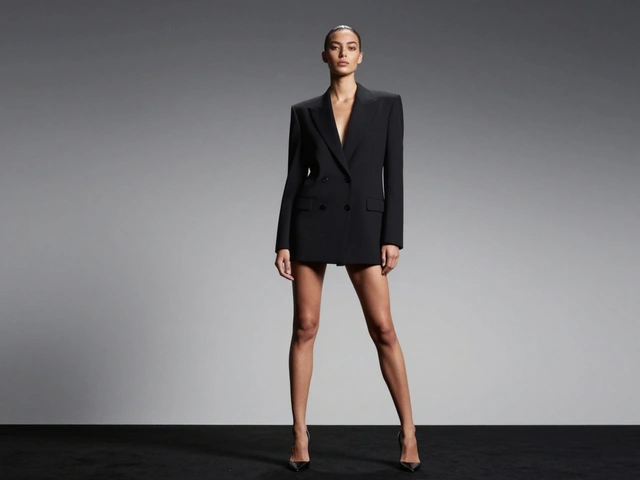
Fabric Cleanup: Preserving the Weave
Fabric is trickier than skin because it has structure. A wrinkled t-shirt might just need a little cleanup, but a structured blazer or a flowing silk gown requires precision. Wrinkles can distort the shape of the garment, making it look ill-fitting or cheap. Your job is to refine the folds without flattening the material.
Start by identifying which wrinkles are structural and which are accidental. Structural folds define the shape of the clothing-leave these alone. Accidental wrinkles, like those caused by movement or poor fitting, should be softened or removed. Use the Liquify tool for subtle shape corrections. Push pixels gently to straighten seams or smooth out sagging areas. Do not overdo it; if the stitching lines warp or the logo distorts, you’ve gone too far.
For texture cleanup, return to your Frequency Separation layers. On the High Frequency layer, use the Clone Stamp tool to remove lint, dust, and small bumps. Clone from nearby areas of the same fabric to match the weave pattern. On the Low Frequency layer, even out any color inconsistencies caused by shadows or lighting. If a part of the dress looks darker because of a fold, lighten it slightly to match the rest of the garment.
Shiny fabrics like satin or leather present a unique challenge. Reflections can distract from the design. Use the Dodge and Burn technique to manage highlights and shadows on shiny surfaces. This helps integrate reflections naturally rather than erasing them completely, which can make the fabric look matte and dull.
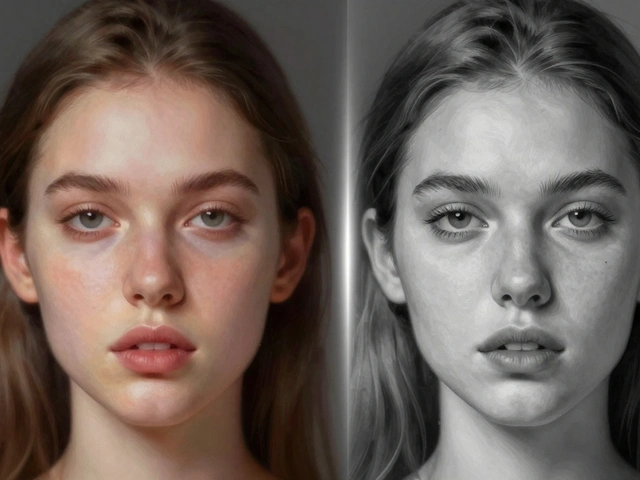
Dodge and Burn: Sculpting with Light
Dodge and Burn is a retouching technique that involves selectively lightening (dodging) and darkening (burning) areas to enhance dimension and shape. is the secret weapon of professional retouchers. It adds depth and volume to both skin and fabric. By subtly brightening areas where light hits and darkening areas where shadows fall, you sculpt the subject without changing its actual geometry.
To dodge and burn effectively, create two new layers: one set to "Overlay" or "Soft Light" mode for dodging, and another set to the same mode for burning. Fill the dodge layer with 50% gray. Paint with white on this layer to lighten areas, and black on the burn layer to darken them. Use a very soft brush with low opacity (1-5%) and build up the effect slowly. This method ensures that changes are gradual and natural.
For skin, dodge the high points of the face-the bridge of the nose, the cheekbones, and the brow bone. Burn the hollows under the cheekbones, the sides of the nose, and the jawline. This enhances facial structure and makes the skin look smoother because shadows are less harsh. For fabric, dodge the peaks of folds and burn the valleys. This emphasizes the texture and makes the garment look more three-dimensional.
Cleanup and Color Correction
Once the major retouching is done, step back and look at the overall image. Are there any remaining distractions? Stray hairs, bloodshot eyes, or dirty backgrounds? Use the Healing Brush or Clone Stamp to remove these minor issues. Pay attention to the edges of the subject. Clean up any frayed hair strands that don’t contribute to the style.
Color correction is the final polish. Use adjustment layers like Curves, Levels, and Color Balance to ensure consistency. Check the whites and blacks-are they true? Are the skin tones neutral and flattering? Remove any color casts introduced by studio lighting. For fashion, brand consistency is key. If the campaign calls for cool tones, ensure the entire image reflects that mood without losing detail in the shadows.
Always work non-destructively. Keep your original layer intact and use smart objects and adjustment layers. This allows you to tweak your edits later if the client requests changes. It also protects your workflow from irreversible mistakes.
| Tool | Best Used For | Risk of Overuse |
|---|---|---|
| Frequency Separation | Separating tone and texture for detailed skin/fabric work | None if used correctly; complex setup |
| Healing Brush | Removing small blemishes, stray hairs, and lint | Repetitive textures, loss of detail |
| Clone Stamp | Precise cloning along seams and patterns | Visible cloning artifacts if source mismatched |
| Liquify | Subtle shape corrections and garment adjustments | Distorted logos, unnatural proportions |
| Dodge and Burn | Enhancing dimension and smoothing skin/fabric | Halos, overly dramatic contrast |
Common Mistakes to Avoid
Even experienced retouchers can slip up. Here are the most common pitfalls:
- Over-smoothing: Zooming in too much can lead to over-retouching. Always zoom out to 100% view to check your work. What looks perfect at 400% might look plastic at 100%.
- Ignoring Lighting Direction: When dodging and burning, follow the natural light source. Lightening an area that should be in shadow creates confusion and breaks realism.
- Erasing Texture: Never use the blur tool on skin or fabric. It destroys the high-frequency details that give the image life.
- Unnatural Colors: Ensure skin tones are consistent across the body. Mismatched arms and legs are a dead giveaway of amateur retouching.
Fashion retouching is a craft that combines technical skill with artistic sensibility. By mastering Frequency Separation, Dodge and Burn, and careful cleanup techniques, you can elevate your images from good to professional. Remember, the best retouching is invisible-it enhances the beauty without drawing attention to itself.
What is the best tool for removing wrinkles in fabric?
The best approach combines Liquify for shape correction and Frequency Separation for texture cleanup. Use Liquify to subtly reshape severe wrinkles, then use the Clone Stamp or Healing Brush on the High Frequency layer to restore the fabric weave. Avoid blurring, as it destroys texture.
How do I prevent skin from looking plastic after retouching?
Preserve texture by using Frequency Separation. Work on the Low Frequency layer for color and tone, and the High Frequency layer for blemishes. Never use the blur tool. Additionally, leave some natural pores and skin texture visible, especially in well-lit areas.
Is Dodge and Burn necessary for fashion retouching?
Yes, Dodge and Burn is essential for adding depth and dimension. It helps smooth skin by softening harsh shadows and enhances fabric folds by emphasizing their structure. It creates a natural, sculpted look that simple blurring cannot achieve.
What is Frequency Separation and why is it important?
Frequency Separation is a technique that splits an image into two layers: one for color/tone (low frequency) and one for texture/detail (high frequency). It allows retouchers to correct skin tones and fabric colors without affecting the underlying texture, resulting in more natural and realistic edits.
Should I remove all wrinkles from clothing in fashion photos?
No, you should not remove all wrinkles. Structural folds define the shape and drape of the garment. Only remove accidental wrinkles that distract from the fit or look messy. Preserving some folds maintains the realism and volume of the clothing.
How do I handle shiny fabrics like satin or leather?
Use Dodge and Burn to manage highlights and shadows on shiny fabrics. Soften harsh reflections by burning them slightly and brighten adjacent areas to balance the exposure. Avoid erasing reflections entirely, as they convey the material’s sheen and quality.
What is the difference between the Healing Brush and Clone Stamp?
The Healing Brush automatically blends the sampled texture with the surrounding color and lighting, making it ideal for skin and uniform fabrics. The Clone Stamp copies pixels exactly, giving you precise control for complex patterns, seams, or areas with sharp contrasts.
Why is non-destructive editing important in fashion retouching?
Non-destructive editing preserves the original image data, allowing you to make adjustments or revert changes without losing quality. It also enables flexibility for client revisions and ensures that your workflow remains efficient and error-proof.