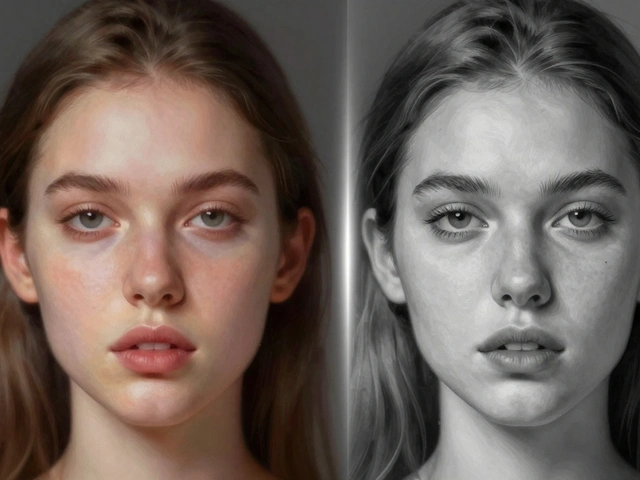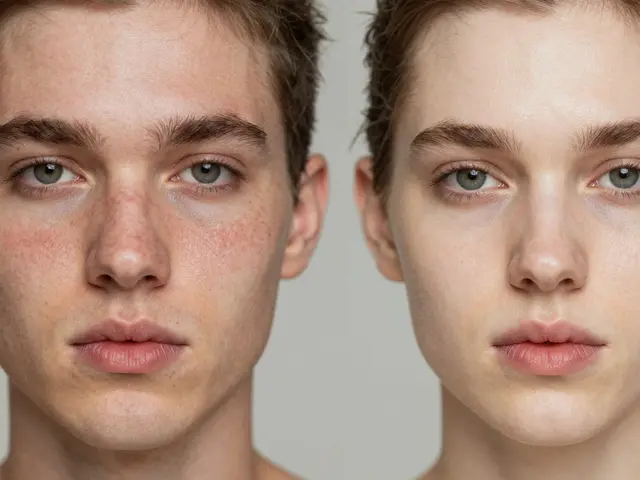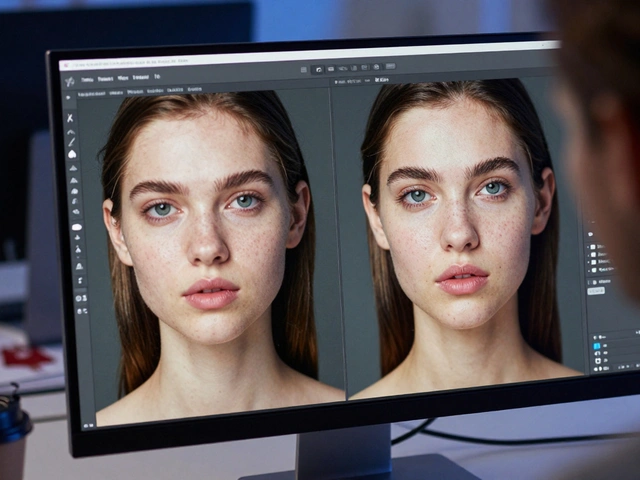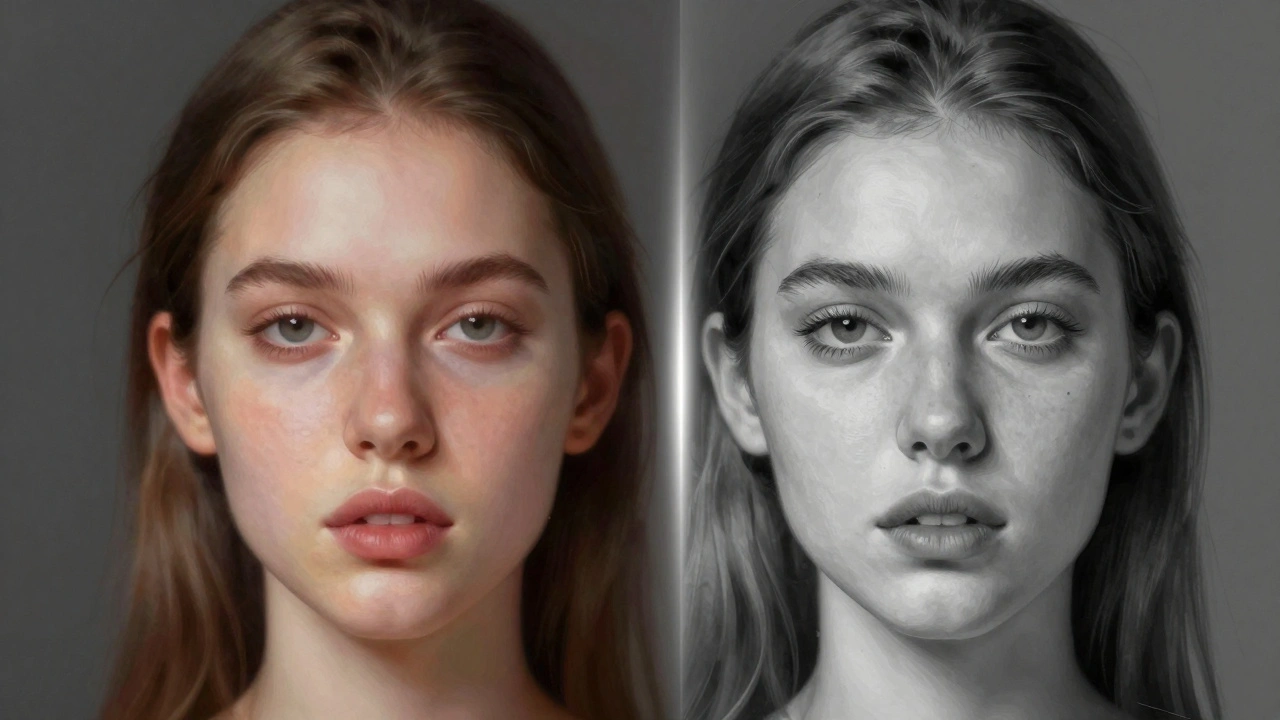
You’ve probably seen those magazine covers where the model’s skin looks like porcelain-flawless, glowing, and completely devoid of pores. It looks perfect on paper but feels wrong in real life. That "plastic" look is usually the result of bad frequency separation. The technique itself isn’t the villain; it’s how people misuse it. When done right, frequency separation allows you to fix redness and blemishes without destroying the natural texture that makes a face look human.
This method splits an image into two distinct layers: one for color and tone (low frequency) and one for detail and texture (high frequency). By editing them separately, you can smooth out blotchy skin tones while keeping every pore and eyelash sharp. It sounds complex, but it’s just math wrapped in Photoshop layers. Let’s break down exactly how to set this up, how to use modern tools to avoid the airbrushed trap, and why you shouldn’t rely on it alone.
How Frequency Separation Actually Works
To understand why this works, think about what your camera captures. A photo is made of broad shapes and colors mixed with tiny details. In signal processing terms, these are low-frequency data (smooth gradients, shadows, highlights) and high-frequency data (edges, noise, fine lines).
In Photoshop, we mimic this separation manually. You create a stack where the bottom layer holds the color information, and the top layer holds the texture. This architecture lets you paint over a red spot on the cheek using the Healing Brush on the low-frequency layer. Because that layer is blurred, the brush blends the surrounding skin tone smoothly. Meanwhile, the high-frequency layer sits on top, overlaying the original pores and hair back onto that smooth base. The result? The redness is gone, but the skin still has structure.
Why not just use the Spot Healing Brush on the original image?
Using the Spot Healing Brush directly on the original image often smudges or blurs nearby textures. If you try to heal a large area of redness, the tool might accidentally soften the pores or eyelashes next to it. Frequency separation isolates the color from the texture, so you can fix the color messily without worrying about ruining the fine details.
Setting Up Your Layers Correctly
The foundation of any good retouch is a clean setup. If you skip steps here, the whole process falls apart. Start by exporting your RAW file as a 16-bit TIFF. Working in 8-bit leads to banding and artifacts when you apply heavy edits later. Open that TIFF in Photoshop.
- Duplicate the background: Press
Ctrl+J(orCmd+Jon Mac) twice. You now have three identical layers. Rename the top one "High Frequency" and the middle one "Low Frequency." Hide the High Frequency layer for now. - Blur the Low Frequency layer: With the Low Frequency layer active, go to Filter > Blur > Gaussian Blur. Adjust the radius until you can no longer see pores or fine wrinkles, but the major shapes of the face (nose, eyes, lips) remain clear. For most standard-resolution portraits, a radius between 5 and 10 pixels works well. I usually start at 7 pixels and tweak from there.
- Create the High Frequency layer: Unhide the High Frequency layer. Go to Image > Apply Image. In the dialog box, set the Layer dropdown to "Low Frequency," check the "Invert" box, change Blending to "Add," Scale to 2, and Offset to 0. Click OK.
- Set the blend mode: Change the blending mode of the High Frequency layer from "Normal" to Linear Light. Your image should now look exactly like the original again.
- Group them: Select both new layers and press
Ctrl+Gto put them in a folder named "Frequency Separation." This keeps your panel tidy.
If you did this correctly, the Low Frequency layer looks like a blurry painting, and the High Frequency layer looks like a gray map of edges. Together, they reconstruct the photo perfectly.
Editing the Low Frequency Layer (Tone and Color)
This is where you fix the big problems: redness, dark under-eye circles, and uneven skin patches. Select the Low Frequency layer. Use the Healing Brush Tool or the Clone Stamp Tool.
Critical setting: Set the "Sample" option in the options bar to Current & Below. This ensures you’re sampling from the blurred low-frequency data, not the sharp texture above. Pick a soft-edged brush with low opacity (around 15-20%). Sample a clean area of skin near the blemish by holding Alt (Option) and clicking, then paint over the problem area.
Don’t try to erase everything. If you smooth out every shadow and highlight, the face will lose its dimension and look flat. Only target discoloration. Leave the natural shadows that define the cheekbones and jawline alone. Zoom out frequently to check if the skin looks natural or if it’s starting to look like wax.
Editing the High Frequency Layer (Texture and Detail)
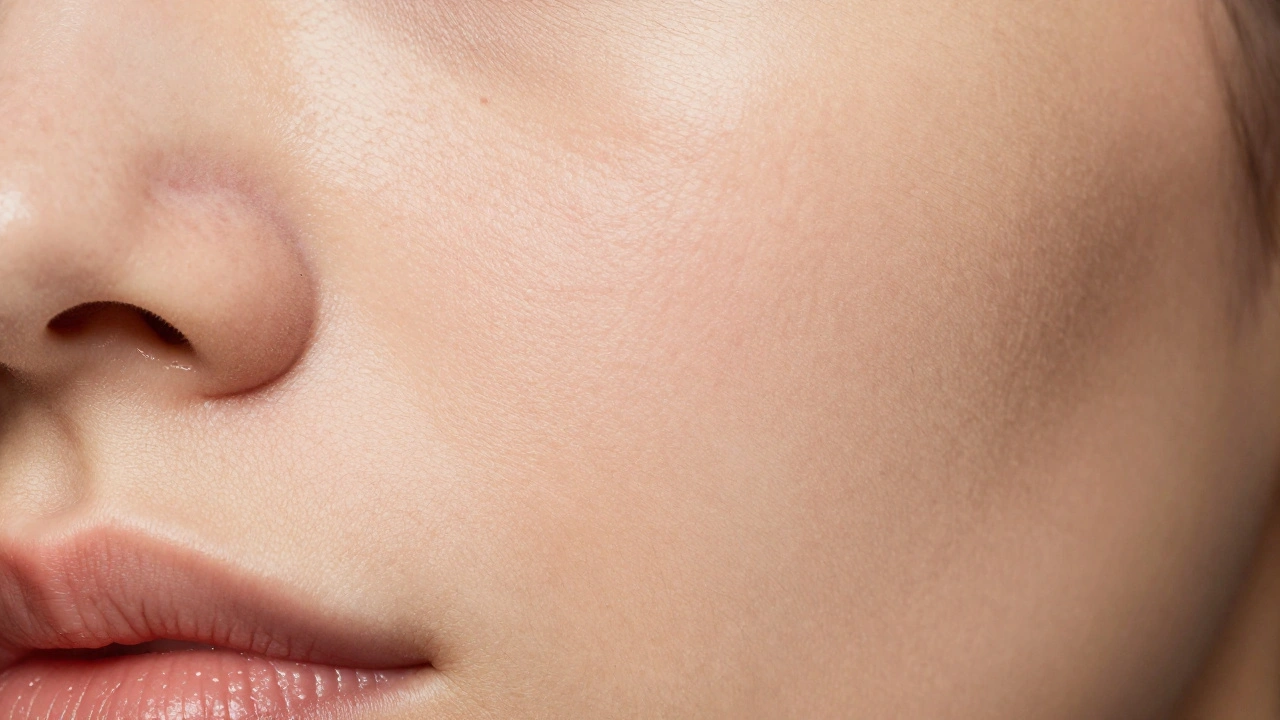
Now switch to the High Frequency layer. This layer contains only the fine details. Here, you’ll remove small imperfections that didn’t get caught in the tone pass, like stray hairs, blackheads, or tiny pimples.
Select the Clone Stamp Tool. This time, set the "Sample" option to Current Layer. Use a harder-edged brush than before, but keep the flow around 100%. Hold Alt to sample clean texture from a nearby area, then click over the blemish. Because you’re working on the high-frequency layer, you’re replacing the "bad" texture with "good" texture, while the underlying color remains untouched.
Be careful not to clone too much. If you repeat the same pore pattern across a large area, it becomes obvious and fake. Vary your sampling points constantly. Think of it as repairing a torn fabric rather than painting over it.
Modern Techniques: Avoiding the Plastic Look
Old-school tutorials often encouraged aggressive smoothing, which led to that dreaded plastic look. Modern workflows prioritize subtlety. One effective trick is adding diagnostic layers to help you see what needs fixing.
Add a Black & White adjustment layer above your frequency separation group. Reduce the Red and Yellow sliders significantly. This exaggerates redness and blemishes, making them pop against the darker tones. Now you can see exactly where you need to work on the Low Frequency layer. Once you’re done, turn off the visibility of the Black & White layer-it was just a guide.
Another modern approach involves using Photoshop’s Remove Tool instead of the Clone Stamp for broader areas. On the Low Frequency layer, duplicate it and name it "Clean Tone." Turn off "Sample All Layers" in the options bar. Use the Remove Tool to paint over blotchy areas. The AI-powered tool does a great job of blending tones naturally without creating hard edges. Just remember to lower the opacity of this layer if it looks too strong.
| Tool | Best Used On | Key Setting | Risk |
|---|---|---|---|
| Healing Brush | Low Frequency (Tone) | Sample: Current & Below | Smudging texture if used on High Freq |
| Clone Stamp | High Frequency (Detail) | Sample: Current Layer | Repetitive patterns if not varied |
| Remove Tool | Low Frequency (Broad Areas) | Sample All Layers: Off | Over-smoothing natural contours |

Combining with Dodge and Burn
Frequency separation fixes color and texture, but it doesn’t sculpt light. For professional results, you must combine it with dodge and burn (D&B). D&B involves selectively lightening (dodging) and darkening (burning) areas to enhance facial structure and micro-contrast.
Create a new layer filled with 50% gray. Set its blend mode to Soft Light. Place this layer above your frequency separation group. Use a soft white brush to lighten areas that should catch light (like the bridge of the nose or cheekbones) and a black brush to darken recesses (like under the cheekbone or sides of the nose). Keep your brush exposure very low, around 3-5%, and build up the effect slowly over many passes.
Many experts argue that D&B is more important than frequency separation. FS cleans up the canvas; D&B gives the portrait depth and character. Never let FS replace D&B. Use FS to handle the messy color issues quickly, then spend your time on D&B to refine the lighting.
Common Mistakes to Avoid
- Too much blur: If your Gaussian Blur radius is too high, you lose too much shape information. The face starts to look melted. Stick to the minimum blur needed to hide pores.
- Ignoring the high frequency layer: Some people only edit the low frequency layer and forget to clean up stray hairs or acne scars on the high frequency layer. This leaves a disconnect between the smooth tone and the rough texture.
- Hard edges: Always use soft brushes on the low frequency layer. Hard edges create visible halos around the painted areas, especially when zoomed out.
- Working in 8-bit: As mentioned, always use 16-bit TIFFs. 8-bit images have limited tonal range, and heavy editing causes posterization (visible bands of color) in gradients like skin tones.
When Not to Use Frequency Separation
While powerful, FS isn’t always the right tool. If you’re shooting gritty, documentary-style portraits where texture and imperfection are part of the story, heavy retouching kills the mood. In those cases, stick to subtle global adjustments and minimal spot healing.
Also, if you’re dealing with severe scarring or extensive skin conditions, FS might not be enough. You may need to combine it with content-aware fill or manual reconstruction techniques. Don’t force FS to do a job it wasn’t designed for. It’s a precision tool for refining already-good skin, not a magic eraser for major structural changes.
Can I use frequency separation in Lightroom?
Not directly. Lightroom doesn’t support the specific layer blending modes and Apply Image commands required for true frequency separation. However, Lightroom’s "Detail" panel allows you to adjust clarity and texture globally, which achieves a similar effect on a broader scale. For precise local control, you still need Photoshop.
What is the best brush size for frequency separation?
There is no single best size. Your brush should always be slightly larger than the area you are correcting. For broad tone adjustments on the low frequency layer, use a large, soft brush. For detailed blemish removal on the high frequency layer, use a smaller, harder brush. Adjust dynamically as you move across different parts of the face.
Does frequency separation work on video?
Yes, but it’s computationally expensive. Software like DaVinci Resolve offers similar frequency separation nodes. However, because video has motion, tracking the layers frame-by-frame is difficult. It’s generally reserved for high-end commercial beauty work with static subjects or very slow movement.
How do I fix halos after frequency separation?
Halos usually appear when you paint too aggressively on the low frequency layer near high-contrast edges (like the eye line or lip border). To fix them, reduce the opacity of your low frequency edits, or use a mask on the low frequency layer to exclude those edge areas from the smoothing effect.
Is frequency separation non-destructive?
It is relatively non-destructive compared to direct pixel editing. Since you are working on separate layers, you can toggle the visibility of the high or low frequency layers to compare before and after. However, painting with the Healing Brush or Clone Stamp alters pixels permanently on those layers. To make it fully non-destructive, use layer masks and smart objects where possible, though this complicates the workflow significantly.